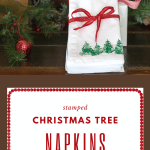
Stamped Fabric Napkins for Christmas: an easy DIY
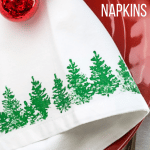
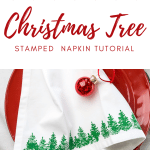
These Stamped Fabric Napkins are easy and inexpensive to make. Embellished with Christmas Tree Stamps, these napkins would add some festive cheer to your holiday table, but would also be gifts that any recipient would be excited to receive.
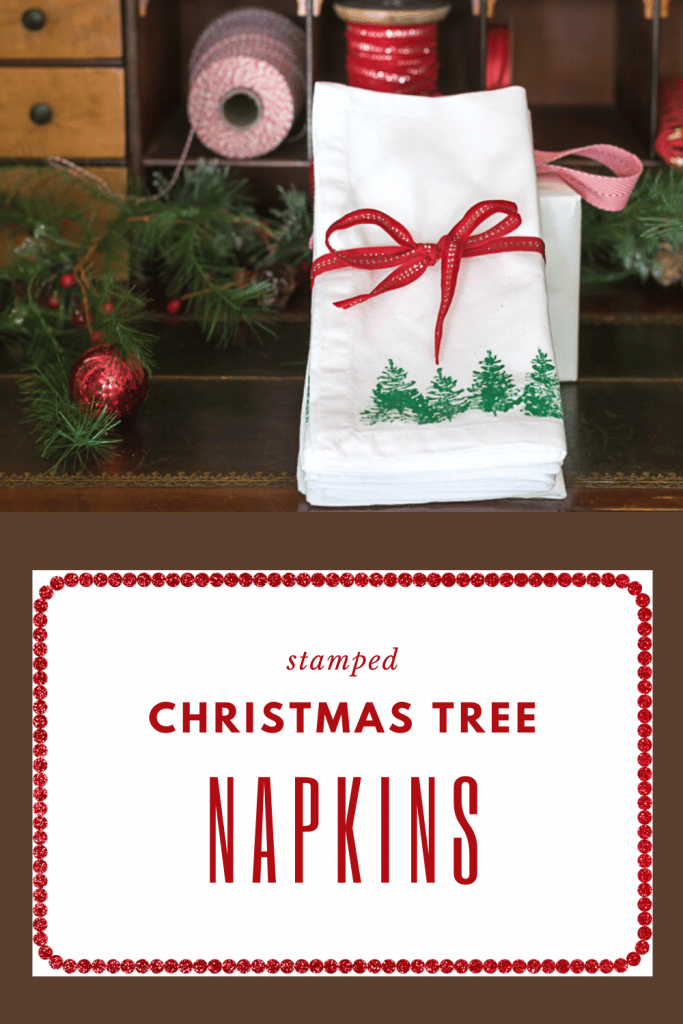
Who knew that a little fabric paint and a rubber stamp could add such festive charm to plain white fabric napkins! I made these for our Christmas table and will make more to give as gifts. If fabric napkins aren’t your thing, think about stamping tea towels or cocktail napkins for yourself or for holiday gifts.
And, while I love the Christmas trees for my stamped fabric napkins, some different patterns you could consider are snowflakes, candy canes, or gingerbread men.
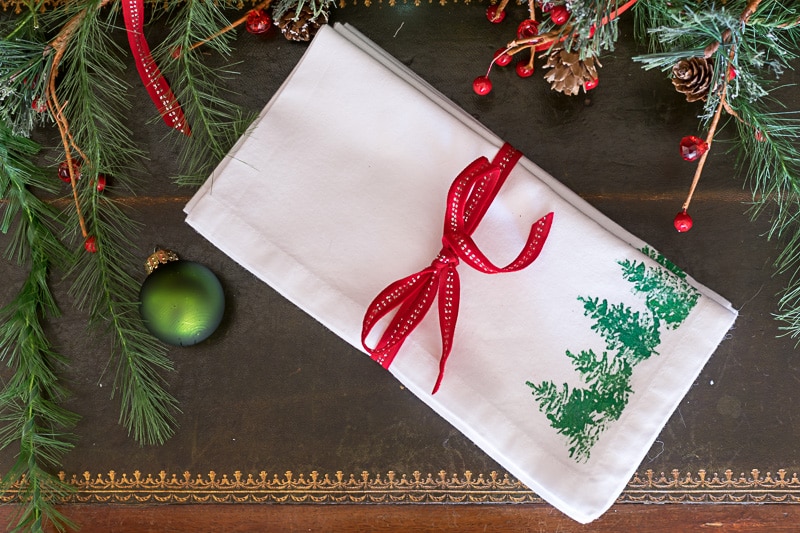
Table of Contents
What You Need to Make Stamped Fabric Napkins
Some of these links may be Amazon affiliate links and I may earn a small commission from the sale of these products to help defray the costs of operating this site, but the price you are charged is not affected. You can see my full disclosure policy here.
- Cloth napkins (a tea towel is another option). I use these 100% cotton fabric napkins.
- Fabric Paint. I like a Soft Touch Fabric Paint like the Imagin8 Soft Touch Fabric Paint at Michaels and the Plaid Fabric Creations Soft Fabric Ink I used a dark blue (navy blue), a green and a lime green to get the color I wanted. And remember that you can order from Michael’s online and they’ll have it ready for you to pick up.
- Stamps. I used 2 of the 3 trees that came with this Hero Arts stamp set. These stamps are about 1 1/2 inches tall.
- Sponge daubers. I prefer the control of a dauber over an ink pad or stamp pad. I also don’t recommend a brush (you’ll see the brush strokes) or a foam roller (you’ll get too much paint on the stamp)
- Paper Towels
- Tray to mix paint
- Old paintbrush, a fingernail brush or small scrub brush.
Can I Use Acrylic Paint instead of Fabric Paint?
In a word, nope! Although fabric paint and acrylic paint are both water-based, fabric paint uses a glue-based binder and is designed to attach to fabrics and create a strong bond. Acrylic paint does not have that binder. Fabric paint uses heat setting to create a permanent bond.
What Kind of Textiles are Best for Fabric Stamping?
A smooth or low-textured fabric such as cotton, poly-cotton blends, woven blends, denim, and home décor textiles is best for stamped fabric. Textured or ribbed fabrics can be used; however, be aware that a portion of the decorated
design will most likely be lost within the ribs or over the texture of the fabric surface.
How to Make Stamped Christmas Tree Napkins
- Wash and dry napkins (don’t use a fabric softener)
- Iron wrinkles out of your fabric, but don’t use spray starch.
- Practice some stamps on a piece of paper and a scrap piece of fabric.
- Set up your work area. You will want to have access to running water, so consider setting up your work area close to a sink.
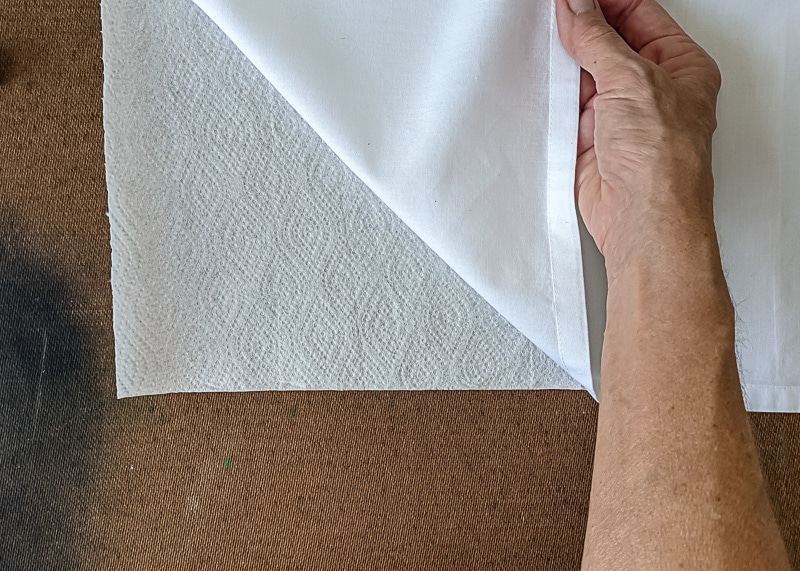
Place a paper towel on a flat surface and then lay the napkin over the top of the paper towel.
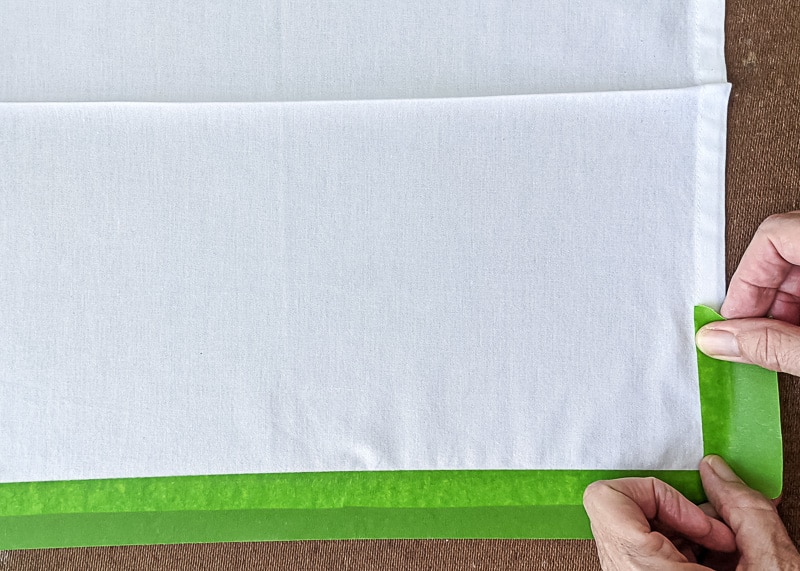
Use your tape to secure the napkin to your surface. I covered up the hem of my napkins to keep them free of paint.
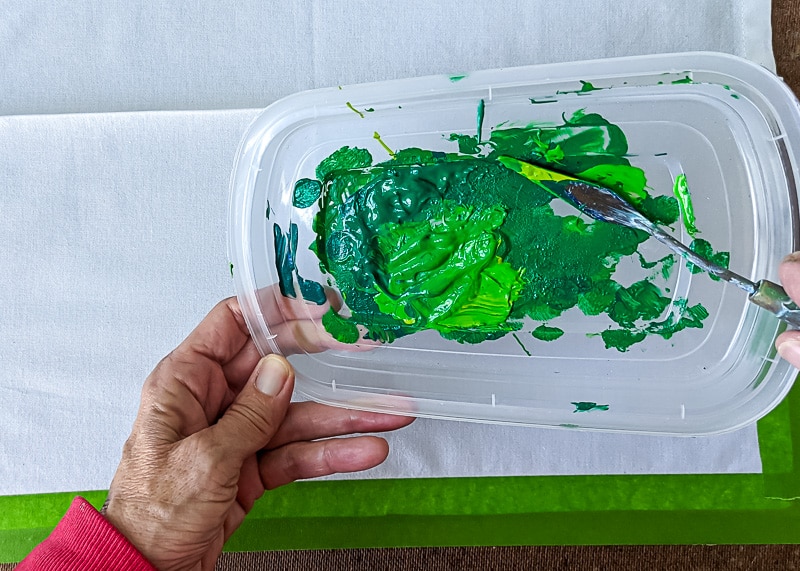
Mix your paint. I used a couple of different shades of green to give the trees a little depth and contrast.
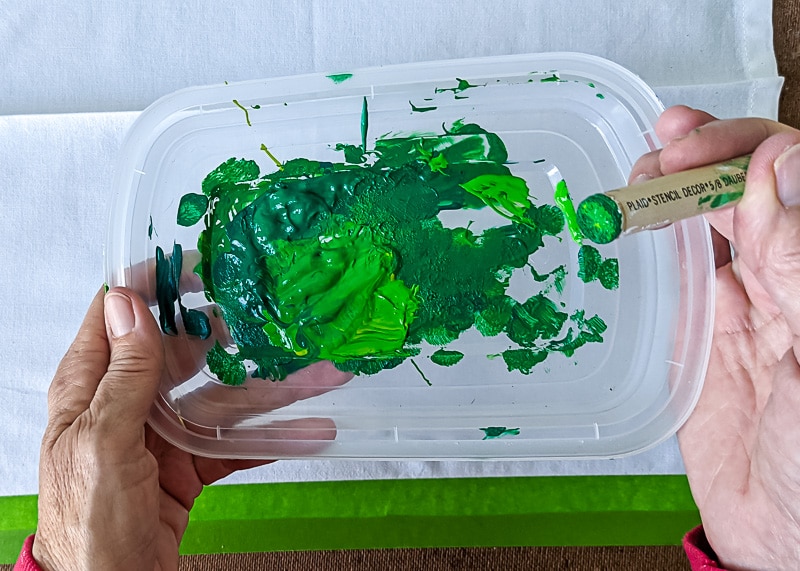
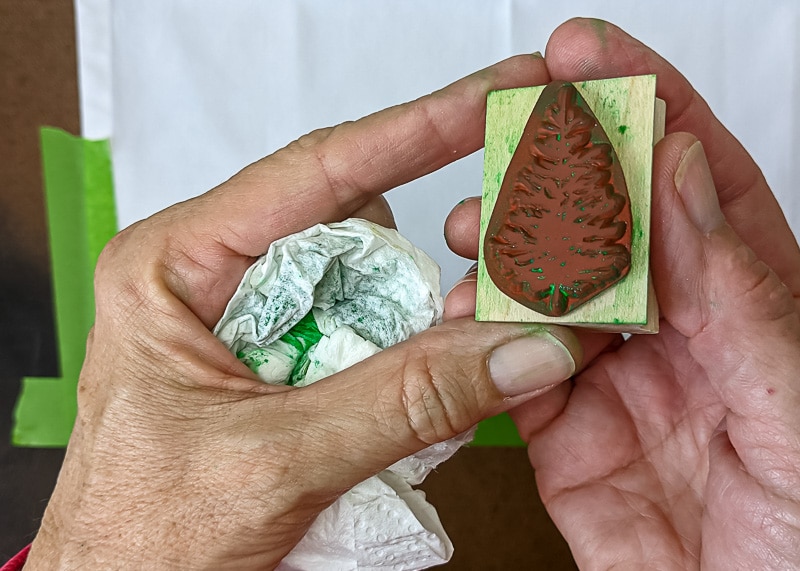
Dip your dauber in the paint, being mindful to use as little as possible. Don’t saturate the dauber.
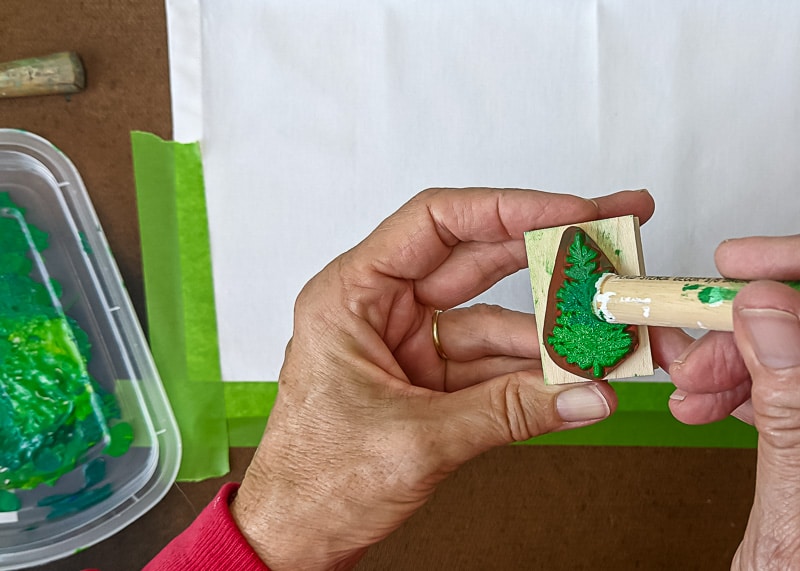
Use your dauber to lightly apply a thin layer of paint to the stamp. Once again, use just enough to cover the stamp, but don’t saturate it. You definitely want to keep the detail of the stamp clear.
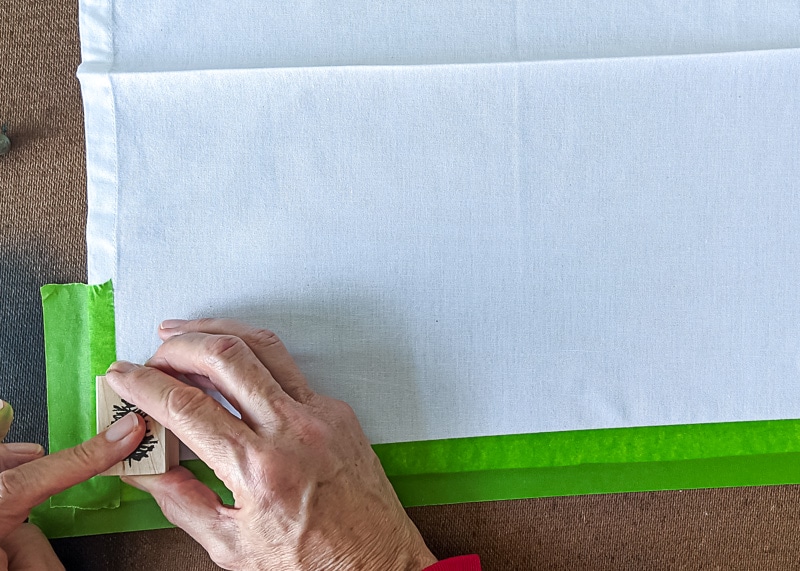
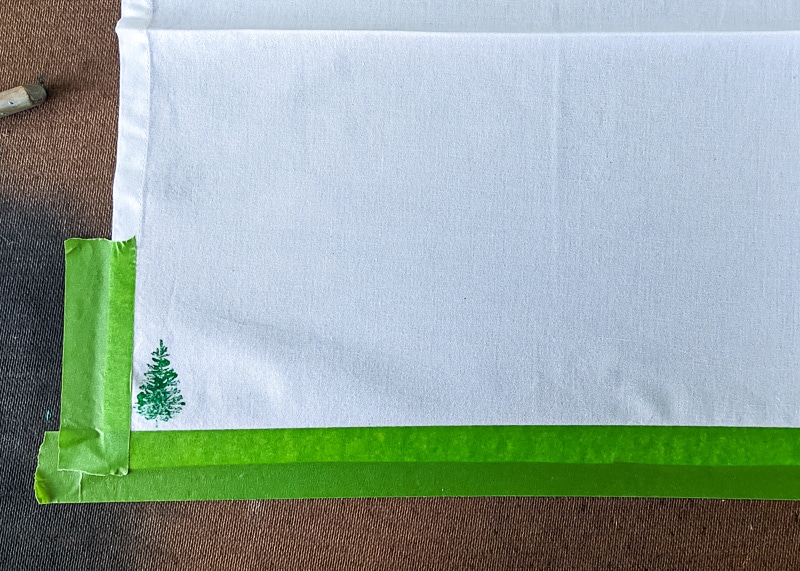
I started in the left-hand corner of the napkin, gently placing my stamp on the fabric. Definitely practice this on a scrap piece of fabric…you need to figure out how much pressure you need to apply to the stamp so that it’s a clear image, but not too much that you ‘flood’ the image.
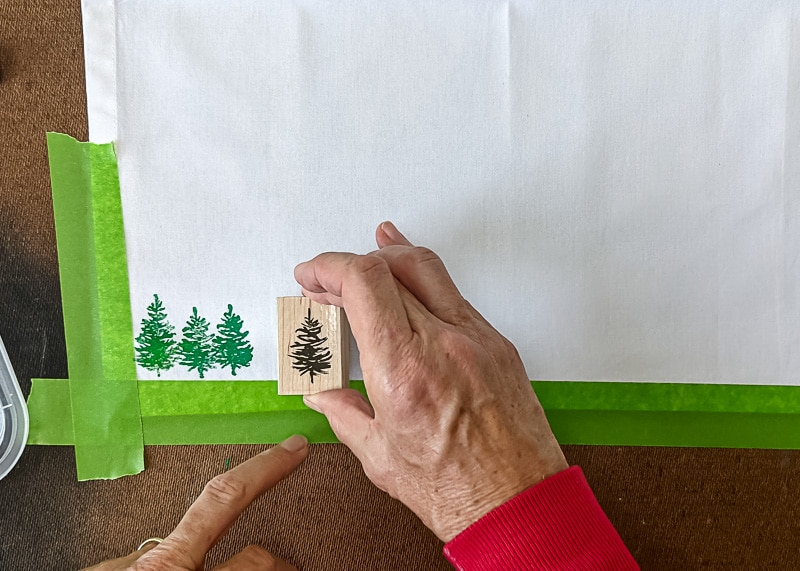
I went back and forth between my stamps; I used one stamp for a time or two and then switch to the second stamp.
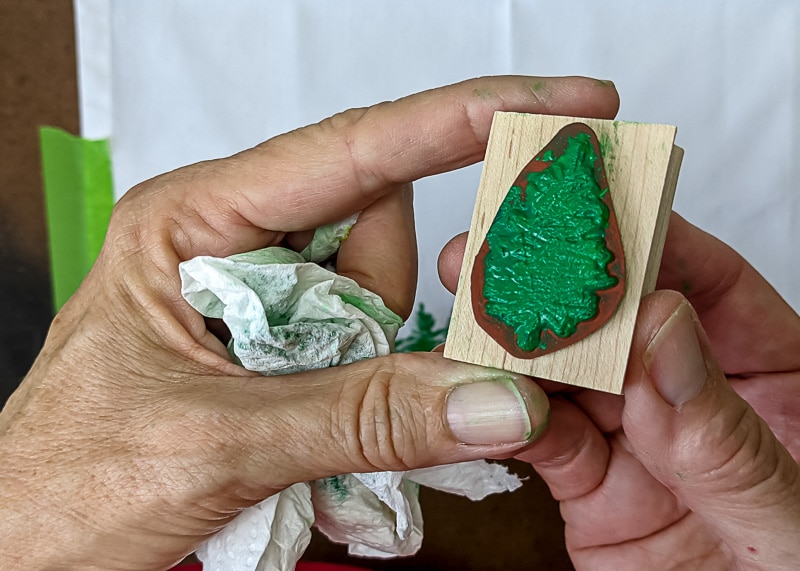
For the best results, you will want to clean your stamp face with water, and if necessary an old toothbrush or scrub brush, when the stamp detail becomes lost. I cleaned my stamp 3-4 times for each napkin.
Simply run it underwater and use your brush to clean out the detail. Then, just use a paper towel to dry it and continue to use it. It will take all of a minute or two to clean it, but you will be very glad that you did.
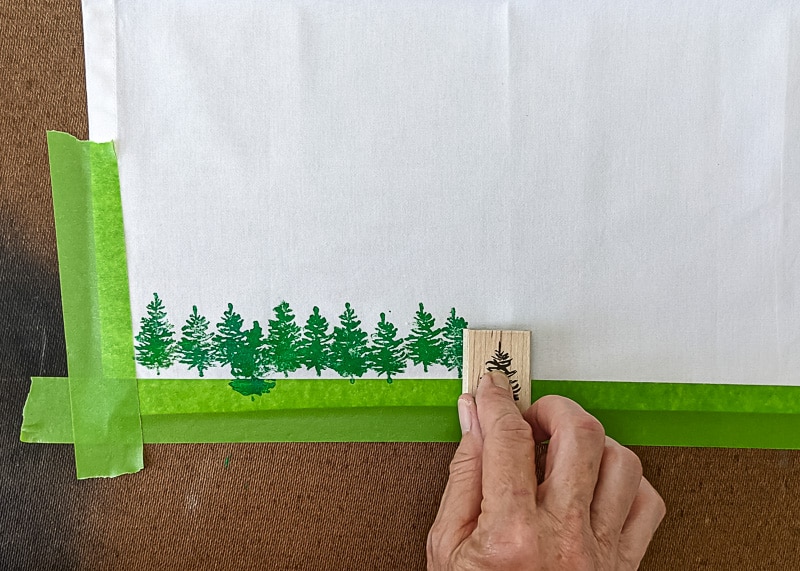
From time to time, drop your stamp lower to create some variation in the height of your trees. Once again, practice this on scrap fabric first.
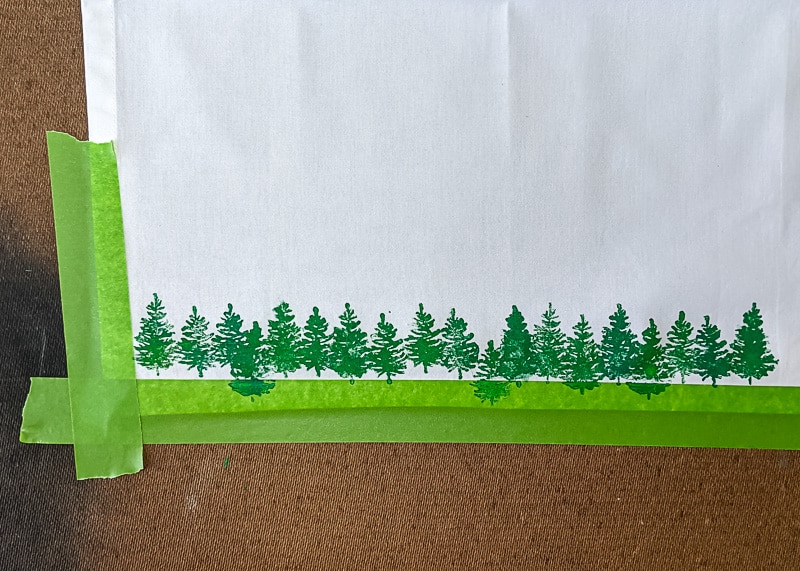
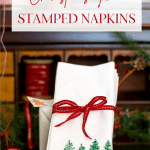
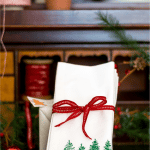
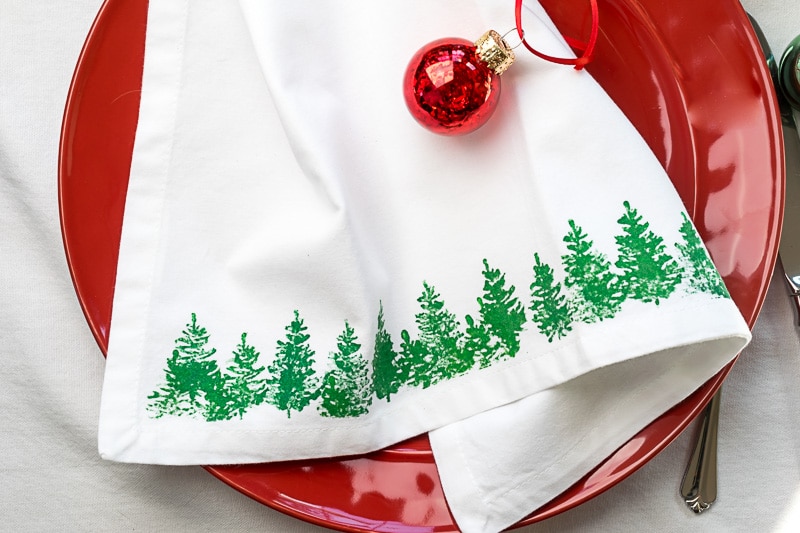
One finished stamped fabric napkin!
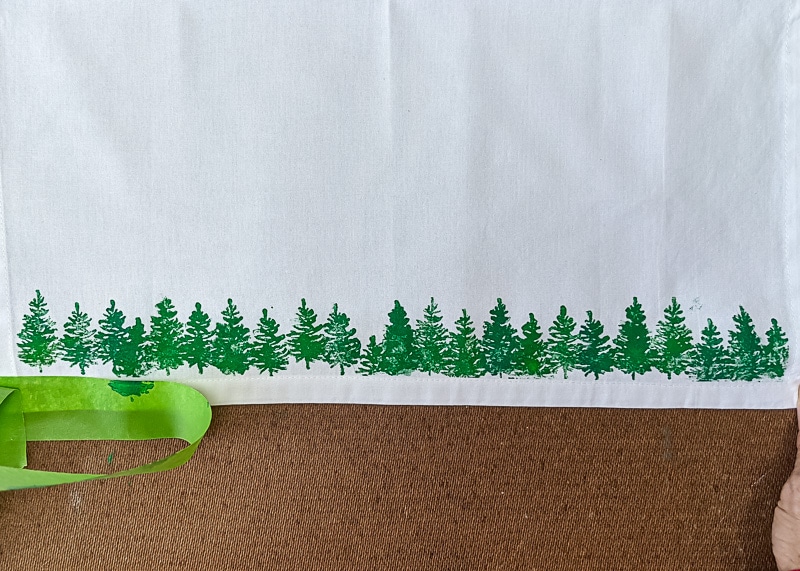
Once you have finished stamping your napkin, let it dry for a full 72 hours, and then use your iron to heat set it.
Simply heat your iron to the highest setting for the fabric, in this case, I used the cotton setting. Then, without using steam, press your hot iron on a section of the design for 30 seconds, then move on to the next area of stamped fabric.
Once all areas of the design have been heat set, you can wash your stamped fabric napkins on the setting specified for the fabric, though a gentle cycle will prolong the vibrance of the colors.
Bookmark this page or pin the following image to refer back to these Christmas Stamped Fabric Napkins in the future.
Thanks so much for spending a few minutes of your busy day with me!
To ensure you don’t miss future content, pop your email in the pale green box on the right or click here. I usually send one email weekly, so I won’t inundate your inbox. I’m sensitive to an overflowing email inbox!
We will only use your email address to send you emails, no more than 1-2 weekly. In addition, you will have access to my growing library of knit & crochet patterns and other printables. Check back often as this library will continue to grow. You can unsubscribe anytime by emailing me or clicking on the “unsubscribe” link at the bottom of all emails.
And you can access many of the products I refer to on my Nourish and Nestle Amazon Page. You can access it here.
So, if you’d like to participate in the ‘subscriber benefit’ action, simply subscribe to Nourish and Nestle here or use the form on the right sidebar. It’s slightly towards the top.
I have sent all my subscribers the link to the Subscriber Benefits Library. If you missed it or misplaced it, let me know.
Until next time…