The Crosshatch Trellis Crochet Scarf Pattern: free PDF
This Crosshatch Trellis Crochet Scarf pattern is worked in three separate pieces: one large square worked in the round for the center, and two triangles worked back and forth for the sides. Once all three pieces are done, you seam them together and finish the whole thing off with a scalloped edge. It seems like a lot of steps, but each piece comes together quickly.
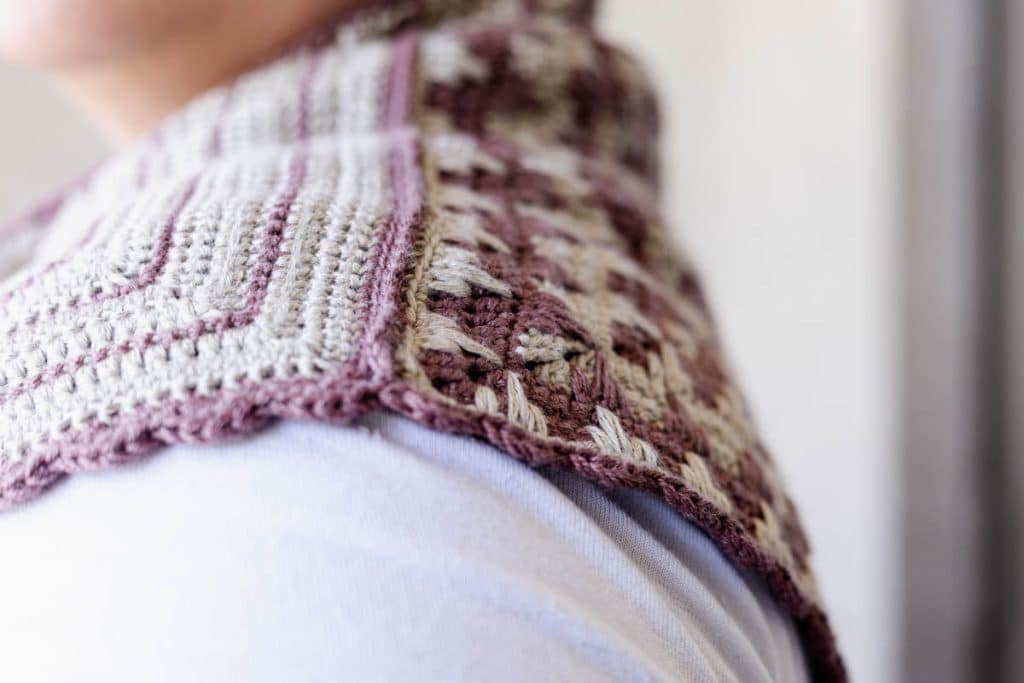
Table of Contents
The Stitch That Makes It
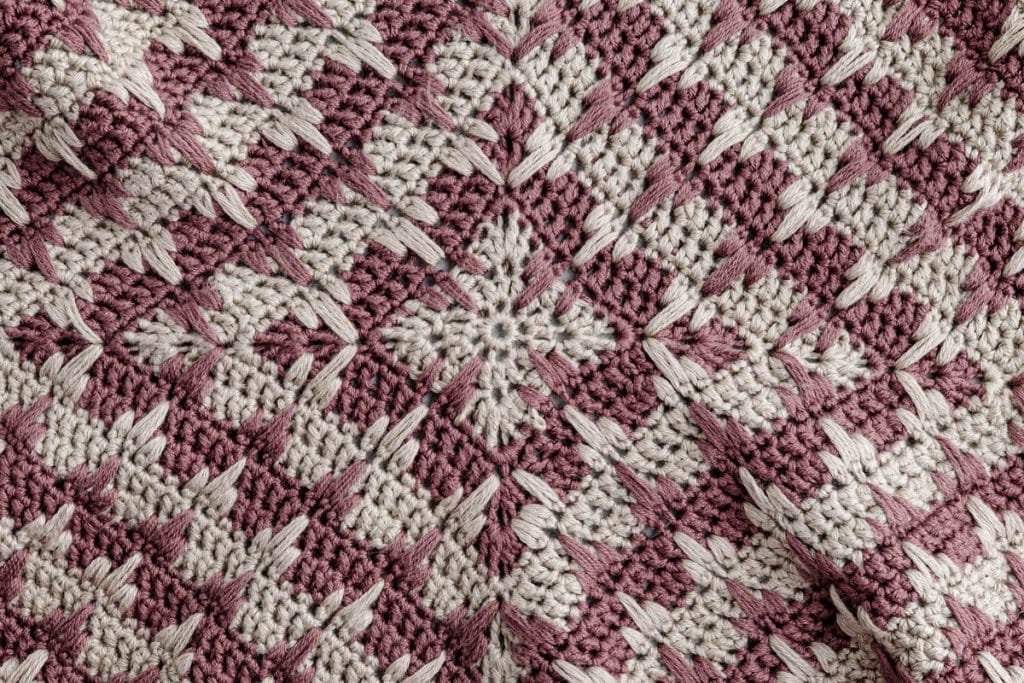
The center square of this Crochet Scarf Pattern gets its texture from a modified spike stitch. Instead of a plain single crochet, you pull up an elongated loop from a stitch several rows below, which is what creates the crosshatch look running through the fabric. It sounds fussy written out, but once you’ve made two or three of them, your hands pick up the rhythm fast. And you just can’t beat the lovely pattern/texture it creates!
Gauge and Final Measurement of this Crochet Scarf Pattern
The gauge is 24 stitches and 18 rows to 4 inches, and the finished scarf comes out to about 42 inches long and 18 inches wide — long enough to wrap and knot, but not so bulky it takes over your whole coat.
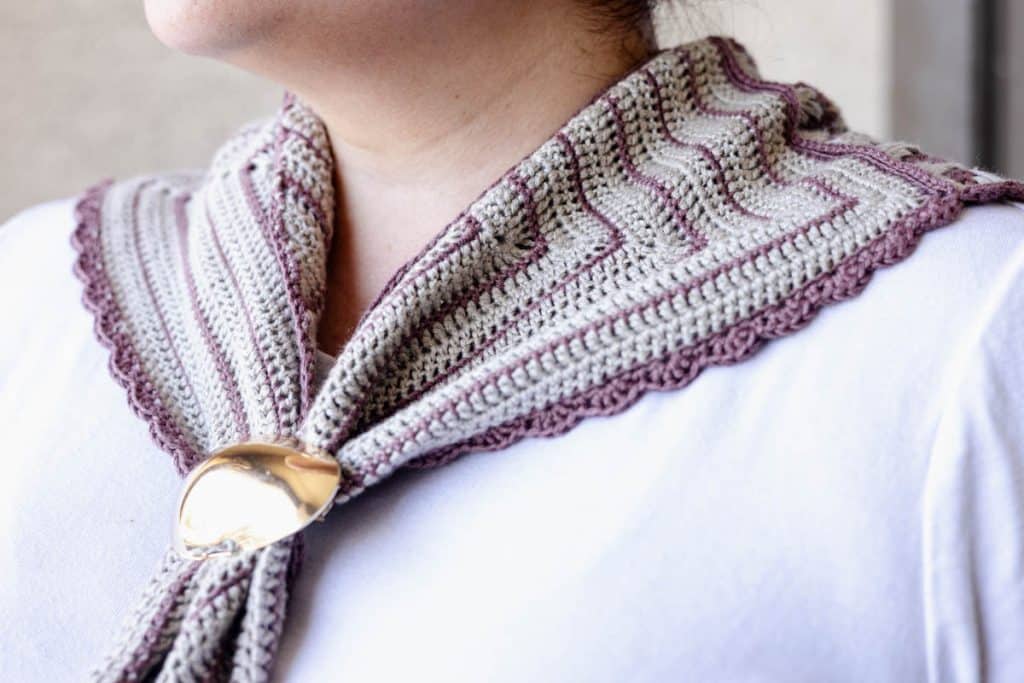
Crosshatch Trellis Scarf Pattern
Materials
Some of these links may be Amazon affiliate links and I may earn a small commission from the sale of these products to help defray the costs of operating this site, but the price you are charged is not affected. You can see my full disclosure policy here.
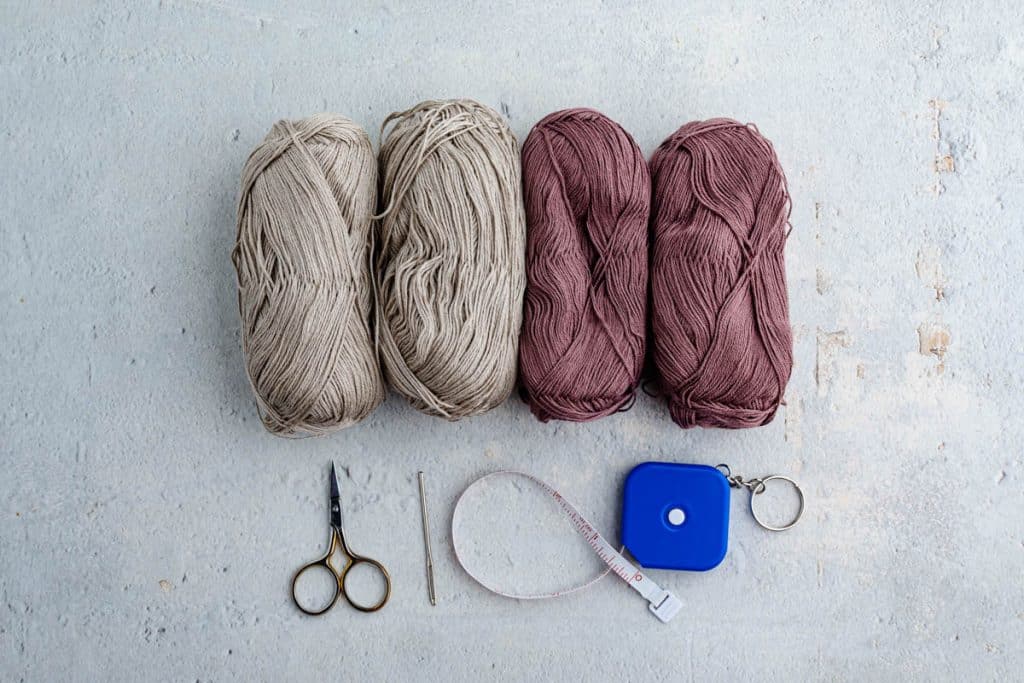
- 3.0 mm crochet hook
- Category 1 (super fine, fingering, sock, or baby weight) yarn in 2 colors, held double throughout — approximately 170 g / 680 yards total. Approximately 360 yards for Color 1 and 320 yards for Color 2)
- Tapestry needle
- Measuring tape
- This free Crosshatch Trellis Crochet Scarf Pattern is available in this post below and as an ad-free printable PDF for subscribers. You can find the pattern in the Miscellaneous section of the Library (your super secret password is included at the bottom of every Monday’s Newsletter email) or email me, and I’ll send it to you. Not a subscriber? C’mon—we’d love to have you. A subscription costs nothing and gives you access to all our printables and pattern PDFs. Click here to have the Crosshatch Trellis Crochet Scarf pattern directly emailed to you.
Construction
The crosshatch trellis scarf is worked in three pieces: one large square worked in the round for the center piece and two triangles worked back and forth for the sides. The three pieces are then sewn together and finished with a scalloped edge.
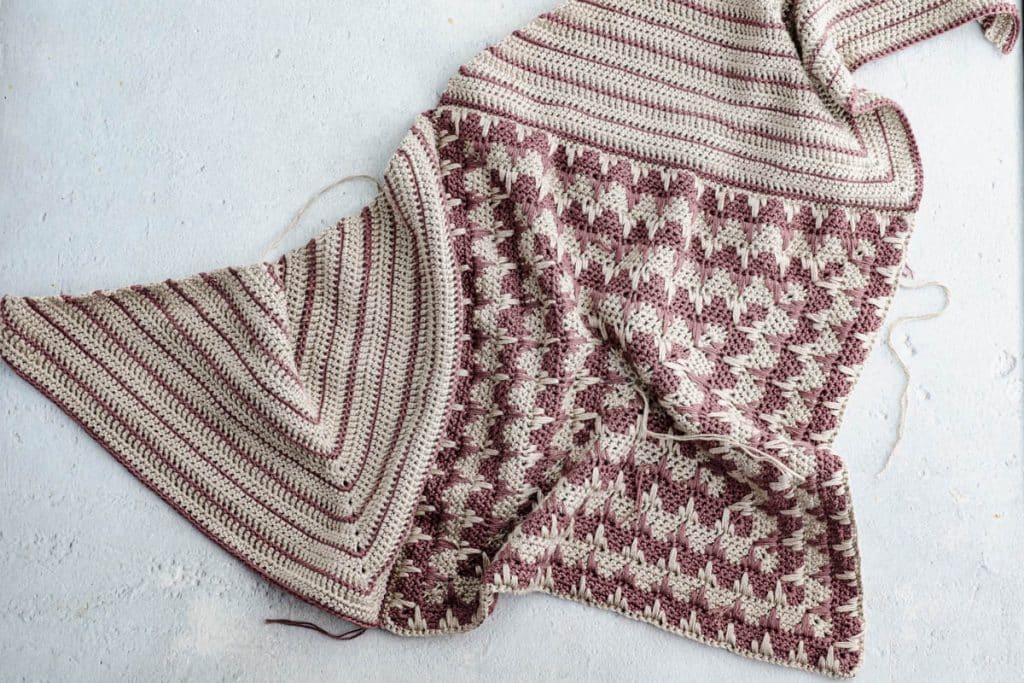
Abbreviations Used in this Crosshatch Trellis Crochet Scarf Pattern
ch – chain | dc – double crochet | sc – single crochet | sl st – slip stitch | sp – space | st(s) – stitch(es) | BLO – back loop only | yo – yarn over
Special Stitch
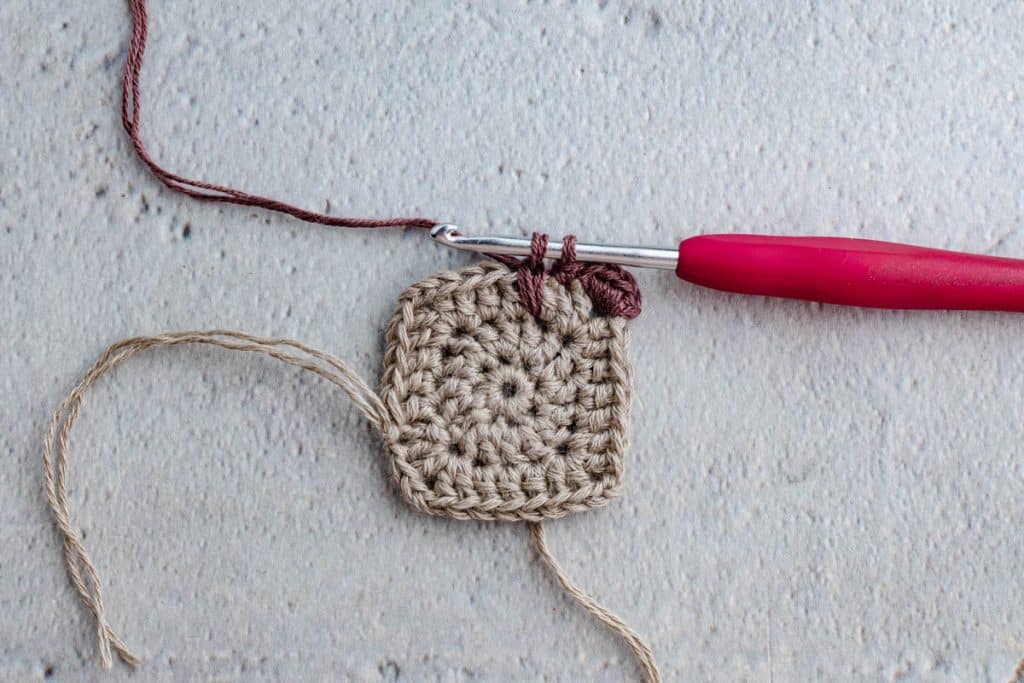
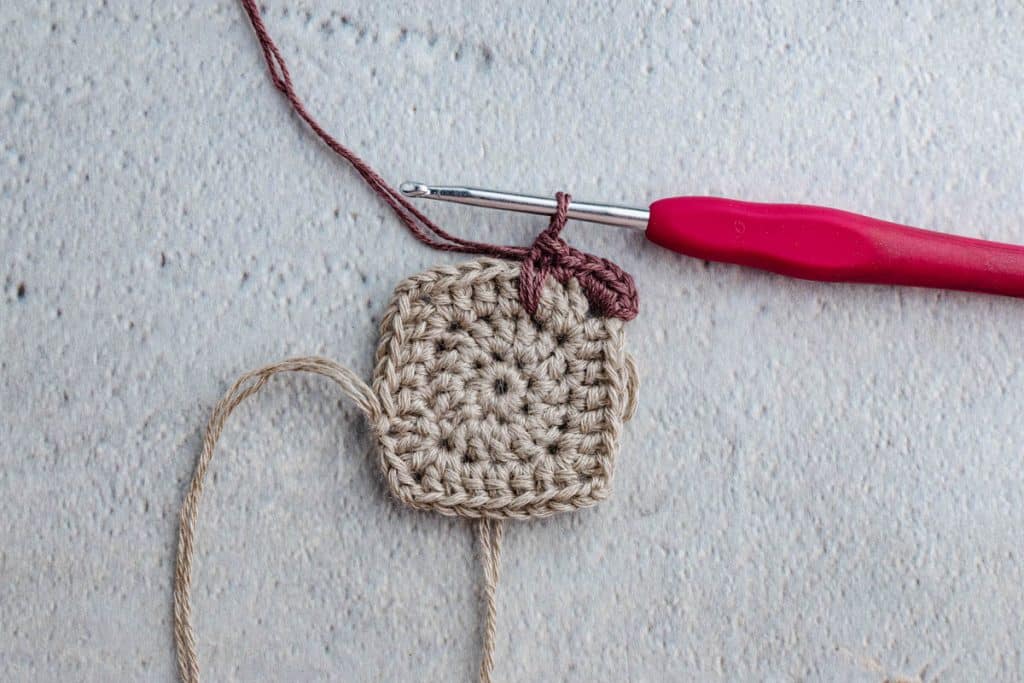
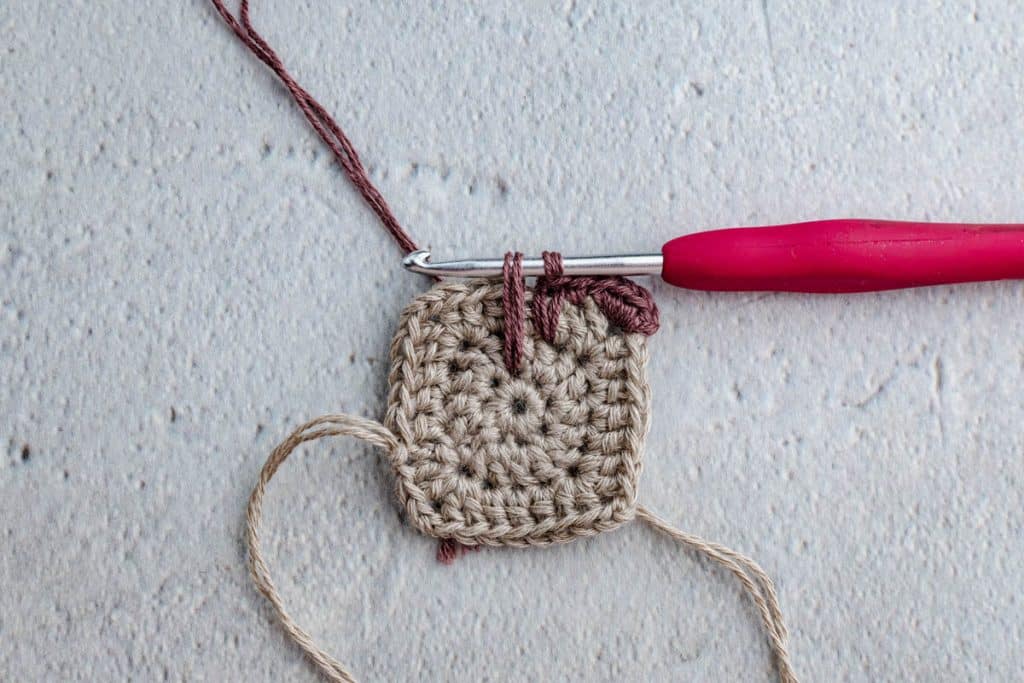
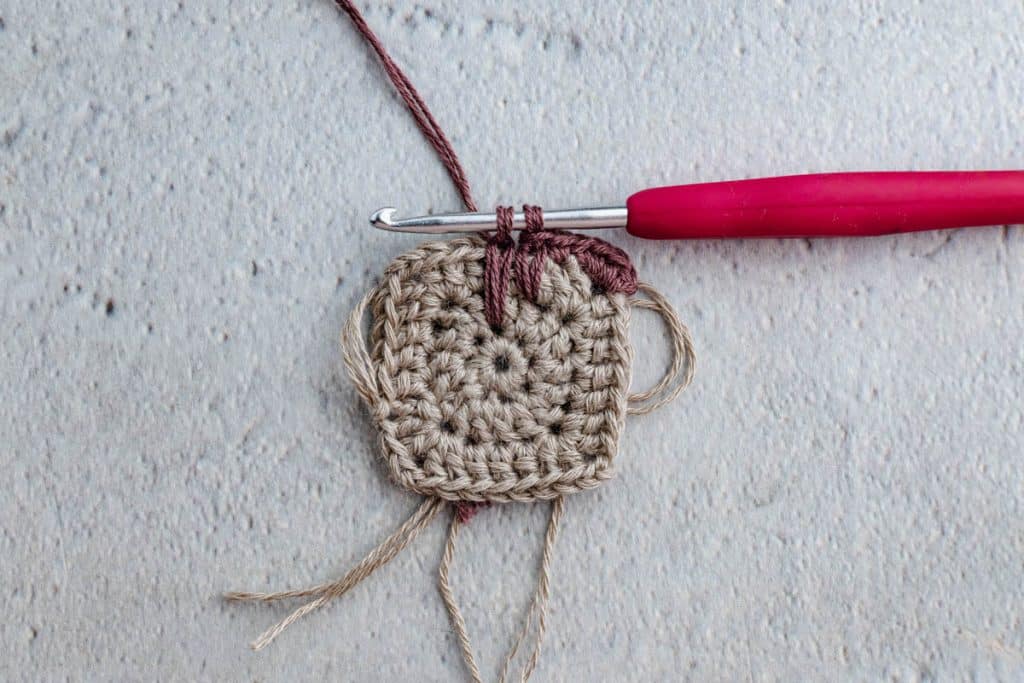
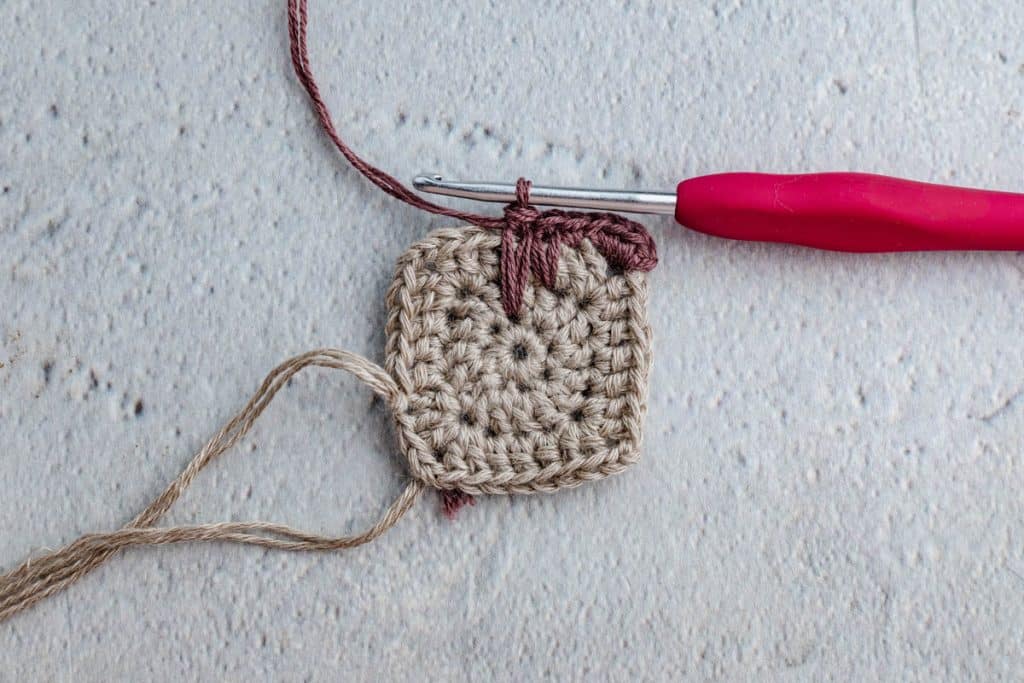
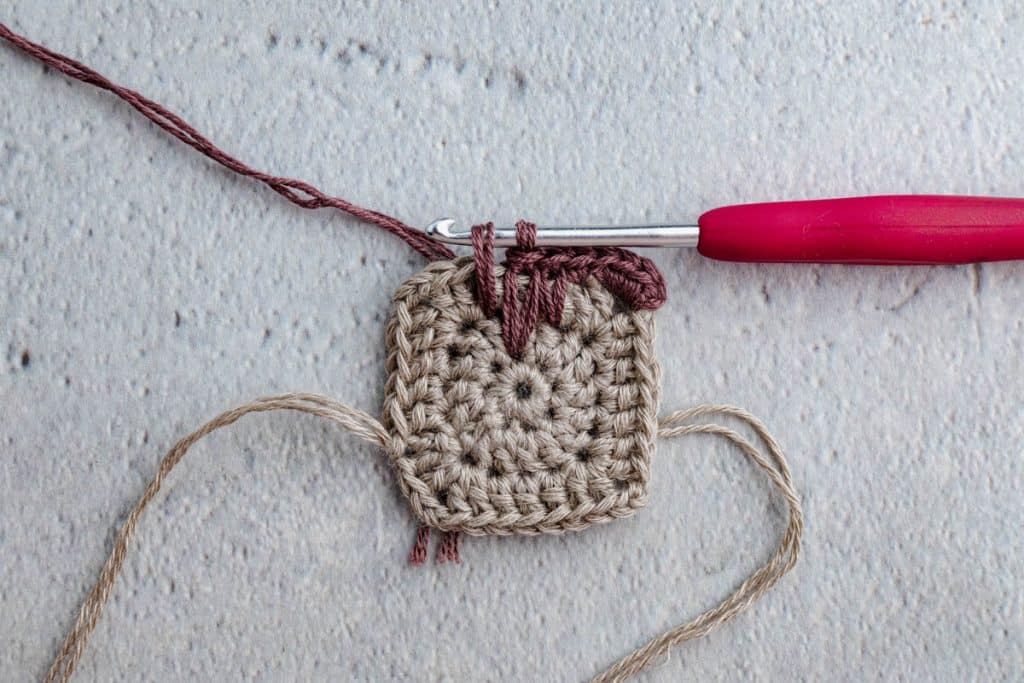
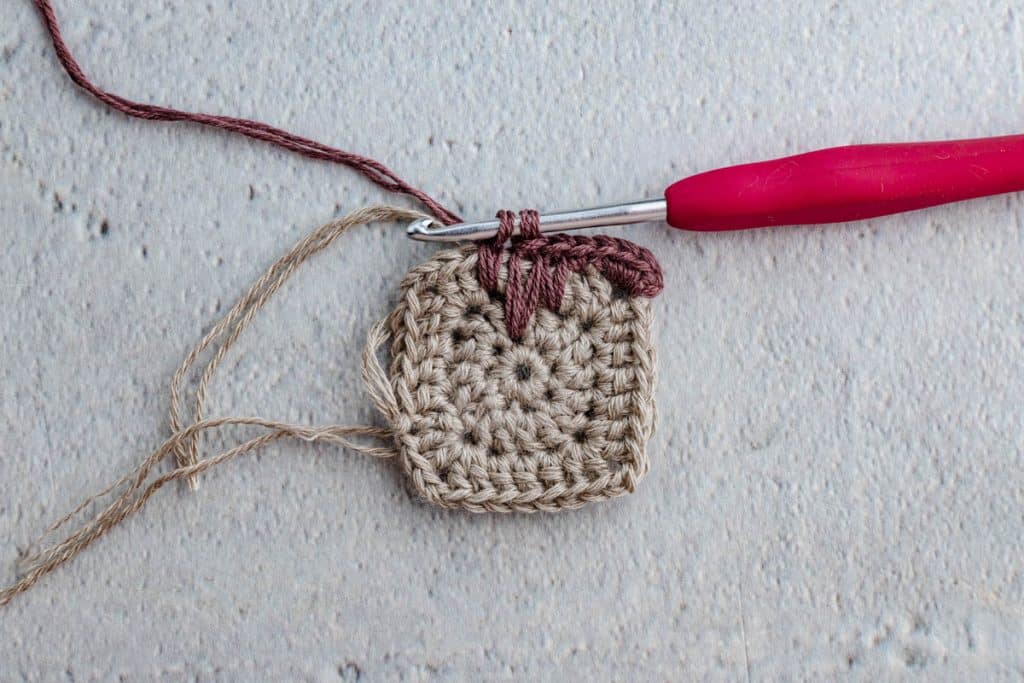
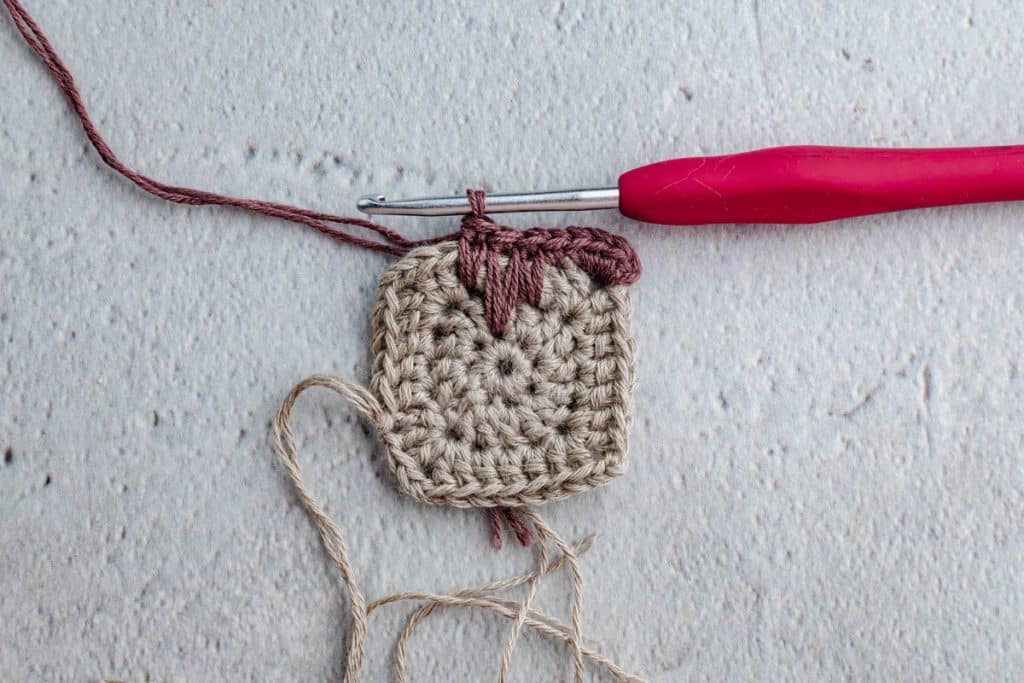
Modified Spike Single Crochet (modified spike sc):
- Insert your hook into the row indicated in the pattern and pull up a loop to the height of the current row.
- Yo and pull through the first loop on your hook. Two loops remain on the hook.
- Yo and pull through both loops to complete the modified spike sc.
This modification keeps the elongated stitch at the current row’s height while creating the defined spike effect used throughout the center square.
How to Make the Modified Spike Stitch
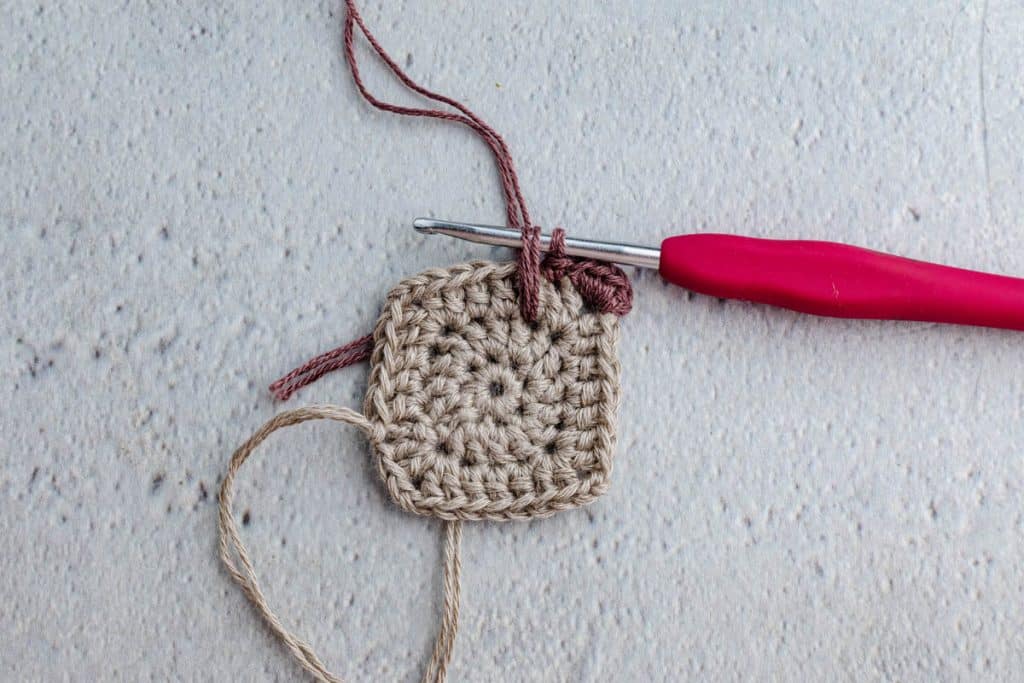
Center Square
Color 1 — Base Rounds
Round 1: With Color 1, work 8 sc into a magic circle. Join with a sl st to the first sc and tighten the tail to close. (8 sc)
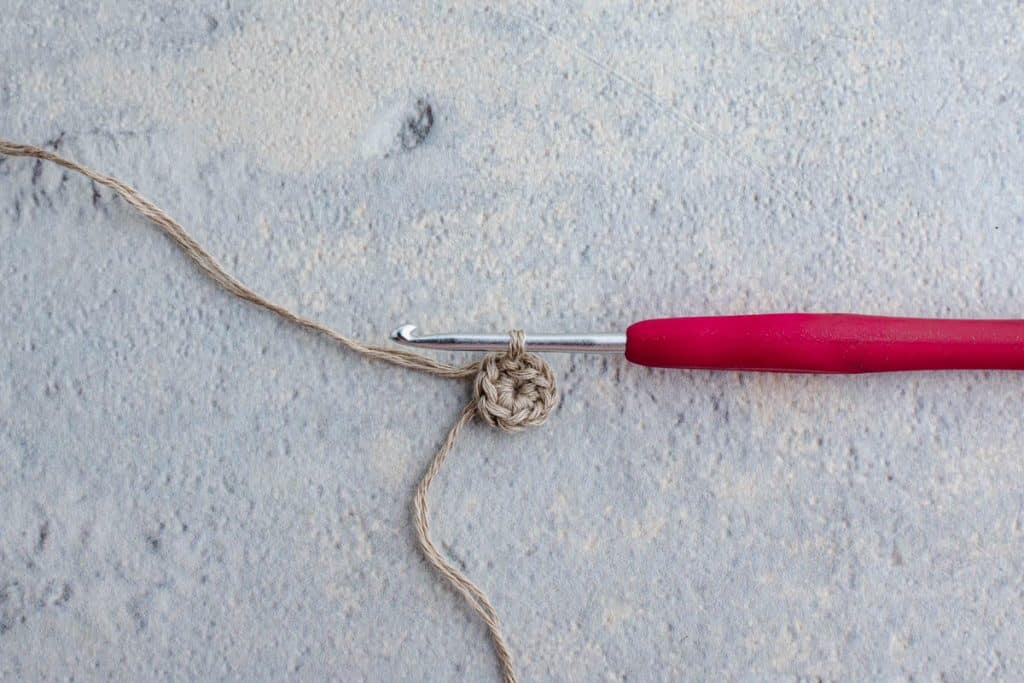
Round 2: Ch 2; this does not count as the first dc. Work 2 dc into each sc around. Join with a sl st to the first dc. (16 dc)
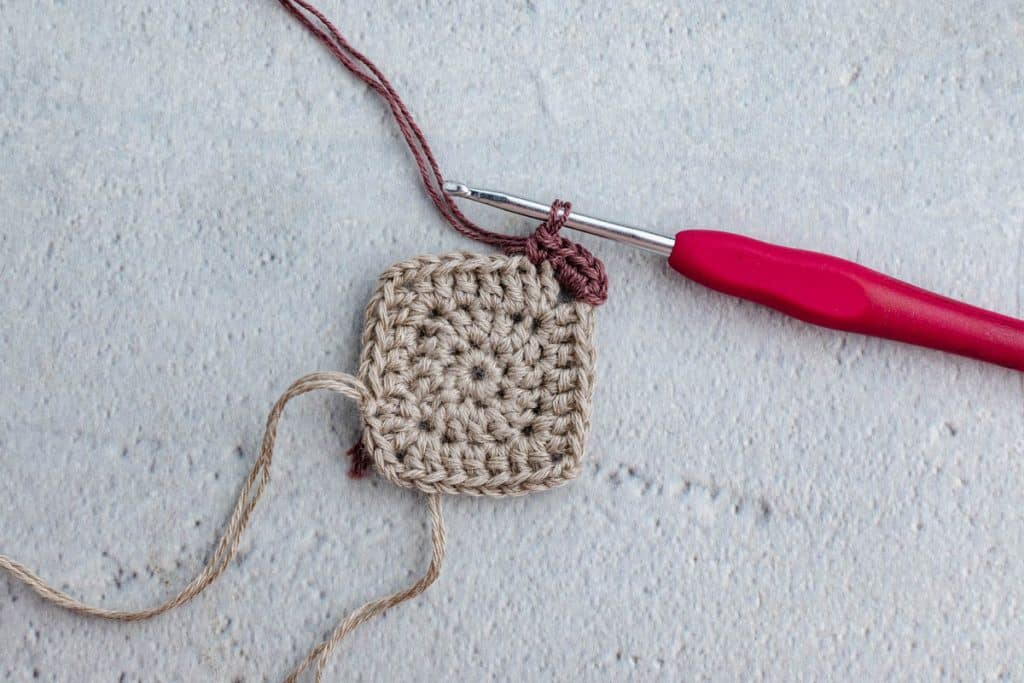
Round 3: Ch 2; this does not count as the first dc. Work (2 dc, ch 2, 2 dc) into the first dc, dc in each of the next 3 dc. *(2 dc, ch 2, 2 dc) in the next dc, dc in each of the next 3 dc; repeat from * around. Join with a sl st to the first dc. You should now have four ch-2 spaces marking the four corners of the square. Fasten off Color 1.
Color 2 — Modified Spike Sc Round
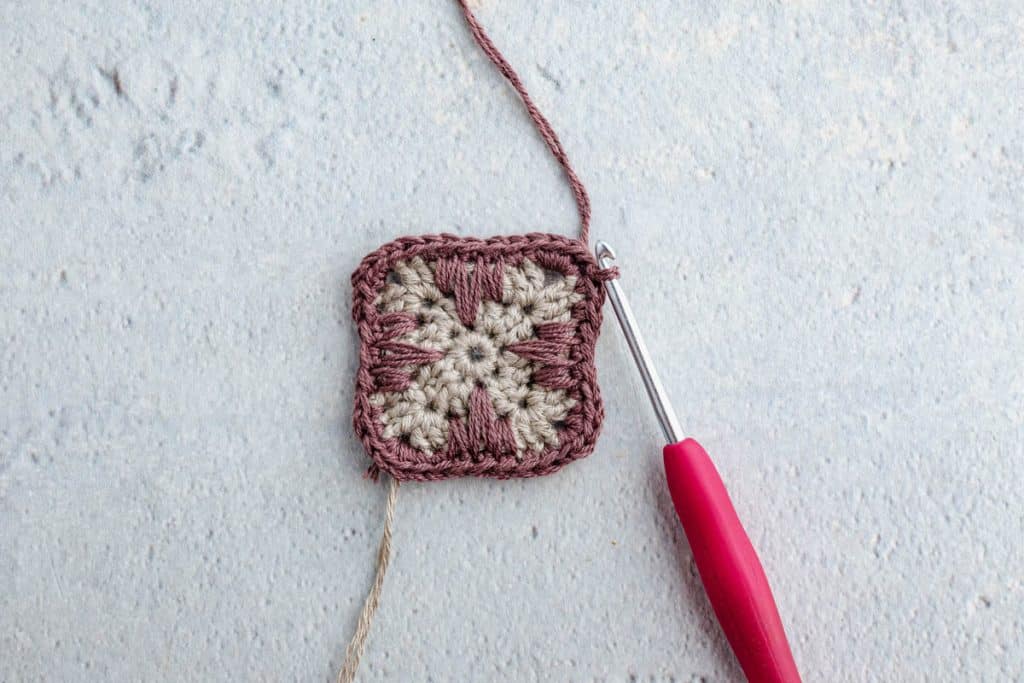
Join Color 2 in any ch-2 corner sp. Work 3 sc into the same ch-2 sp. Sc in each of the next 2 sts.
Over the next 3 sts, work the modified spike stitches as follows:
- Modified spike sc 1 row below
- Modified spike sc 2 rows below
- Modified spike sc 1 row below
Sc in each remaining st until you reach the next ch-2 corner sp. *Work 3 sc in the ch-2 corner sp. Sc in the next 2 sts, work the 3-st modified spike sequence, then sc in each remaining st to the next corner; repeat from * around. Join with a sl st to the first sc. Do not fasten off.
Double Crochet Rounds
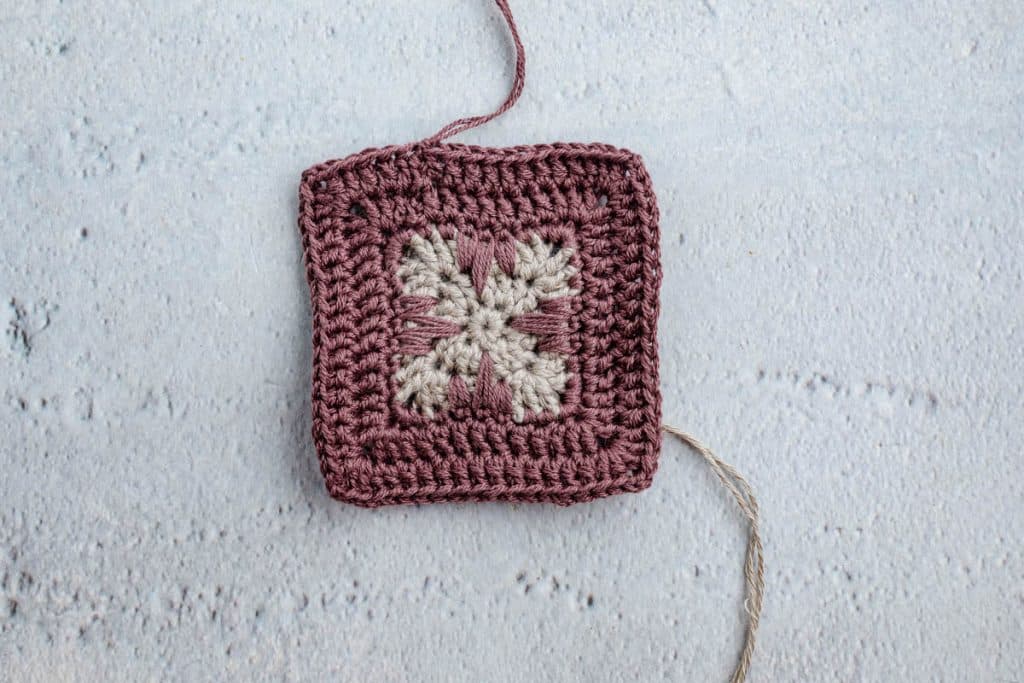
Round 1: Ch 2; this does not count as the first dc. Dc in each st until you reach the center sc of the 3-sc corner. Work (2 dc, ch 2, 2 dc) into the center sc. Continue working dc in each st across each side and (2 dc, ch 2, 2 dc) into the center sc of each 3-sc corner around. Join with a sl st to the first dc.
Round 2: Ch 2; this does not count as the first dc. Dc in each st around, working (2 dc, ch 2, 2 dc) into each ch-2 corner sp. Join with a sl st to the first dc. Fasten off.
Continue the Center Square
Continue repeating the established sequence — 1 sc/modified spike sc round, then 2 dc rounds — changing colors before each new spike sc round. Each spike round keeps the same sequence along every side:
- Modified spike sc 1 row below
- Modified spike sc 2 rows below
- Modified spike sc 1 row below
Work a total of 8 sc/modified spike sc rounds, alternating Color 1 and Color 2. On the 8th round, work in Color 1 only and skip the 2 dc rounds that follow. Fasten off.
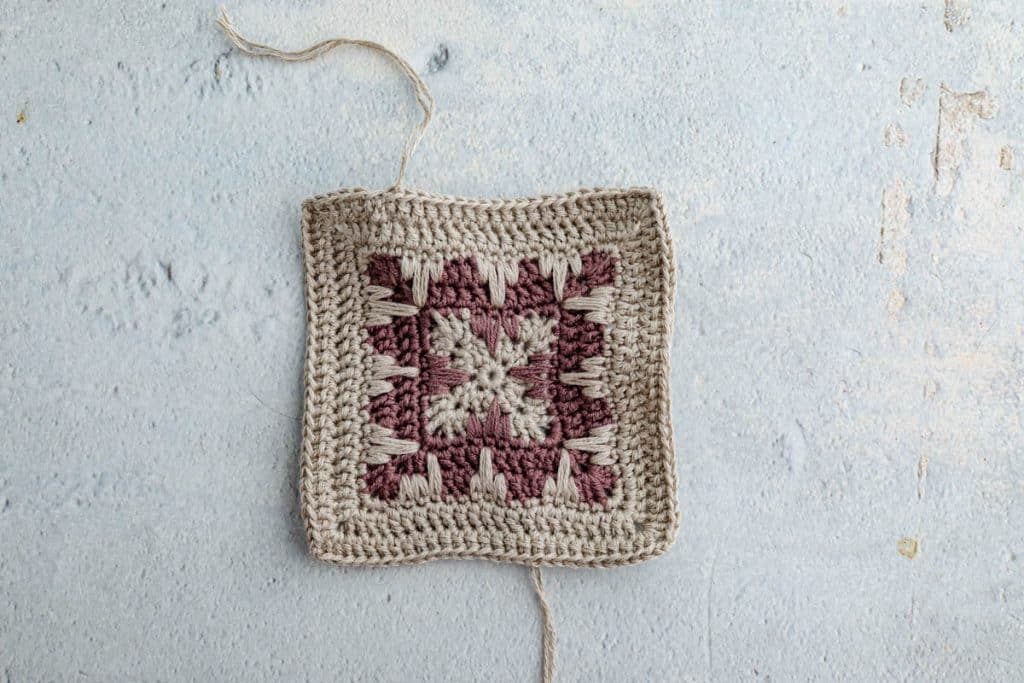
Side Triangles
Make 2.
Row 1: With Color 1, work 4 sc into a magic circle. Close the magic circle, but do not join. The triangles are worked back and forth in rows. Turn. (4 sc)
Row 2: Ch 2; this does not count as the first dc. Work 2 dc in each sc across. Turn. (8 dc)
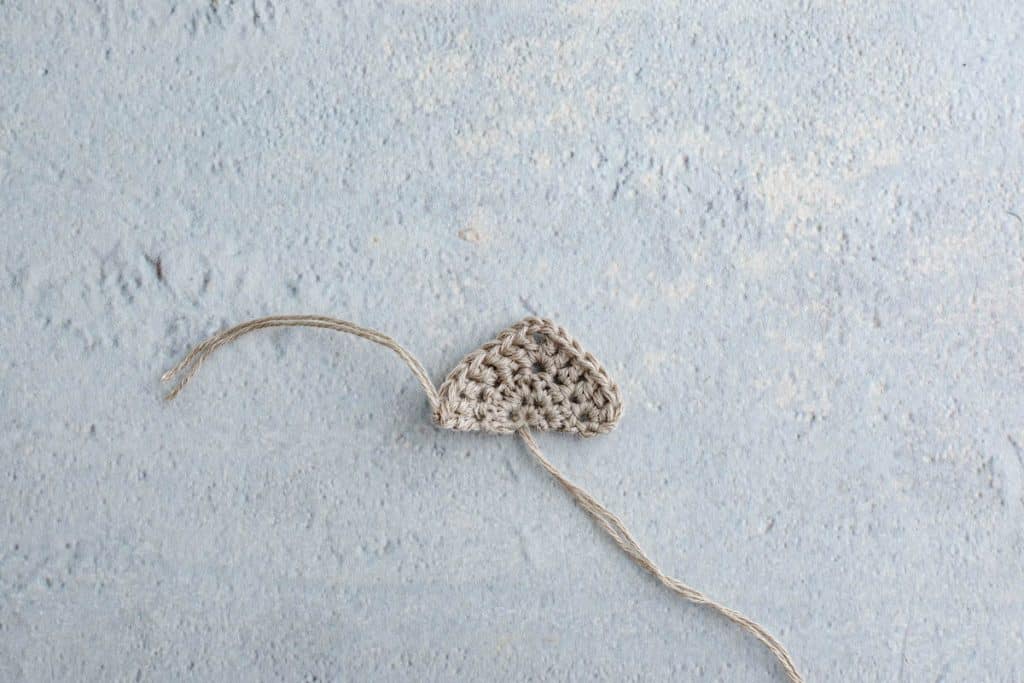
Row 3: Ch 2; this does not count as the first dc. Work 2 dc in the first dc. Dc in each of the next 2 sts. Work (2 dc, ch 2, 2 dc) into the next st to form the center point. Dc in each of the next 3 sts. Work 2 dc in the last st. Fasten off Color 1.
Color 2 — Single Crochet Row
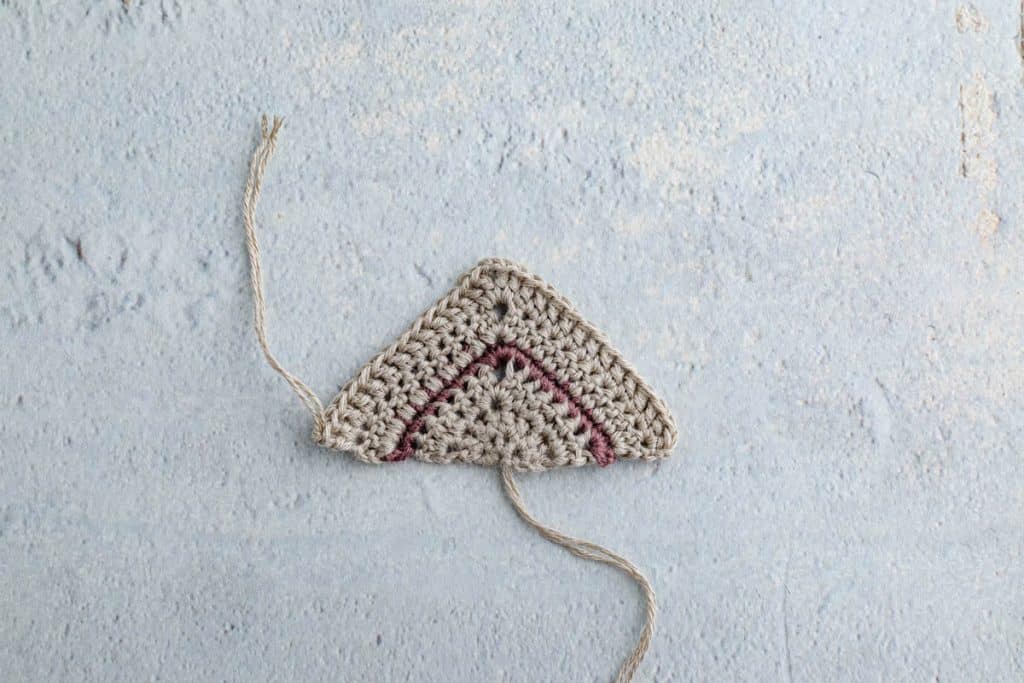
Join Color 2 in the first st. Work 2 sc in the first st. Sc in each st until you reach the ch-2 center sp. Work 3 sc into the ch-2 sp. Sc in each st until the final st. Work 2 sc in the final st. Fasten off.
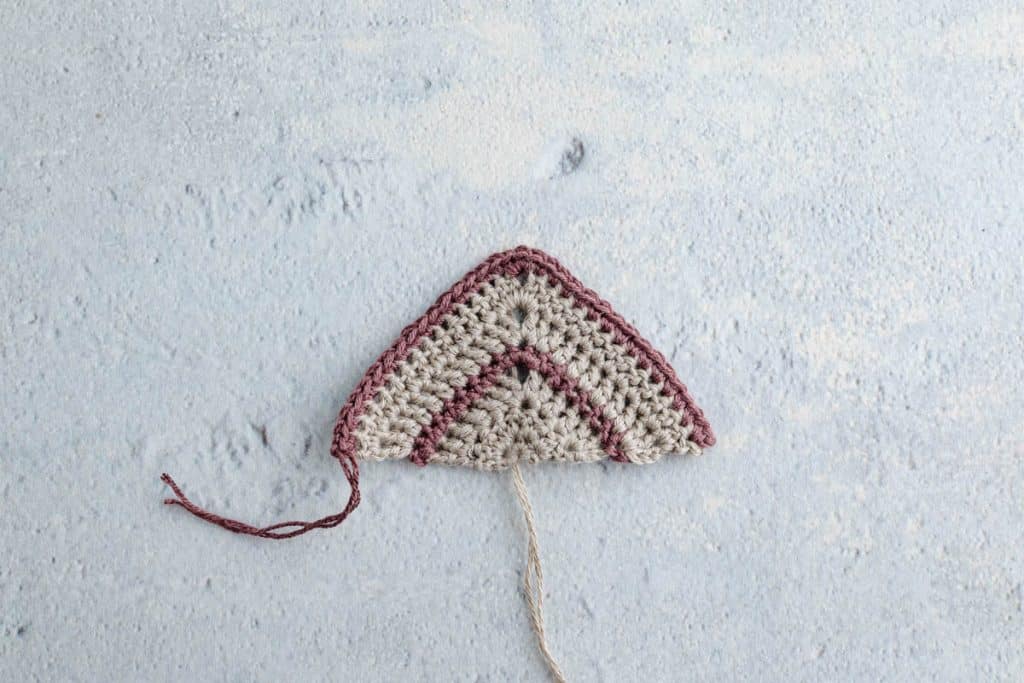
Color 1 — Double Crochet Rows
Row 1: Join Color 1 in the first st. Ch 2; this does not count as the first dc. Work 2 dc in the first sc. Dc in each st until you reach the center sc of the 3-sc center point. Work (2 dc, ch 2, 2 dc) into the center sc. Dc in each st until the final st. Work 2 dc in the final st. Turn.
Row 2: Ch 2; this does not count as the first dc. Work 2 dc in the first st. Dc in each st until you reach the ch-2 center sp. Work (2 dc, ch 2, 2 dc) into the ch-2 sp. Dc in each st until the final st. Work 2 dc in the final st. Fasten off.
Continue the Triangle
Continue working in the established pattern: 2 dc rows followed by 1 sc row. Change colors after each section, alternating Color 1 and Color 2 as established.
For every dc row:
- Work 2 dc in the first st.
- Dc in each st to the center point.
- Work (2 dc, ch 2, 2 dc) at the center point.
- Dc in each st to the final st.
- Work 2 dc in the final st.
For every sc row:
- Work 2 sc in the first st.
- Sc in each st to the center point.
- Work 3 sc at the center point.
- Sc in each st to the final st.
- Work 2 sc in the final st.
Continue in this manner until you have worked 10 sc rows total, ending with an sc row in Color 2. Fasten off. Repeat all instructions to make the second triangle.
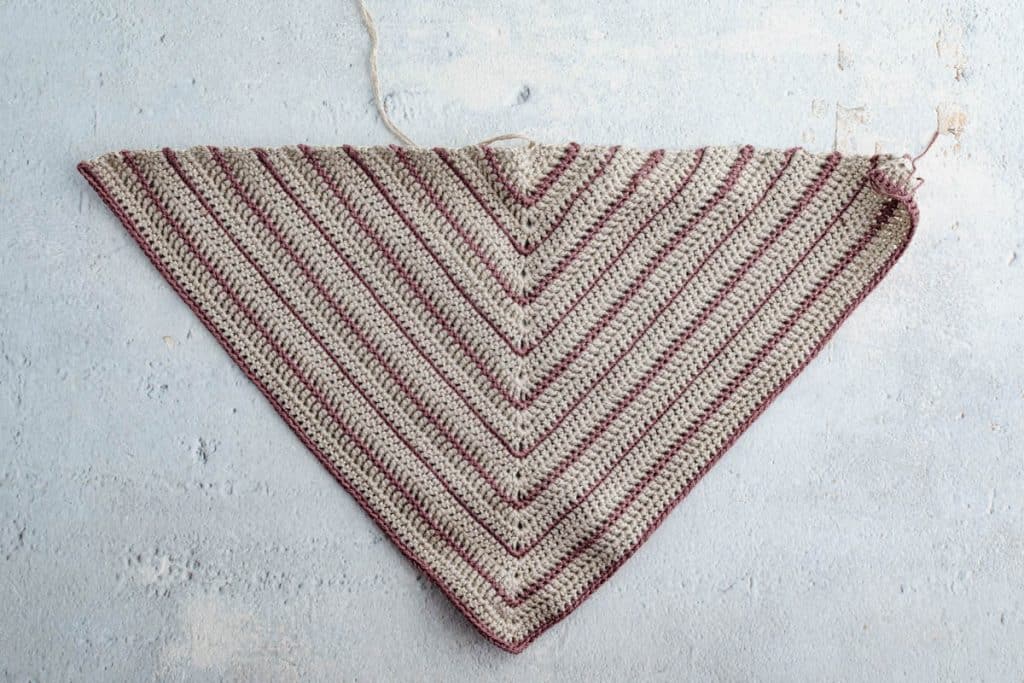
Assembling the Crosshatch Trellis Crochet Scarf
Before seaming, check that the stitch counts along the sides of the center square and the short edges of the triangles are the same or very similar. Minor differences can be distributed evenly while seaming.
The seam is worked with a tapestry needle, through the back loops only (BLO) of both pieces:
- Line up the short side of one triangle with one side of the center square, with wrong sides facing each other.
- Beginning at the center stitch of the 3-sc corner, join the yarn through the back loops of both pieces.
- Sc through the BLO of both pieces across the seam, matching the stitches as evenly as possible. Fasten off.
Repeat with the second triangle on the opposite side of the square.
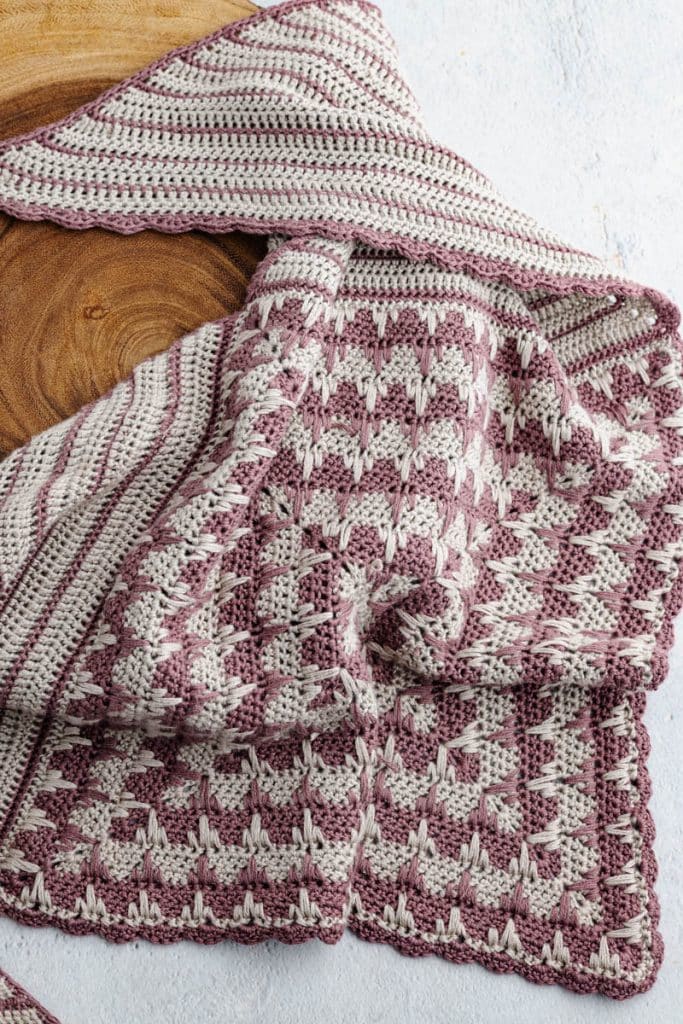
Scalloped Edge
Join Color 2 at the bottom corner of the center square, then work the edge as follows:
- Work 3 sc into the same st, then sc in the next st.
- *Skip 1 st, work 3 dc into the next st, skip 1 st, sc in the next st; repeat from * along the lower edge until you reach the outer corner of the scarf.
- Work 3 sc into the center sc of the 3-sc corner.
- Work sc evenly across the straight top edge, working approximately:
- 2 sc into the side of each dc row
- 1 sc into the side of each sc row
- Adjust the spacing slightly as needed so the edge lies flat without pulling or ruffling.
- At the opposite outer corner, work 3 sc into the center sc of the 3-sc corner.
- Continue the scalloped edging along the remaining lower edge: *Skip 1 st, work 3 dc into the next st, skip 1 st, sc in the next st; repeat from * until you return to the bottom center corner.
- Join with a sl st. Fasten off and weave in all remaining ends.
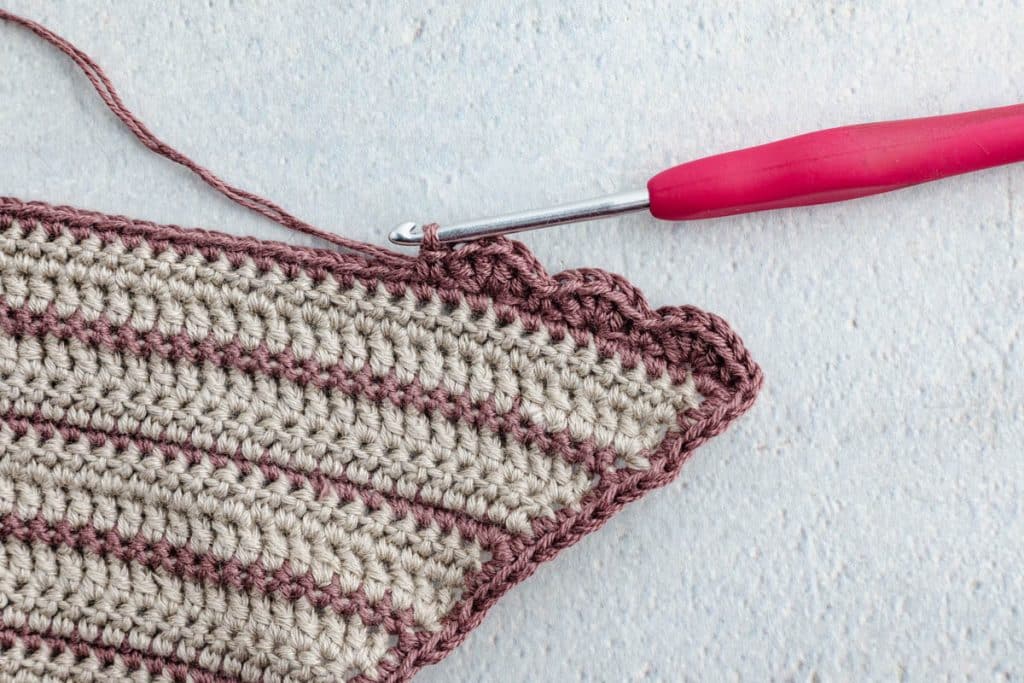
Finishing
Pin your crosshatch trellis scarf to the desired shape and measurements and gently steam block to flatten and open the fabric. Do not place the iron directly onto the yarn. For easier finishing, weave in your yarn tails as you work by crocheting over them whenever possible.
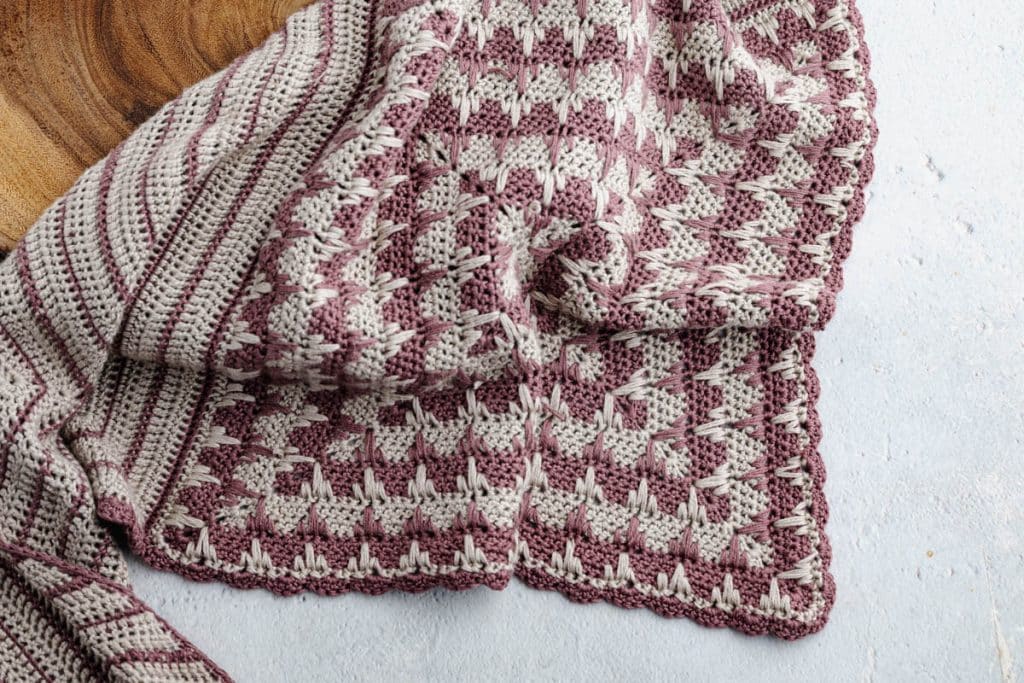
Related Patterns
If you enjoyed this Crosshatch Trellis Crochet Scarf Pattern, you may also like several of our other crochet patterns. Scroll through to see which patterns are calling your crochet hook!
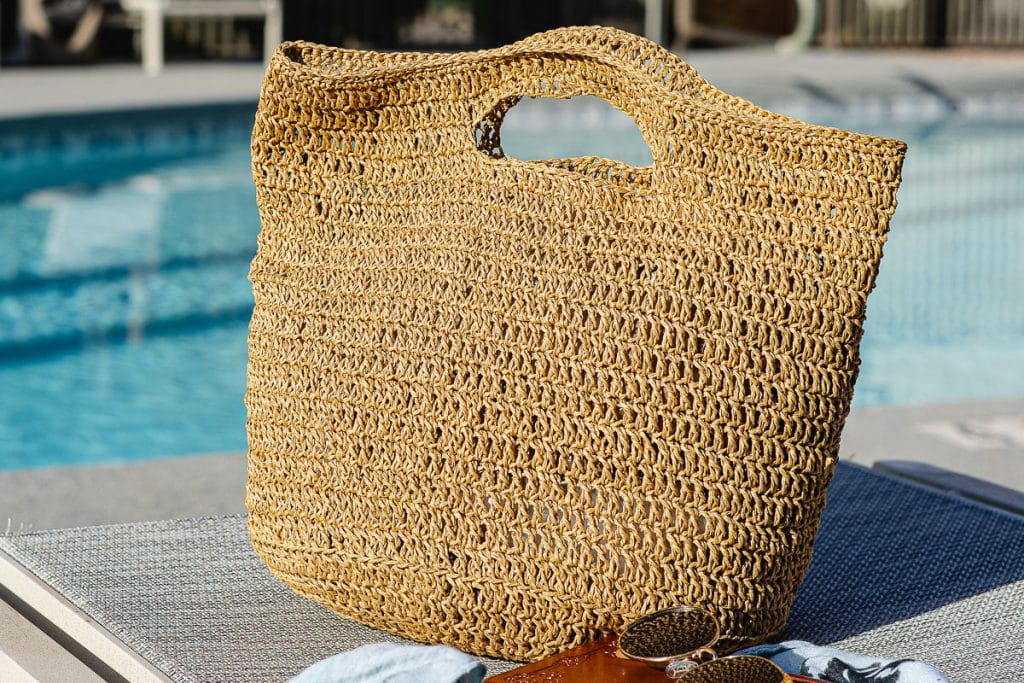
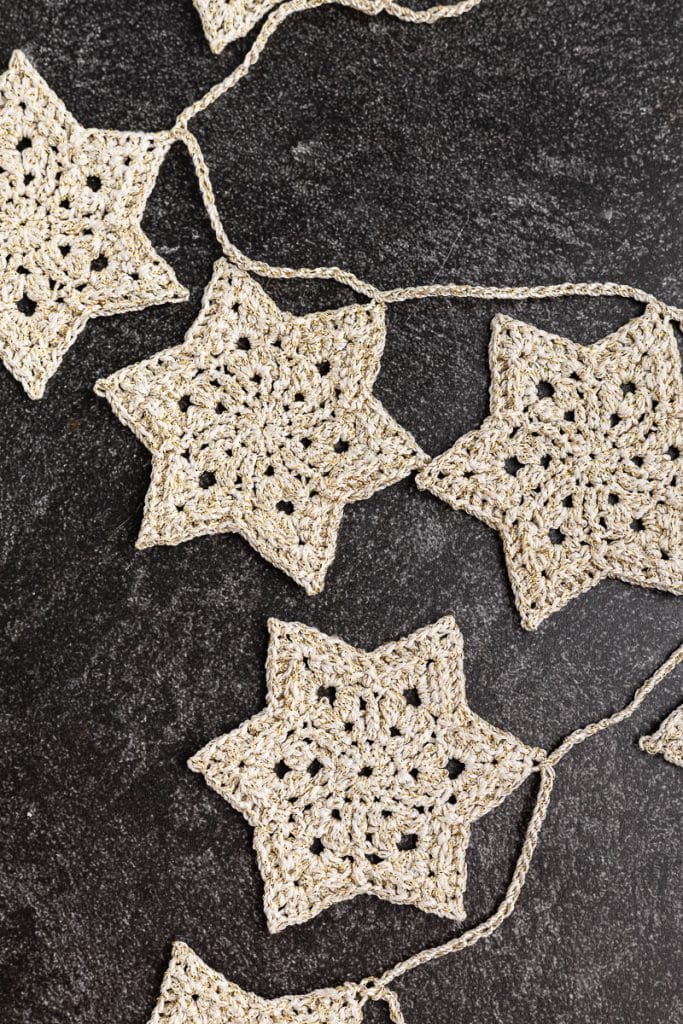
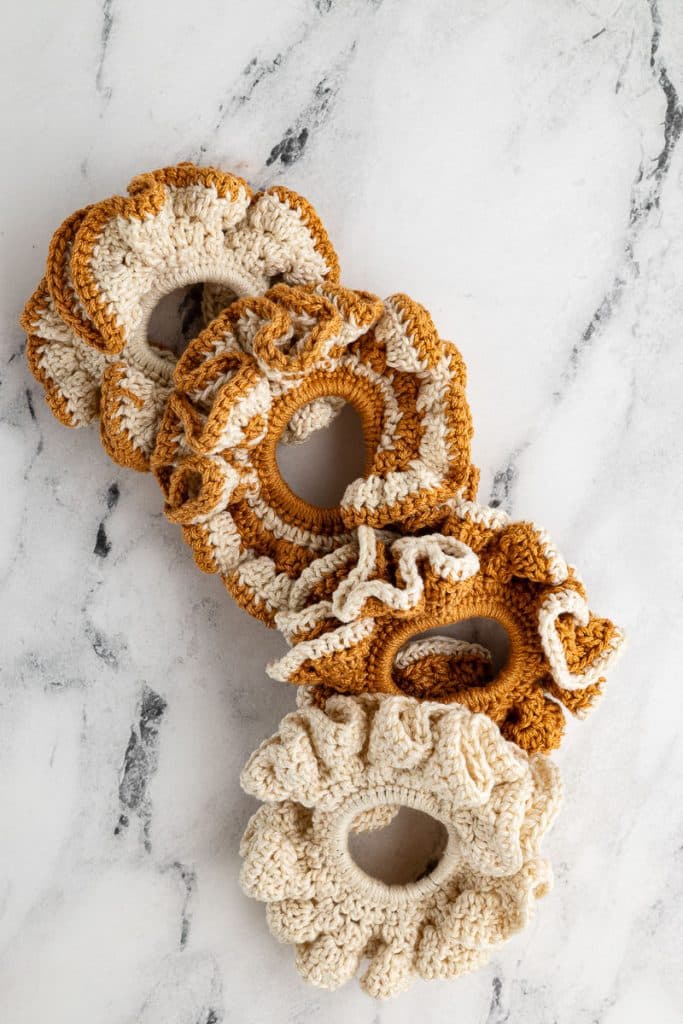
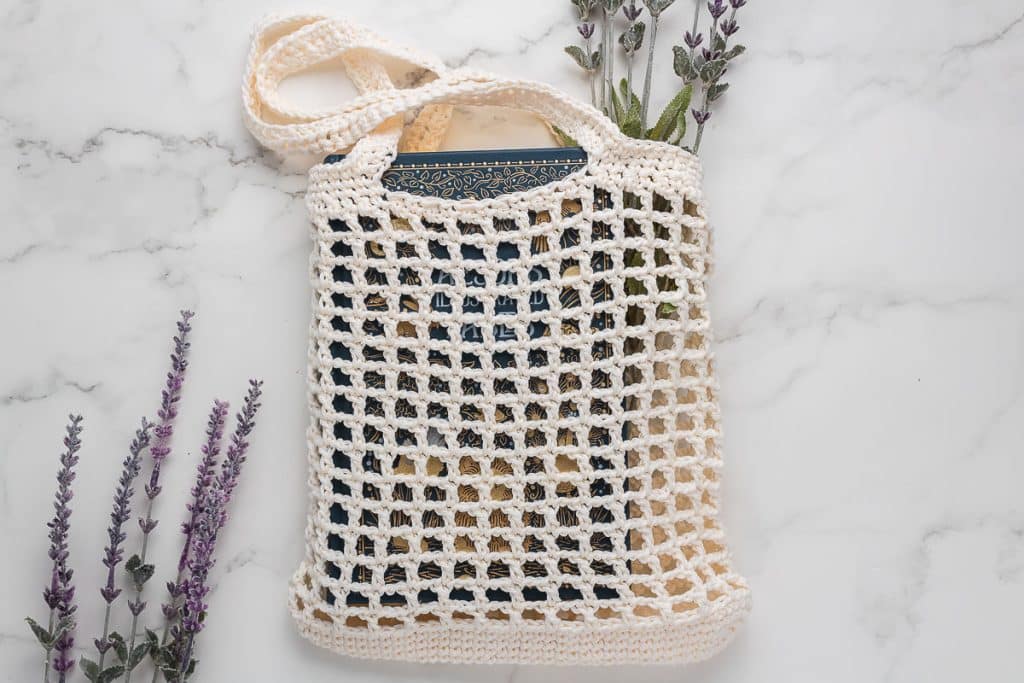
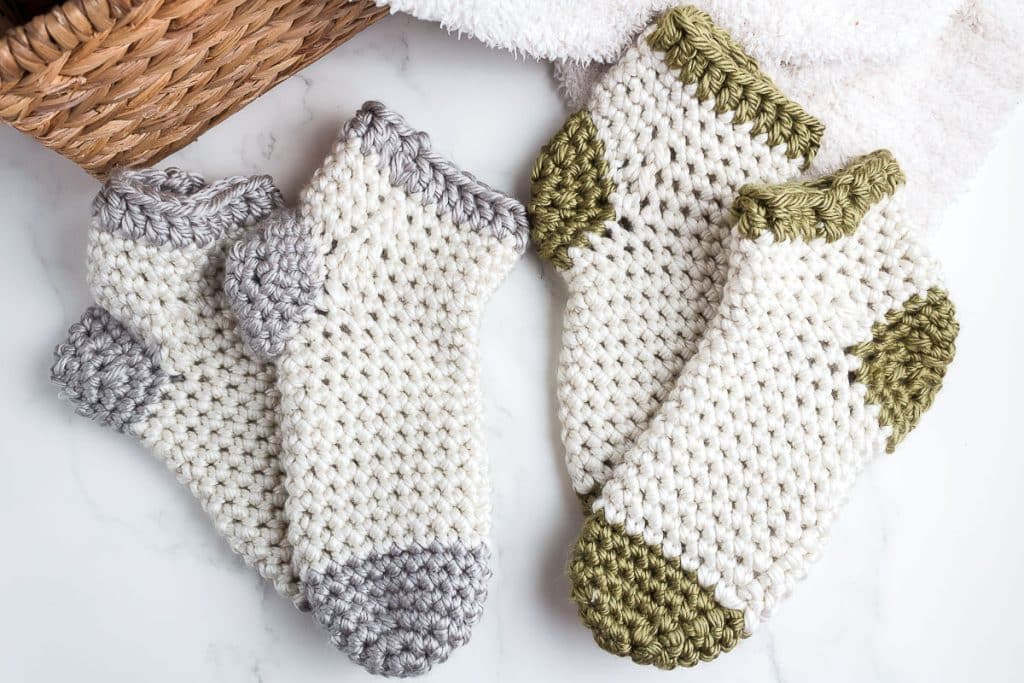
I have a few other crochet patterns here, if you want to keep going. My crochet beach bag, worked up in raffia, is one of my favorite warm-weather makes, and the crochet market bag is the sturdy, everyday version of that same idea. For quicker projects, the crochet scrunchies and crochet stars are both great ways to use up scraps, and the crochet socks and crochet purse are two of the most-repeated patterns in my house.
So, there you go my friends. I hope you enjoy making this Crosshatch Trellis Crochet Scarf, either to keep for your use or to give to someone special.
Thanks so much for spending a few minutes of your busy day with me!
To ensure you don’t miss future content, pop your email in the pale green box on the right or click here. I usually send one email weekly, so I won’t inundate your inbox. I’m sensitive to an overflowing email inbox!
We will only use your email address to send you emails, no more than 1-2 weekly. In addition, you will have access to my growing library of knit & crochet patterns and other printables. Check back often as this library will continue to grow. You can unsubscribe anytime by emailing me or clicking on the “unsubscribe” link at the bottom of all emails.
And you can access many of the products I refer to on my Nourish and Nestle Amazon Page. You can access it here.
So, if you’d like to participate in the ‘subscriber benefit’ action, simply subscribe to Nourish and Nestle here or use the form on the right sidebar. It’s slightly towards the top.
I have sent all my subscribers the link to the Subscriber Benefits Library. If you missed it or misplaced it, let me know.
Until next time…