
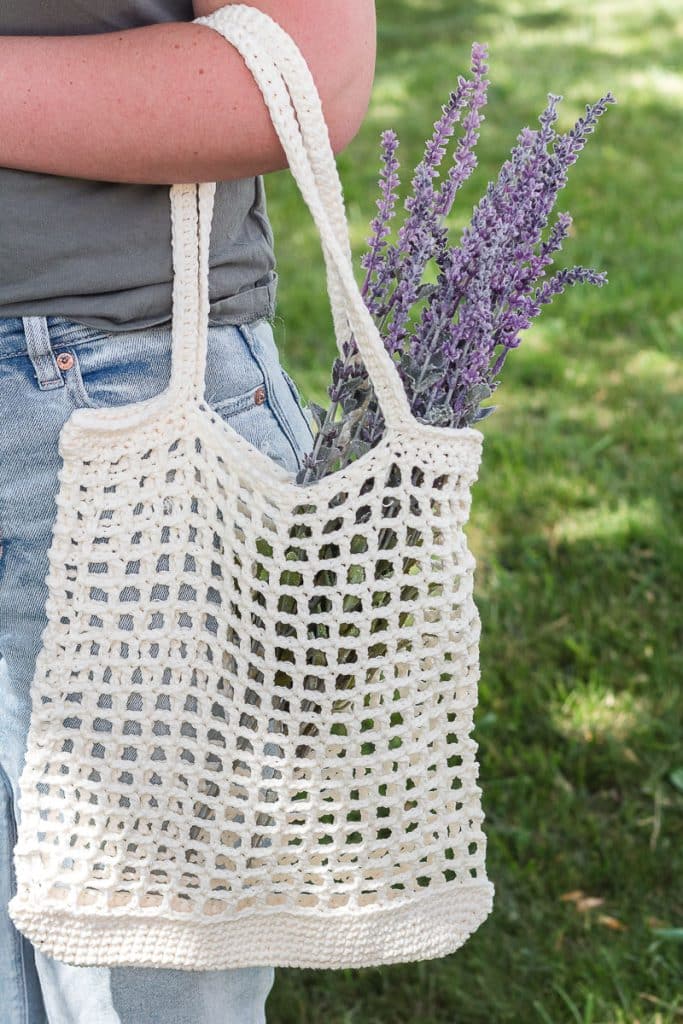
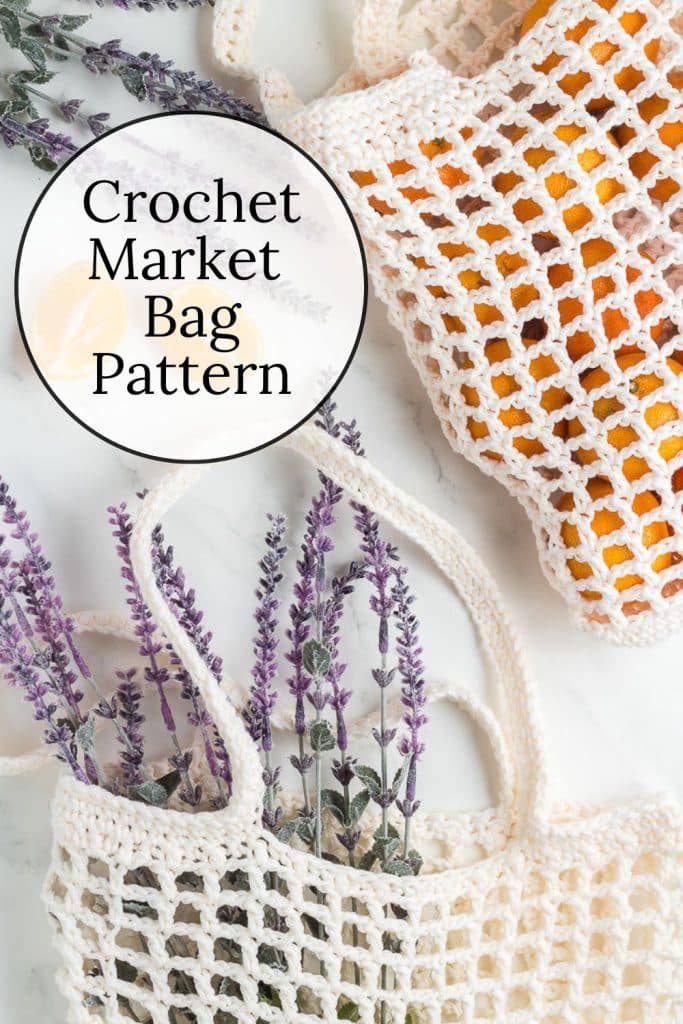
Crochet Market Bag Pattern

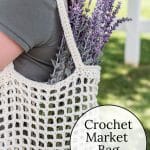
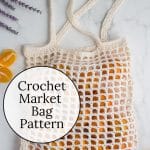
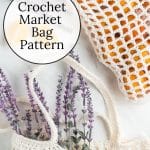
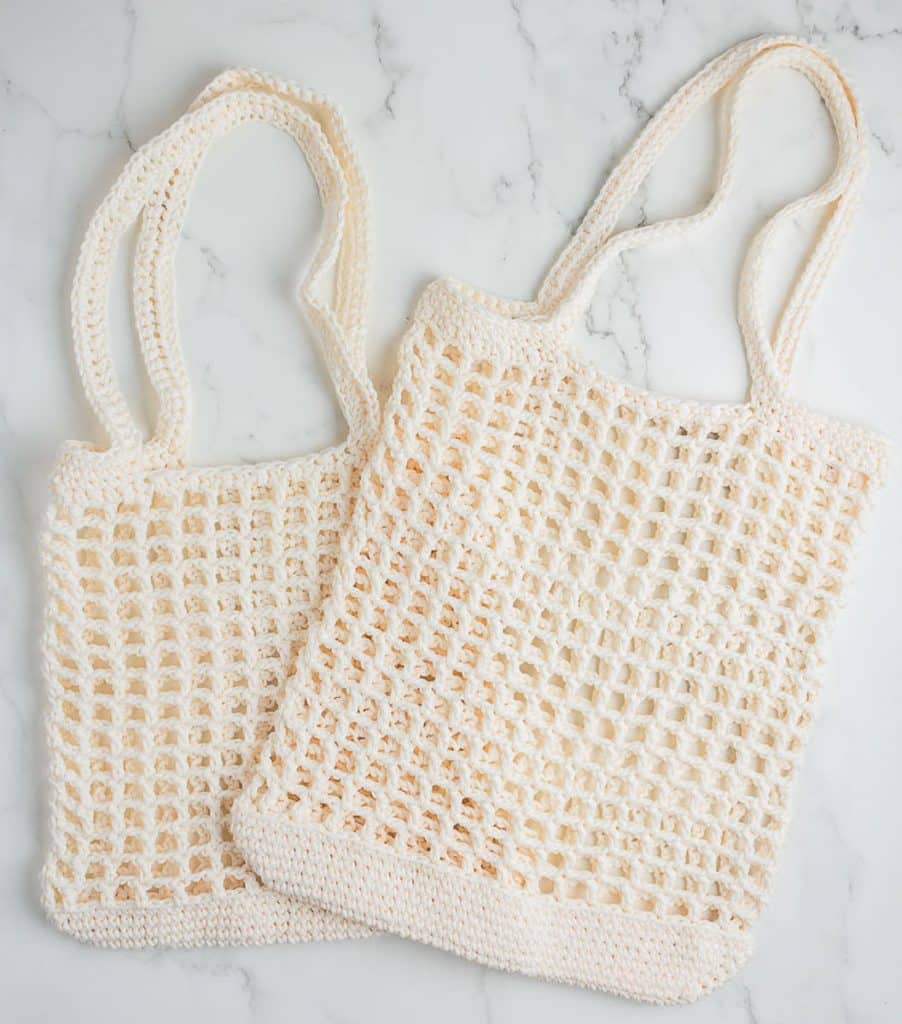
This Crochet Market Bag is the perfect companion for your trips to the farmer’s market, beach, or anywhere you need a handy and stylish tote bag. Swap out your plastic grocery bag or shopping bag for a reusable market bag. This versatile pattern includes instructions for both small and large sizes, ensuring you have the perfect bag for any occasion. When made with 100% cotton yarn, this bag is eco-friendly, durable, and easy to clean.
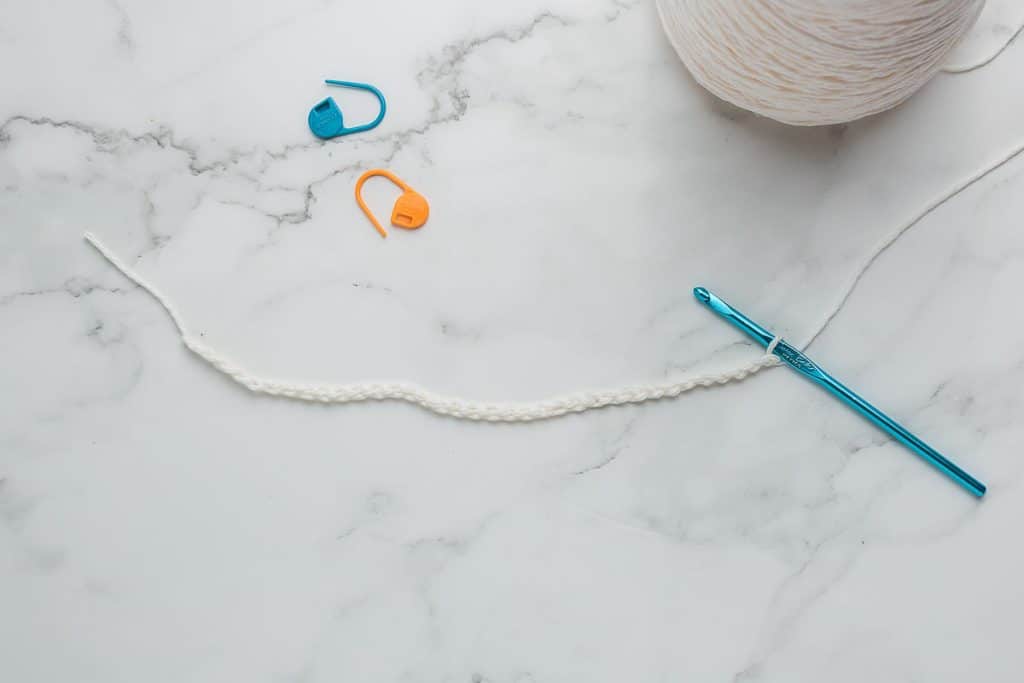
Whether you’re an experienced crocheter or just starting, you’ll find this free pattern easy to follow with its detailed step-by-step instructions and helpful images. You’ll need a 5mm crochet hook, a couple of stitch markers, and a ruler to complete this project. The pattern uses basic stitches like single crochet (SC), half double crochet (HDC), and double crochet (DC), making it a great project for all skill levels.
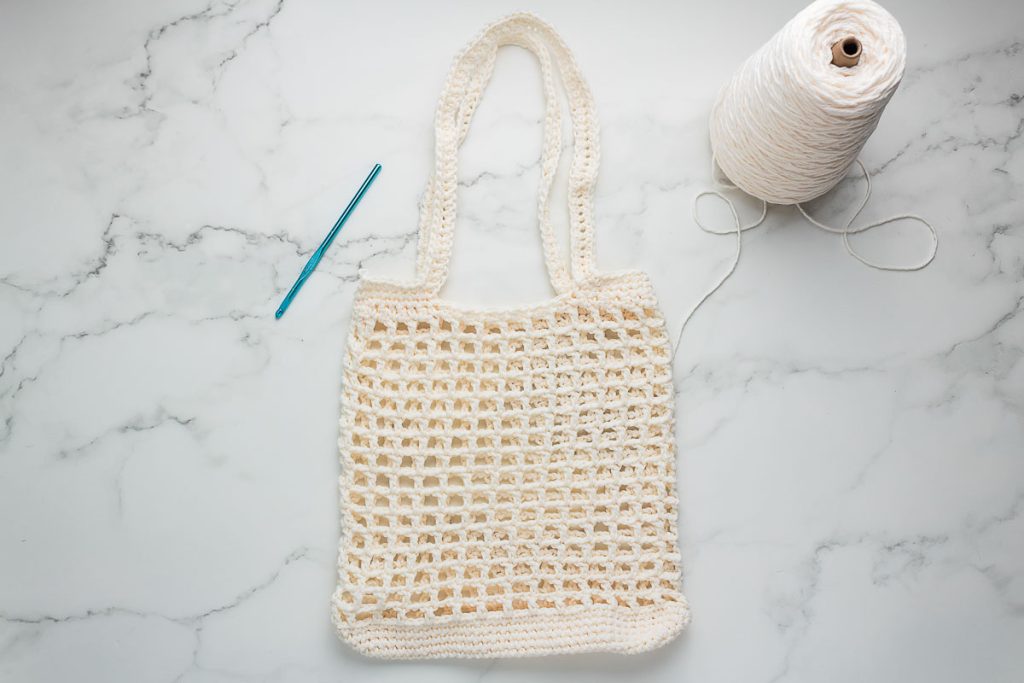
Table of Contents
Create a beautiful and functional market tote that you can be proud of. Grab your materials, and let’s get started!
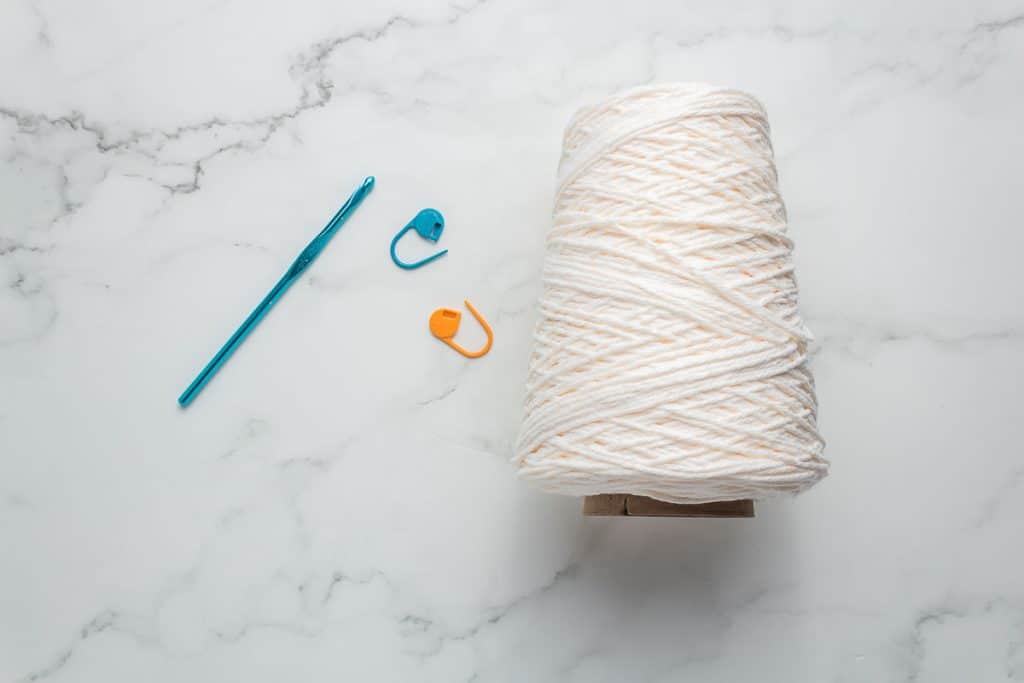
Material Needed for This Crochet Market Bag
Some of these links may be Amazon affiliate links and I may earn a small commission from the sale of these products to help defray the costs of operating this site, but the price you are charged is not affected. You can see my full disclosure policy here.
- If you’d like a printable PDF of the pattern, you can download it from the Library. If you’ve forgotten the super secret password, it is at the bottom of the email I send every Monday. If you still can’t find it, email me, and I’ll whisper it in your ear! Subscribers to Nourish and Nestle have access to all the free patterns and printables. If you aren’t already a subscriber, you can subscribe for free here. All that said, click here if you’d like to have the printable PDF for the Crochet Market Bag pattern appear automagically in your email inbox!
- I used 100% Cotton Worsted Weight Yarn, Lily’s Sugar and Cream in Soft Ecru. The cone has 706 yards, which is enough for a couple of bags.
- 200 yards for a small bag
- 250 yards for a large bag
- Size 5mm crochet hook
- Two stitch markers (different colors or styles to tell them apart)
- Ruler
Other Yarn Options For A Crocheted Market Bag
Any 100% cotton yarn will work for this project. This pattern uses a worsted weight, which you should use if you want the same finished sizes indicated on the pattern.
Here are some other 100% cotton, worsted-weight yarns to consider.
- Lion Brand 24/7 Cotton Yarn
- Paintbox 100% Cotton Yarn
- Bernat Handicrafter Cotton Solids Yarn, 1.75 oz, Gauge 4 Medium, 100% Cotton, Off WhiteBernat Handicrafter Solids Cotton Yarn
Crochet Market Tote Sizes
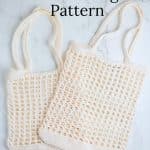
The small bag is 9″x 9.5″ (not including the strap), and the large is 10 3/4″x 13 inches (not including the strap). To make the larger bag, see the instructions at the end of Rounds 4 and 5, then pick up with row 6 (Base of Bag).
Stitches and Abbreviations Used for This Crochet Bag
- SC: single crochet
- HDC: half double crochet
- DC: double crochet
- [x]: repeat what is previously shown in brackets.
Tips for Success with the Crochet Market Bag Pattern
Choose the Right Yarn:
- Use 100% cotton yarn for durability and ease of cleaning. Cotton yarns like Lily’s Sugar ‘n Cream work well for market bags.
Use Stitch Markers:
- Stitch markers are essential for keeping track of your rounds, especially when working in the round. Different colors or types of markers can help differentiate the beginning and end of rounds and other important points.
Count Your Stitches:
- Regularly count your stitches to ensure you’re not adding or missing any, especially when working on the base and midsection of the bag. This helps maintain the shape and size of the bag.
Keep an Even Tension:
- Try to maintain a consistent tension throughout the project. Uneven tension can lead to a misshapen bag. If you notice your stitches are becoming tighter or looser, take a break and relax your hands.
Master Basic Stitches:
- Make sure you are comfortable with the basic stitches used in the pattern: single crochet (SC), half double crochet (HDC), and double crochet (DC). Practicing these stitches beforehand can make the process smoother.
Use a Ruler for Accuracy:
- Use a ruler to measure the placement of your straps accurately. This ensures your bag is symmetrical and the straps are evenly spaced.
Follow the Pattern Closely:
- Pay close attention to the pattern instructions, especially for the base and strap sections. Detailed steps ensure the bag’s structure and durability.
Adjust for Personal Preferences:
- Feel free to customize the pattern to suit your needs. You can adjust the length of the straps and the height of the bag or even add decorative elements like colorful stripes or embellishments.
Weave in Ends Securely:
- Weave in all yarn ends securely to prevent them from unraveling. For extra security, use a yarn needle to weave the ends back and forth through several stitches.
Block Your Bag:
- Blocking can help your bag achieve the desired shape and size. Gently wash or dampen the finished bag, shaping it as needed. Allow it to dry flat.
Take Breaks:
- Crocheting for extended periods can be tiring on your hands and wrists. Take regular breaks to stretch and relax your hands to prevent strain.
Practice Patience:
- If you’re new to crocheting bags, be patient with yourself. Take your time to understand each step and enjoy the process.
Crochet Market Bag Pattern
Base of the Bag
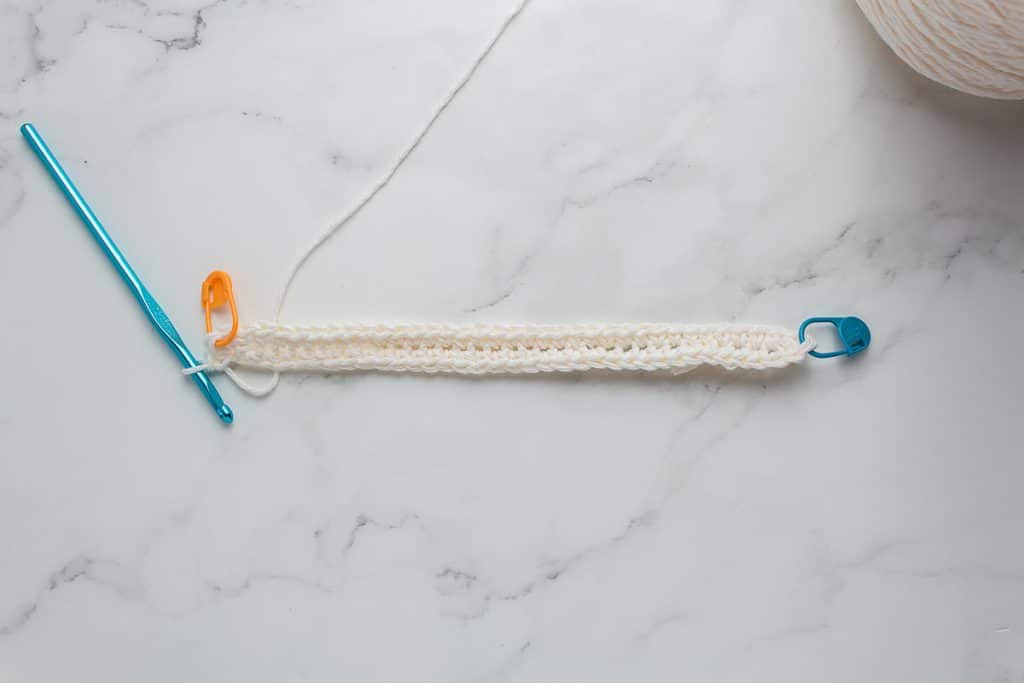
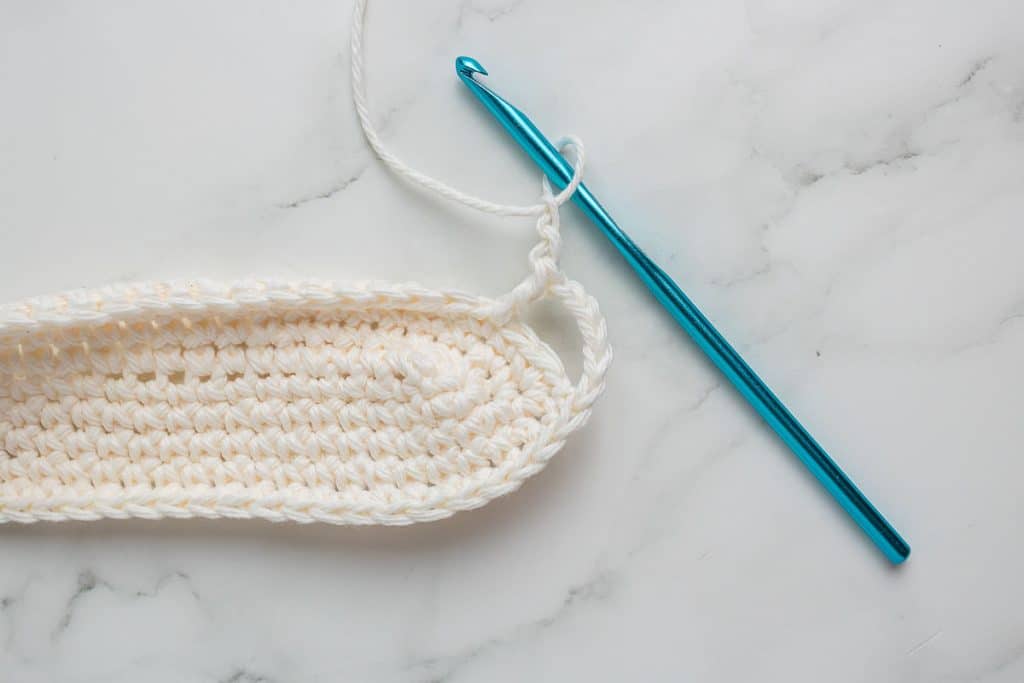
- Row 1: Chain 35
- Round 2: In the second chain from the hook, SC to the end of the row. In the last chain of the row, place 3 SC. Place a stitch marker or piece of scrap yarn into the second of these three stitches.

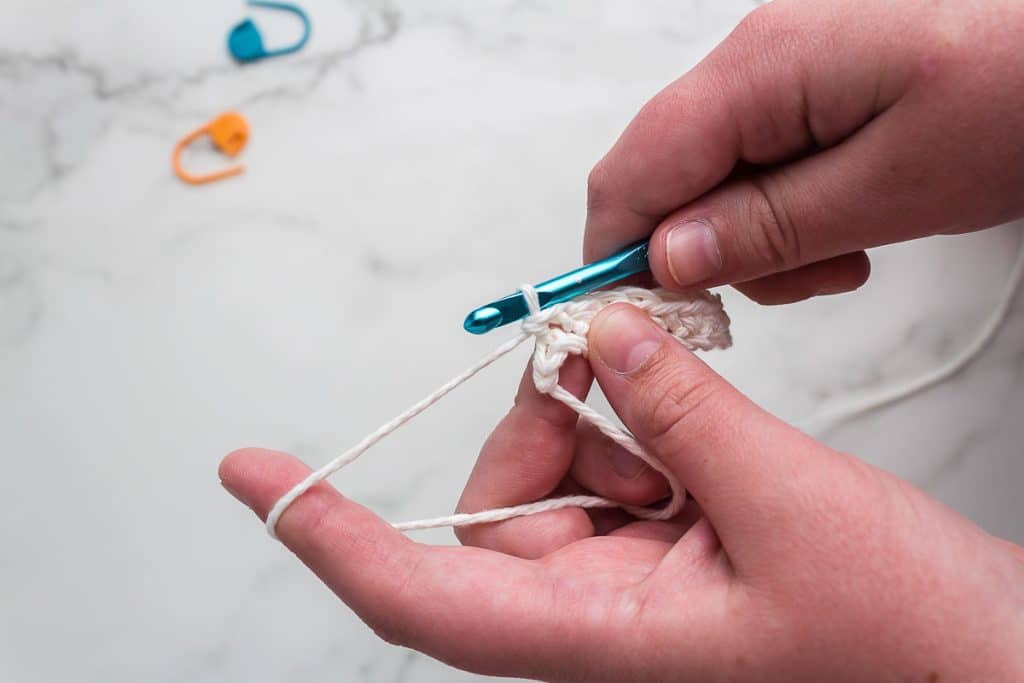
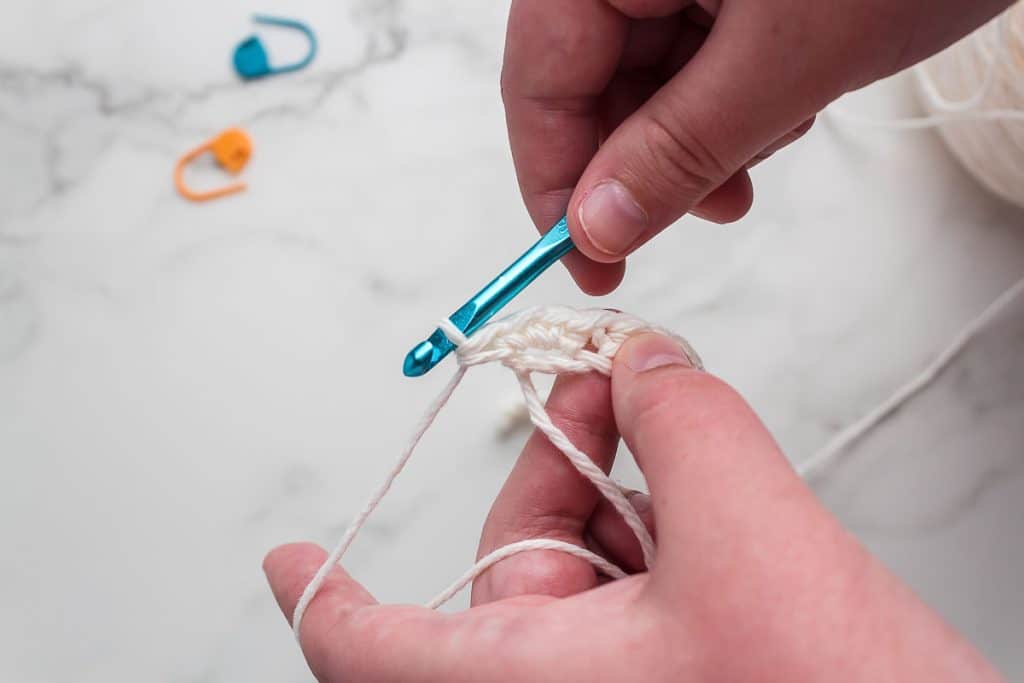
- Round 3: On the other side of the chain, SC in every stitch in the row. Once you get to the final stitch, SC 3 in that stitch. Place a stitch marker in the second of those three stitches.
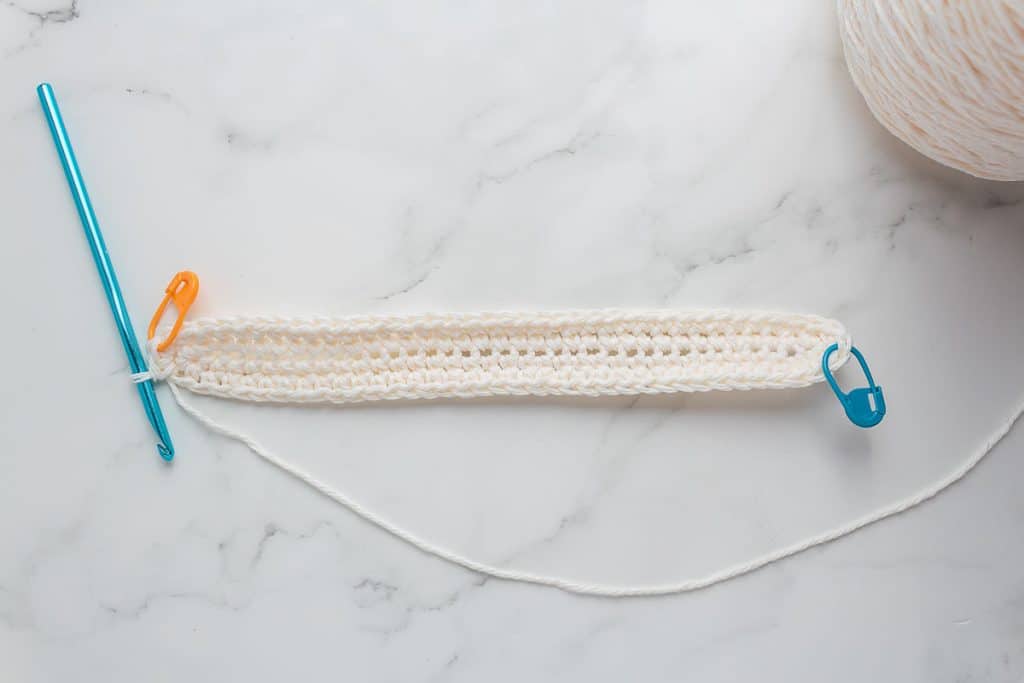
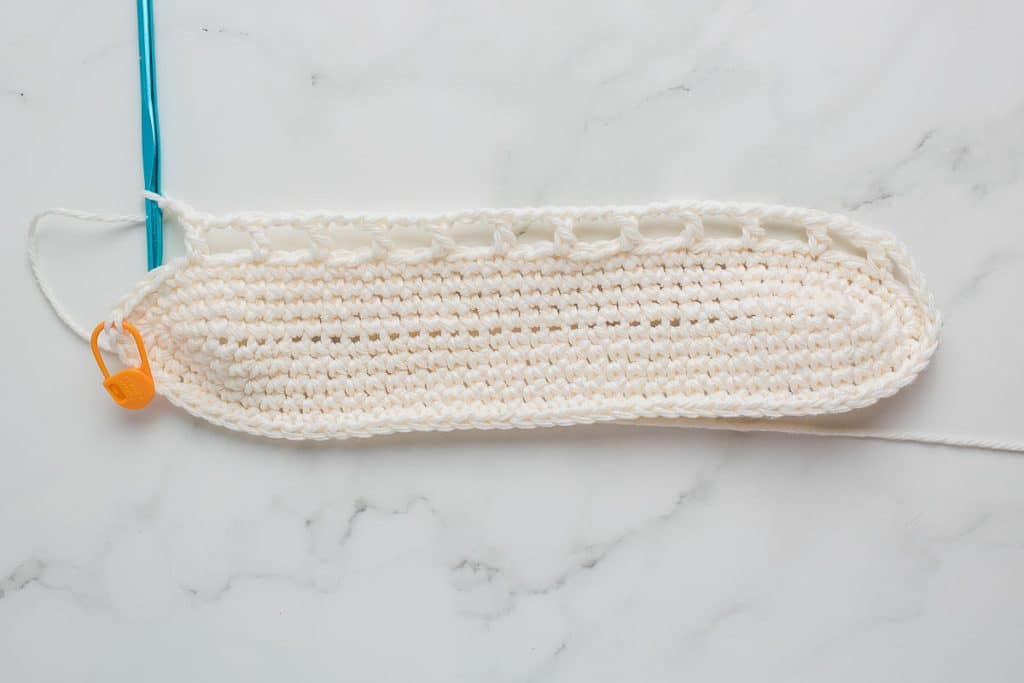
- Round 4–5: Repeat round 3. Each time you reach the stitch marker, SC 3 and replace the marker in the second stitch of the three. To make the larger bag, repeat Rounds 4 and 5 one more time, then pick up with Row 6 instructions.
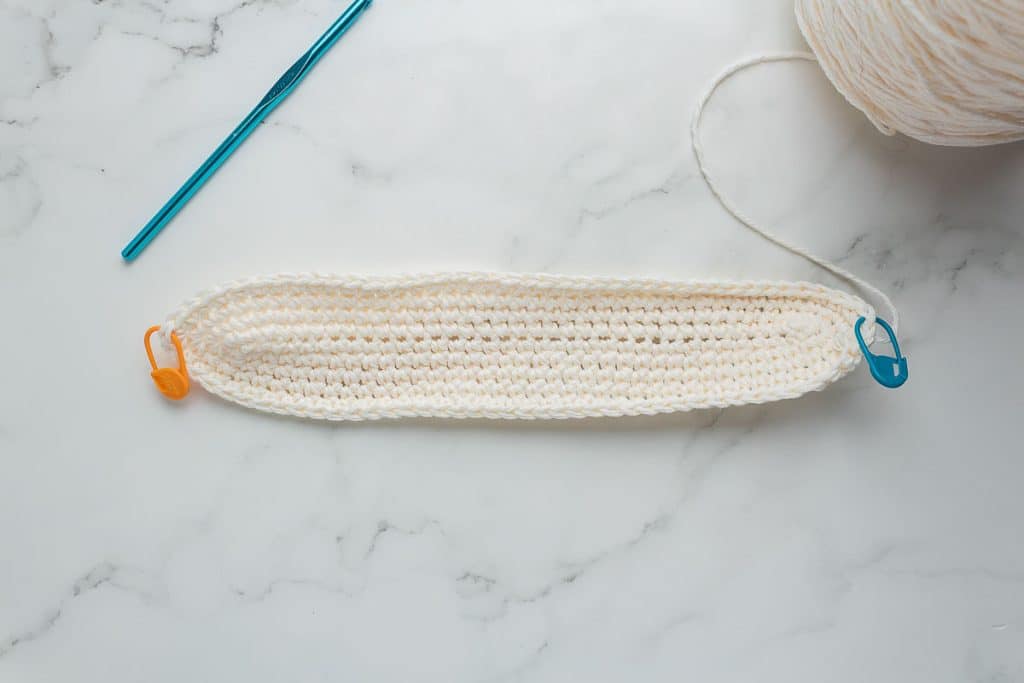
- Round 6: SC in each stitch around.
This completes the bottom of the bag.
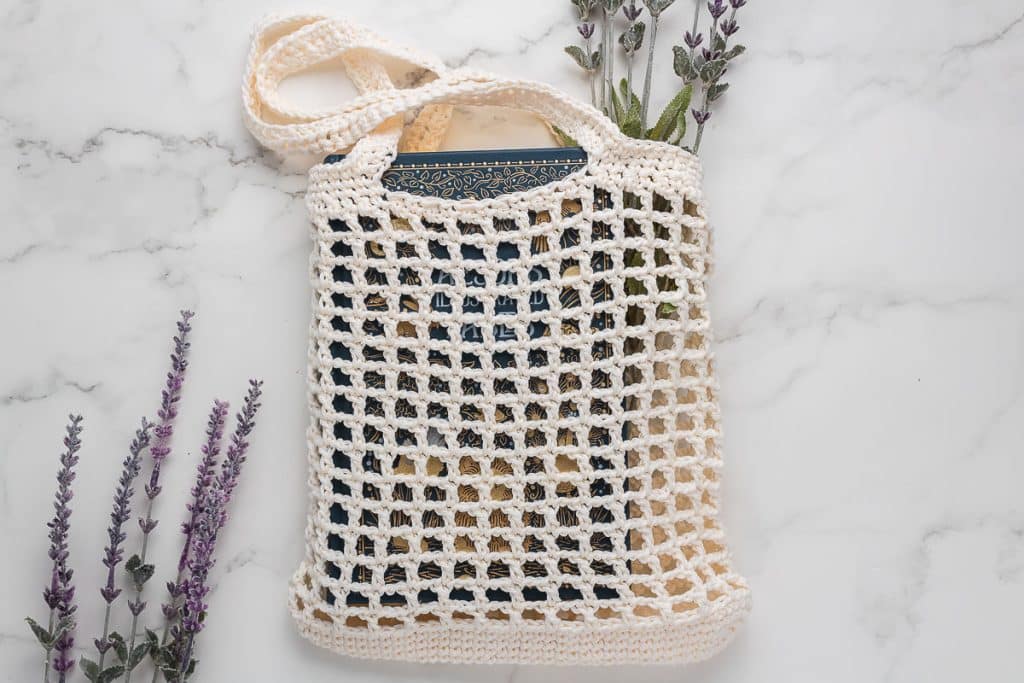
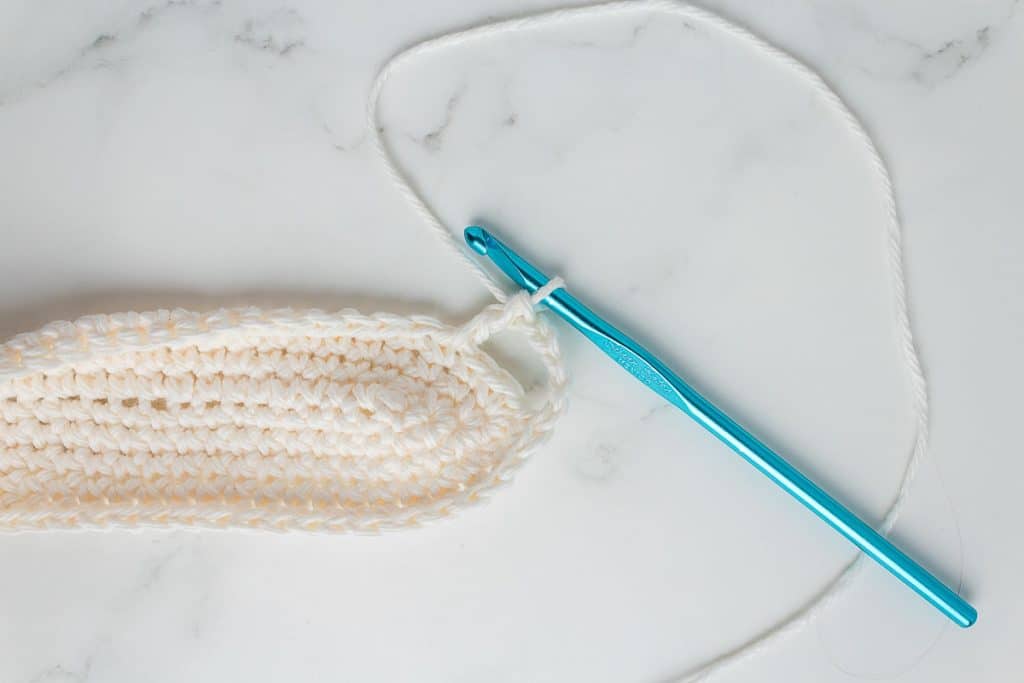
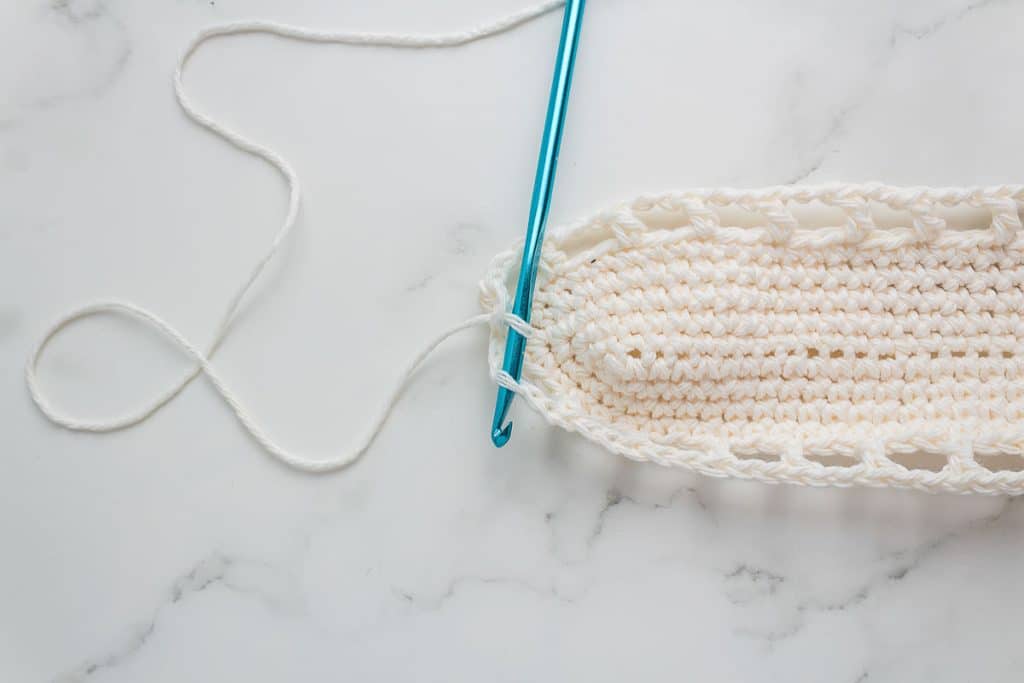
Bag Midsection
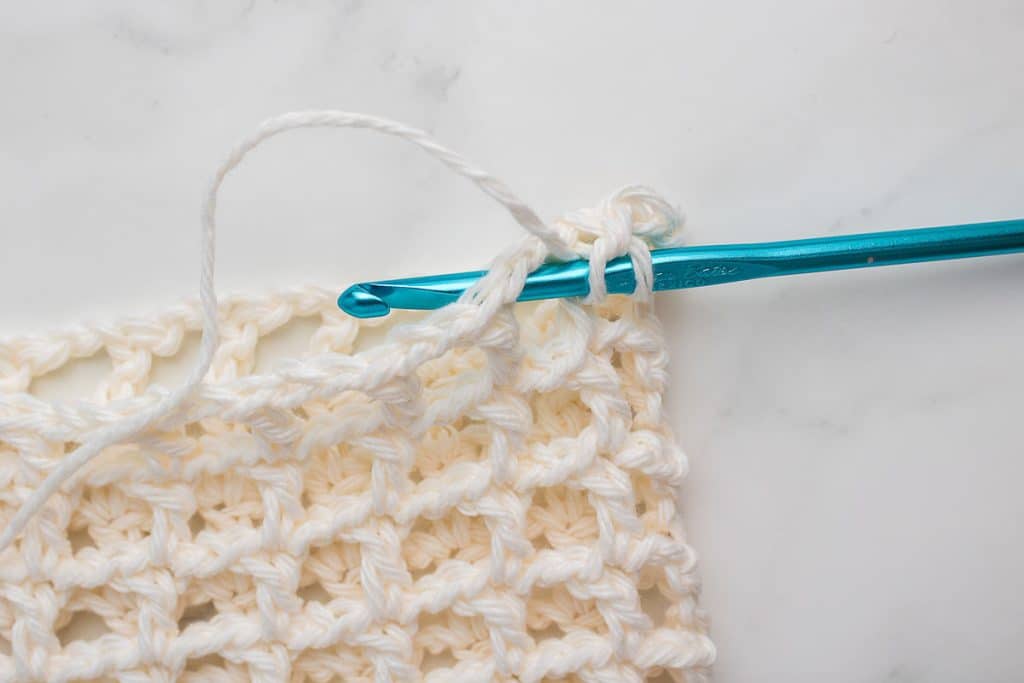
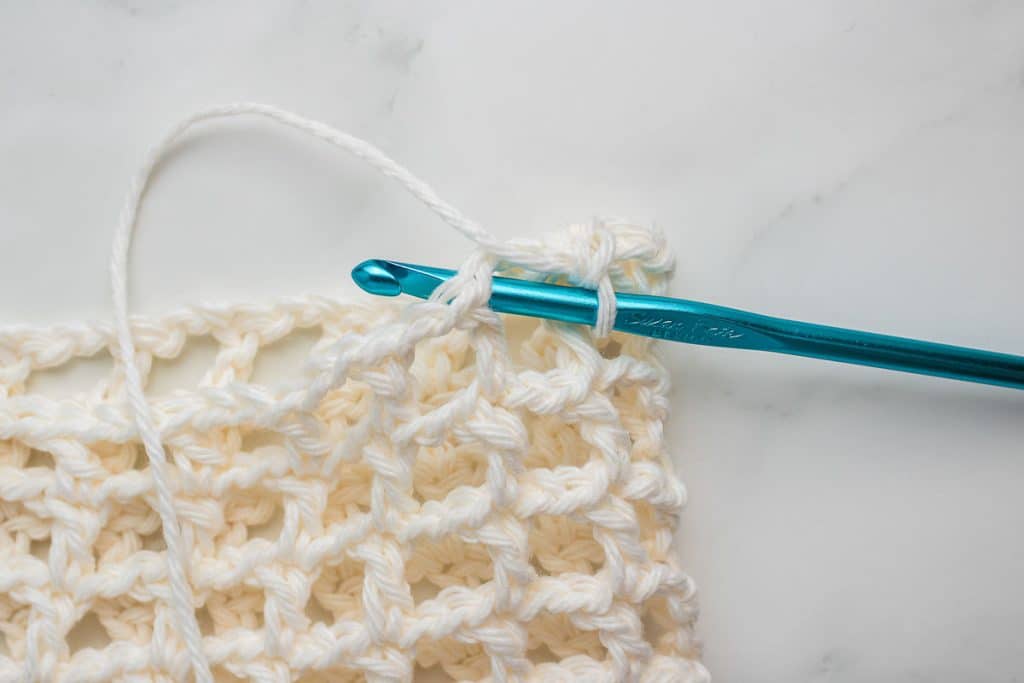
- Round 7: Chain 4, skip 2 stitches and DC into the following stitch. [Chain 2, skip 2 and DC into the following stitch.] Continue [x] around and SL into the top of the post of the first stitch to close the round.
- Round 8–22: Repeat round 7. Place each DC into the top post of the DCs in the previous round.
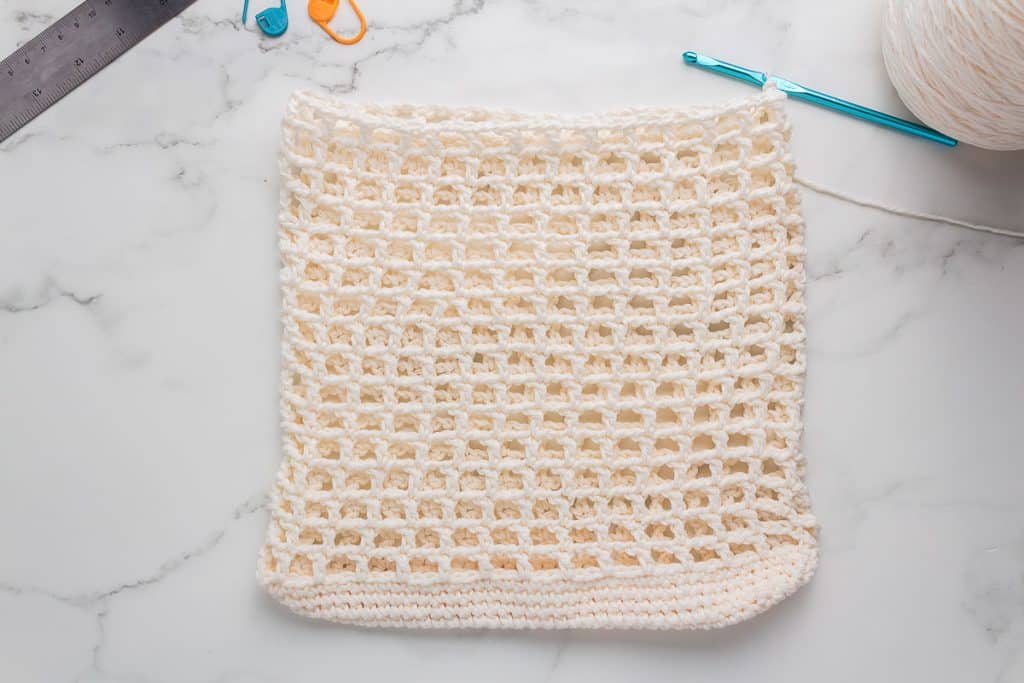
- Round 23: SC, DC. Alternate in every stitch in the round. NOTE: DC will go into the hole made from the mesh stitch. SC will go in the stitch at the top of the post of the DCs from round 22. Cut your yarn and weave in the end.
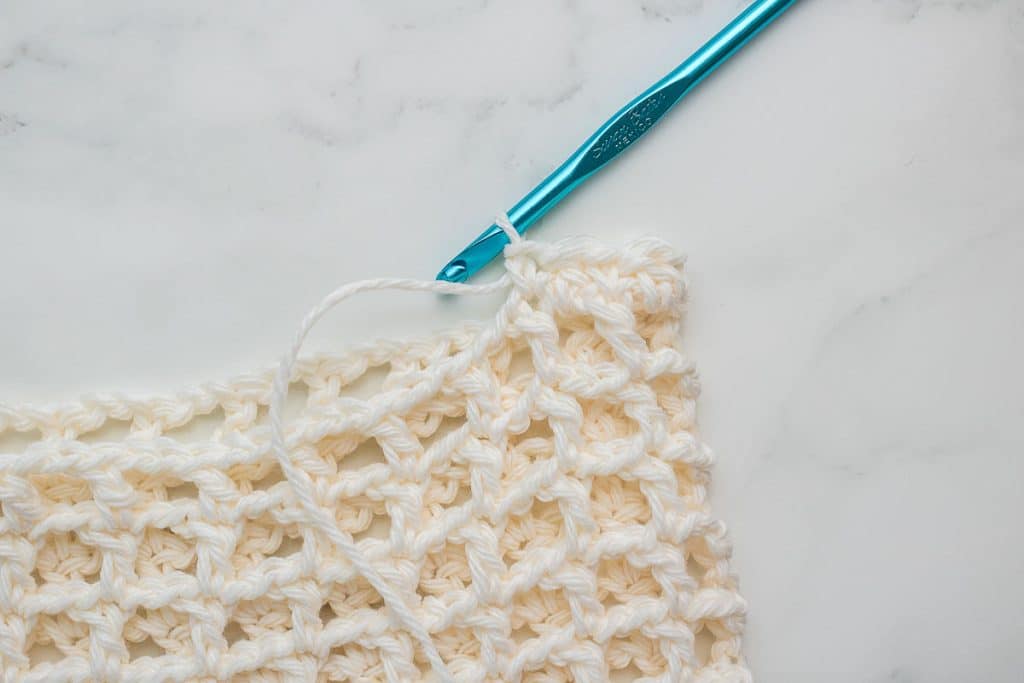
- Cut your yarn and weave in the end.
- This completes the mid-section of the bag.
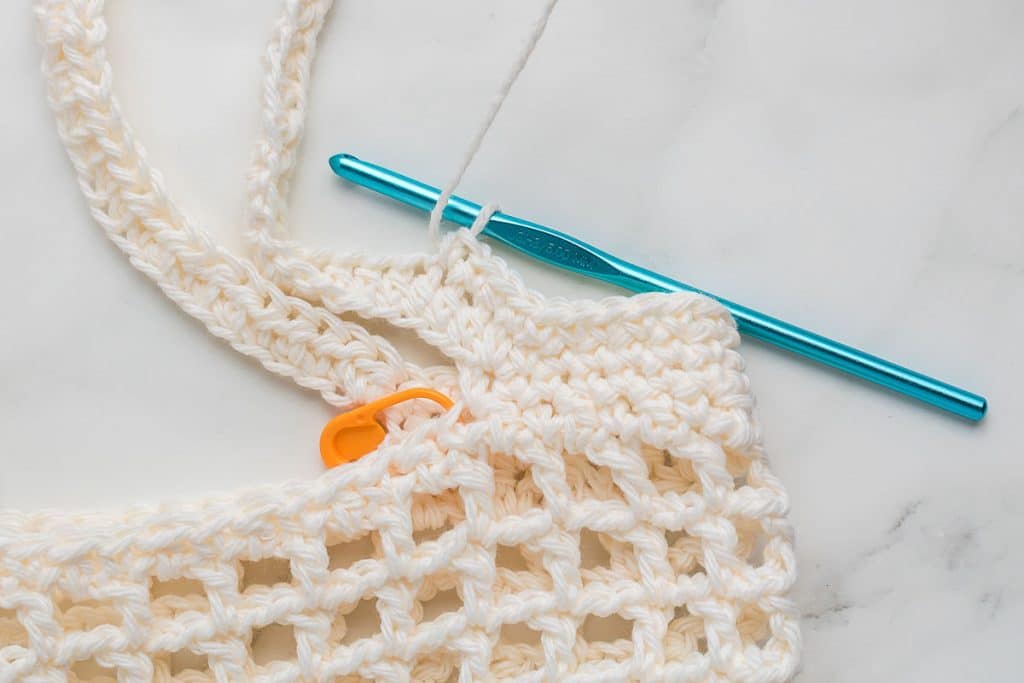
Straps
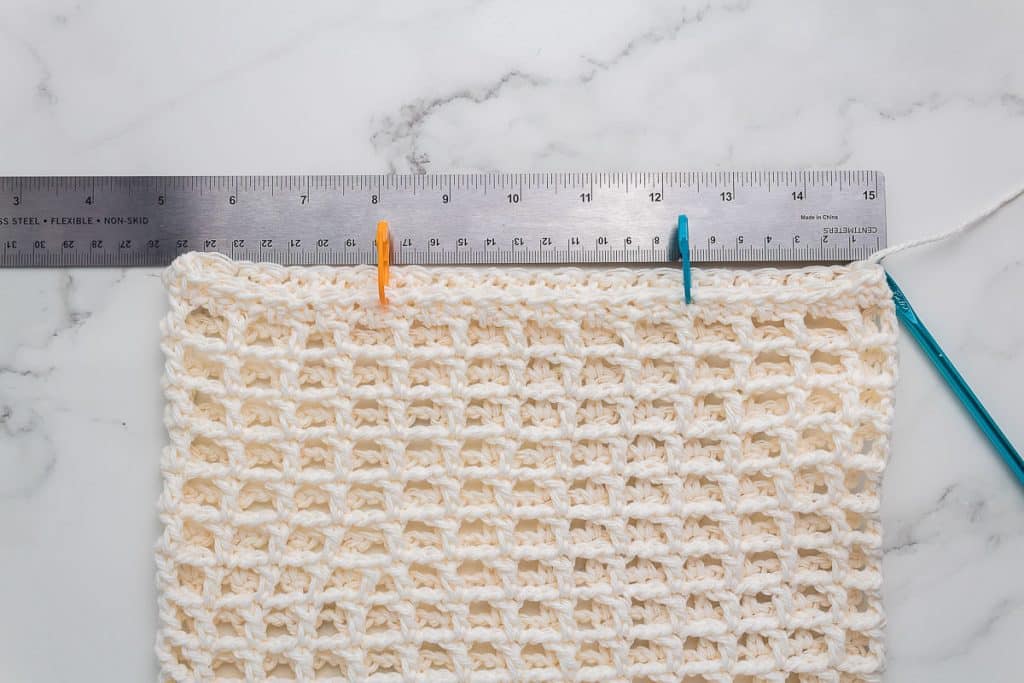
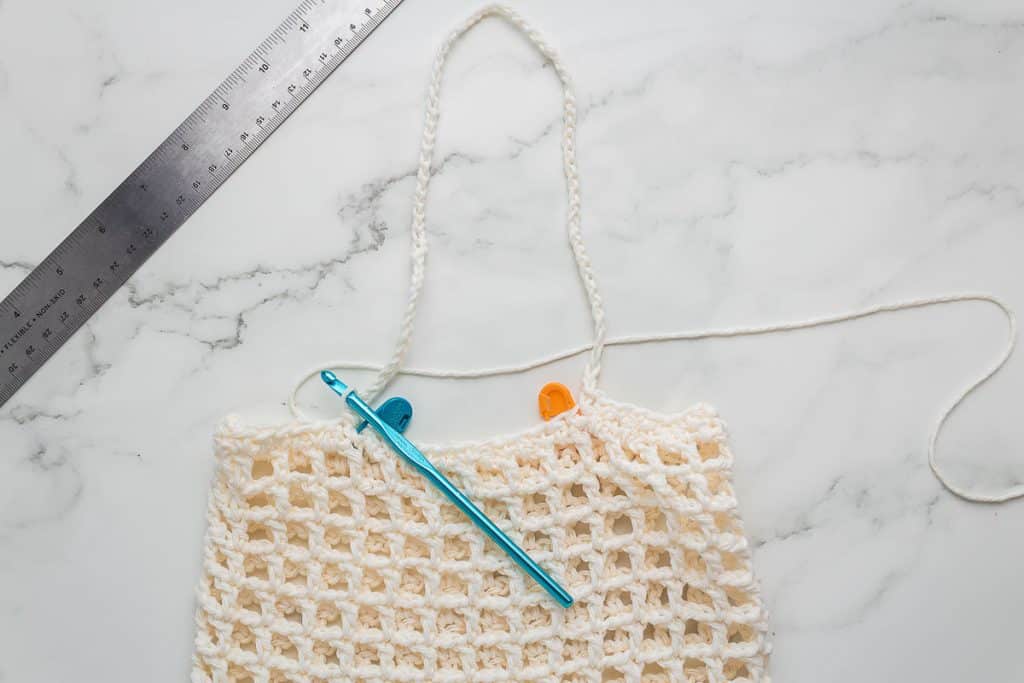
- Use a ruler to measure the top of the bag while it is lying flat. You will divide this number by 4. For example, mine is 25 cm across, so there are 4-6.25 cm segments.
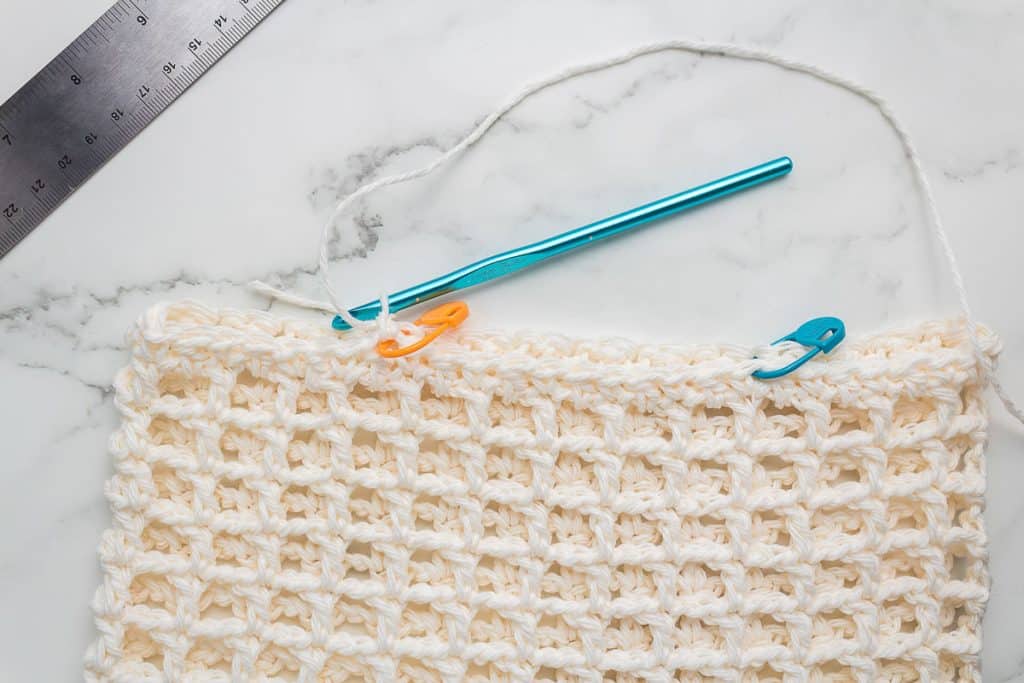
- I placed a stitch marker 6.25 cm from each side of the bag.
- There will be 12.5 cm between each stitch marker in the middle of the bag, and the stitch marker should go through a stitch on both sides of the bag (ultimately pinning it closed). This will mark the start and end of your straps. Make sure to place your stitch markers through both sides of the bag and in ¼ of the total width on each side of the bag.
- I used two different colors to ensure that I knew which side of the bag was facing up while crocheting the straps. The side facing towards you when you start the strap is the side facing up (so the side you’re looking at when you start the round is up). So, I used different-colored stitch markers to make sure I could remember which side was facing me when I started the straps. This makes sure you end up with two straps going in the right direction.
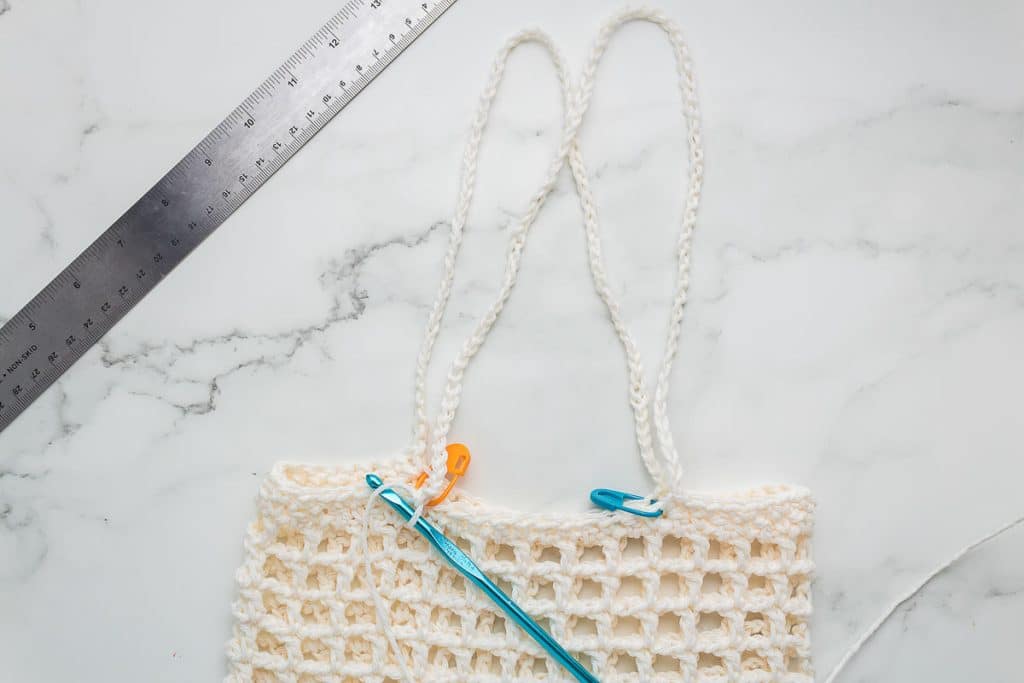
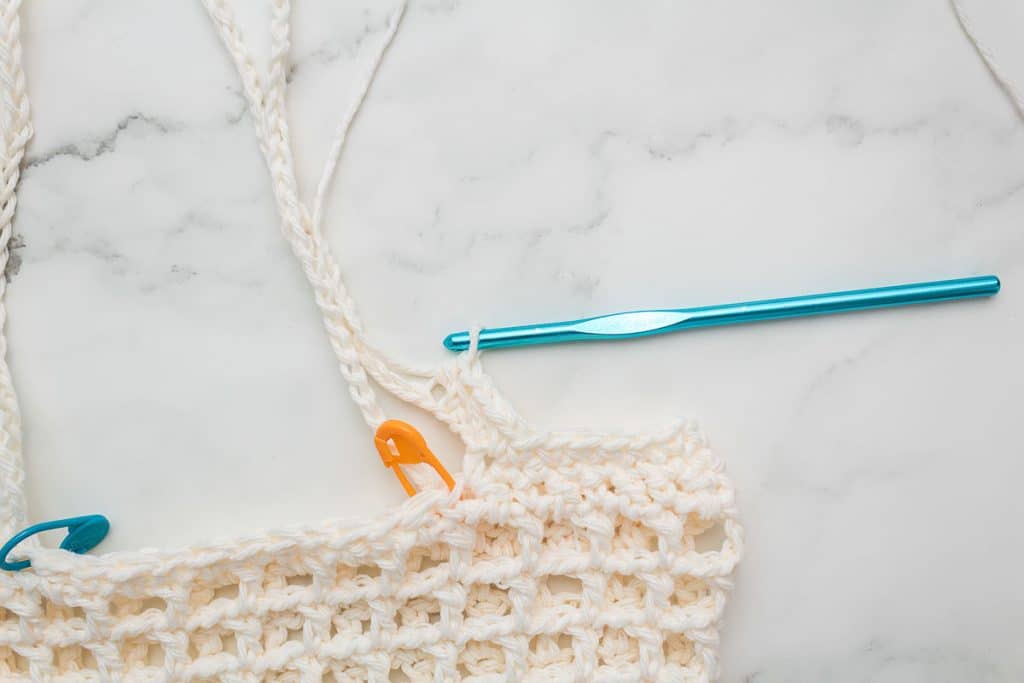
- Round 24: Attach your yarn in the leftmost stitch that you previously marked with a stitch marker; for reference, the orange stitch marker in the pictures (Make sure you are only crocheting into the side of the bag facing you, even though both sides will be pinned together). SC in each stitch until you reach the same stitch marker on the other side of the bag (orange), and place one more SC in that same stitch with the marker.
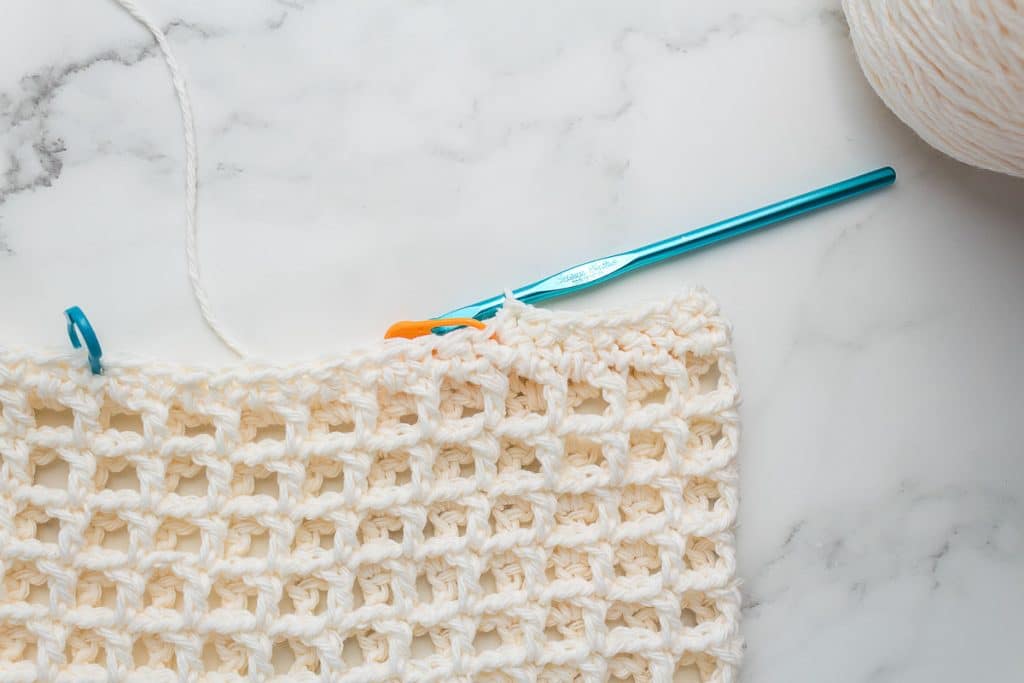
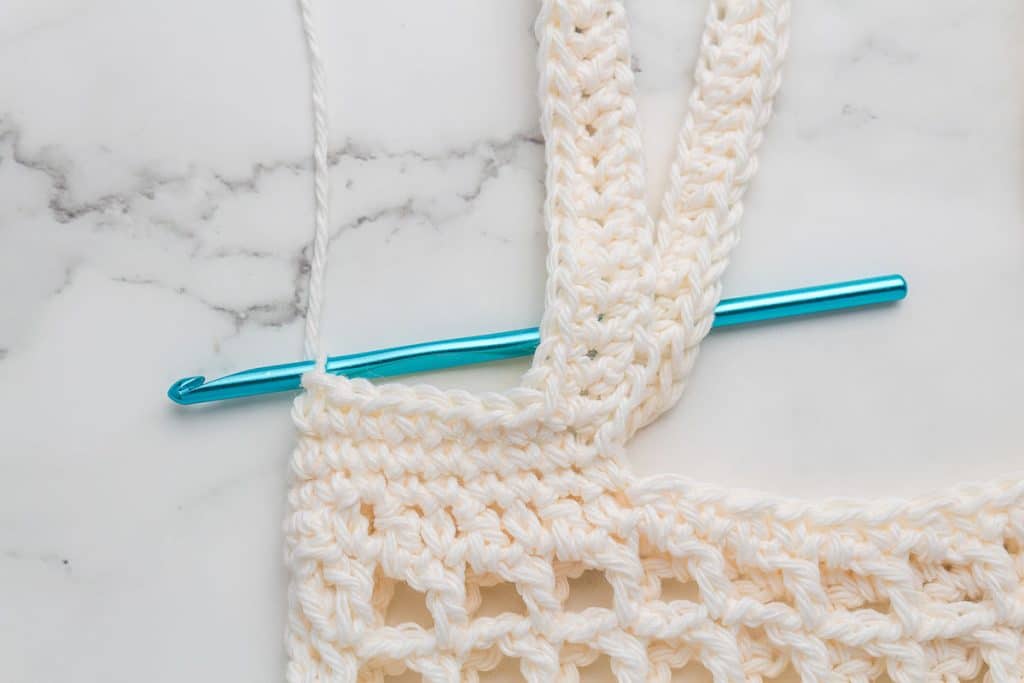
- Round 25: Chain 70 and SC into the stitch with the stitch marker that is now on the leftmost side of the bag (for reference, the blue stitch marker). SC in each stitch until you reach the same stitch marker on the other side (blue).
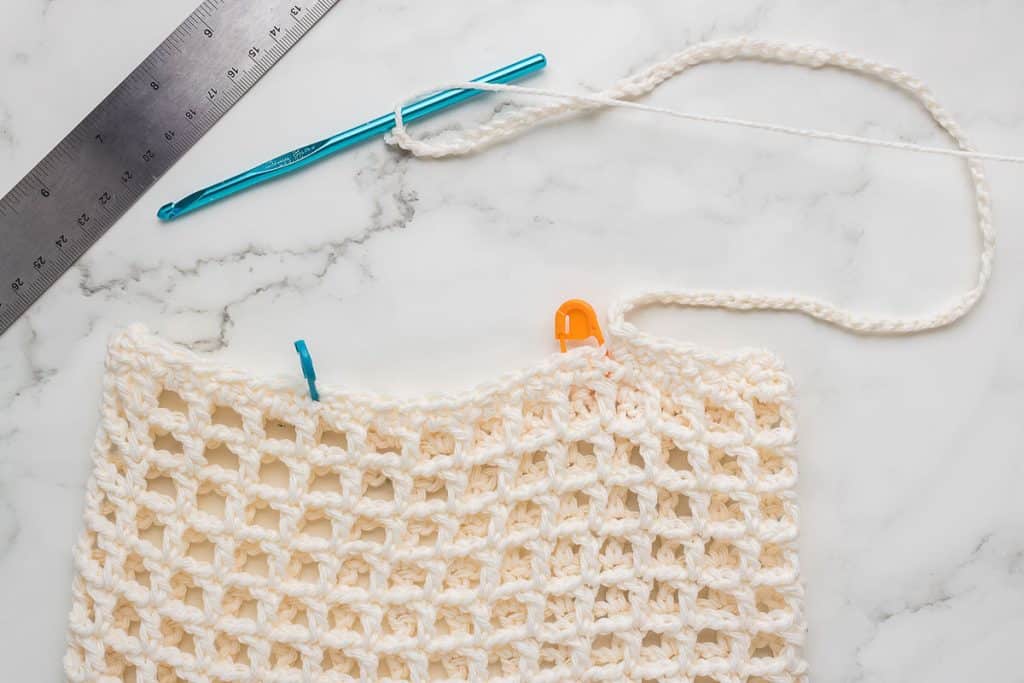
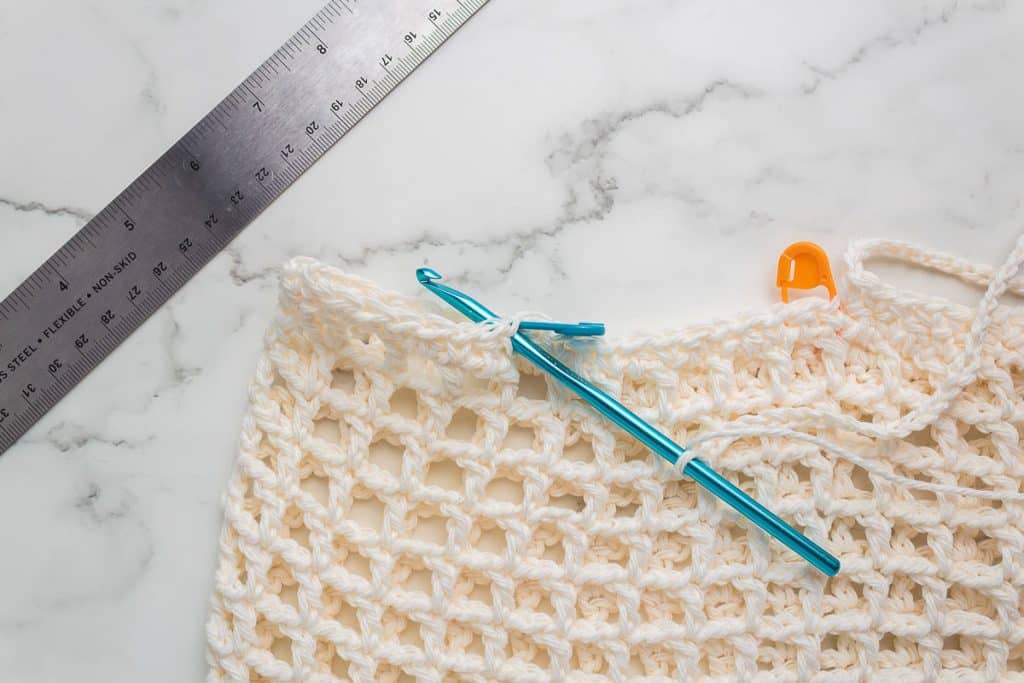
- Your bag will now be lying as it did when you started this round. Chain 70 and SC into the stitch with the stitch marker you began with (orange). This stitch marker will mark the beginning of the next rounds.
- Round 26: SC in each stitch until you reach the first of the 70 chains. In each chain, HDC. After the 70 HDC, SC into the following stitch and every stitch until the next chain, 70. Repeat for the other strap.
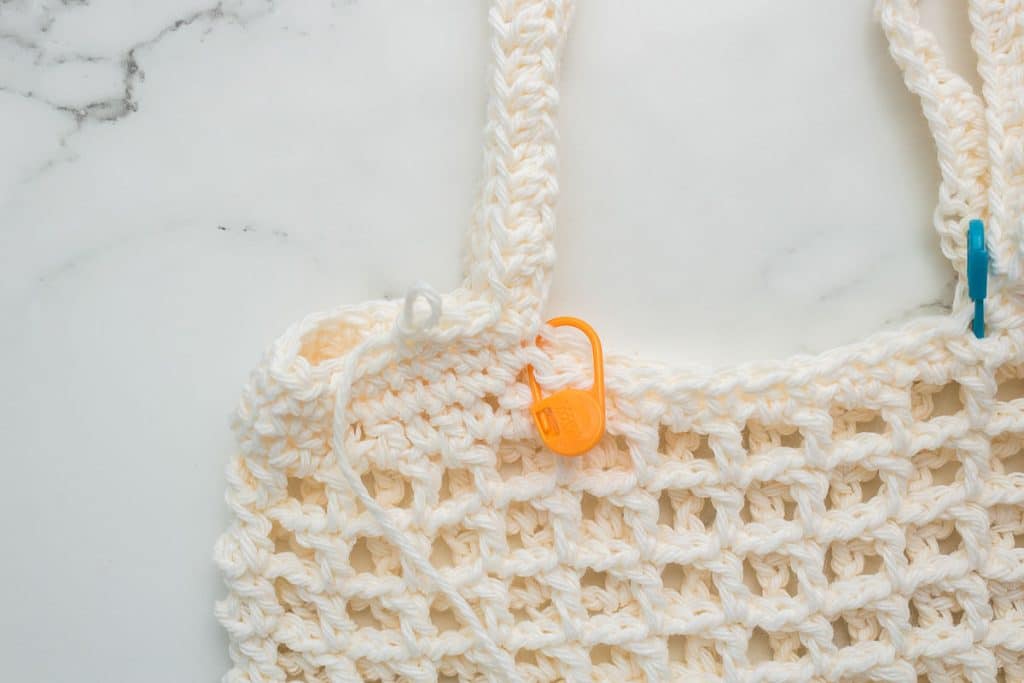
- Round 27: SC in each stitch around. Cut your yarn and weave it at the end of this round (this includes the sides between each strap and on the straps themselves).
- Block it! Immerse your finished crochet market bag in water until it is fully saturated. Gently squeeze the wet bag without stretching it. Roll it in a dry towel. Then lay it flat on a dry towel or blocking mat, shaping it appropriately. Let it dry.
TA DA! You’ve finished your Crochet Market Bag!
Other Free Crochet Patterns
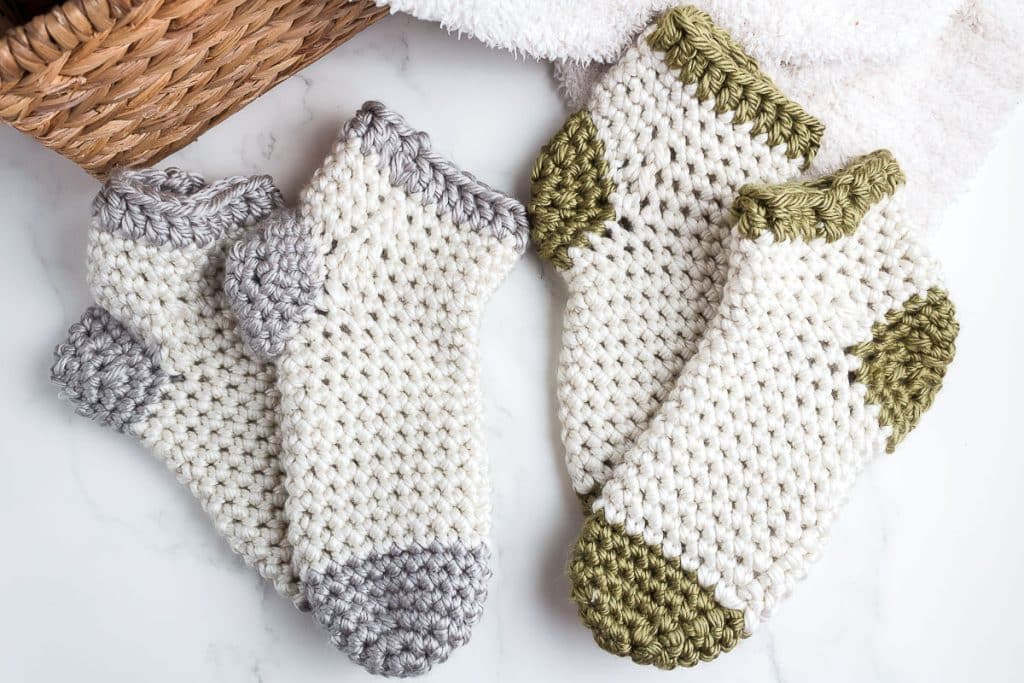
If you’re looking for a fun and practical project, these crocheted slipper socks are perfect for keeping your feet warm and stylish.
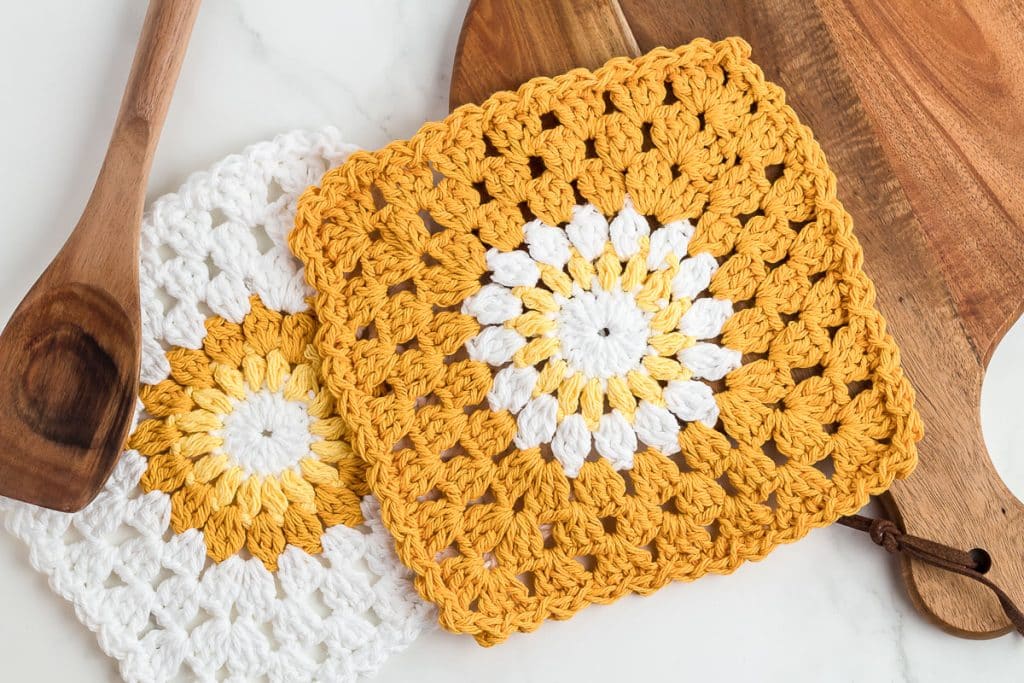
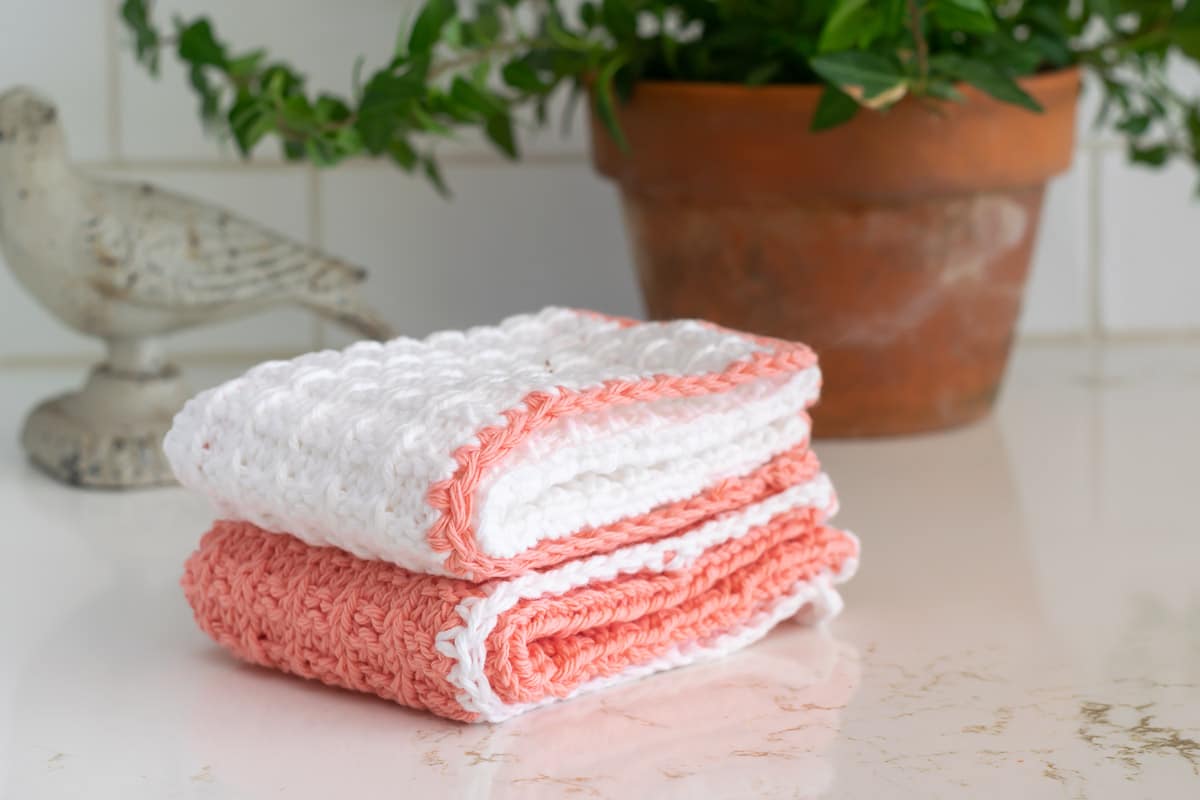
Dishcloths and washcloths seem to be items you can never have enough of! You might want to make this Granny Square Sunburst Crochet Dishcloth for yourself, but they also make fantastic gifts!
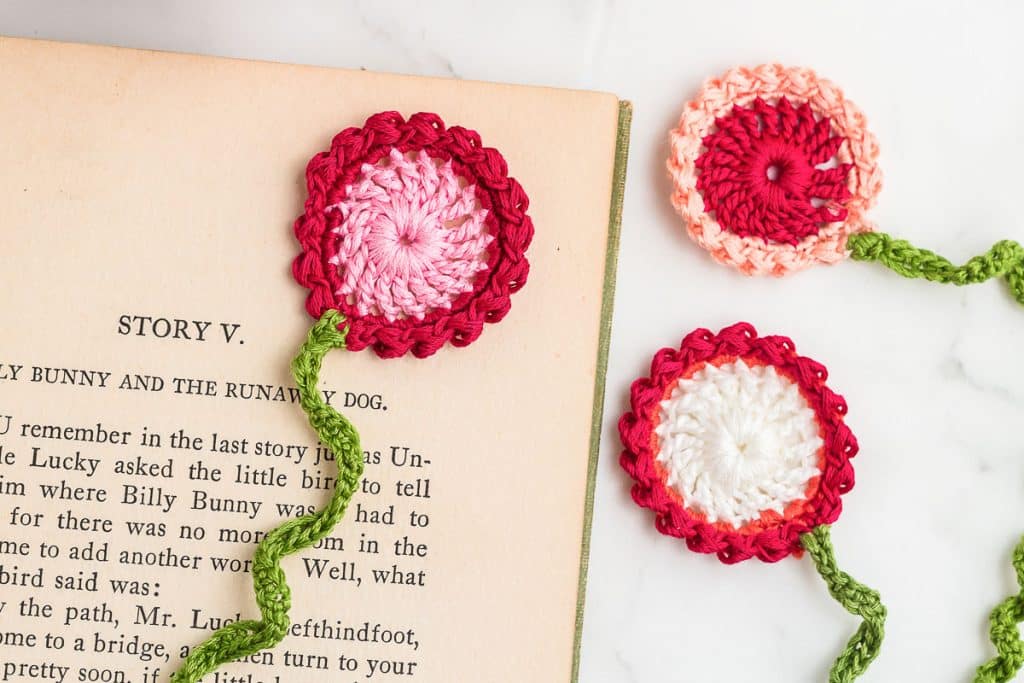
Crochet a bookmark crafted with your favorite embroidery floss colors. This sweet, free crochet bookmark pattern brings a touch of nature and whimsy to your reading routine and makes a great gift for your favorite bibliophile!
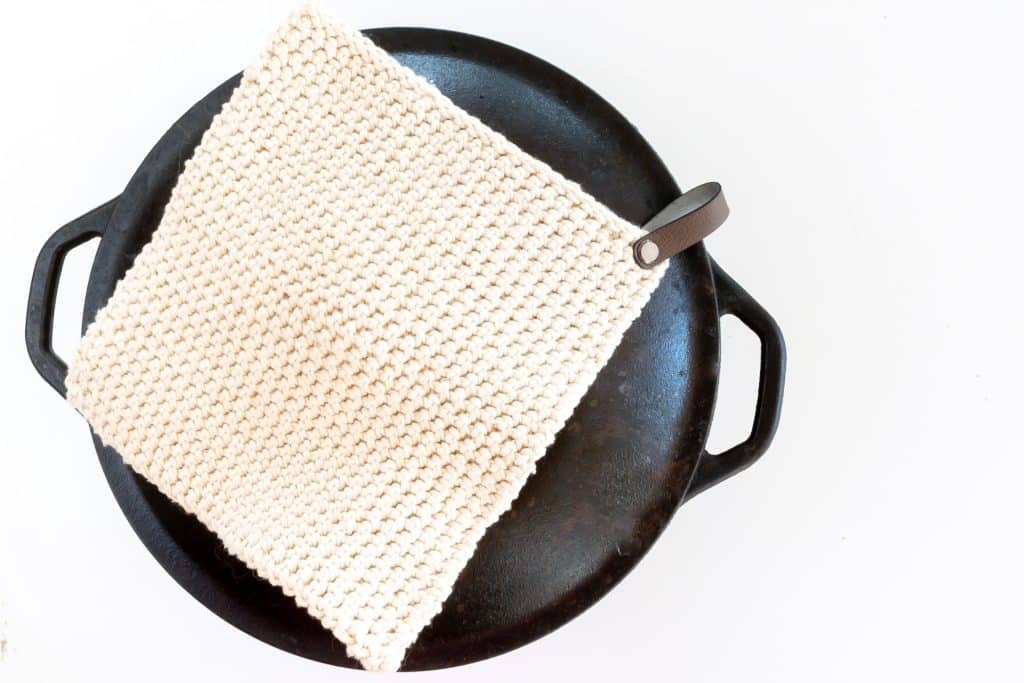
This free crochet potholder pattern uses the thermal stitch for a double-thick fabric without having to crochet two separate pieces.
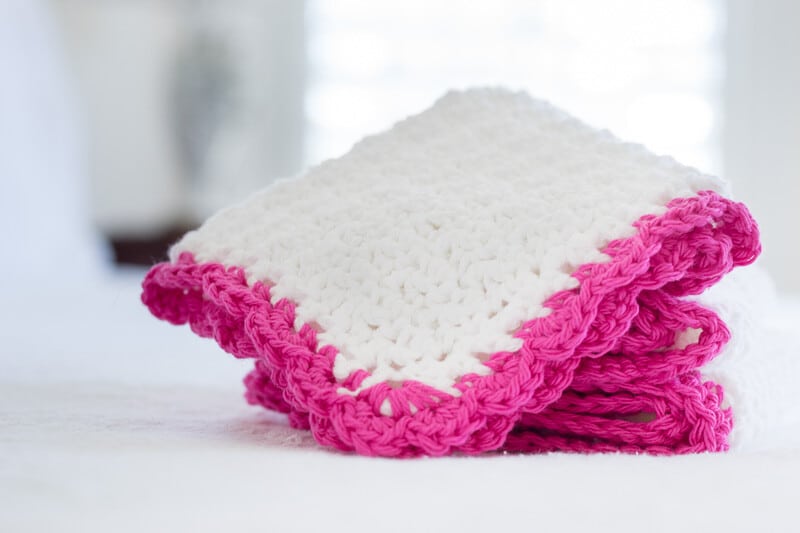
This Crochet Washcloth Pattern is suitable for beginner or experienced crocheters. For those new to crochet, there is a video showing step-by-step instructions on how to crochet this lemon peel stitch dishcloth with a crocheted scalloped edge.
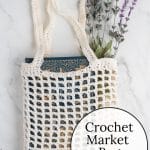
Bookmark this page or pin the following image to refer back to this free crochet market bag pattern in the future.
Thanks so much for spending a few minutes of your busy day with me!
To ensure you don’t miss future content, pop your email in the pale green box on the right or click here. I usually send one email weekly, so I won’t inundate your inbox. I’m sensitive to an overflowing email inbox!
We will only use your email address to send you emails, no more than 1-2 weekly. In addition, you will have access to my growing library of knit & crochet patterns and other printables. Check back often as this library will continue to grow. You can unsubscribe anytime by emailing me or clicking on the “unsubscribe” link at the bottom of all emails.
And you can access many of the products I refer to on my Nourish and Nestle Amazon Page. You can access it here.
So, if you’d like to participate in the ‘subscriber benefit’ action, simply subscribe to Nourish and Nestle here or use the form on the right sidebar. It’s slightly towards the top.
I have sent all my subscribers the link to the Subscriber Benefits Library. If you missed it or misplaced it, let me know.
Until next time…

I made this crochet market bag. It came out great and will be very useful. However, I had to make a few changes to the pattern. First, I had to use a 5.5mm (size I) hook to get the correct gauge with the Sugar and Cream yarn. For the open weave part of the bag the pattern shows this as rows 7, 8-16. However, if you look at the photos, these rows are actually 7-24. To get a nice deep bag, I added an additional 4 rows (7-28). The last change I made was to the straps. As the pattern is written, the straps are pretty thin. I added one more round which is a repeat of Row 20. This gives a nice size strap. All in all, I’m really happy with how this bag turned out. I would add a photo but don’t see where this can be done.
Hi Cheryl,
Thanks so much for your input! I’ll fix the pattern for open weave, thanks for bringing that to my attention.
And I always enjoy hearing how folks make these patterns their own.
I’d love to see your picture! You can attach it to the email.
Hello! Just curious if anyone has an estimate of how many yards of worsted weight cotton yarn this pattern uses. Thanks!
Hi Michele,
200 yards for a small bag
250 yards for a large bag
Hope that helps and enjoy your crochet projects!