Cucumber Trellis
Instructions on how to make a DIY cucumber trellis. Step by step examples and images of how to build a cucumber trellis with bamboo poles and a rope trellis for your cucumbers
For years we made a cucumber trellis teepee-ish thing with a rope trellis for our cucumbers to climb up. We made it out of bamboo poles with twine winding horizontally around the poles. It really did the job just fine.
But this year, we found ourselves in a bit of a predicament. We’ve had such a cool spring that our lettuces, kale, and spinach are still growing in the spot I needed to plant my cucumbers in. What’s a gardener to do!?? Enter my brainstorm.
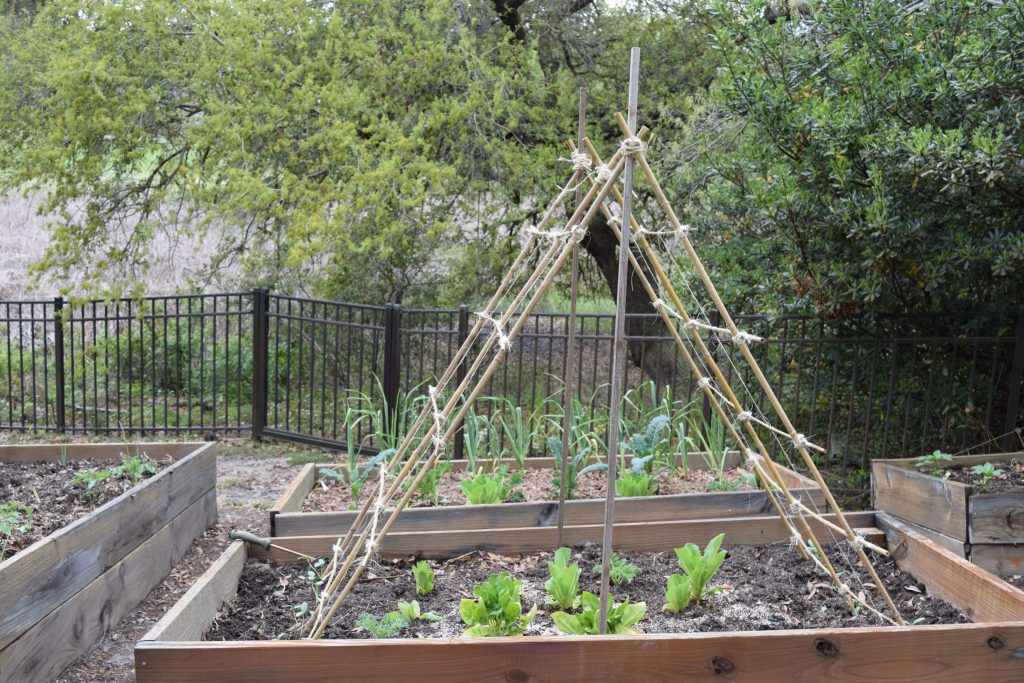
I figured I could build this cucumber trellis so that I could plant them at each end of the bed, leaving the lettuces and kales to continue their growing in the middle. AND…if all goes well and the planets align, my ingenious idea might provide these tender plants a little respite from our Southeastern North Carolina sun! (if you’ve seen hundreds of these trellises all over Pinterest, don’t tell me. I want to continue to believe that I’m the only one who ever thought of this…for a wee bit anyway. Thanks)
Here’s what I needed to make a DIY cucumber trellis:
Some of these are affiliate links and I will earn a small commission off of the sale of these products, but the price you are charged is not affected. You can see my full disclosure policy here.
- 6 6-foot bamboo poles
- 10 4-foot bamboo poles
- Ball of 4-foot bamboo poles
- Ball of 4-foot bamboo poles
- Goop or other strong glue
- 8 – 10 Cable Ties
- Yardstick and/or tape measure
- 2 6-8 foot wooden poles
Here’s how I built my DIY cucumber trellis:
- Starting from one end, I marked 12″ increments on my 6′ poles with a sharpie
- Then, I found the middle of my 4′ poles, made a sharpie mark there and made 2 more marks 19″ from the center on either side of the center mark. (Your measurements will probably be different…I just made mine to pretty much span the width of my bed)
- I first started to lash the ropes, but realized my lashing skills were not going to cut it. Hence the goop. I glued the 4′ sticks to the 6′ poles at each 12″ mark.
- Once the glue dried, I lashed them with the twine and then glued the ends of the twine down.
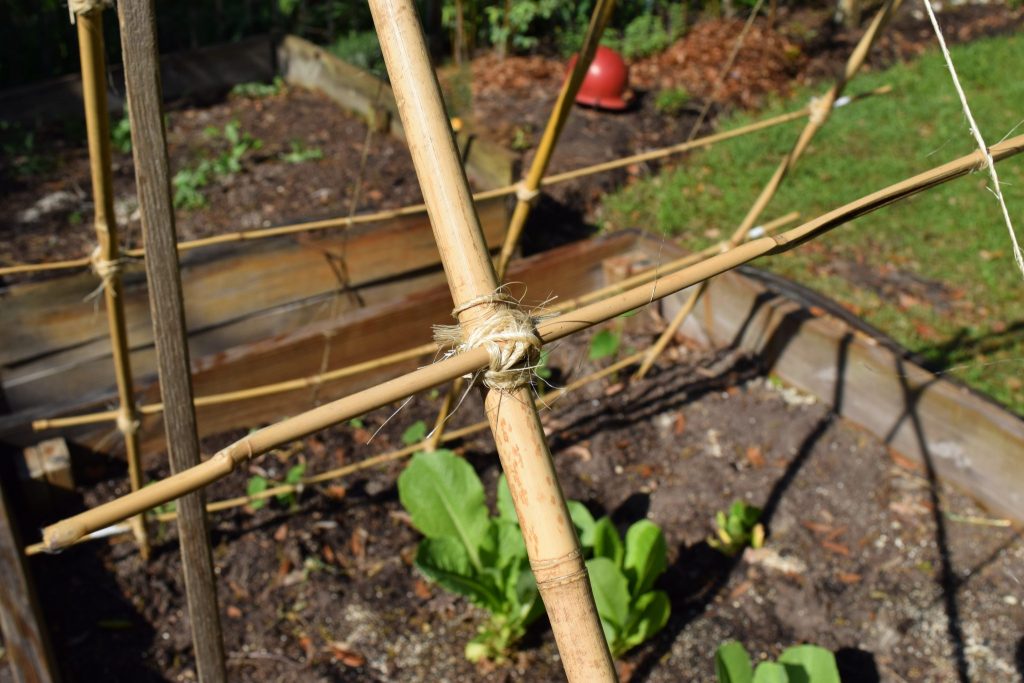
Table of Contents
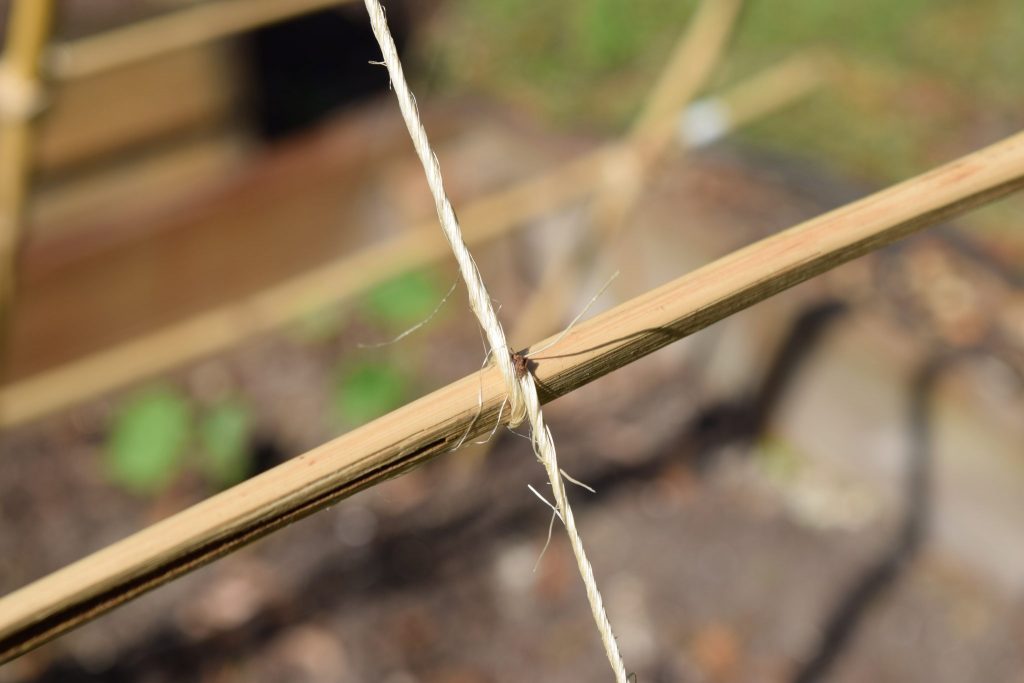
- I then ran a piece of twine to make a rope trellis for the cucumbers between each vertical pole, wrapping it around the narrower, horizontal pole to secure it.
- We then secured the 6-8′ poles in the middle of my bed, where each trellis would meet.
- We secured each trellis side to the middle poles, for added security, with the cable ties
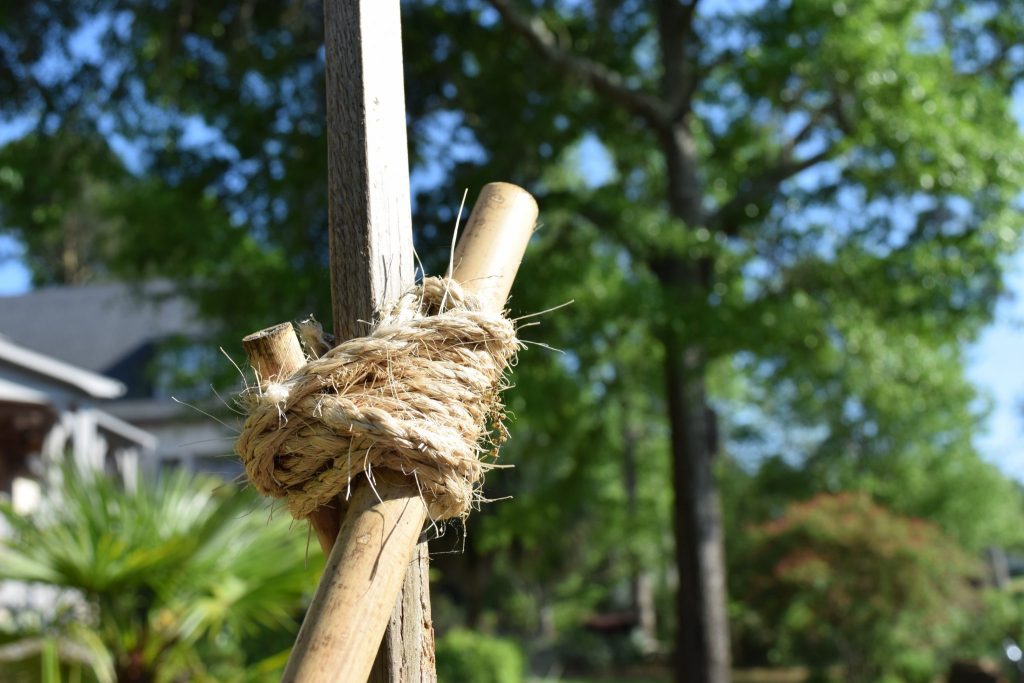
- I wrapped the thicker sisal rope around the cable ties so it would look nicer, but you don’t need to do this step.
Not only do I hope my creation functions well as a DIY cucumber trellis and as a heat shield for my lettuce, but I really like the way it looks. It’s that whole Functional Aesthetics thing.
It feels so good to get out and work in the dirt! See those corn looking things in the background of the photo? Those are our garlic. We are anxiously awaiting the garlic scapes which should sprout out in about a month. Not familiar with garlic scapes? Oh my…you don’t know what you’re missing. I promise I’ll be back with some great garlic scape recipes soon.
When you subscribe to Nourish and Nestle, be assured that we will only use your email address to send you emails that will keep you up to date with the latest news and content on the site. In addition, you will have access to my growing library of knit patterns, crochet patterns, as well as other printables. This library will continue to grow, so check back often.
Please know that you can unsubscribe at any time by emailing me or clicking on the “unsubscribe” link at the bottom of all emails.
Did you know that you can access many of the products I refer to in all of my posts on my Nourish and Nestle Amazon Page? You can access it here.
So, if you’d like to get in on the ‘subscriber benefit’ action, simply subscribe to Nourish and Nestle here or using the form on the right sidebar. It’s towards the top a bit. I have sent all my subscribers the link to the Subscriber Benefits Library. If you missed it or misplaced it, drop me a line.
Until next time…
Hugs,


