DIY Fabric Christmas Luminarias
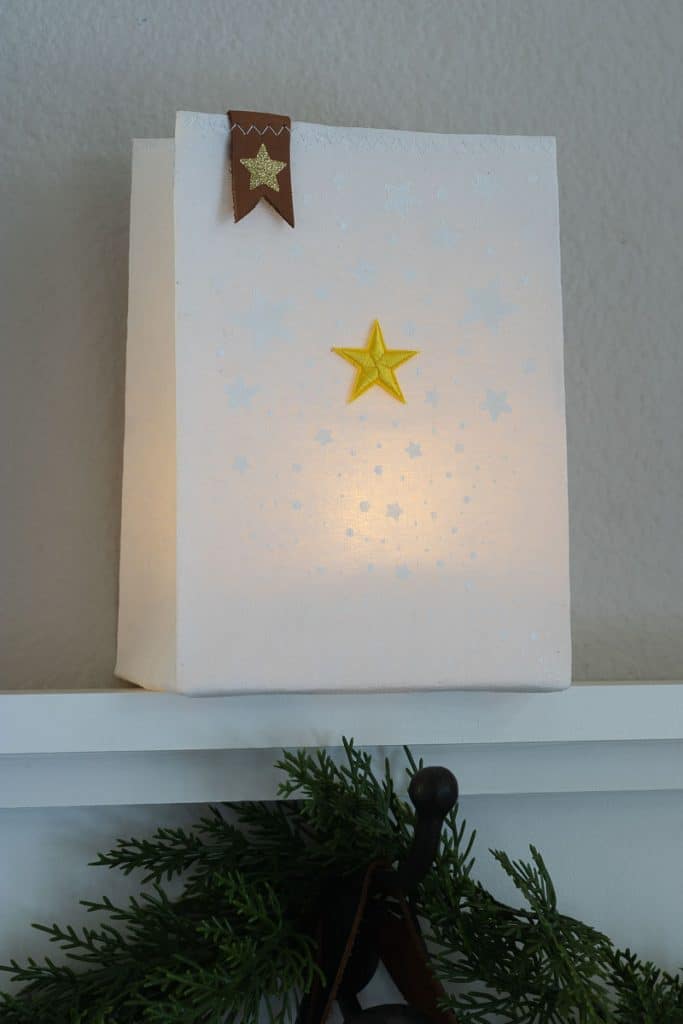
These fabric Christmas luminarias became one of my favorite discoveries from our Christmas market tour in Germany two years ago. The soft glow they cast and the starlight pattern created a lovely and magical Christmas decoration. I promptly gifted several to friends and family, leaving only one for me. After that first Christmas, I realized that I’d love a few more to group together or space throughout the house. But I quickly realized the company didn’t ship to the United States, so I knew I had to figure out how to recreate them. Luckily, we have the talented Monica on our team, and she figured it all out.
One of the great things about this Christmas Luminarias project is that once you buy the initial supplies, you can make multiple bags for a fraction of the cost. The initial investment is about $28, but that gives you enough materials to create four complete luminarias. That brings the price down to about five dollars per bag, and you’ll still have leftover paint, glue, and embellishments for future projects. These make wonderful gifts, beautiful seasonal decorations, or lovely additions to a dinner party tablescape.
The technique is surprisingly straightforward, even if you’re not an experienced sewer. Most of the construction is done with fabric glue, and the only sewing required is a simple zigzag stitch along the top edge. The painting is forgiving and actually looks more charming when it has a slightly handmade, imperfect quality. If you can iron, fold, and glue, you can make these luminarias. Let me walk you through the process.
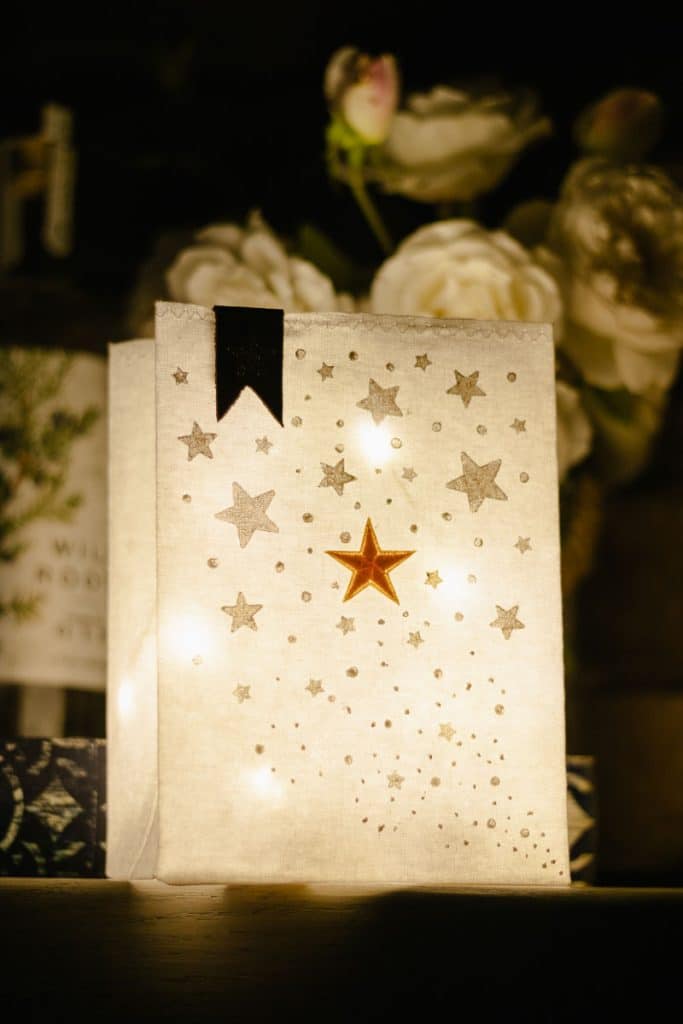
Table of Contents
About Christmas Luminarias
The tradition of using decorative lights during winter celebrations spans many cultures and continents. In Latin America, luminarias trace their roots to sixteenth-century Mexico, where Spanish colonizers lit bonfires along roads to guide people to Christmas Eve mass during Las Posadas. Native Pueblo peoples in New Mexico adopted these traditions during the Spanish colonial period, and the early bonfires eventually evolved into the paper bag luminarias recognized today.
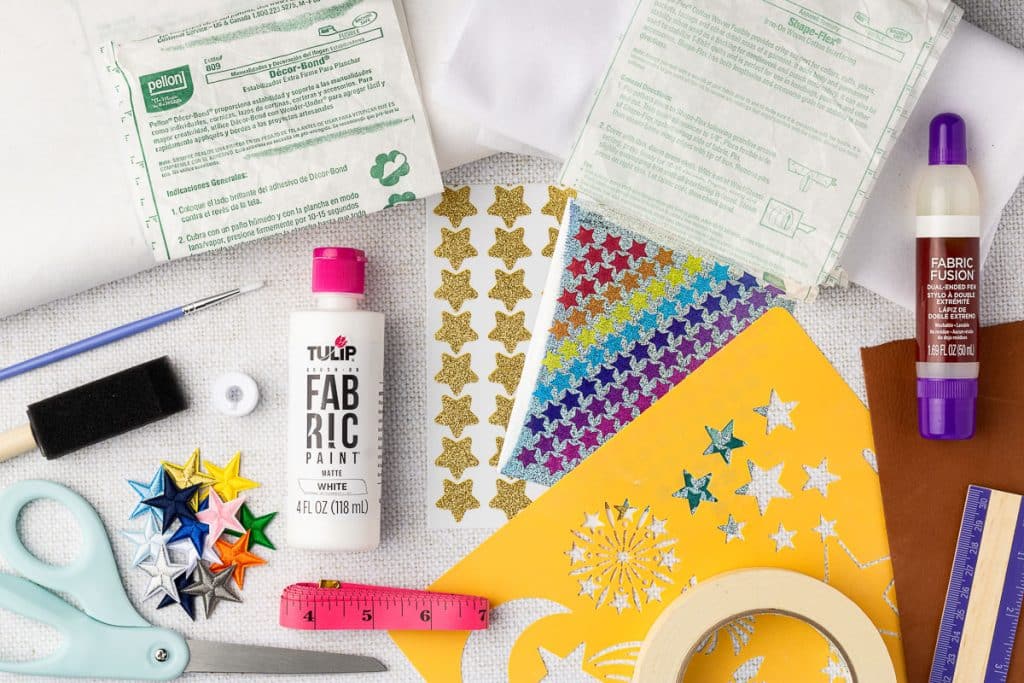
Materials Needed for Fabric Luminarias
Some of these links may be Amazon affiliate links and I may earn a small commission from the sale of these products to help defray the costs of operating this site, but the price you are charged is not affected. You can see my full disclosure policy here.
- This free Fabric Luminaria pattern is available in this post below and as an ad-free printable PDF for subscribers. You can find the pattern in the Sewing section of the Library (your super secret password is included at the bottom of every Monday’s Newsletter email) or email me, and I’ll send it to you. Not a subscriber? C’mon—we’d love to have you. A subscription costs nothing and gives you access to all our printables and pattern PDFs. Click here to have the Free Fabric Luminaria pattern directly emailed to you.
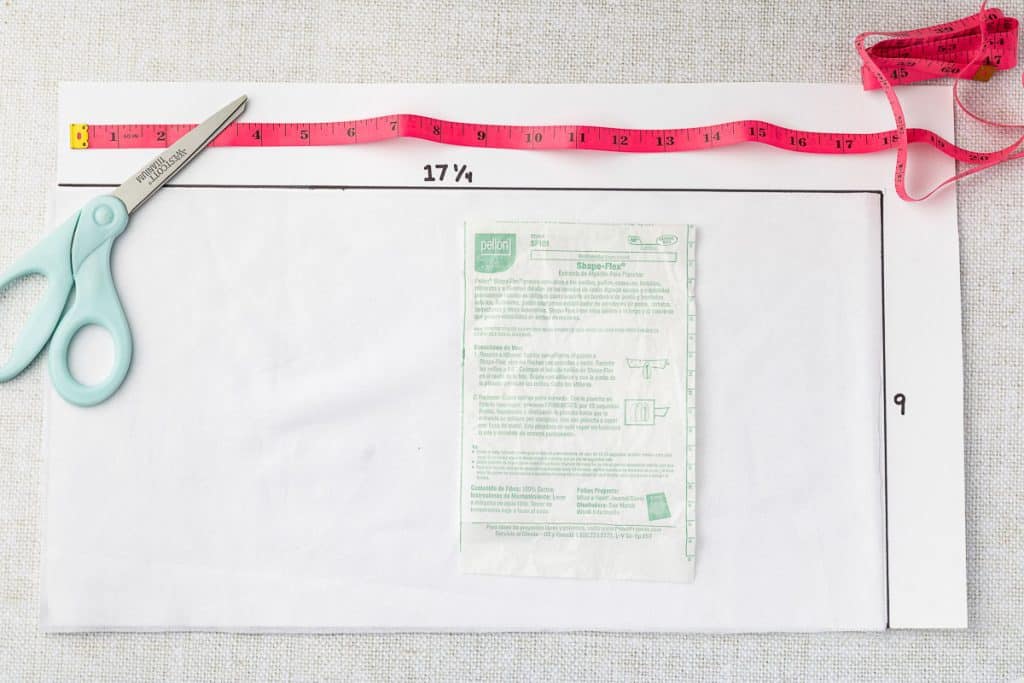
- Shape-Flex, fusible, woven cotton interfacing, cut into 17 ¼ inches by 9 inches. This will be the luminary’s exterior.
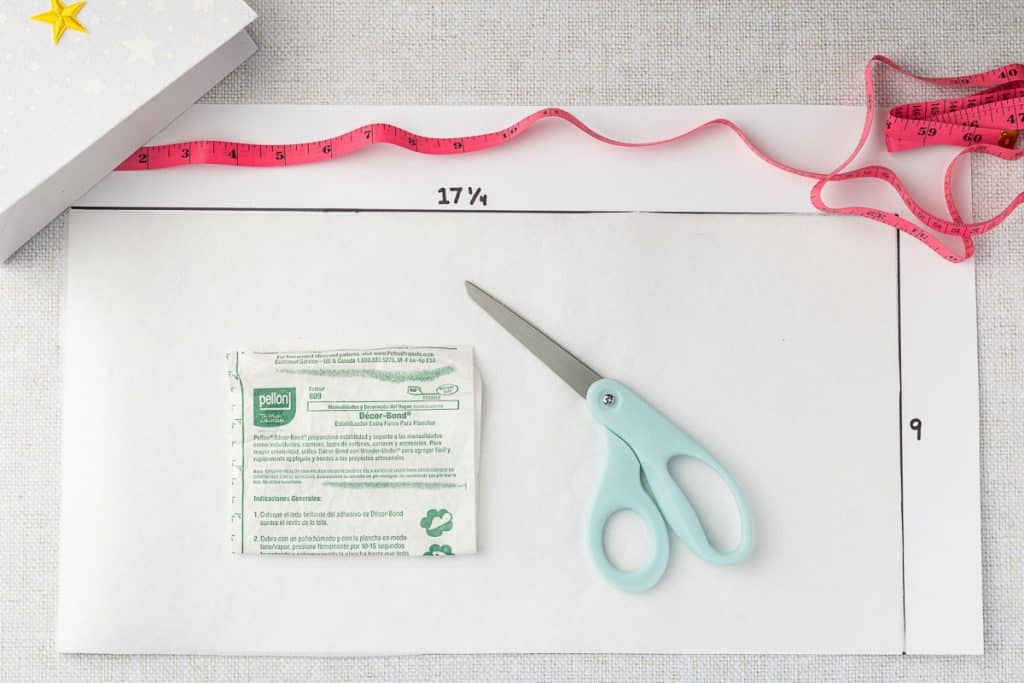
- Medium-weight, fusible stabilizer, cut into 17 ¼ inches by 9 inches. This will be on the inside of the luminary.
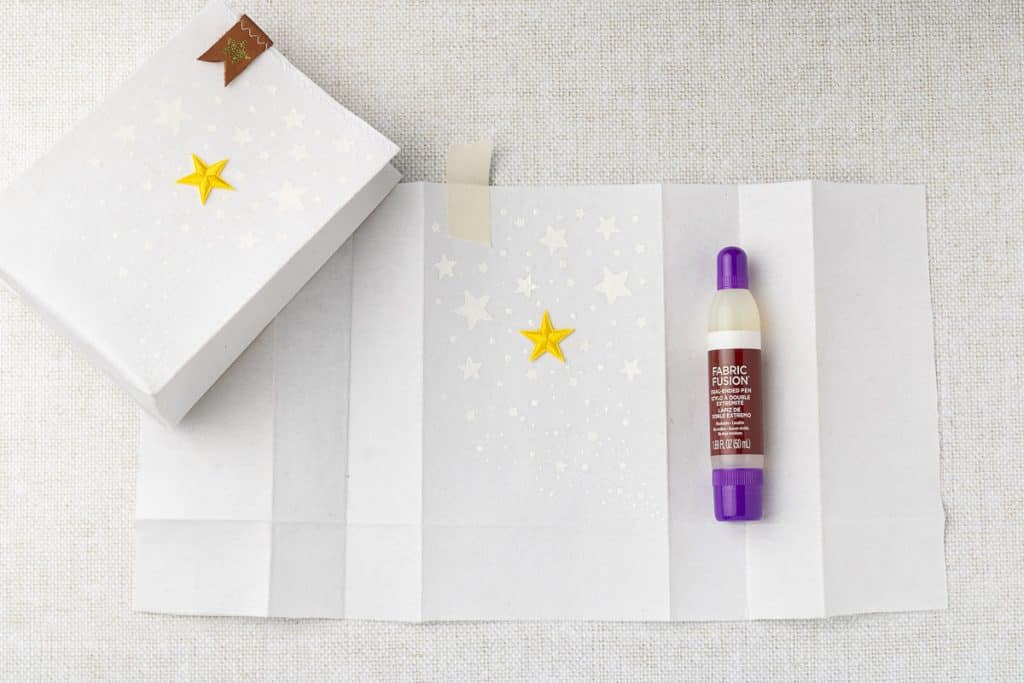
- Fabric glue
- White fabric paint, soft and flexible
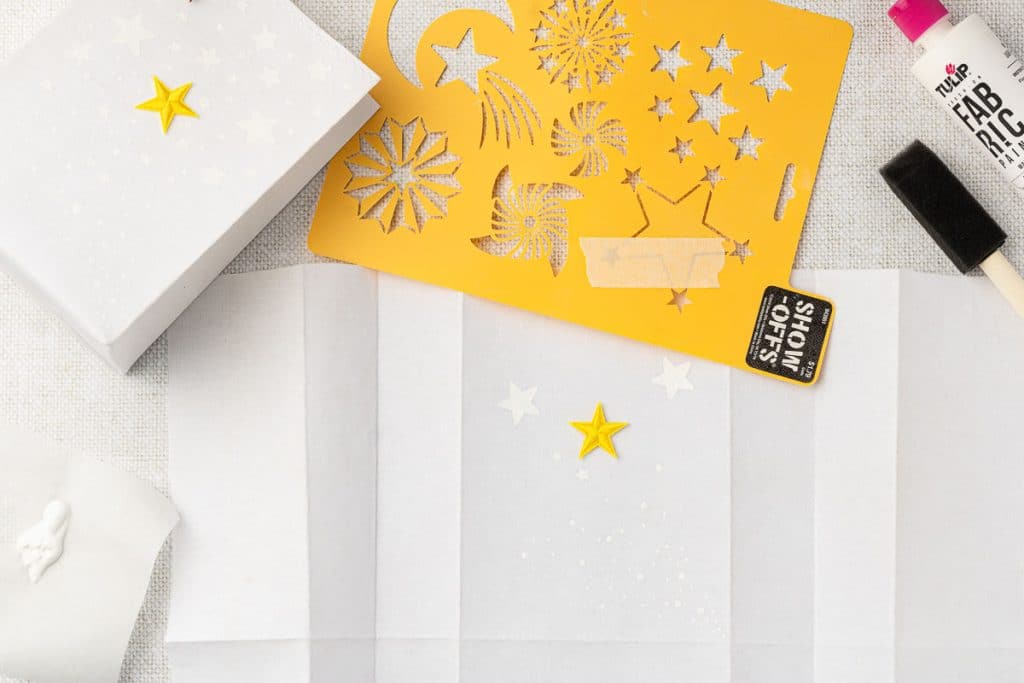
- Star stencils (star size ranges from ¼ inch to ¾ inch) or other stencil (think snowflakes, holly and berries, the Nativity, words, etc.) Be mindful of the size of your stencils; the finished luminaria bag is 7″ tall by 4¾” wide. You could also use the sheet part of a sheet of stickers once you’ve pulled the sticker out as a stencil.
- Foam brush or dauber.
- A thin paintbrush or a wooden skewer
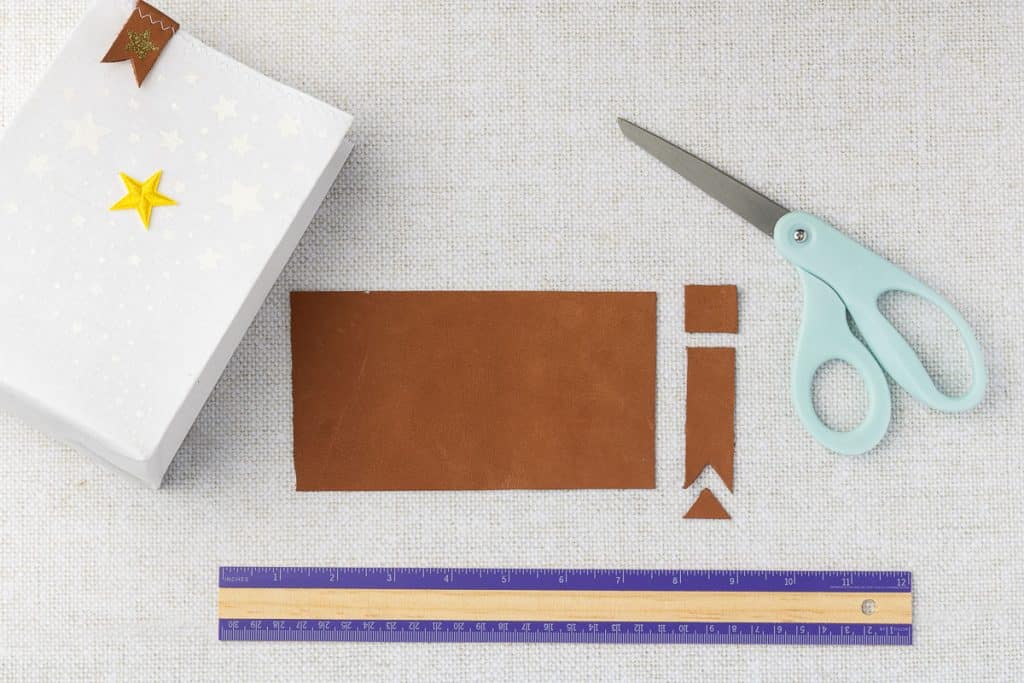
- Optional: Leather trim strip, cut into a 2 ½ inches x ¾ inch strip
- White thread, for sewing machine
- Embroidered Star Patch, 1 inch
- Masking tape or painters’ tape
Tips for Success when Making Christmas Luminarias
- Work in stages and let things dry completely. The biggest mistake you can make is rushing through the gluing or painting steps. I found it helpful to paint one bag while another was drying, keeping a rotation going if you’re making multiples.
- Press your creases firmly with a hot iron. Sharp, well-defined folds make the assembly so much easier and give your finished bag a professional look. Take your time with the folding steps and refer back to the measurements if you get confused.
- Test your paint application on a scrap piece first. This lets you get a feel for how much paint to use with the stencils and how the fabric accepts the paint. Too little, and it looks washed out; too much, and it bleeds under the stencil.
- Use the tape liberally. It’s your best friend for this project. It holds pieces in place while you work, protects areas from stray paint, and keeps glued sections together while drying. Don’t skip this step.
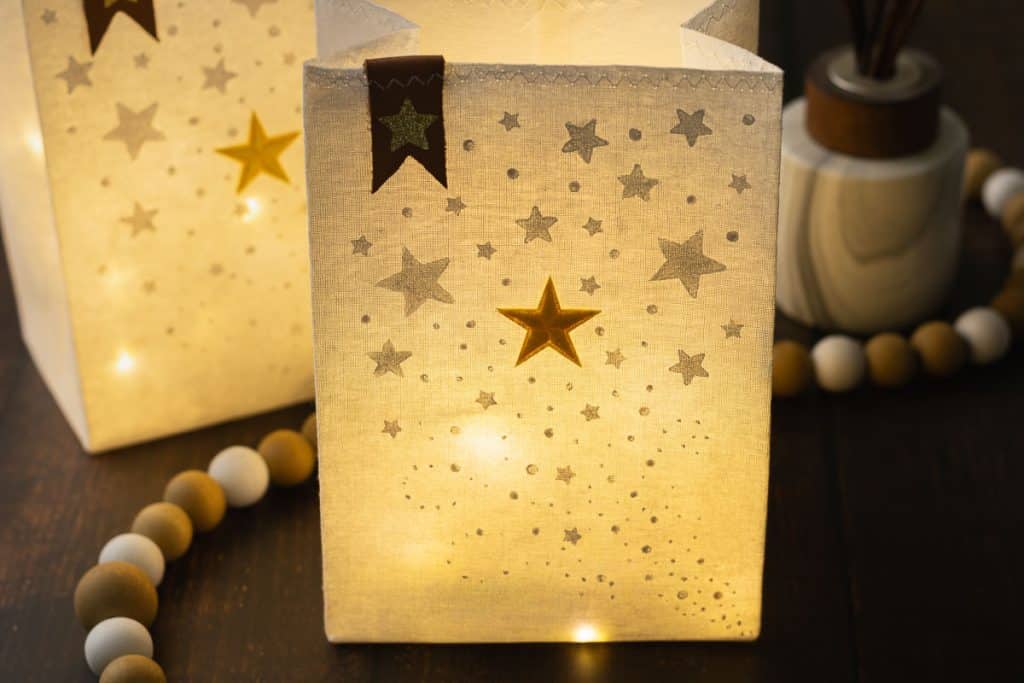
- When placing your star pattern, start small at the bottom and gradually increase the size as you work upward. This creates that lovely sense of perspective, as if you’re looking up at a night sky.
How to Make Fabric Christmas Luminarias
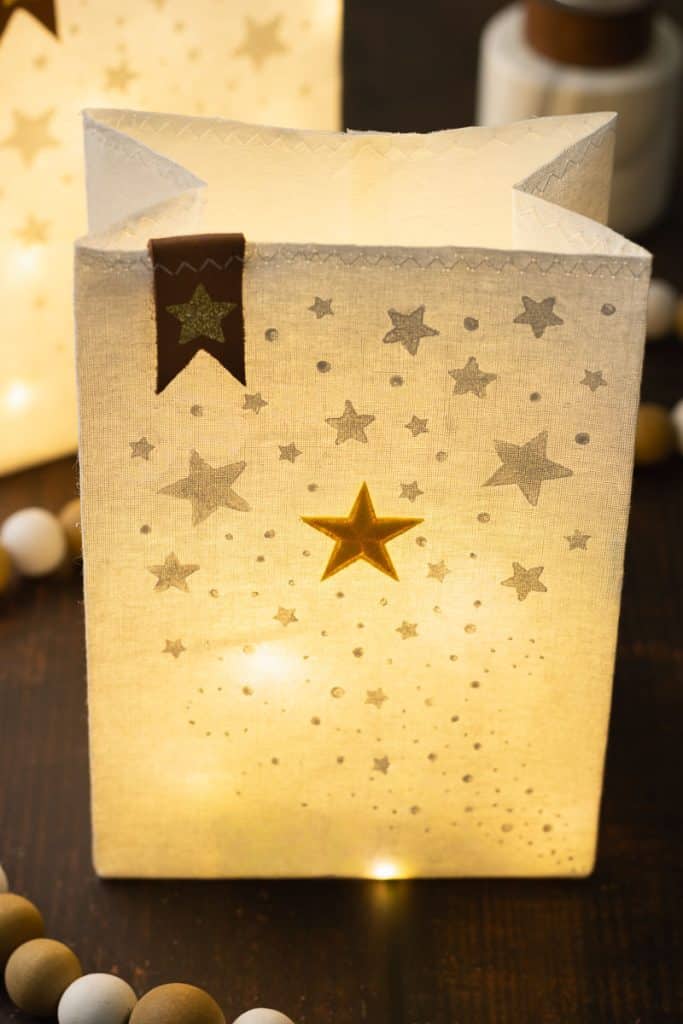
Finished luminary size is 7″ tall by 4¾” wide, when standing up.
- Cut both of the interfacing (which will be the exterior of the bag) and stabilizer into 17 ¼-inch by 9-inch pieces.
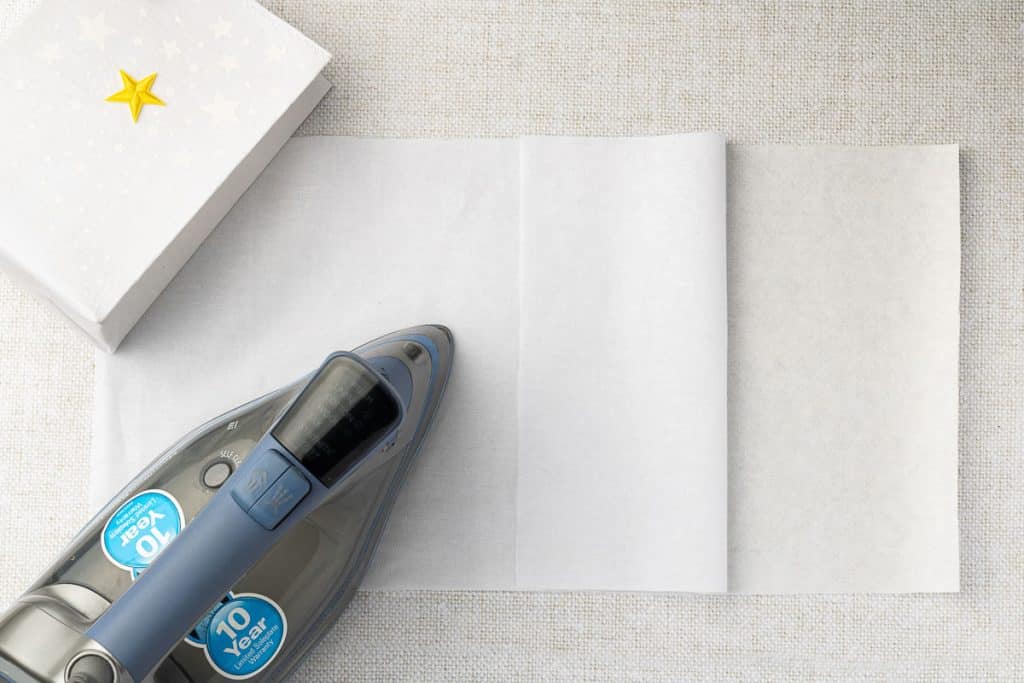
- Iron the two pieces together, with wrong sides facing each other. Follow the ironing directions that come with the fusible fabrics.
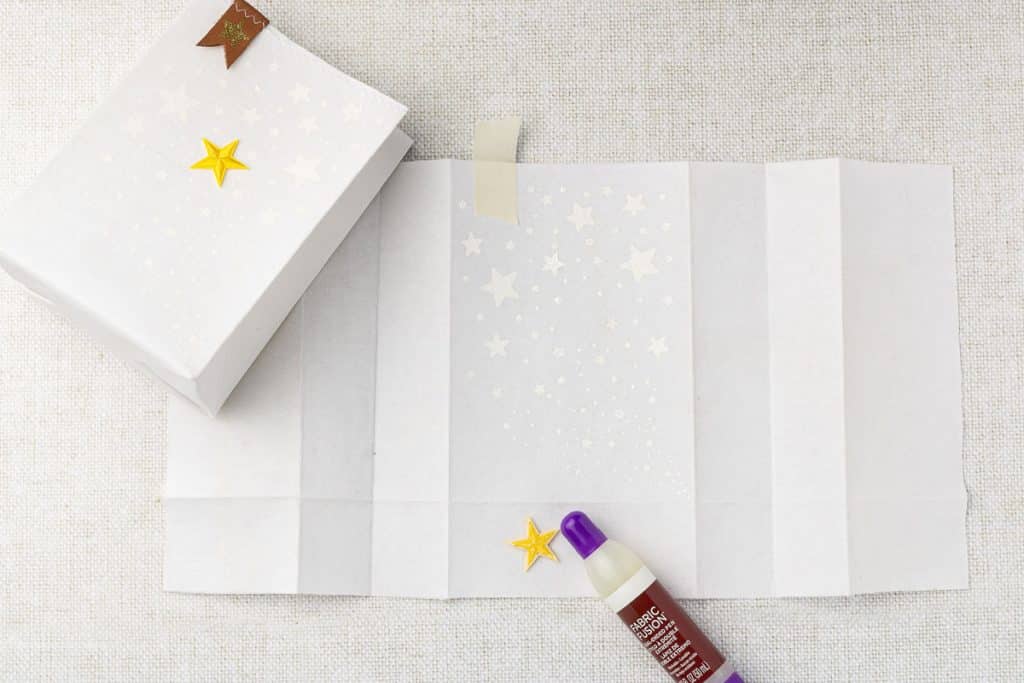
Folding
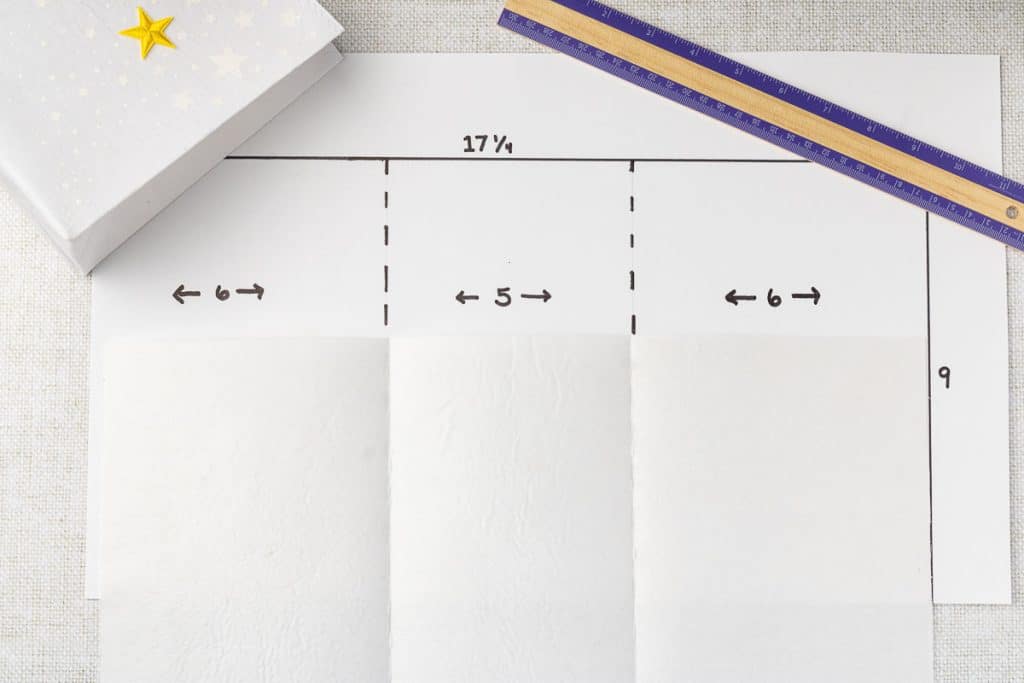
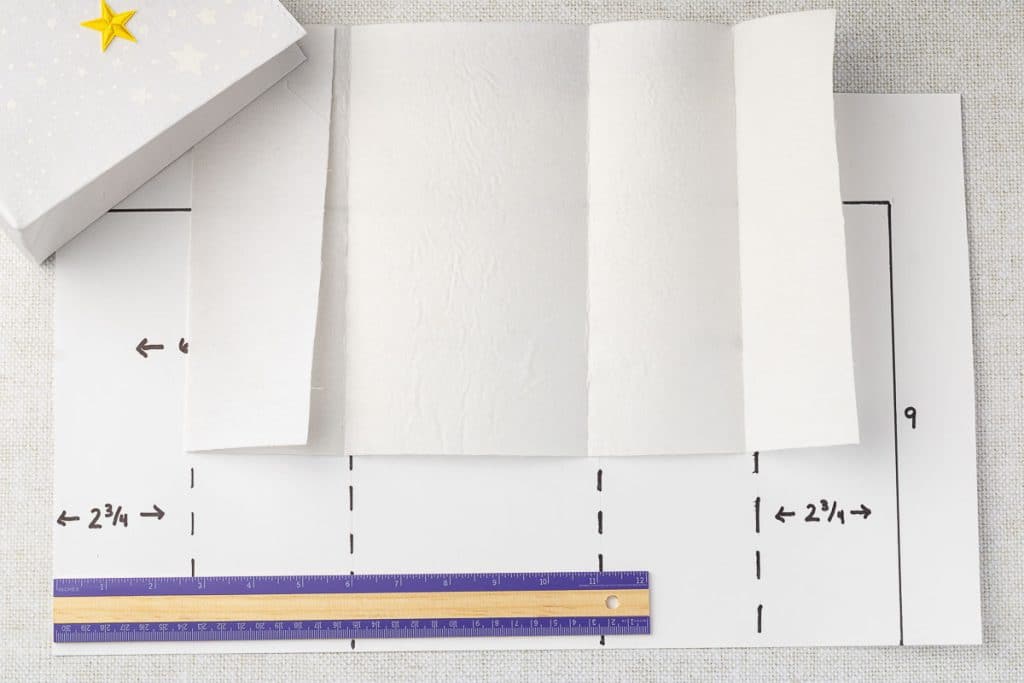
- Place the Shape-Flex (the exterior) side facing down. The long sides of the fabric (17¼”) will be the front and back. The shorter, 9-inch sides will be the right and left sides.
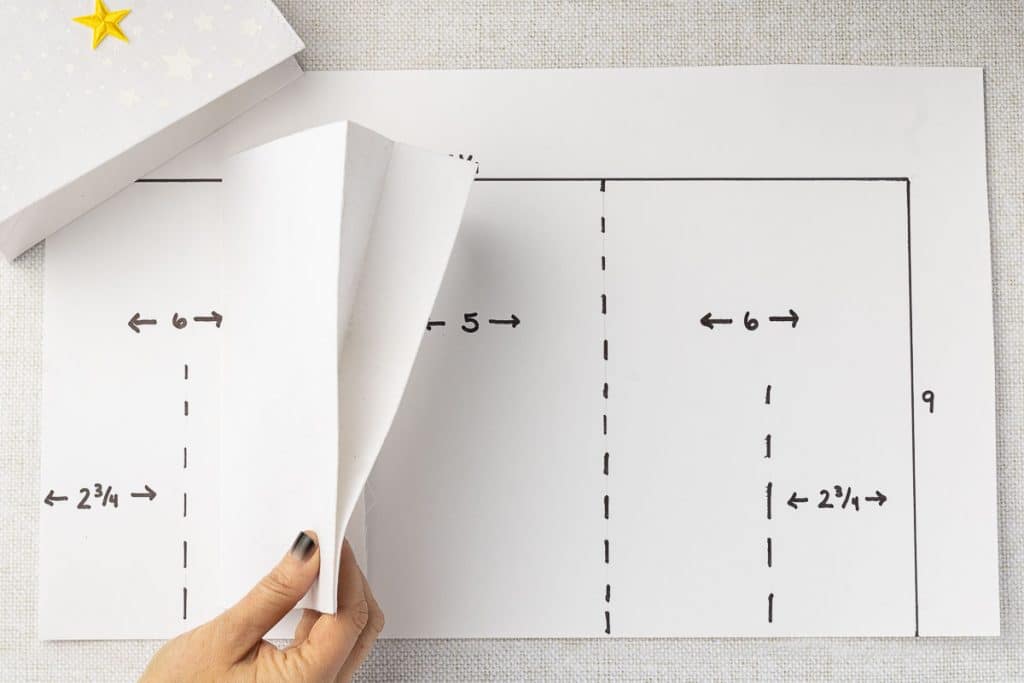
- Measure 6 inches in from the left side, fold toward the middle, crease, and iron the crease. Then, repeat the same process for the right side. You should be left with 5 inches in the middle of the rectangle.
- Measure 2¾ inches from the left side, fold, crease, and iron. Repeat on the right side.
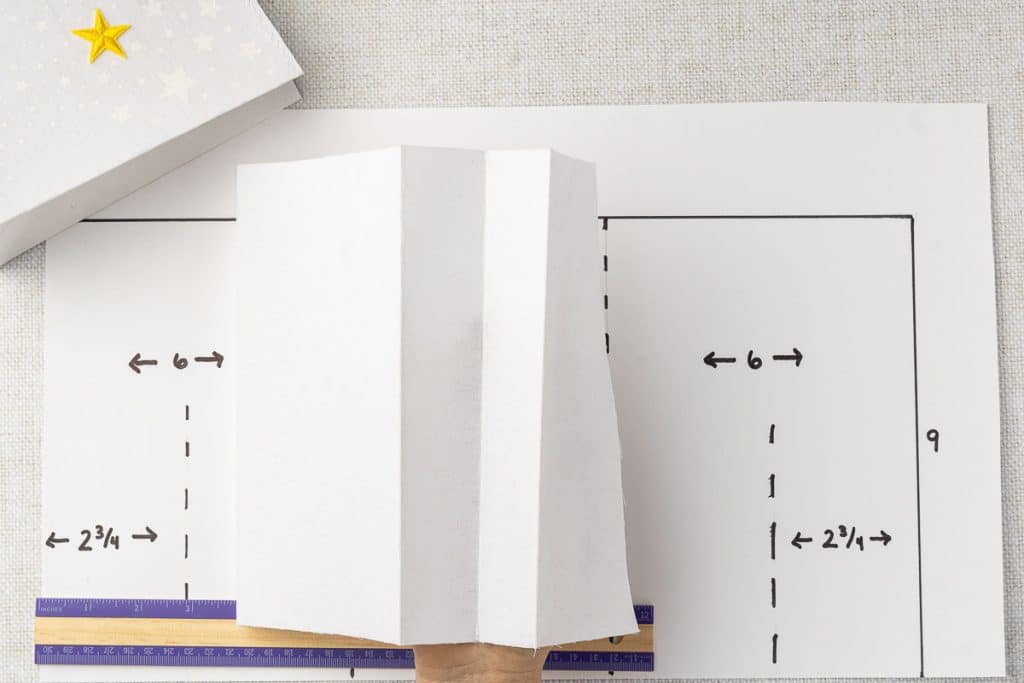
- Now, flip the material over so that the Shape Flex (the exterior side) is facing up. Bring together the two right-side creases, fold and crease the middle; this will be the side of the bag. Repeat on the left side, bringing the two left-side creases together and folding the middle. Iron both middle creases.
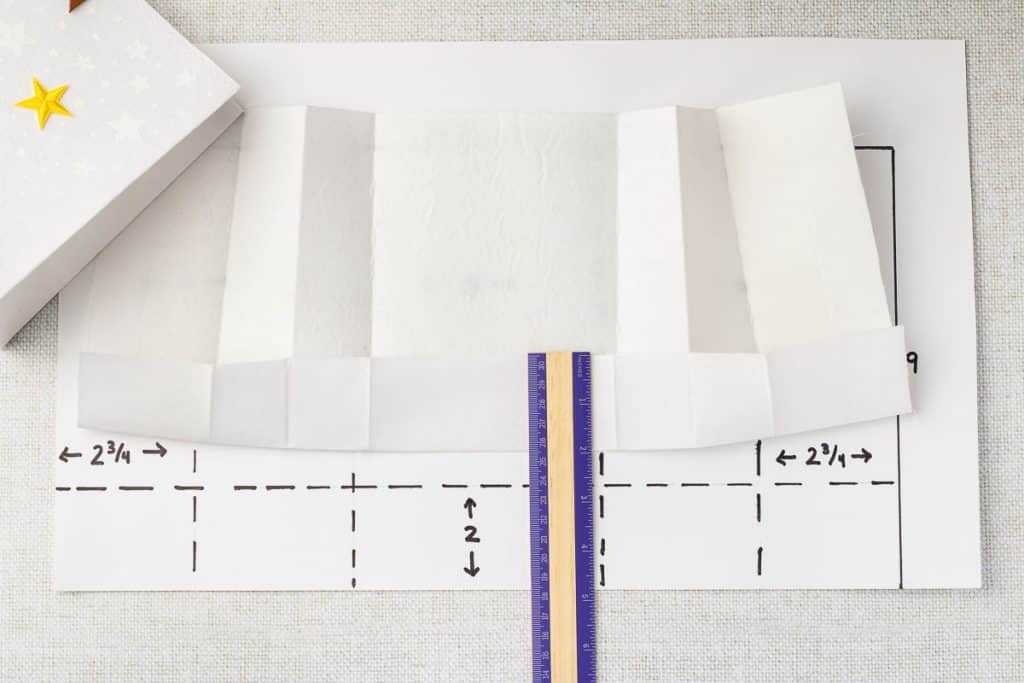
- Flip the material so that the Shape-flex is back to facing down. From the bottom long edge, measure up 2 inches, fold, crease, and iron.
- Flip the fabric once again so the Shape-flex is face up. Working in the center rectangle (5×7-inch space), place your embroidered star in the center, but do not glue or fasten it until after the stars are painted. If attached, the embroidered star won’t allow the stencil to sit flush with the fabric, which is essential. But, placing it will give an idea of where to paint around. You could lightly mark where you want it to be with a pencil and stay a half- to three-quarters of an inch away from the mark. You can also mark a place where the leather tag will be with a piece of tape at this time.
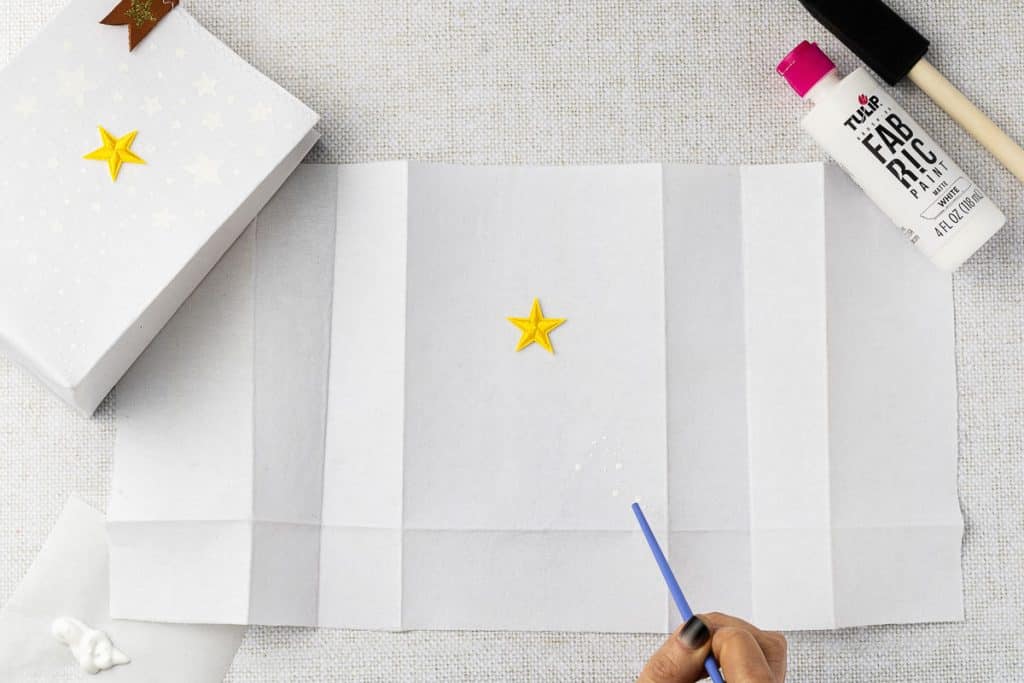
Painting
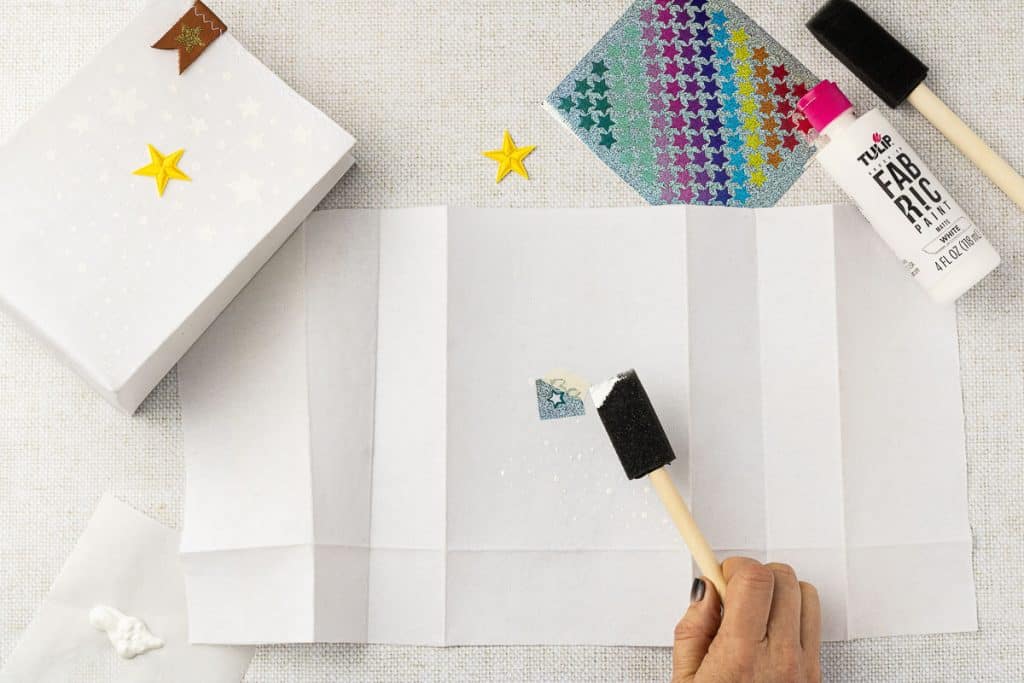
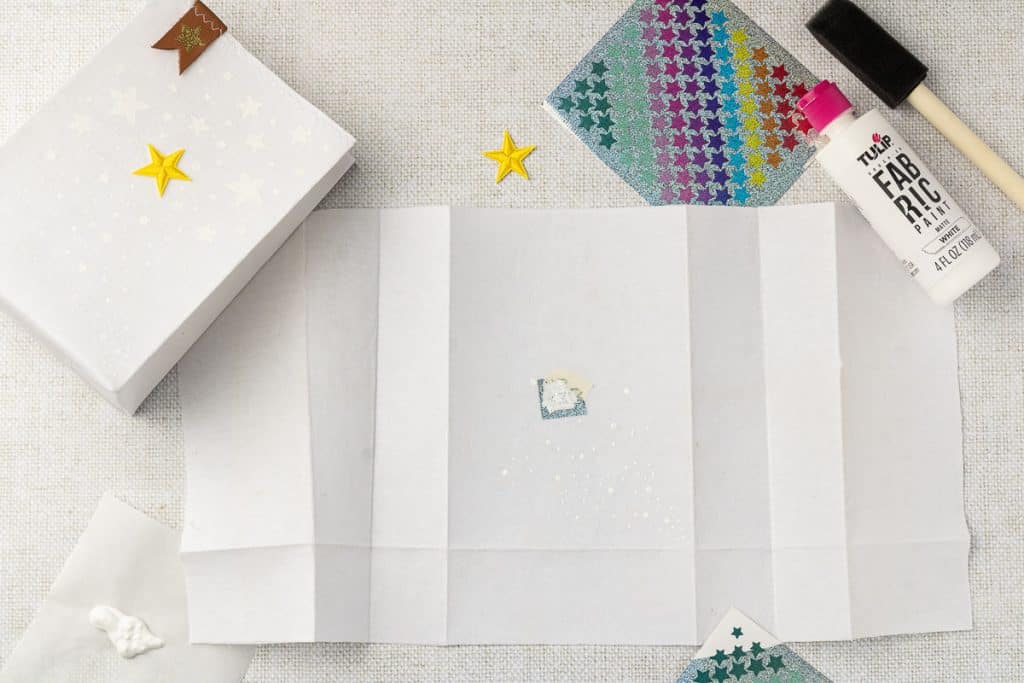
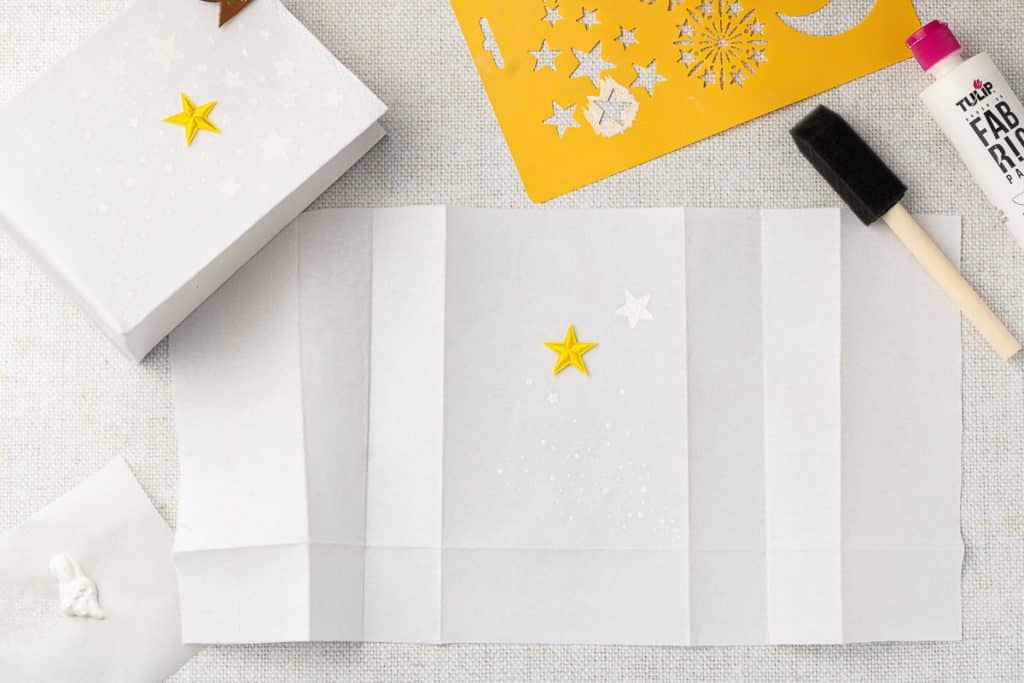
- Working up from the bottom corner of the center 5″x7″ area, start by painting small dots and stars. Use the end of a paintbrush or a wooden skewer, dipped in white fabric paint, to make dots. Use the star sticker outline or star stencils, and a foam brush dipped in paint, to make the bigger stars. As you work up the face of the bag, the stars should get bigger as they get closer to the top. Remember… It’s always best to get as much paint off your dauber as possible before you start daubing into the stencil. LESS IS MORE. You can always add more, but it’s near impossible to take paint away.
- You may have to wait for the paint to dry before adding more, so it does not smudge.If you are working on multiple bags, you could move betweeen them while each one dries.

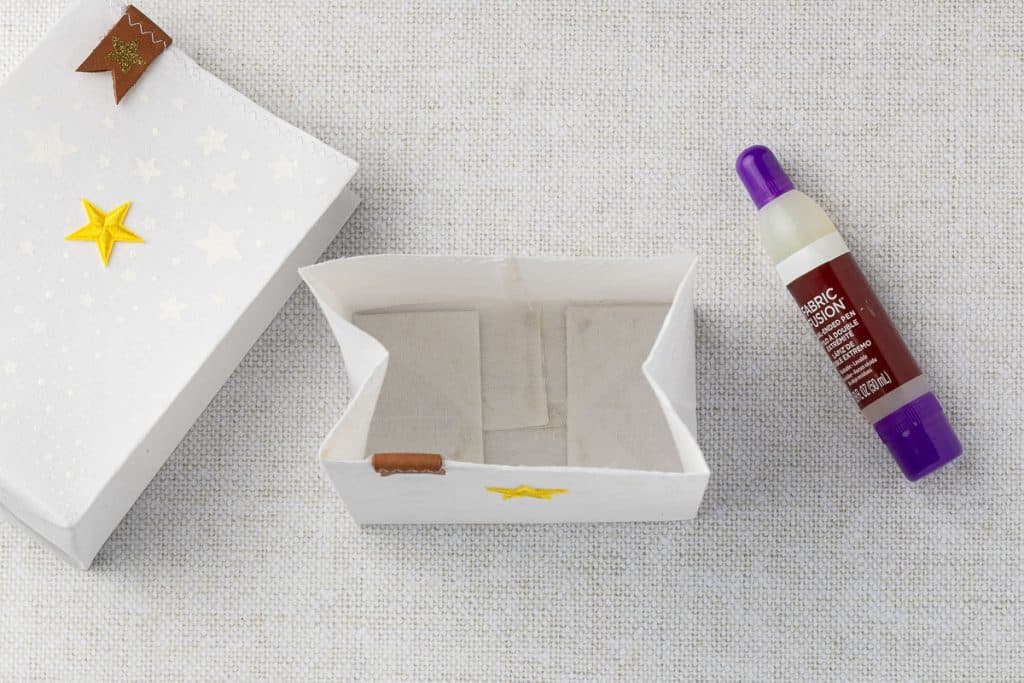
Embellishing Your Christmas Luminarias
- Glue the embroidered star in the center of the finished painted stars.
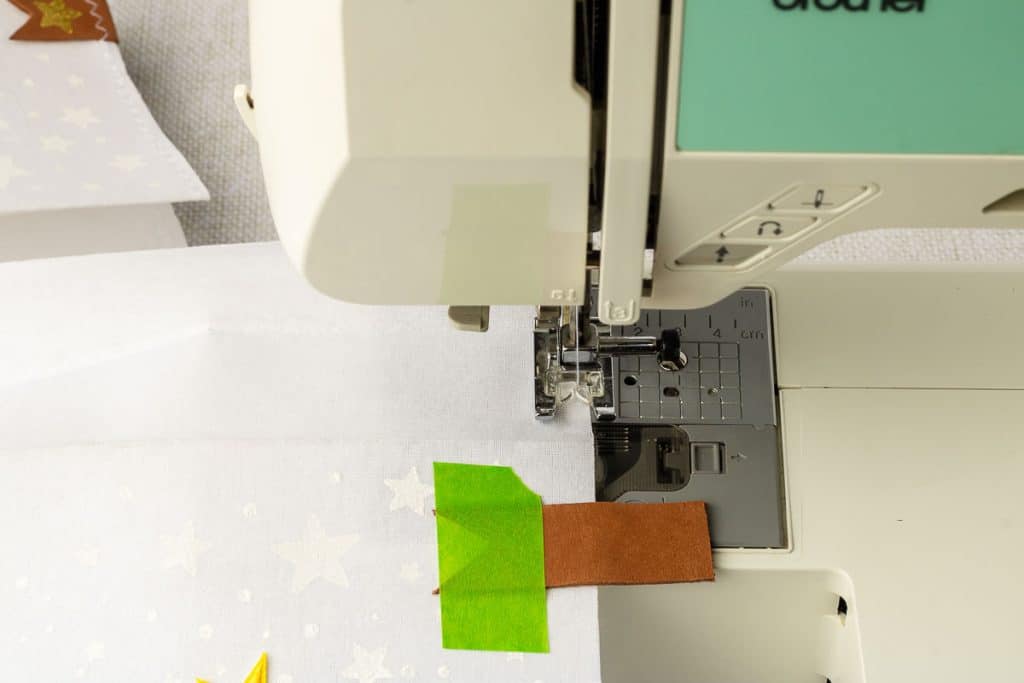
- Cut a leather strip measuring 2 ½ inches by ¾ inches. Cut out a triangle at the bottom of the strip.
- Place the leather strip on the top left corner about 1 ½ inches from the top. Tape the strip in place, leaving room near the top edge for the sewing detail.
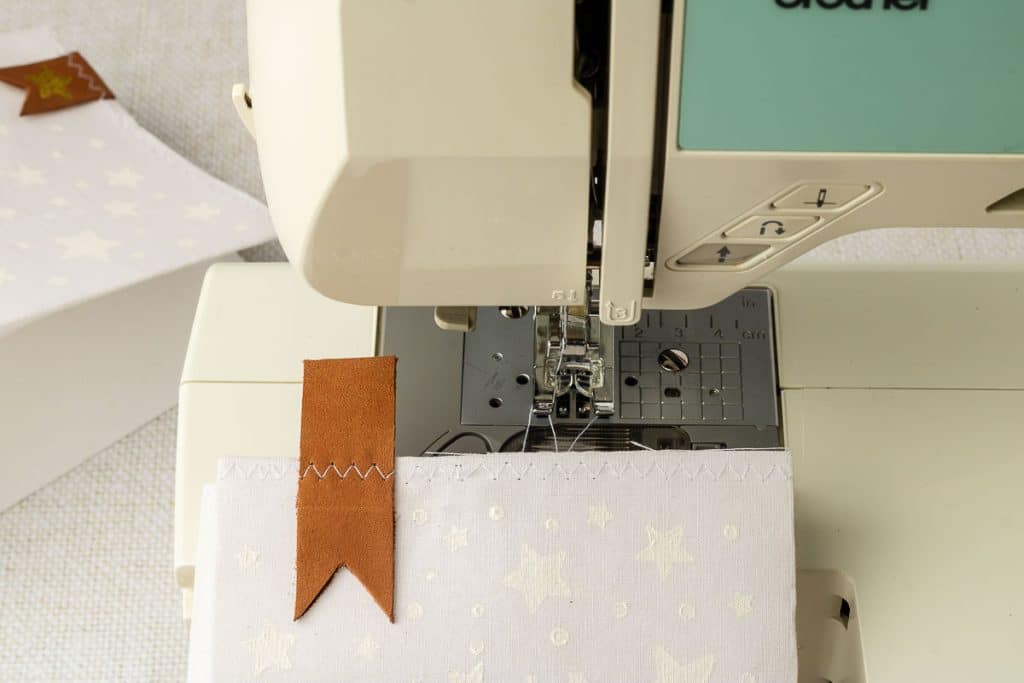
- Set up your sewing machine for a zig-zag stitch. For this bag, I set the length to 3.0 mm and the width to 4.0 mm.
- Run the zig-zag stitch along the entire top edge of the luminaria to create detail and secure the leather strip.
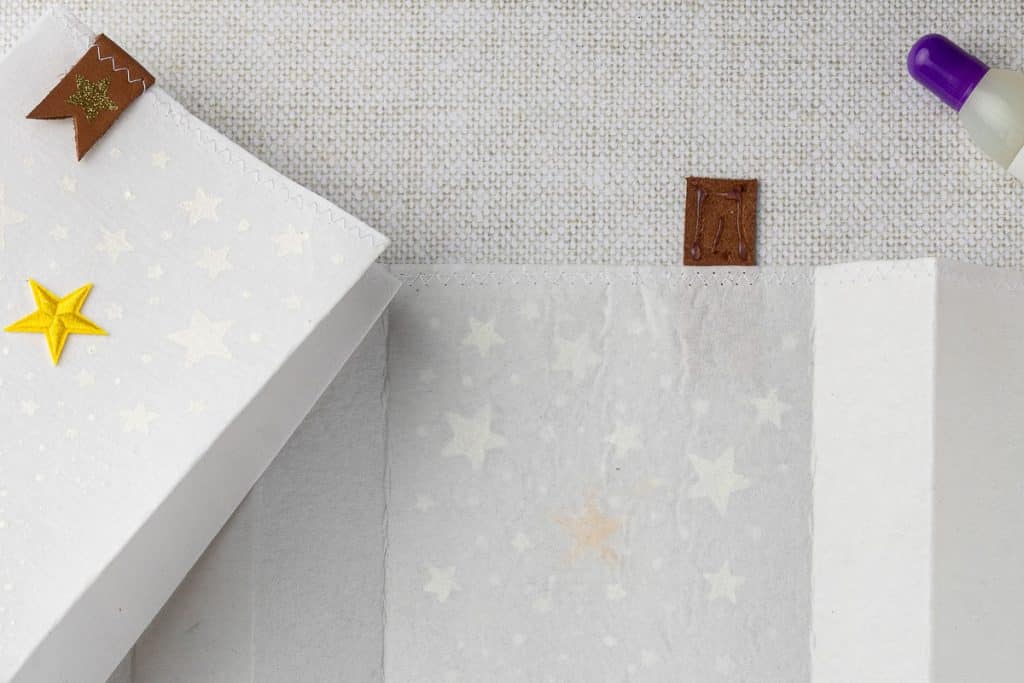
Glue
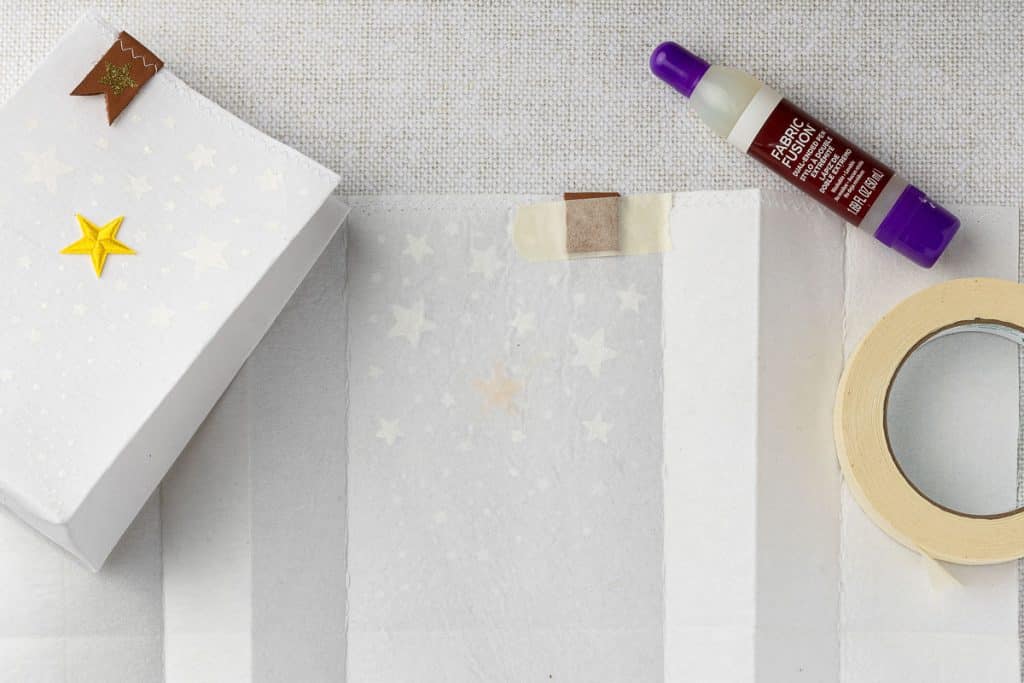
- Start by gluing the backside of the leather strip. Fold it down into the bag and secure the glued piece with tape until it’s dry.
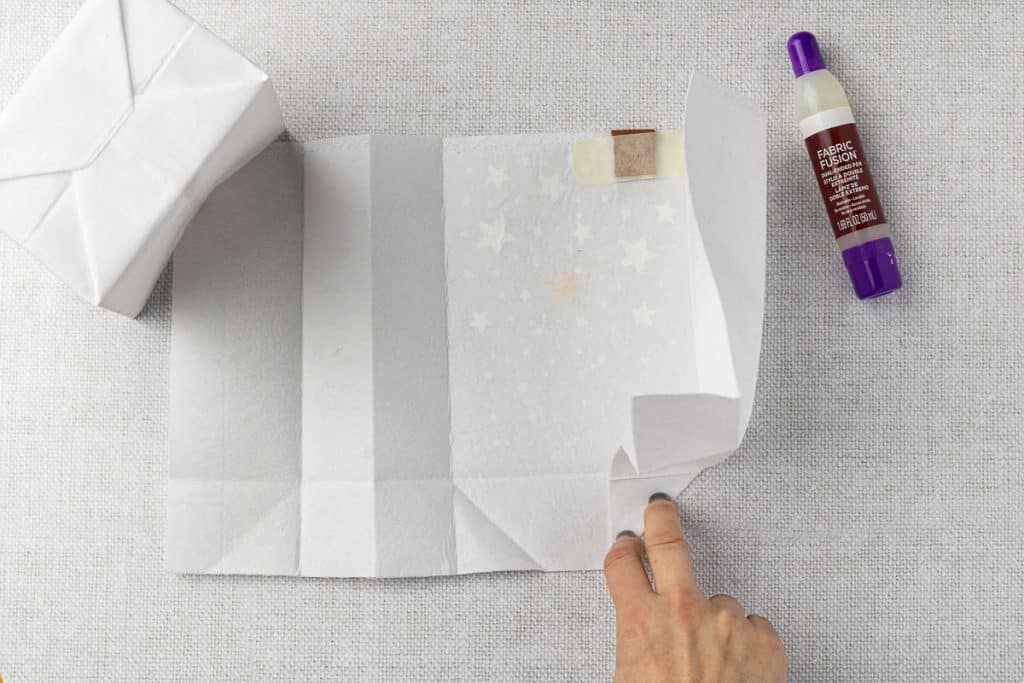
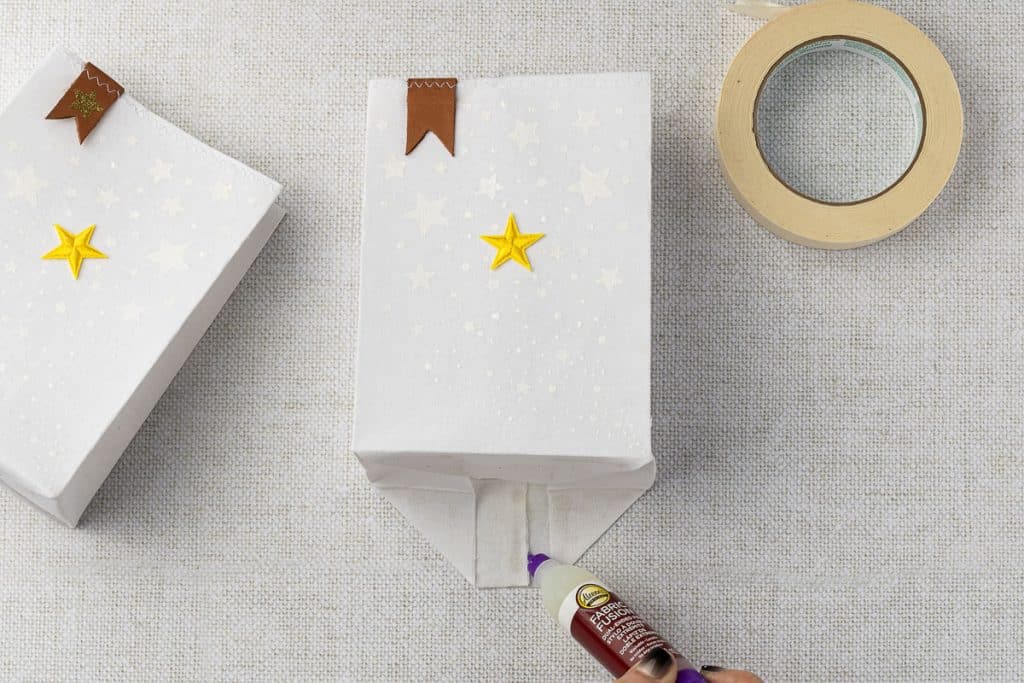
- Once the paint is dry, place the fabric with painted stars side facing down. We will now fold the bottom of the bag, as you would when wrapping a gift.
- Working in the center panel, fold the bottom corners up and in until they make a neat triangle that lines up with the bottom of the bag face and glue.
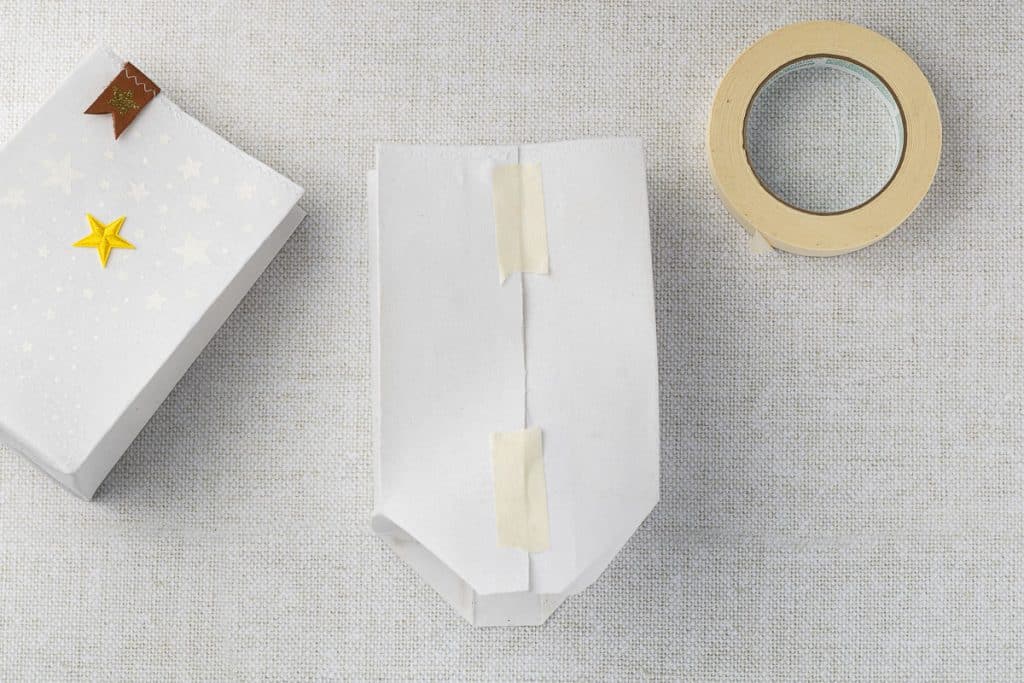
- Glue the luminaria bag’s seam, then hold it together with tape until the glue dries.
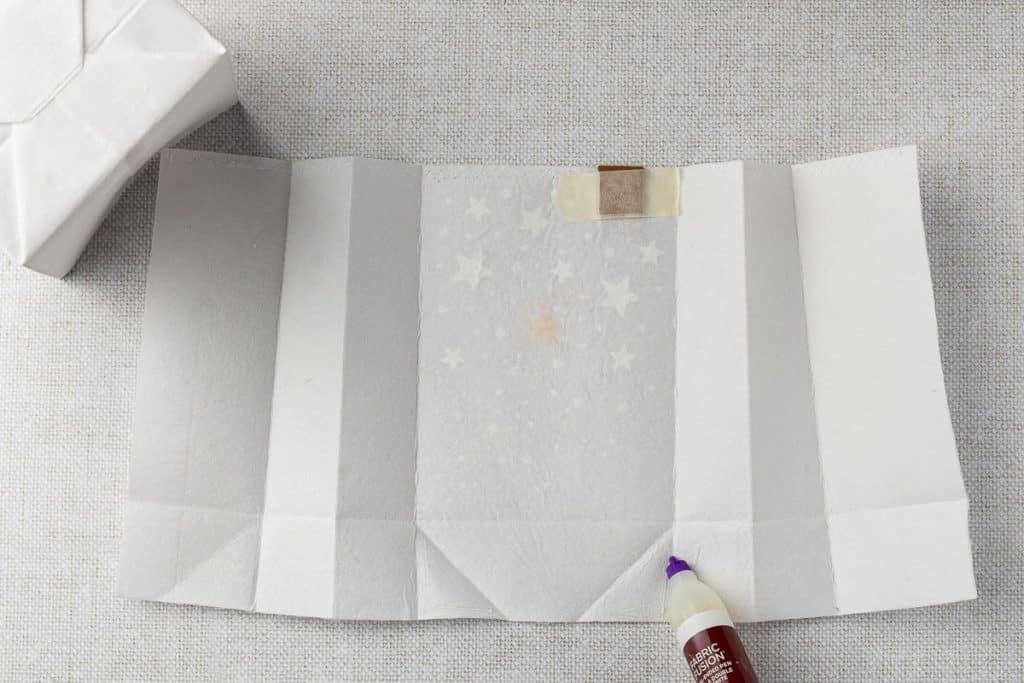
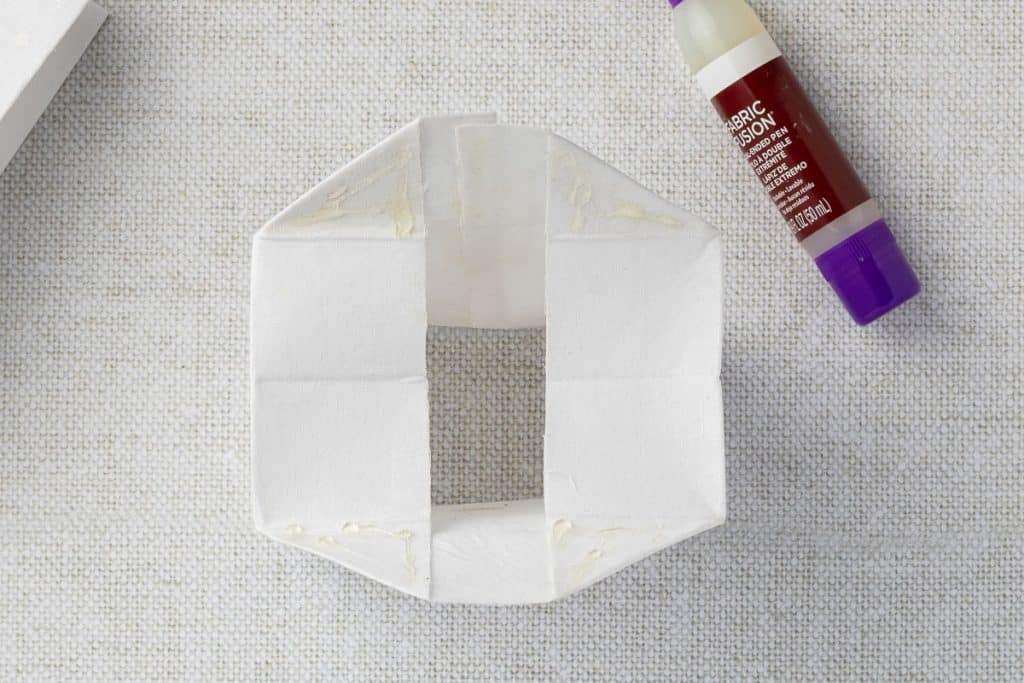
- Fold the bottom seam side of the bag the same way as the front bottom, and glue the triangles in place.
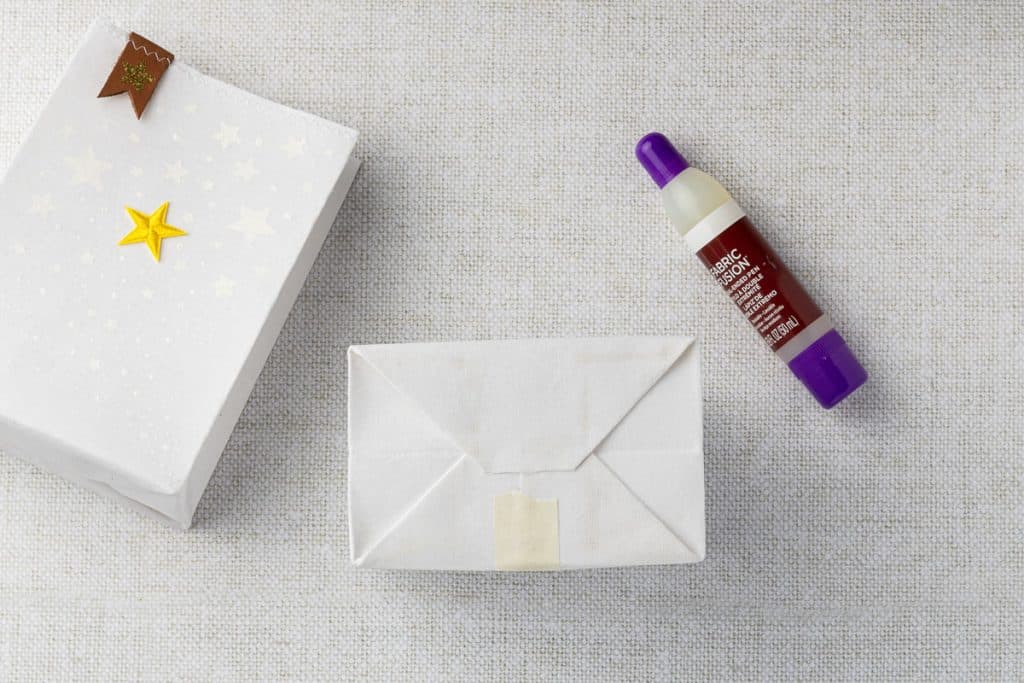
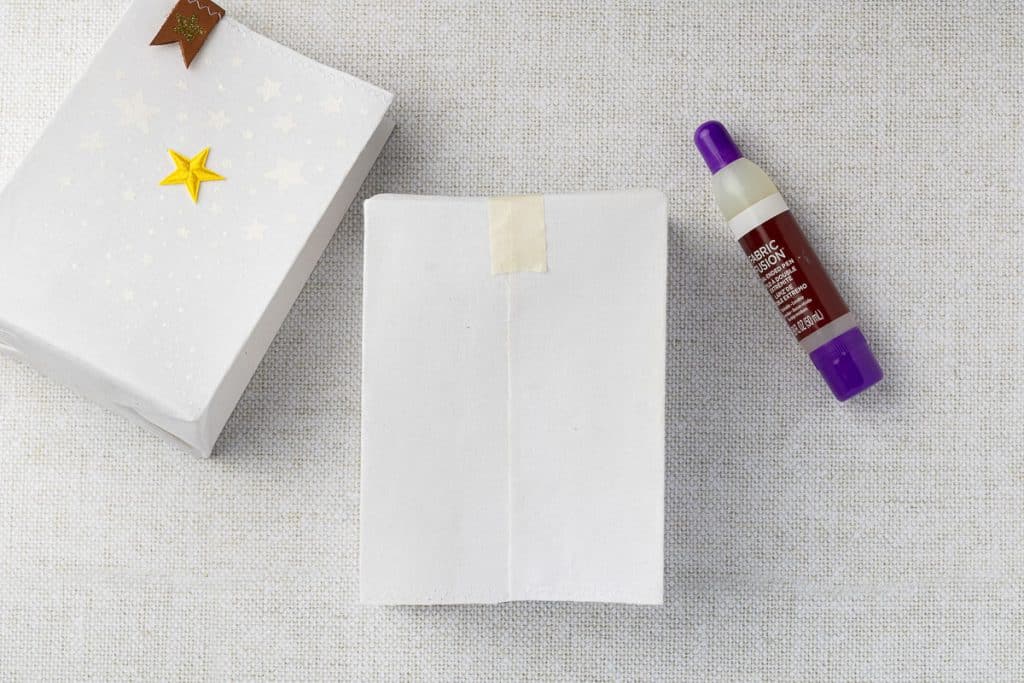
- Place glue on the bottom flap (on the triangle areas) and secure the flap to the bottom of the bag. Glue down the seam side first, then the front bottom flap. Glue the tops of the flap together.
- Place your Christmas luminary upright and add a heavy object to hold the flaps down until the glue dries.
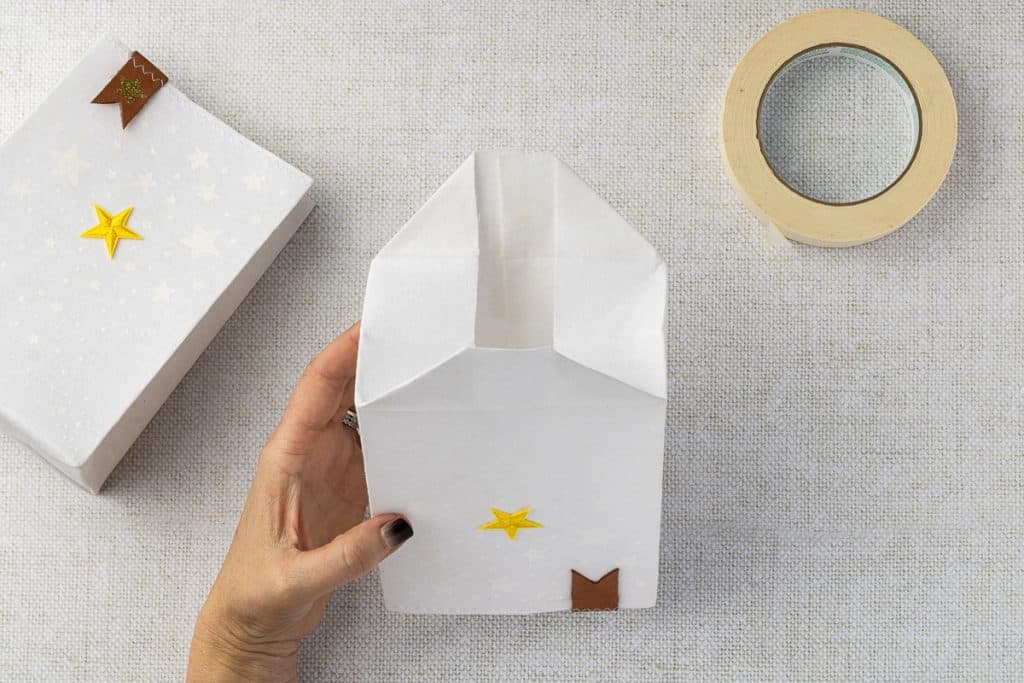

- Place a gold star sticker on the leather strip.
- TA DA! You are finished.
Use a small LED candle or small twinkling lights to light up your Christmas Luminary bag. DO NOT use a candle…they are flammable.
Other Christmas Craft Posts
If this Christmas Luminarias project has you hankering for my Christmas-y projects, you are in the right place. We love Christmas around here and have quite a few crafts dedicated to the holiday. Check out these:
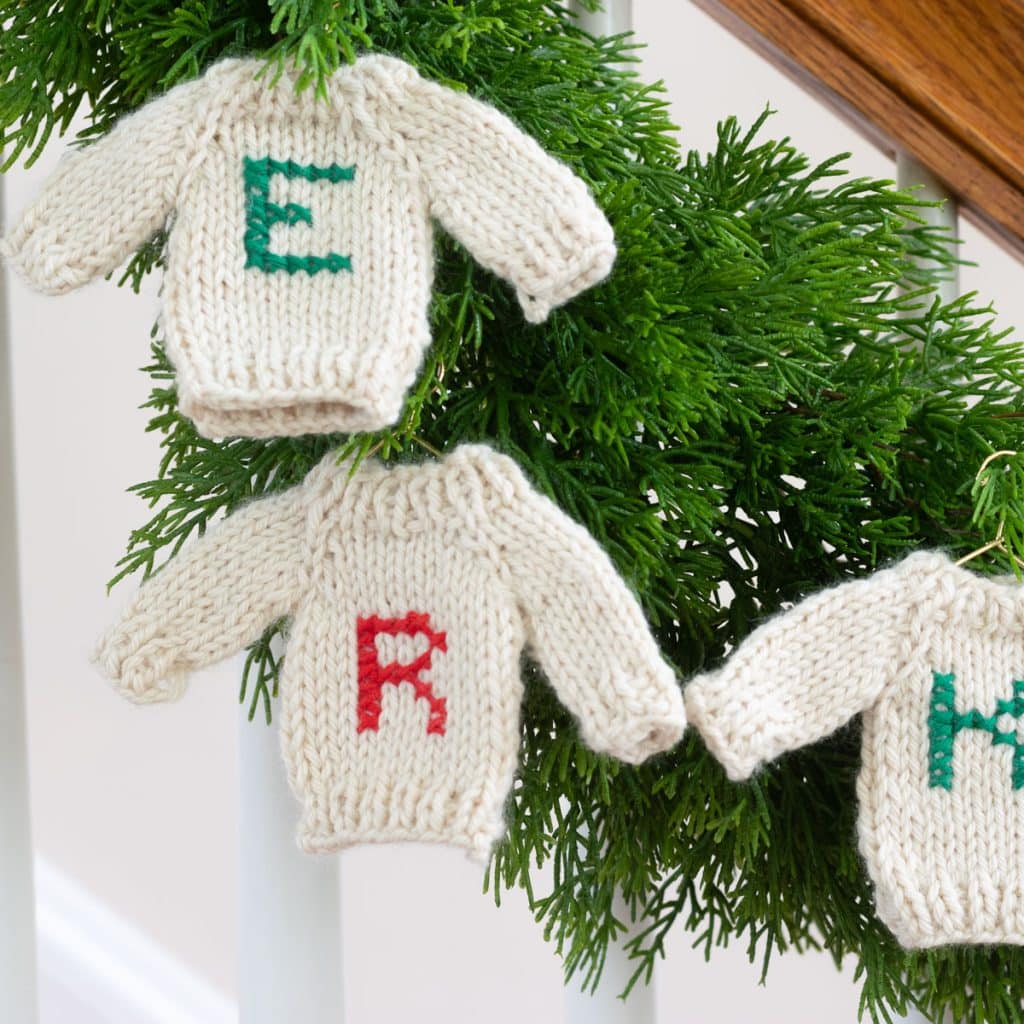
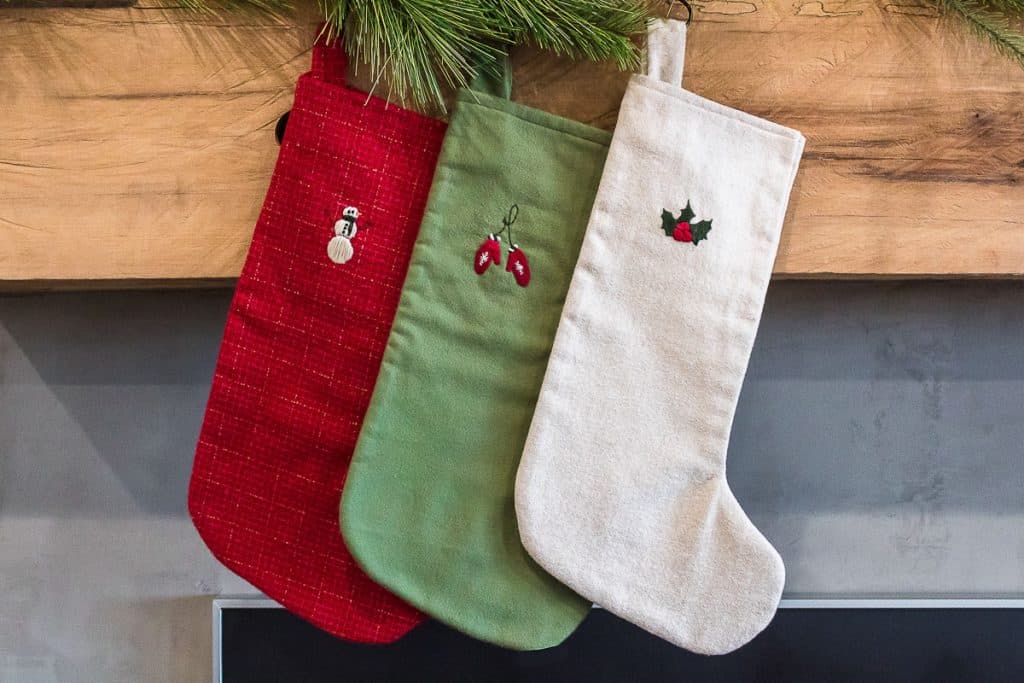
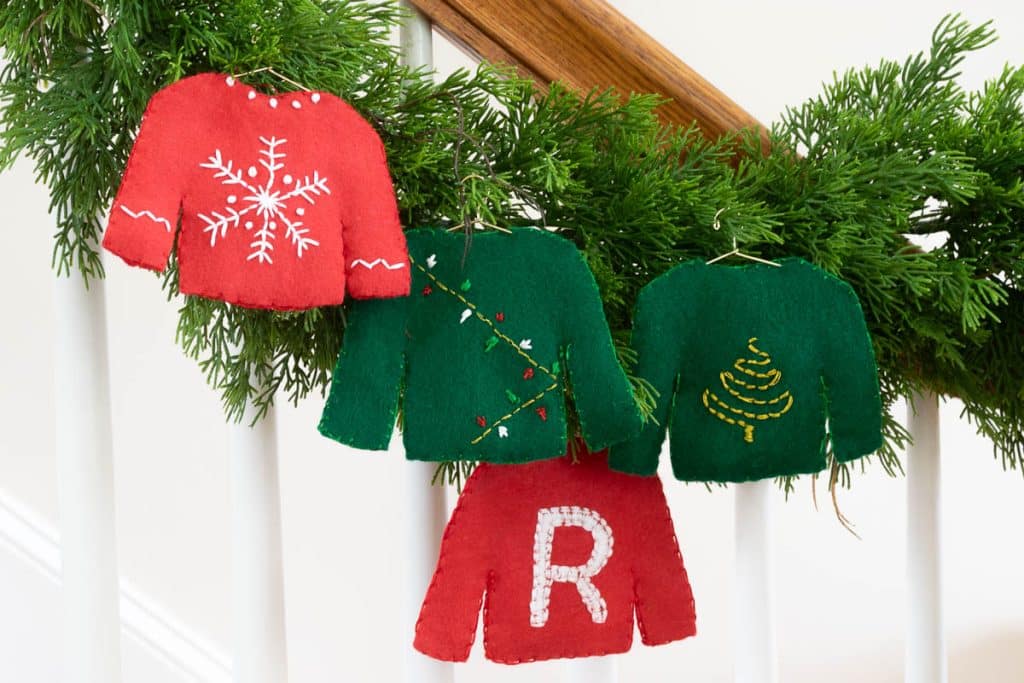
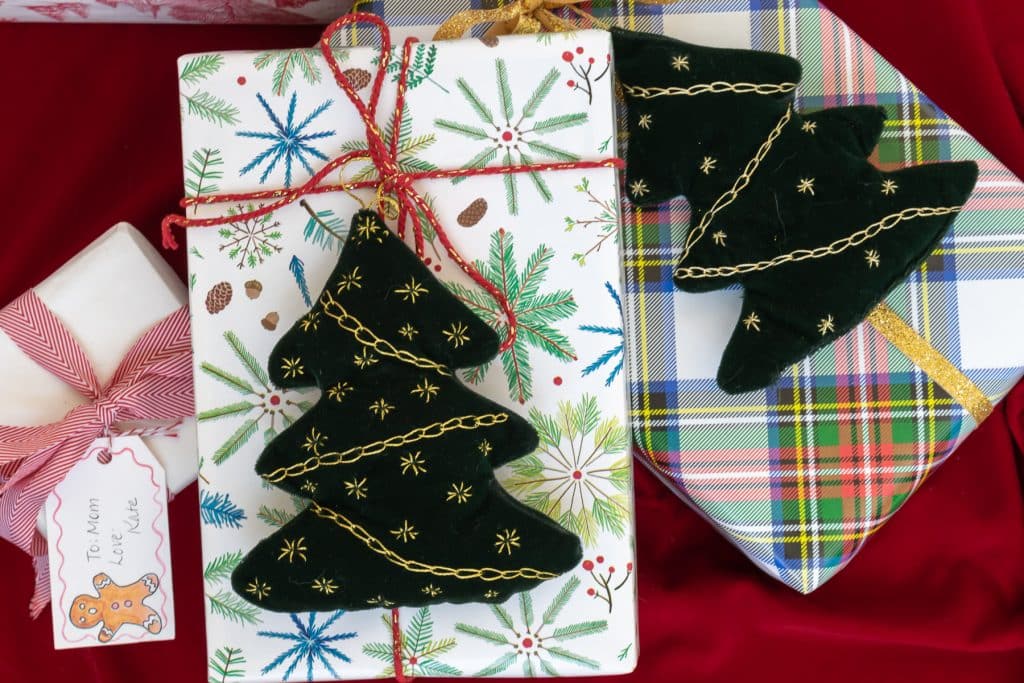
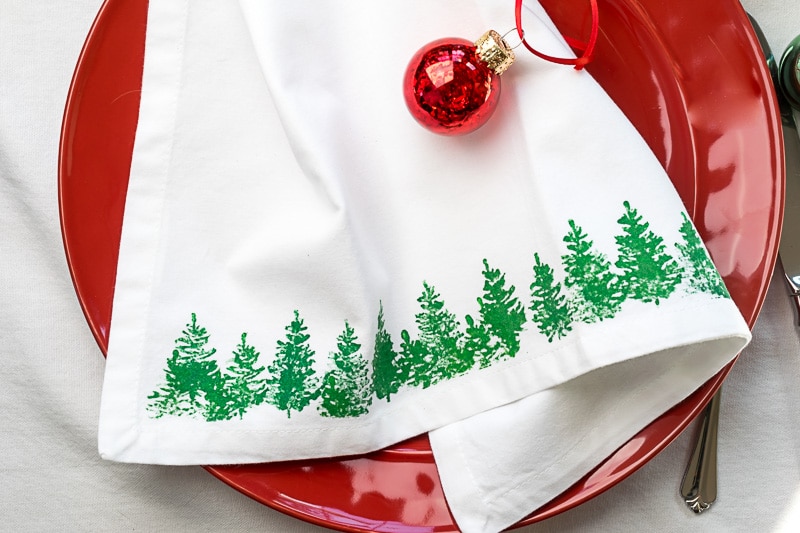
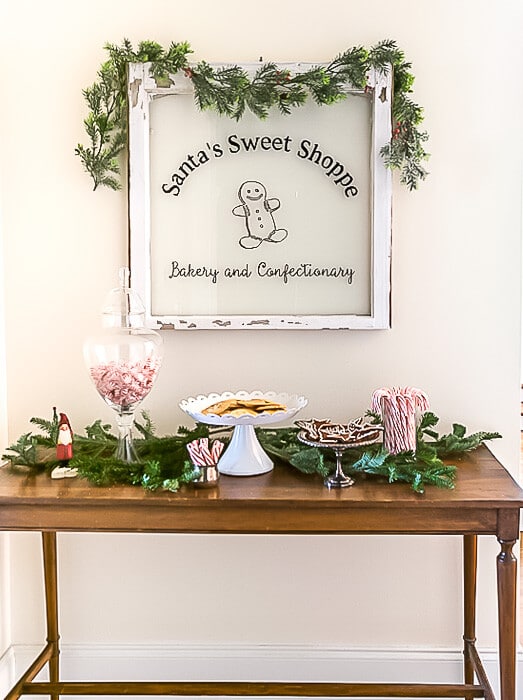
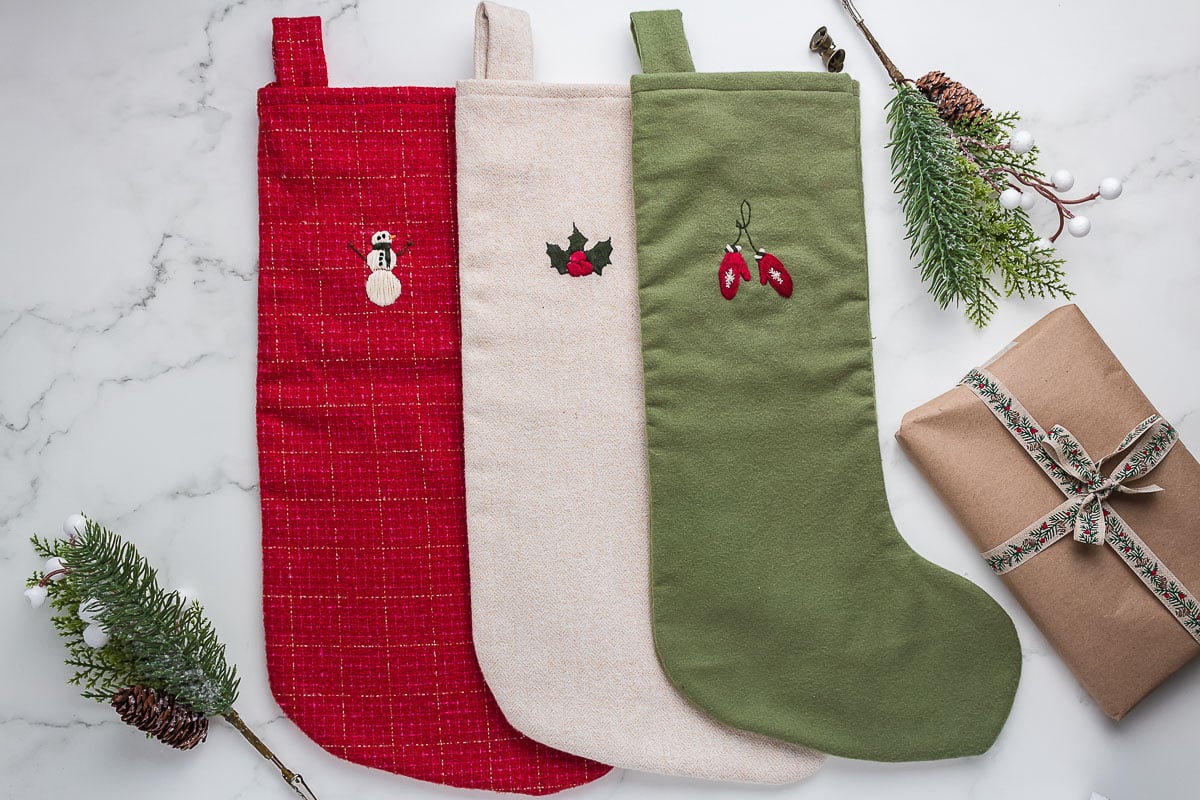
Create charming Painted Windows for a vintage look, or sew personalized Christmas Stockings using a simple pattern. Crafters can also make adorable Felt Christmas Sweater Ornaments or try their hand at Tiny Knit Sweaters perfect for trees, garland, or wreaths. Those with embroidery skills will enjoy stitching Embroidered Christmas Trees, while anyone can create elegant Stamped Fabric Napkins for holiday entertaining. Each project offers a budget-friendly way to add homemade charm to Christmas celebrations.
Thanks so much for spending a few minutes of your busy day with me!
To ensure you don’t miss future content, pop your email in the pale green box on the right or click here. I usually send one email weekly, so I won’t inundate your inbox. I’m sensitive to an overflowing email inbox!
We will only use your email address to send you emails, no more than 1-2 weekly. In addition, you will have access to my growing library of knit & crochet patterns and other printables. Check back often as this library will continue to grow. You can unsubscribe anytime by emailing me or clicking on the “unsubscribe” link at the bottom of all emails.
And you can access many of the products I refer to on my Nourish and Nestle Amazon Page. You can access it here.
So, if you’d like to participate in the ‘subscriber benefit’ action, simply subscribe to Nourish and Nestle here or use the form on the right sidebar. It’s slightly towards the top.
I have sent all my subscribers the link to the Subscriber Benefits Library. If you missed it or misplaced it, let me know.
Until next time…