
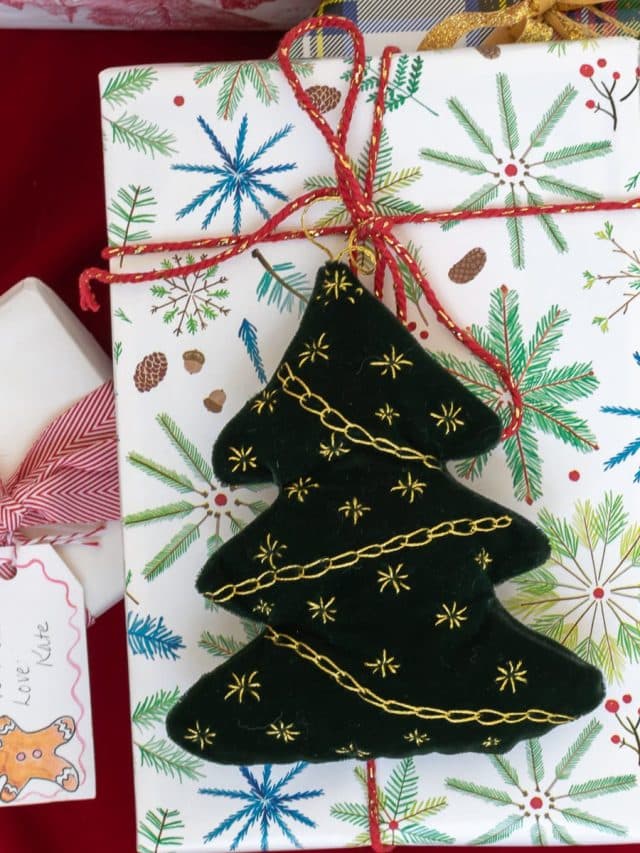
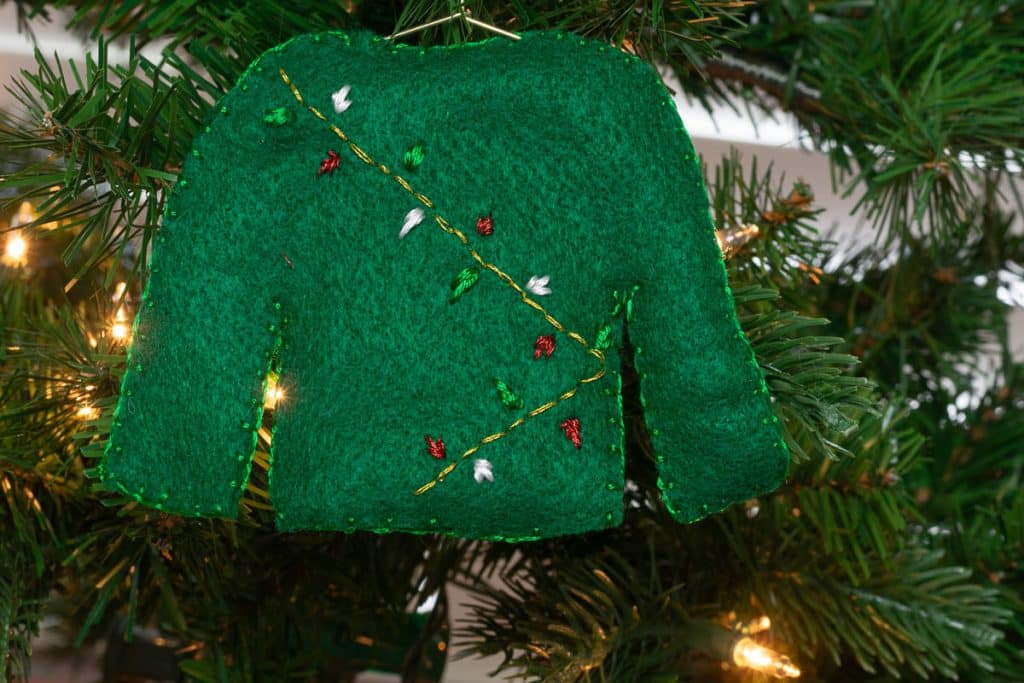
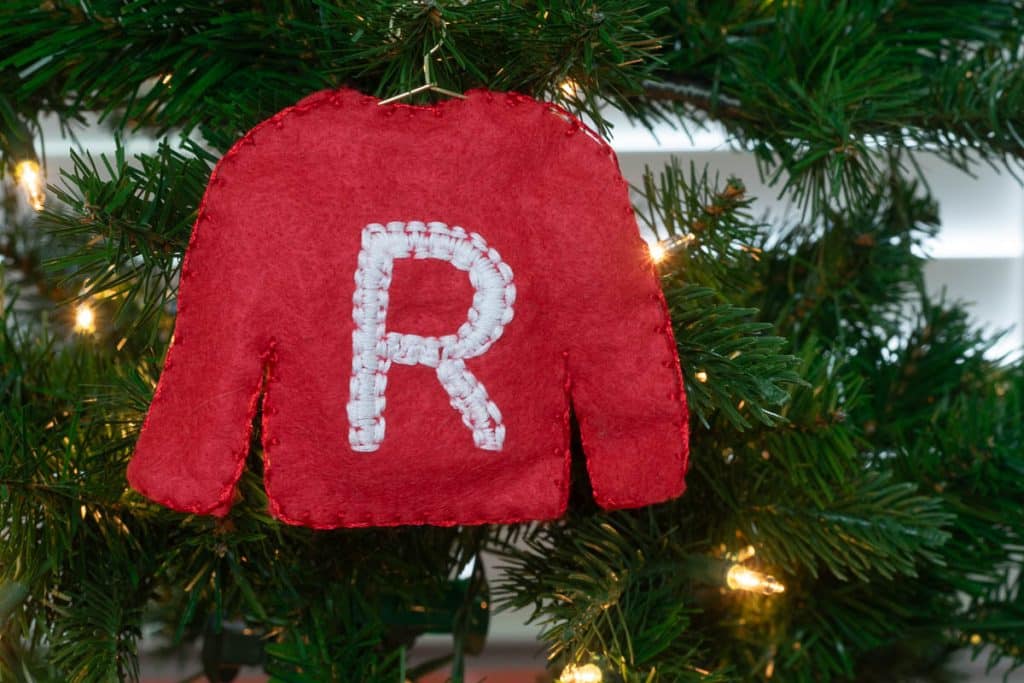
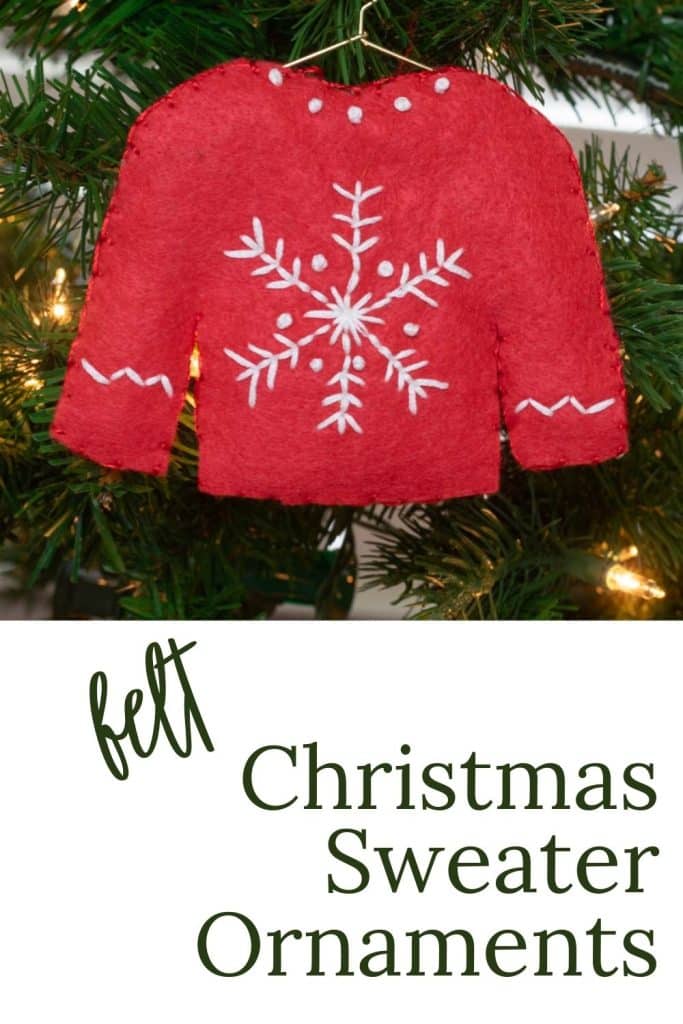
DIY Felt Christmas Sweater Ornaments
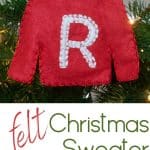
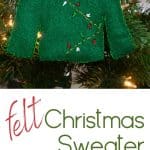


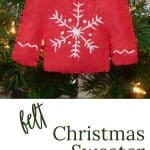
These DIY Felt Christmas Sweater Ornaments are a creative and fun project. You can personalize them with initials or other ornamentation. Truly the possibilities are only limited by imagination.
Step-by-step illustrated instructions and a printable pattern make this an easy Christmas ornament project.
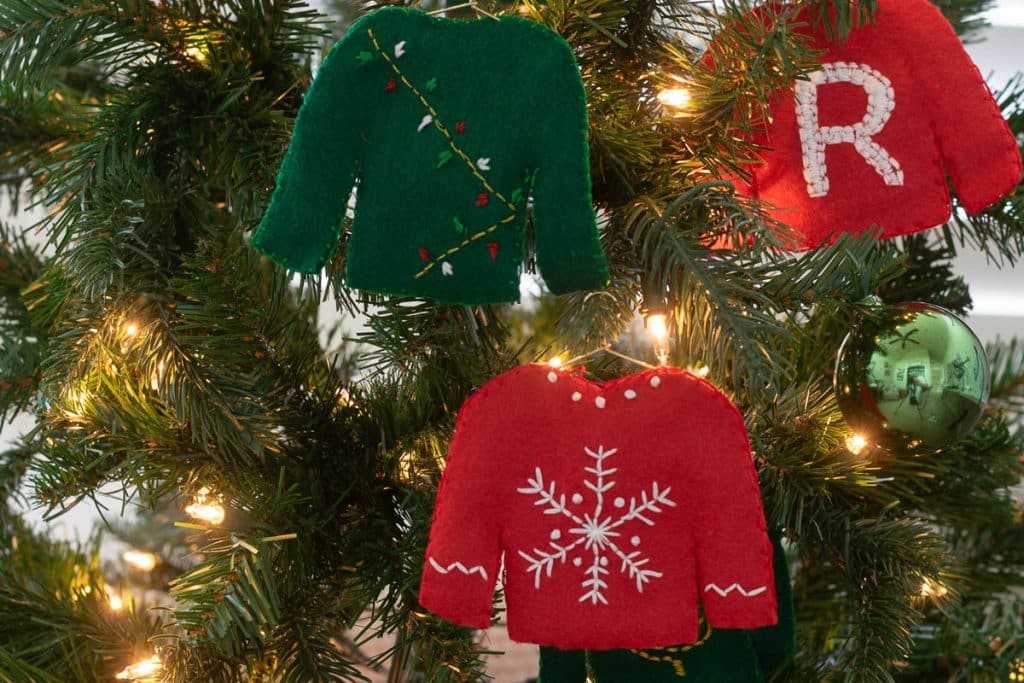
Table of Contents
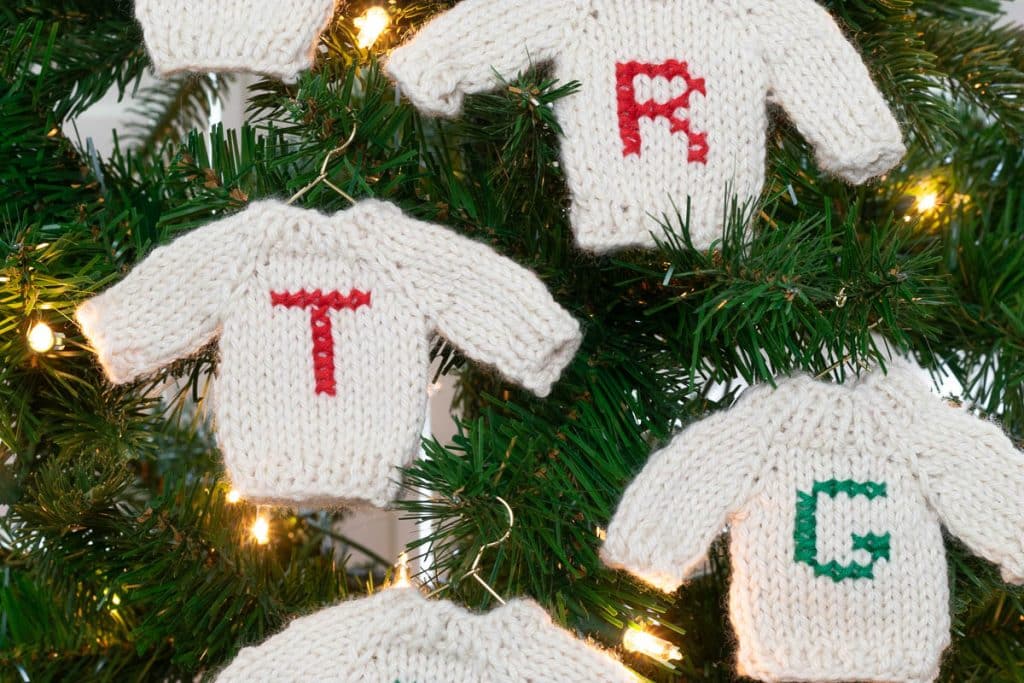
I recently published these knitted sweater ornaments but also wanted to provide a non-knitting Christmas Ornament project for those of you interested.
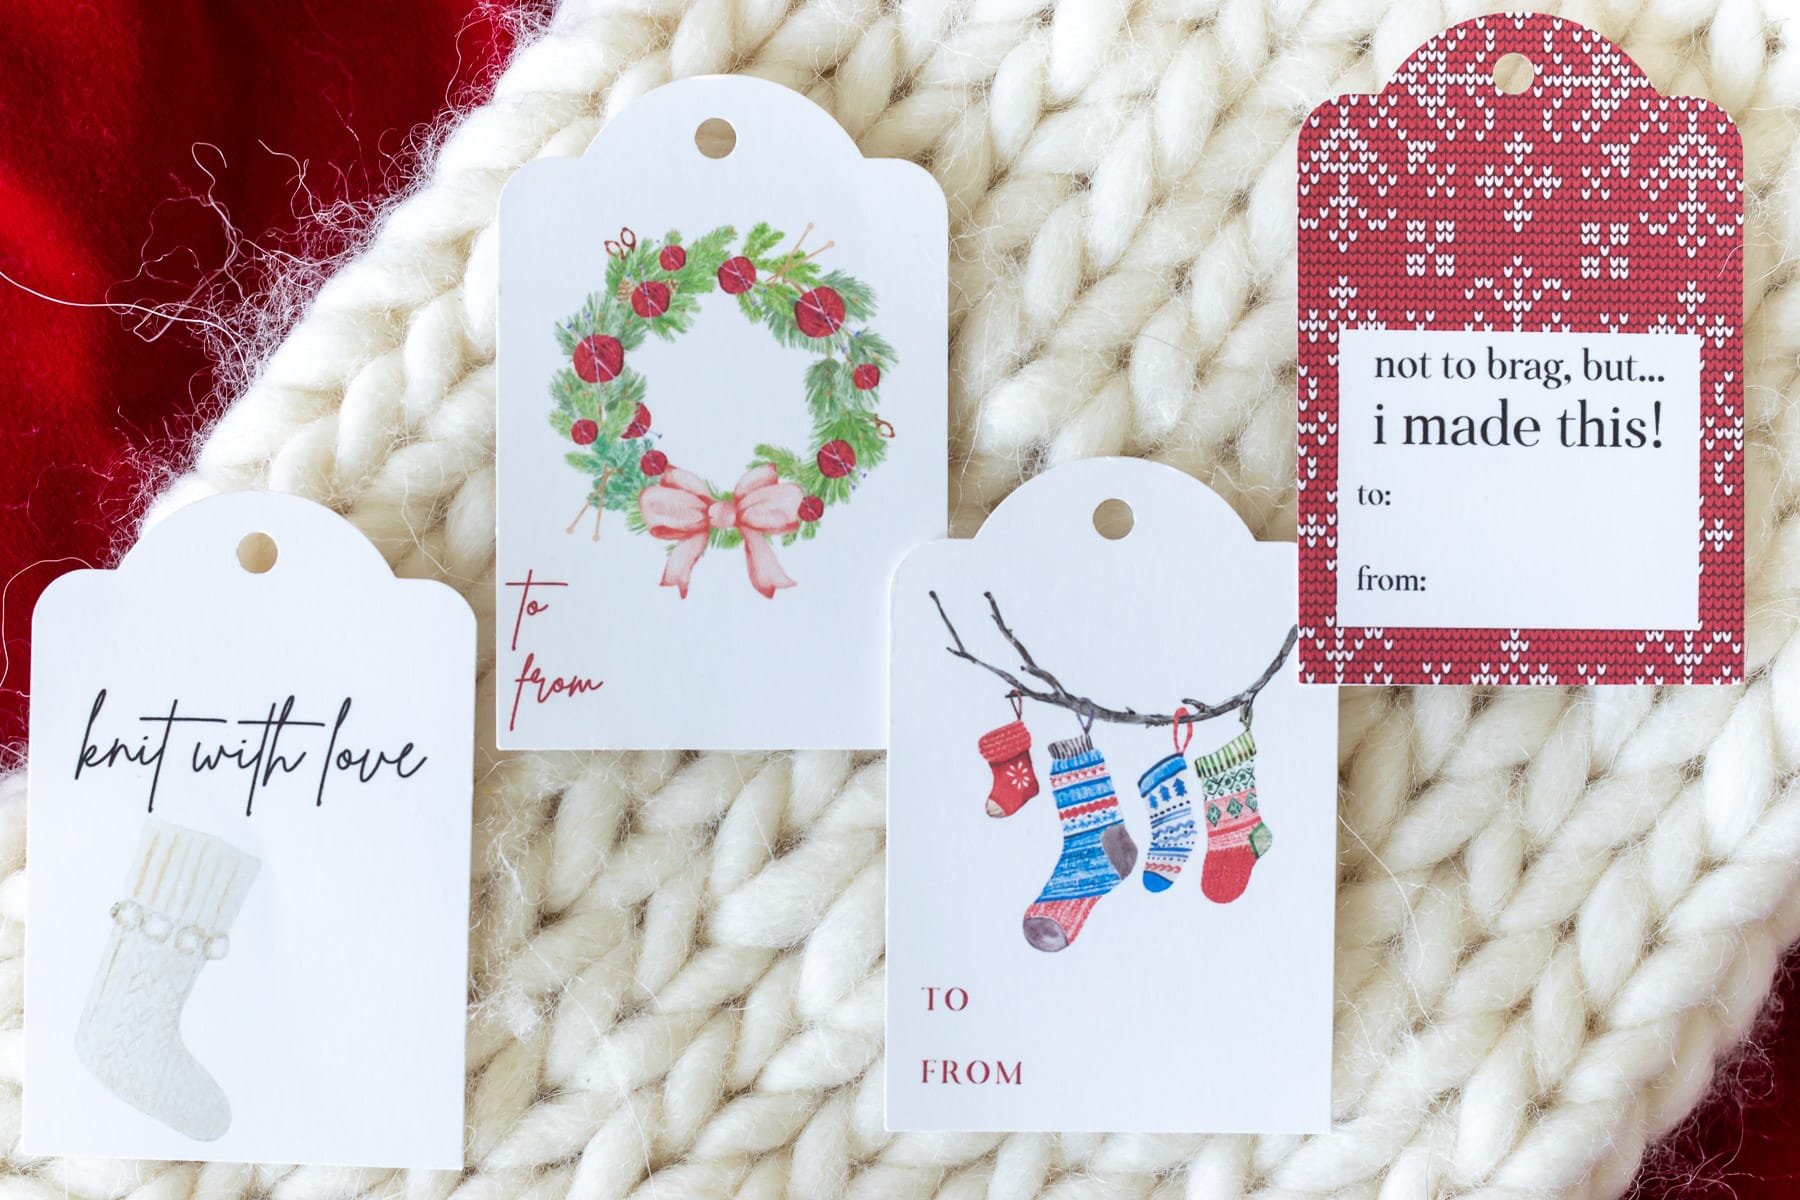
Other Christmas Projects
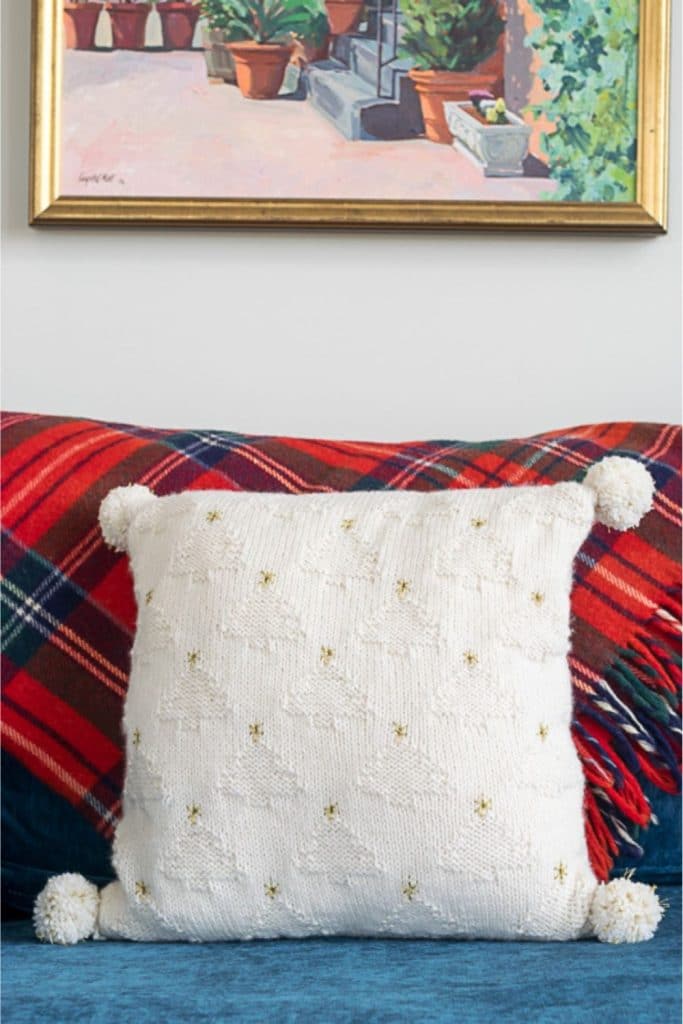
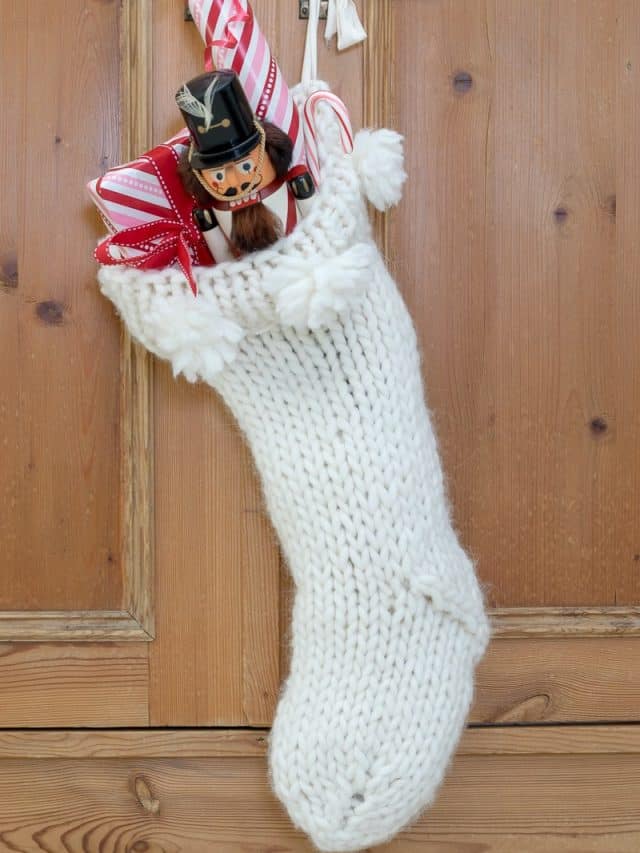
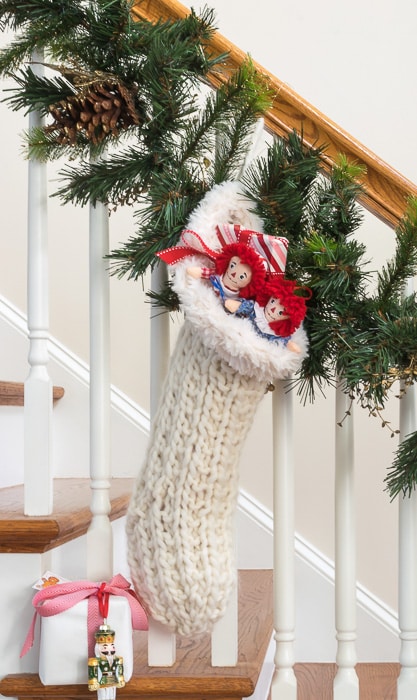
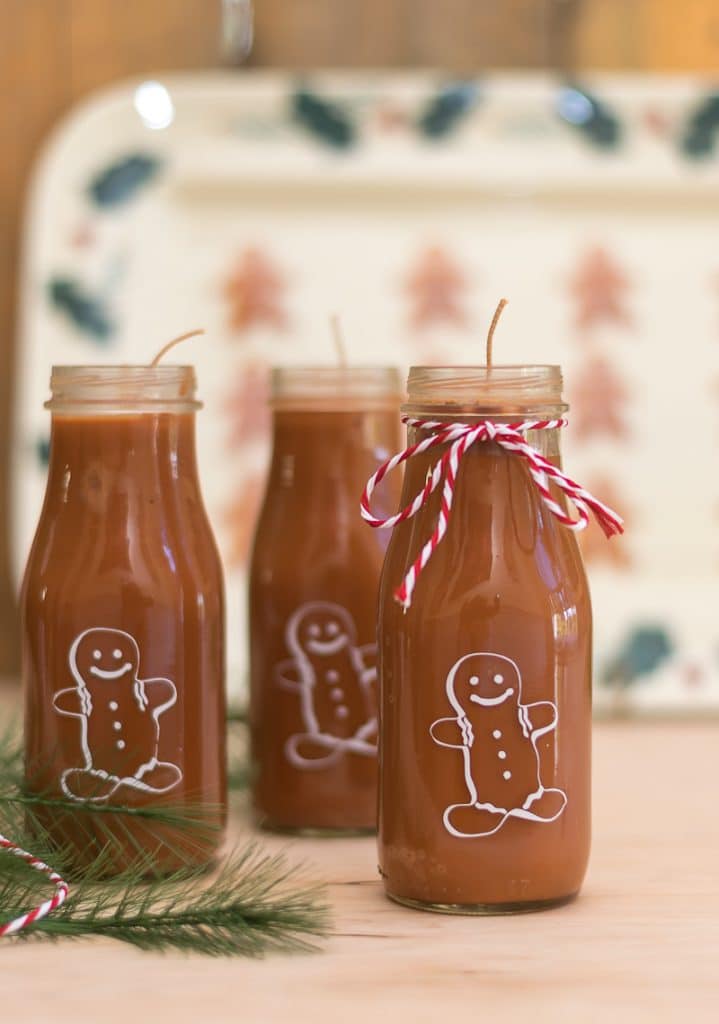
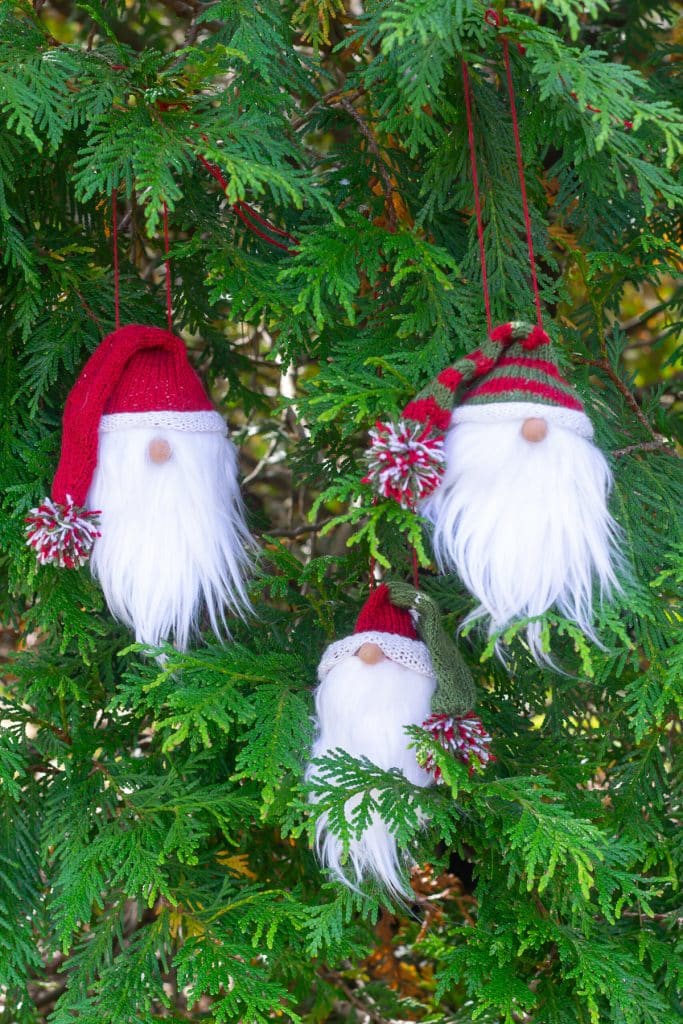
These felt Christmas sweaters are one of several Christmas projects you can find on the blog. Here are some of my other Christmas projects, some knit and some not. Scroll through and click on the images below to go to that specific post.
Material Needed for Two 5″ x 3-3/4″ Felt Sweater Ornaments
- You can get two sweaters from two sheets of 9″ X 12″ (or equivalent) piece of material. I used red and green felt, but you could also use fleece or another fabric that doesn’t fray.
- Each sweater ornament requires a 10′ X 10″ piece of batting. I used a double layer of low-loft batting, but if you have another loft lying about it, then use that. The low loft produces a sweater that is almost flat. If you’d like a puffier sweater, then maybe triple the low loft or get a mid-loft batting. This is the low-loft batting I used.
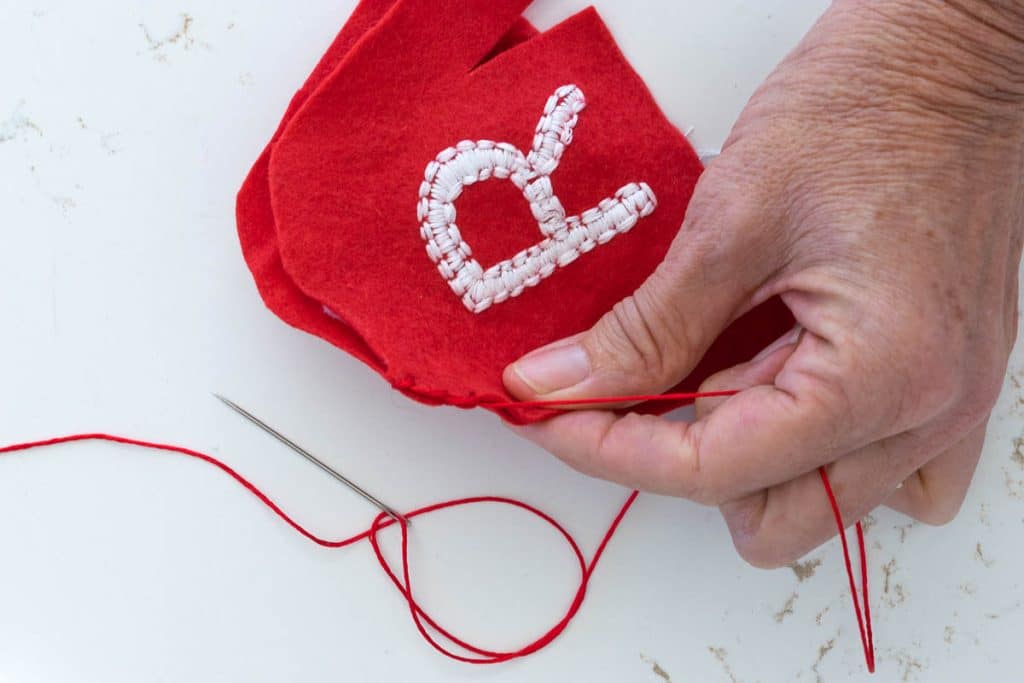
- Embroidery Needle
- Floss in a variety of colors, I used some metallic for the sweater with lights and the Christmas tree and then just regular DMC (6 strands) for the snowflake and initial.
- Fading ink pen in a light color.
- White Carbon Paper – optional for tracing embroidery designs
- 6-inch embroidery hoop (optional – I think it makes the embroidery easier, but don’t think it would be impossible without a hoop.)
- I used these doll hangers to hang them.
Make DIY Felt Christmas Sweater Ornaments
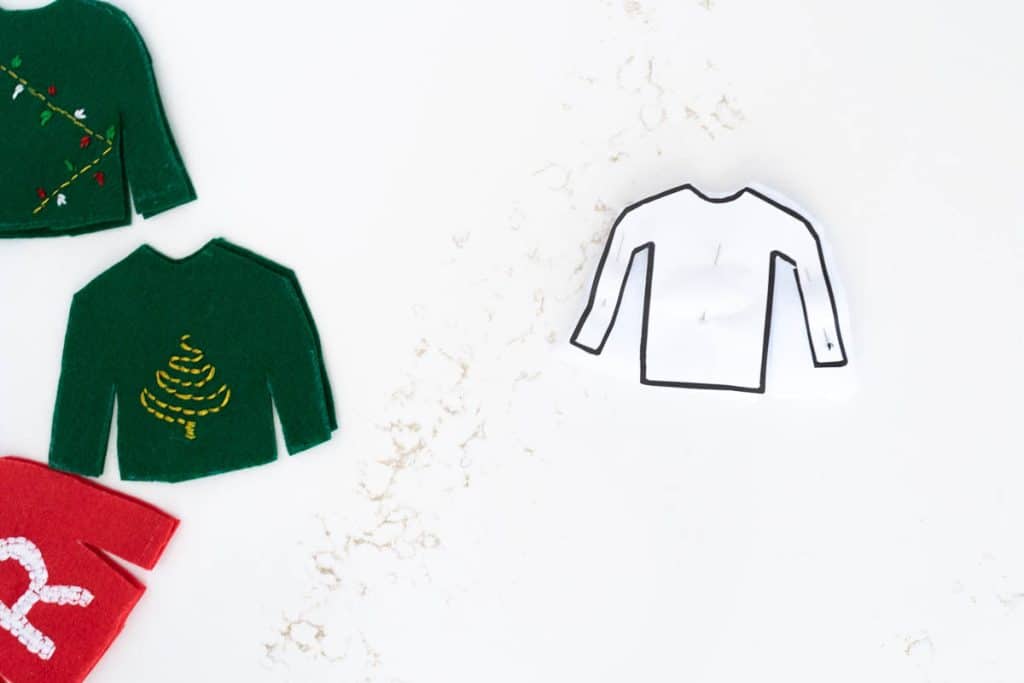
- Print off the pattern, which you can access here. The pattern will open in a new window so you can just print it off. These are the pattern pieces you will receive.
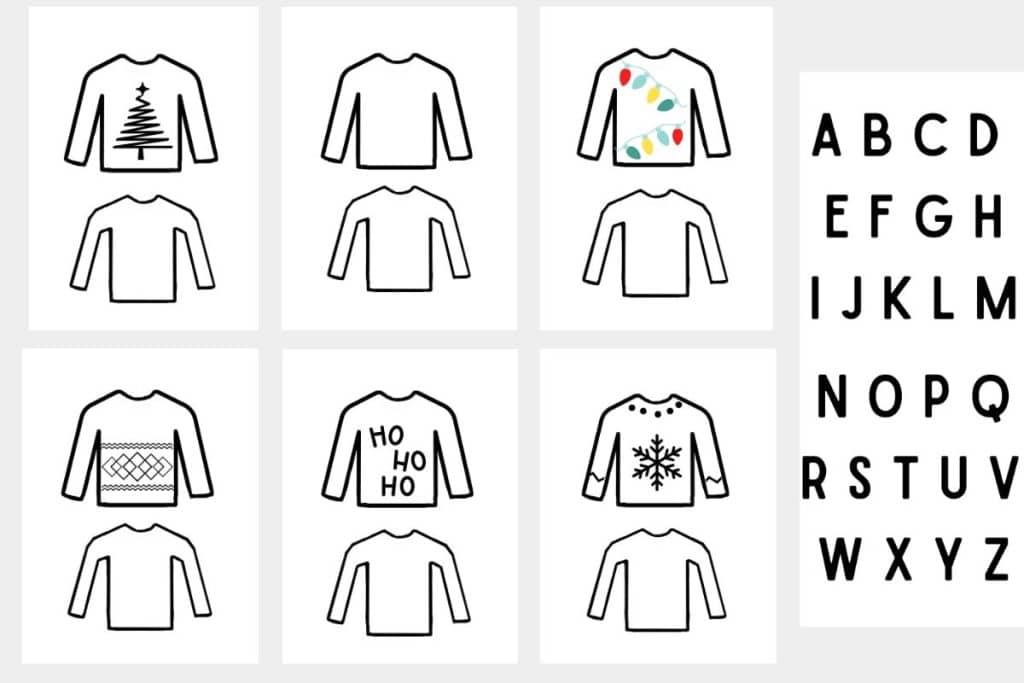
Note that there are 6 sweater designs. These are just ideas I came up with to get you started, but let your imagination go wild. The alphabet letters are a great size when embroidered on the front of your sweater.
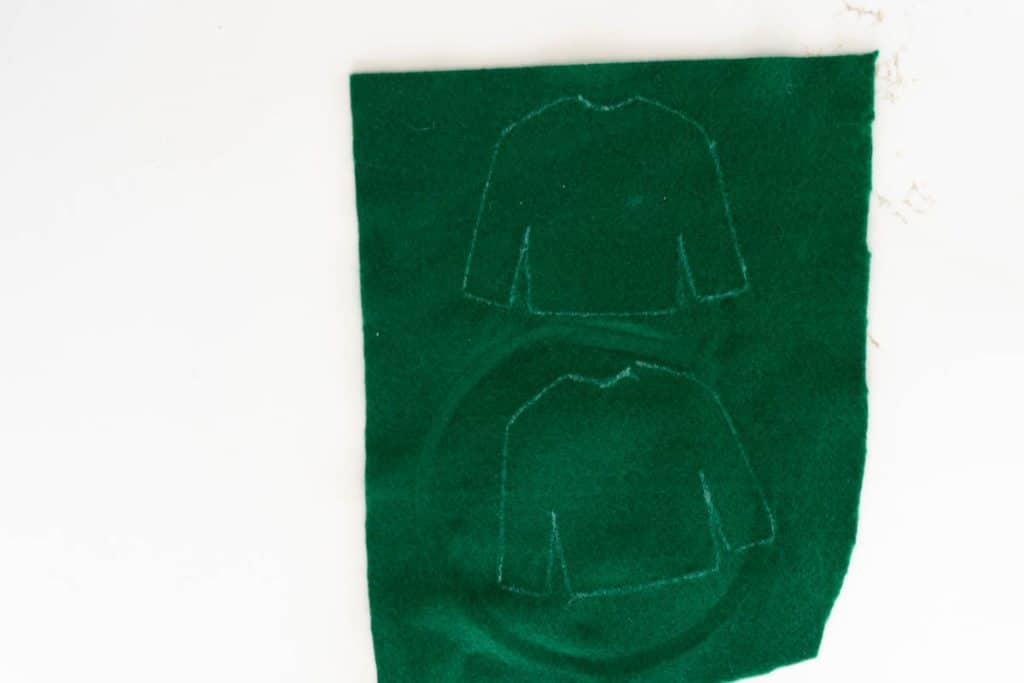
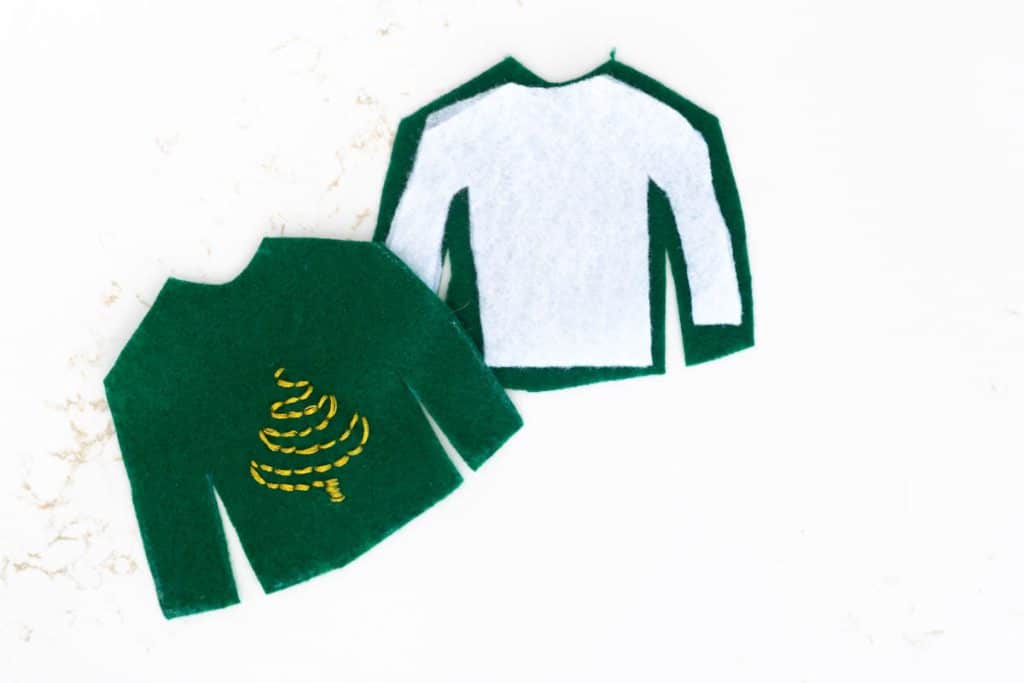
Also, note that each sheet of paper has a large sweater design and a slightly smaller one. The smaller one is the pattern you should use for your batting, while the larger one should be your felt sweater. You’ll cut 2 pieces from the larger piece in felt. I also doubled the batting to make it a little thicker.
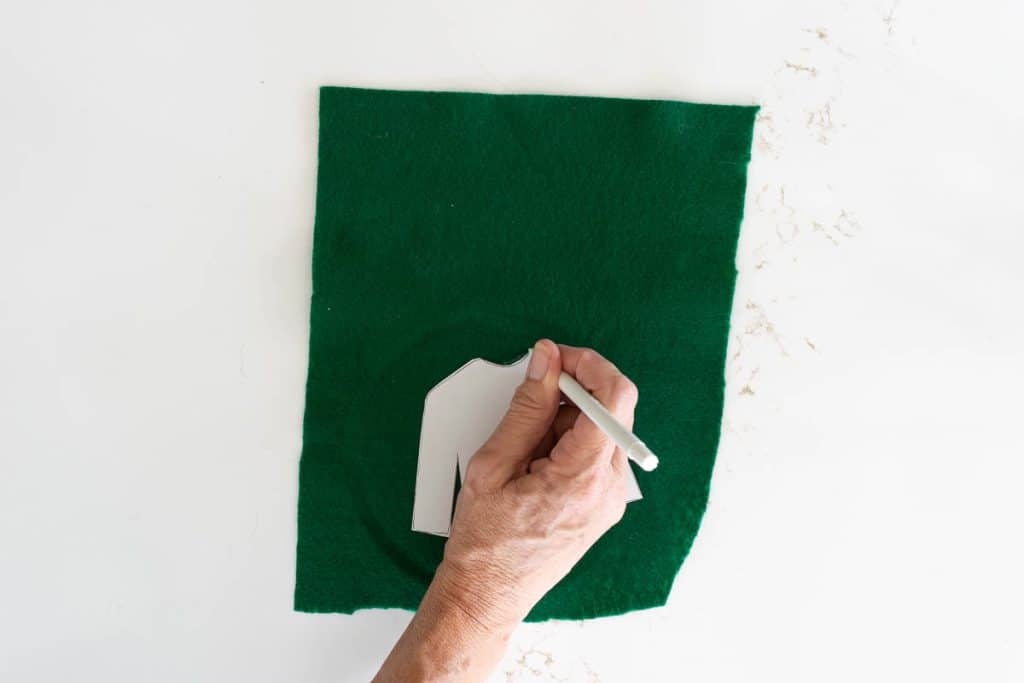
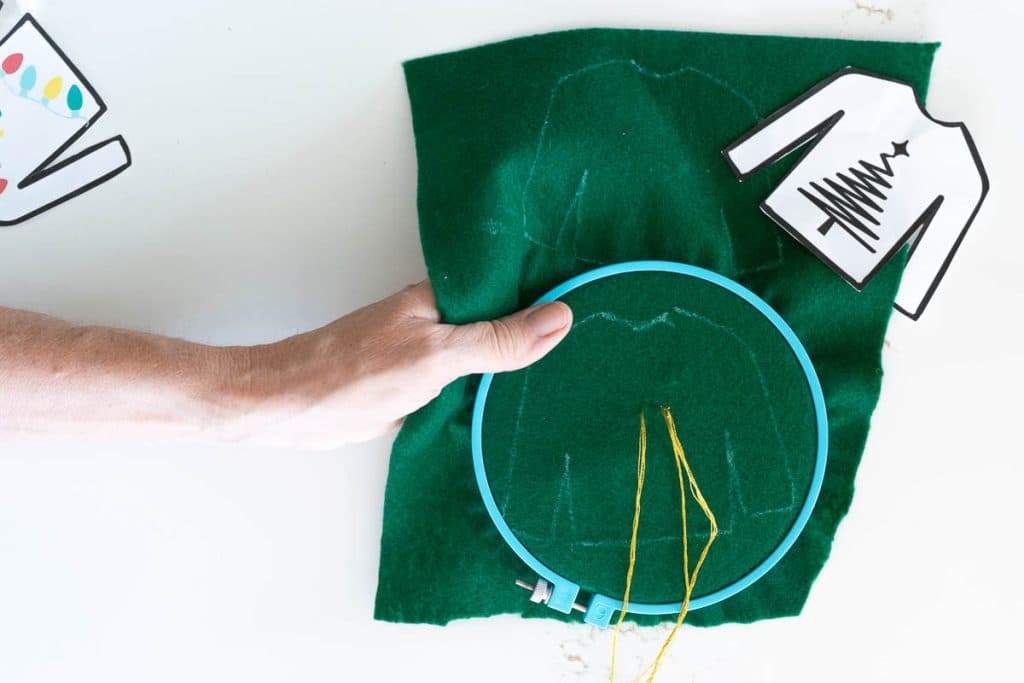
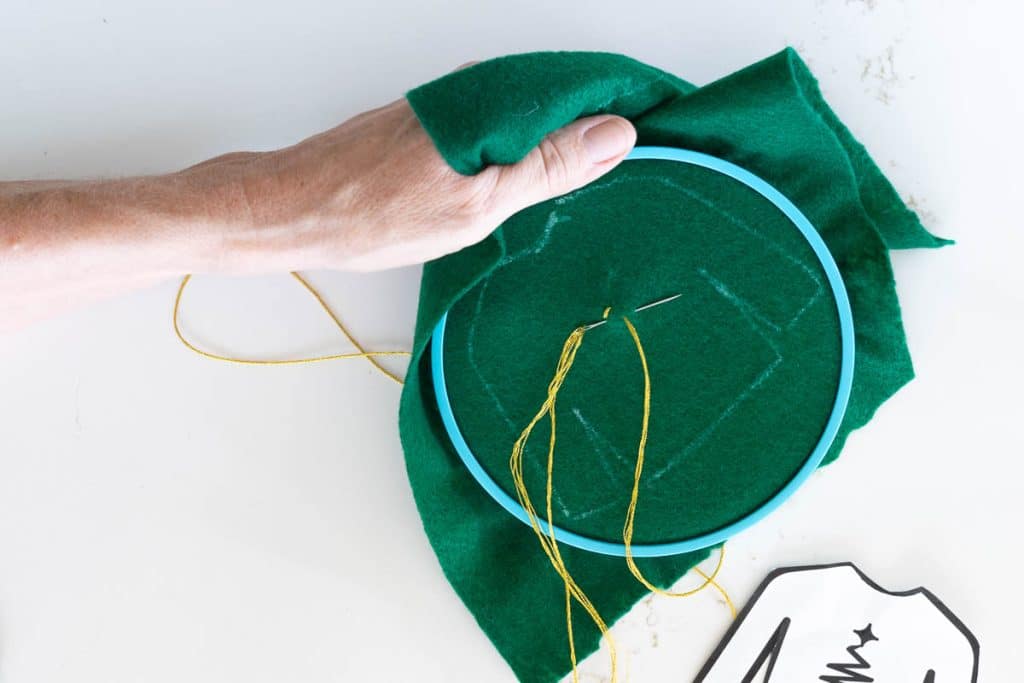
- Cut the larger sweater template out of the paper and then use the fading ink pen to trace around the pattern on your felt. It is helpful to glue the pattern on a thick piece of cardboard. That makes tracing the pattern onto your felt a good bit easier.
Remember that this is fading ink. Trace and then cut your felt pieces so that you still can see the outline.
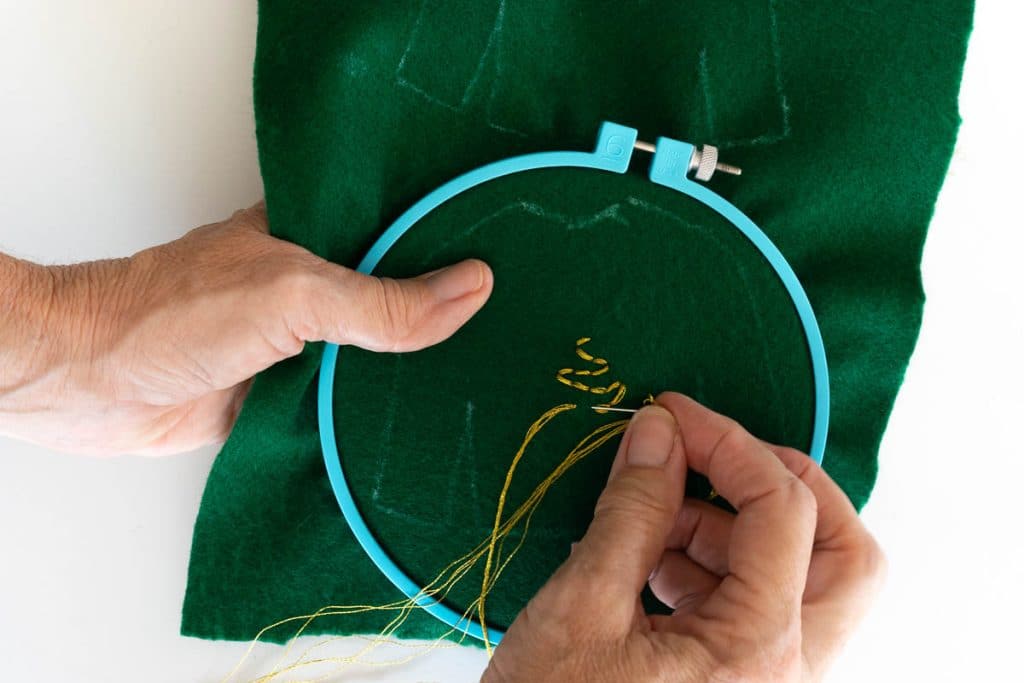
- Don’t cut the sweater pieces out until you’ve done whatever embroidery you want to. I ‘freehanded’ all my embroidery, just using the designs as a guide, but you could also use carbon paper to trace the designs from the pattern onto the felt. For the lights on the string of lights, I just made 3 lines; a longer one with 2 slightly shorter ones on either side.
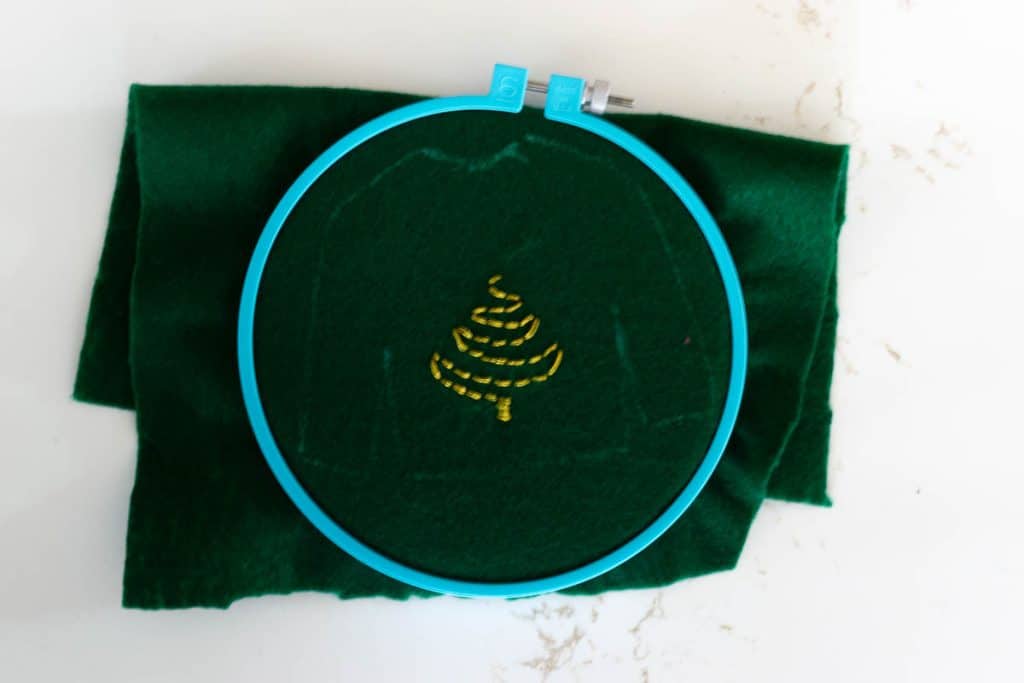
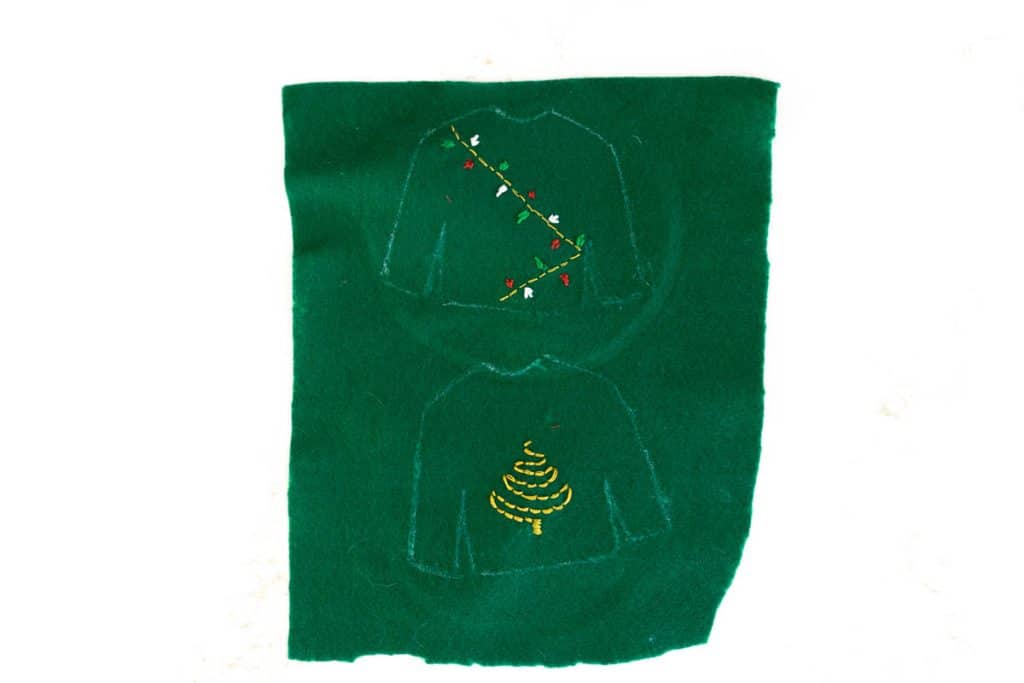
- When you’ve finished embroidering, cut the felt sweaters out along the lines.
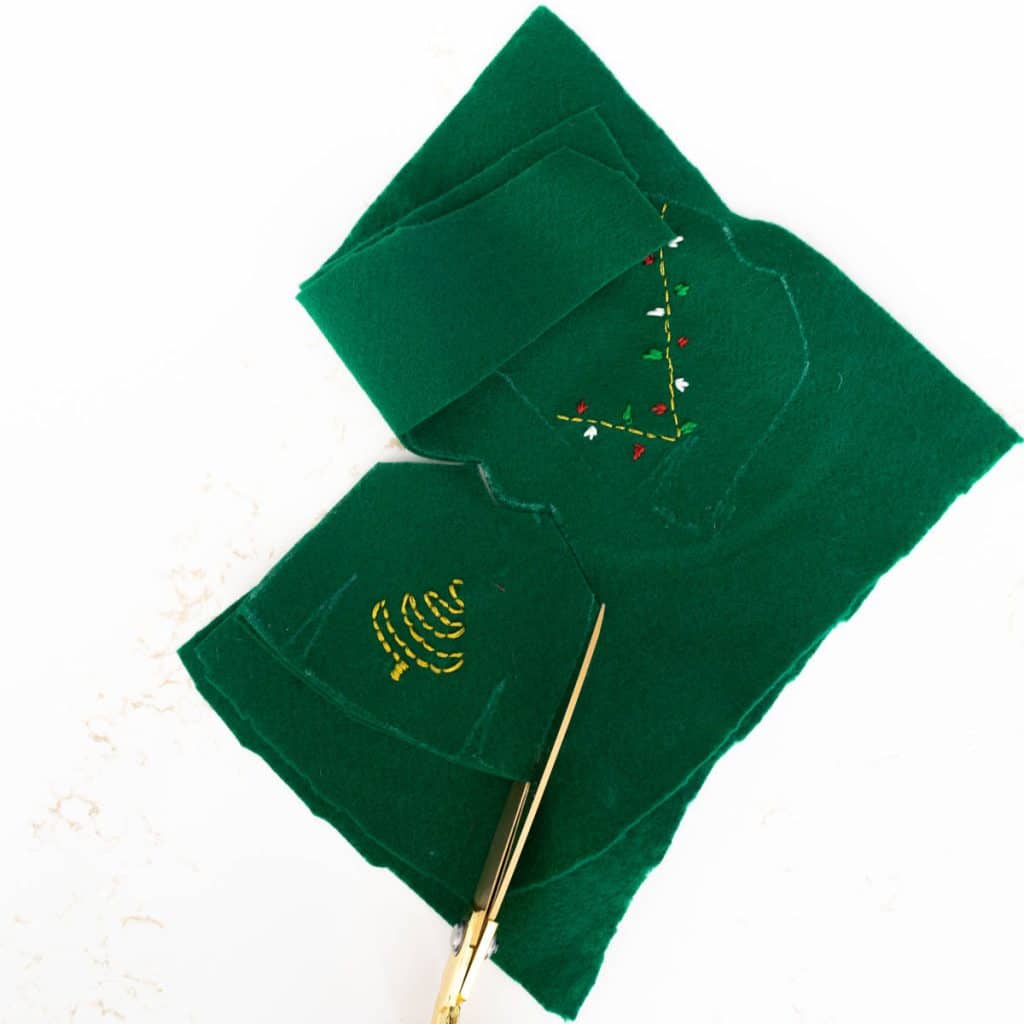
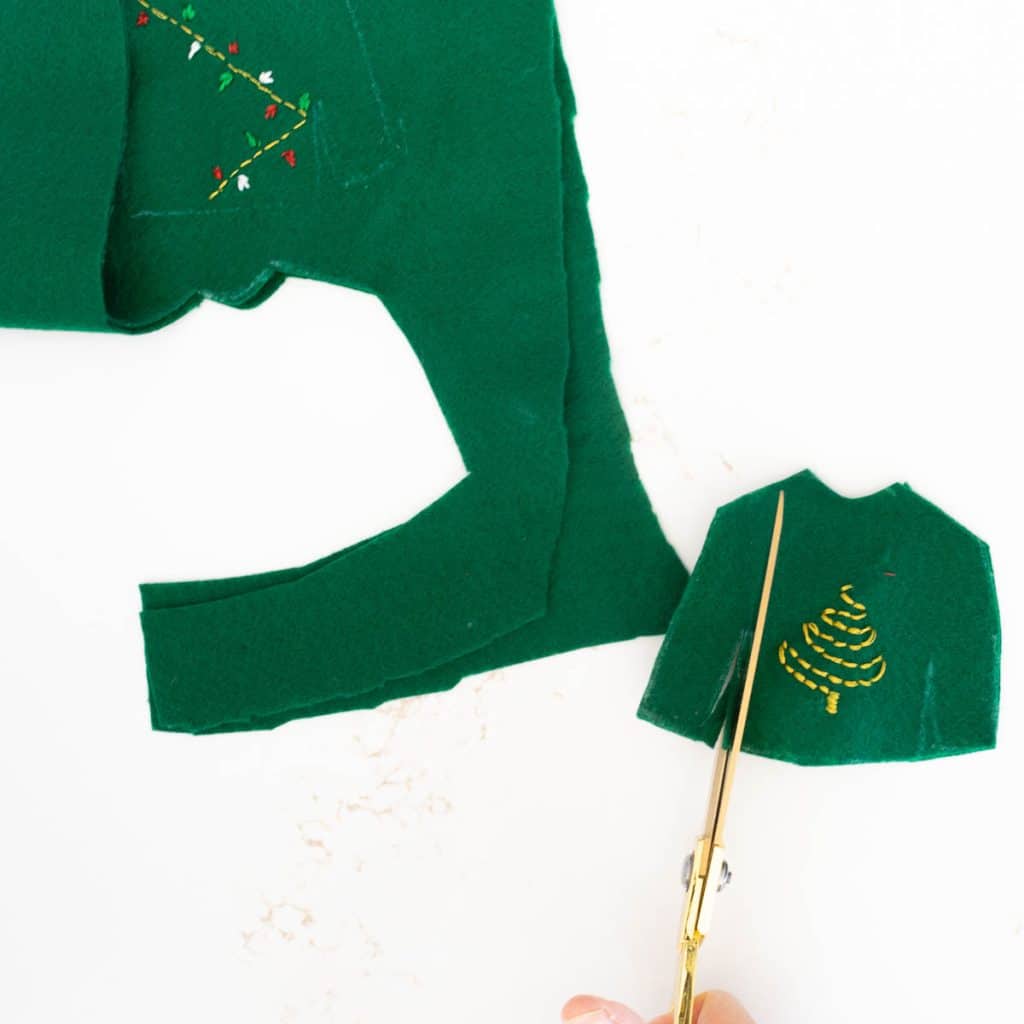
- Then, cut out the batting for the inside of your sweater.
- Now, make a batting sandwich! Place it between the front and back felt pieces.
- Using a blanket stitch, attach the front and back to each other. Here’s a video showing how to do the blanket stitch.
- When you get back to the neckline, place your hanger in BEFORE you sew the neck closed.

- That’s it! How easy is that?
Bookmark this page or pin the following image to refer back to the instructions for these DIY Felt Christmas Sweater Ornaments in the future.
Thanks so much for spending a few minutes of your busy day with me!
To ensure you don’t miss future content, pop your email in the pale green box on the right or click here. I usually send one email weekly, so I won’t inundate your inbox. I’m sensitive to an overflowing email inbox!
We will only use your email address to send you emails, no more than 1-2 weekly. In addition, you will have access to my growing library of knit & crochet patterns and other printables. Check back often as this library will continue to grow. You can unsubscribe anytime by emailing me or clicking on the “unsubscribe” link at the bottom of all emails.
And you can access many of the products I refer to on my Nourish and Nestle Amazon Page. You can access it here.
So, if you’d like to participate in the ‘subscriber benefit’ action, simply subscribe to Nourish and Nestle here or use the form on the right sidebar. It’s slightly towards the top.
I have sent all my subscribers the link to the Subscriber Benefits Library. If you missed it or misplaced it, let me know.
Until next time…


Hi Lynn – these are so cute! And I have felt. 🙂
Did you make the little hangers, too?
Thanks,
Sheila
Hi Sheila,
Yikes! Thanks for catching that. I bought the hangers and just popped back in and put the link in the post. Thanks for catching that!
I’m so glad you like them…they are pretty darned cute.
Hugs, Lynn