Fermented Dill Pickles – Easy Recipe
I am a pickling fool right now! Our cucumber plants are out of control, and I’m at the point where I cringe when we find cucumbers ready to be picked. (Note to self: plant fewer cucumbers next year!) For many years, I only made refrigerator vinegar-based pickles, similar to the Clausen pickles. And this family loves pickles, so they were quickly consumed. But, as I’ve ventured into fermented foods, it only made sense to try my hand at Fermented Dill Pickles as well.
Fermenting a batch of dill pickles is super easy and equally effective way to preserve a cucumber haul and can be easily adjusted to a jar-by-jar method. Just salt, water, and a little patience while the good bacteria do their work.
If you’ve never fermented pickles before, the process might sound intimidating, but it really comes down to a handful of steps: soak the cucumbers, mix a brine, pack the jar, and wait. The tang and crunch you end up with are worth the short wait.
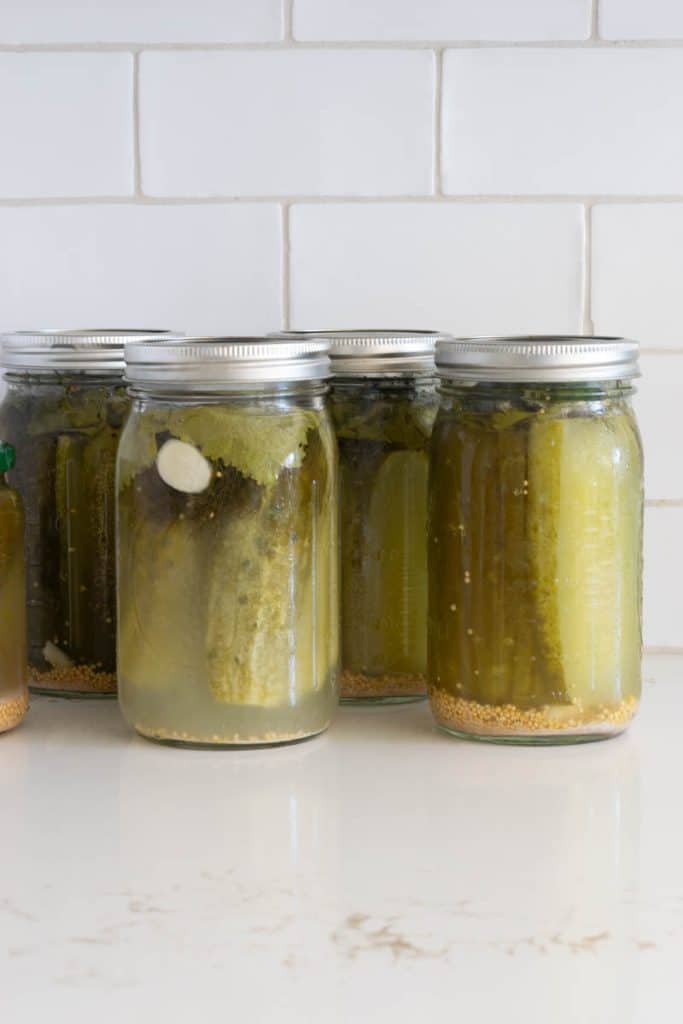
Table of Contents
What You Need to Make Fermented Dill Pickles
The equipment list here is short, and there’s a good chance most of it is already sitting in a kitchen cabinet.
- A quart or half-gallon glass jar works fine, wide mouth makes packing easier but isn’t required.
- A fermentation weight keeps everything submerged below the brine line, glass weights are common, though a small food-safe bag filled with a bit of extra brine does the same job in a pinch.
- A loose-fitting lid or a simple cloth secured with a rubber band lets gas escape during fermentation without inviting in dust or fruit flies, an airlock lid is a nice upgrade but not necessary for a straightforward batch like this.
- A kitchen scale makes measuring salt by weight possible, which matters more than it might seem given how much salt varies by type.
- Beyond that, it’s just pickling cucumbers, non-iodized salt, water, garlic, fresh dill, and mustard seed, along with a horseradish, bay leaf, grape leaf, or Pickle Crisp for crispness. I actually have a horseradish plant solely for the leaves, though the tuber is great for fresh horseradish, as well.
Getting the Salt Right
Salt is doing more than seasoning in this Fermented Dill Pickle recipe, it’s what keeps the fermentation safe and on track.
The general range fermenters work within is about 2% to 5% salt by weight, which translates to roughly 1 to 3 tablespoons of salt per quart of water. Our recipe below lands on the lighter end of that range, which means it ferments a bit faster and comes out a touch less salty than a stronger brine would.
If you go too far below that 2% mark, there isn’t enough salt to hold back mold and unwanted bacteria while the Lactobacillus gets established, and the pickles are more likely to turn soft.
Go above 5% and fermentation slows down considerably, sometimes almost to a stop, which some people actually do on purpose for a longer, slower ferment with extra crunch. As long as you’re somewhere in that window, you’re in safe territory; it’s just a matter of how fast you want things to move and how salty you want the end result.
Types of Salt
The type of salt matters here too, and so does how you measure it.
Canning or pickling salt is pure sodium chloride with nothing else added, which makes it the most reliable choice for a predictable brine.
Kosher salt works well, though brands vary; Diamond Crystal is additive-free, while Morton’s contains anti-caking agents that can leave a slight haze behind. Non-iodized sea salt is a good option too, though its trace minerals can nudge the flavor toward the briny side. Pink Himalayan salt is safe to ferment with, but it contains minerals like iron oxide that don’t fully dissolve, so expect some sediment at the bottom of the jar and sometimes a faint pink or gray tint to the brine, distinct from the natural cloudiness that results from fermentation itself.
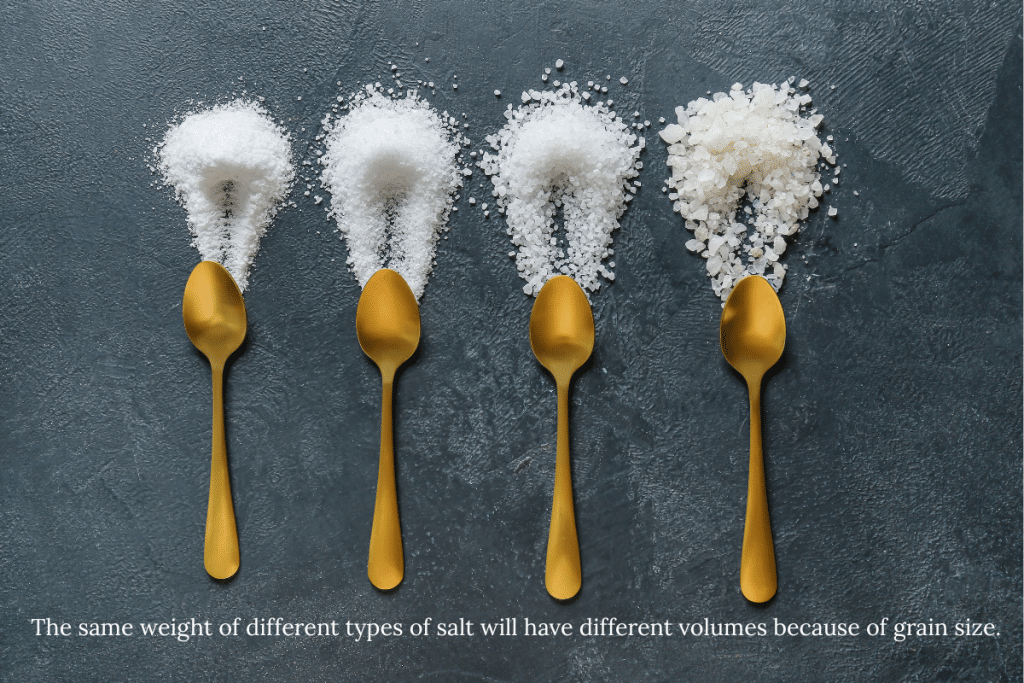
Our Fermented Dill Pickle recipe measures salt by weight rather than by the tablespoon. A tablespoon of fine sea salt, Diamond Crystal kosher, and pink Himalayan can each weigh something different depending on how coarse or fine the grains are, so a volume measurement can quietly shift the strength of the brine depending on which salt happens to be in the cabinet. A kitchen scale removes that variable entirely and keeps the brine at a consistent, safe percentage no matter which salt is on hand.
Salt Percentages and Weight
For those who prefer a saltier pickle, or want to slow fermentation down for a longer, crisper result, here’s how the numbers shift for this recipe’s 5 cups of water.
- Our recipe’s 35 g of salt lands right around 3%.
- Moving up to 41 g brings the brine to about 3.5%, a noticeably saltier profile that also slows fermentation down slightly.
- At 47 g, the brine sits close to 4%, firmly on the stronger end and well suited to a longer, slower ferment with extra crunch.
- At the very top of the safe range, 59 g brings the brine to about 5%, where fermentation crawls along and the payoff is maximum crispness alongside a pronounced saltiness. Stronger brines simply take longer to develop full flavor, so plan on extra days at the higher end of that scale.
Keeping Your Pickles Crisp
Nothing ruins a batch of fermented dill pickles quite like biting into a soft one.
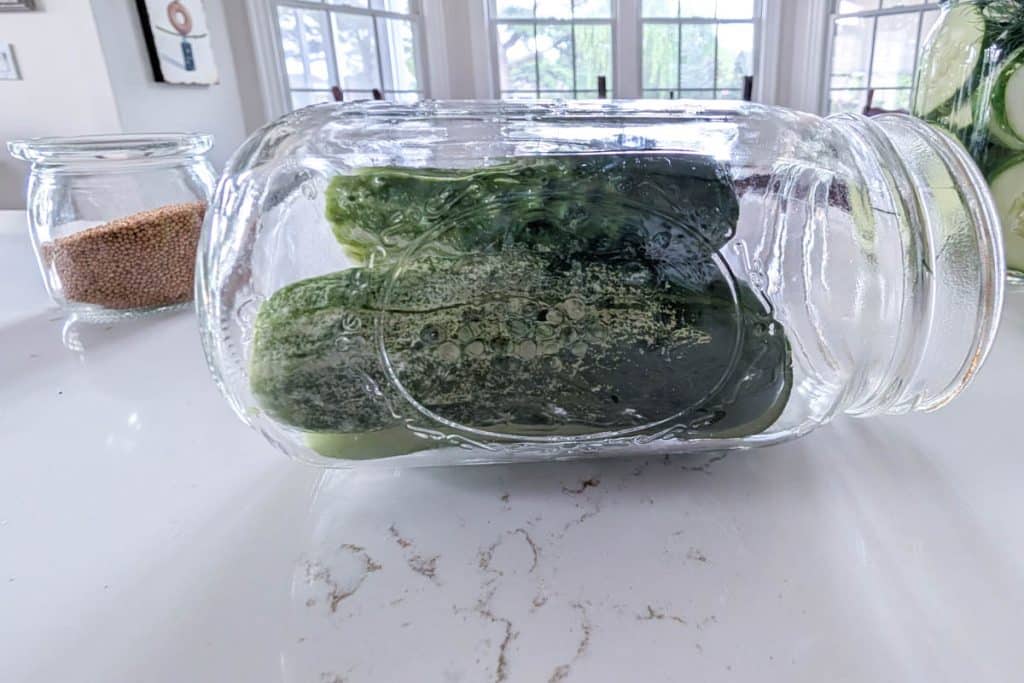
A horseradish leaf or grape leaf works because of natural tannins that help the cucumbers hold their structure. If you don’t have either on hand, a black tea bag does the same job.
Calcium chloride, the ingredient in products like Ball’s Pickle Crisp or Mrs. Wage’s Pickle Mix, is another option. I was concerned that the calcium chloride would interferes with fermentation, but was glad to determine that it doesn’t. It’s a firming agent, not a preservative, so it strengthens the pectin in the cucumber’s cell walls without touching the fermentation process itself. The Lactobacillus bacteria continue converting sugars into lactic acid, exactly the same way.
Customize Your Pickles, Add-Ins and Keep-Outs
Once the base recipe is down, there’s plenty of room to make Fermented Dill Pickles your own.
Add-Ins
- Grape leaves, oak leaves, and bay leaves all work the same magic as horseradish leaf thanks to shared tannins, so use whichever is easiest to get your hands on, but know that bay leaves will contribute a very subtle herbal, slightly floral, faintly peppery taste.
- Whole black peppercorns add a little extra bite, coriander seed brings a warm, citrusy note common in Eastern European style ferments, and a dried chili or a pinch of red pepper flakes brings the heat if that’s your thing.
- Sliced onion or shallot mellows into something sweet as it ferments, and a few celery seeds add a savory depth some fermenters swear by.
Keep-Outs
A few things are worth steering clear of.
- Iodized table salt can inhibit the fermentation process and sometimes discolors the brine, so stick with a non-iodized salt.
- Vinegar has no place in this brine, even a splash lowers the pH immediately and stops the Lactobacillus from ever getting established, which turns the batch into a quick pickle instead of an actual ferment.
- Chlorinated tap water works against you the same way, since chlorine is designed to kill bacteria, our friendly Lactobacillus included, so let tap water sit out for a day to off-gas the chlorine, or use filtered water instead.
- Skip waxed cucumbers if possible, since the coating can keep brine from properly reaching the skin.
- Avoid reactive metal containers or lids in direct contact with the brine; glass, food-grade plastic, or crockery are the way to go.
Before You Start Fermenting Your Pickles
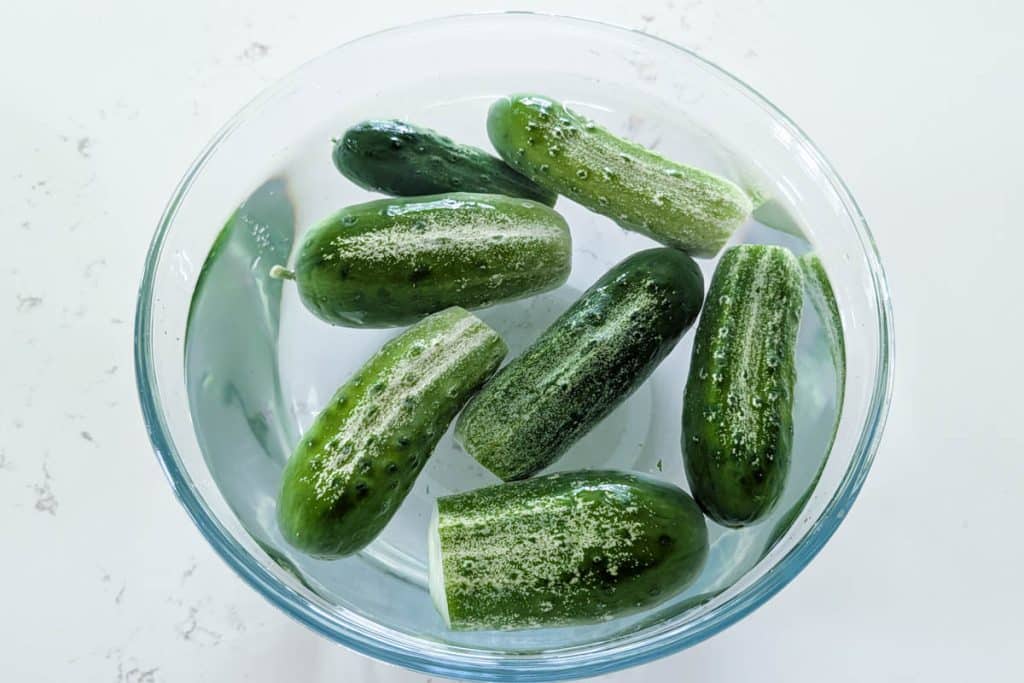
A few small steps make a real difference in the final texture.
- Trimming off the blossom end removes enzymes that can lead to mushy pickles.
- An ice water soak before packing the jar firms the cucumbers up further.
- Once they’re in the jar with garlic, dill, and mustard seed, the brine goes on top, a weight keeps everything submerged, and then it’s just a matter of letting the jar sit at room temperature and tasting along the way. Once it hits a tang that’s right, the jar moves to the refrigerator, where the flavor keeps rounding out over the following weeks.
Make It Jar by Jar
This recipe scales down just as easily as it scales up, which makes it a good fit for pickling cucumbers as they come in from the garden rather than waiting for a full harvest all at once.
Mix up a batch of brine ahead of time, using the same salt-to-water ratio, and keep it in the refrigerator until enough cucumbers are on hand for a single jar. Since we also have a vinegar-based refrigerator pickle recipe on the blog, label the container clearly; something as simple as “fermenting brine, no vinegar” keeps the two from getting mixed up in a busy kitchen.
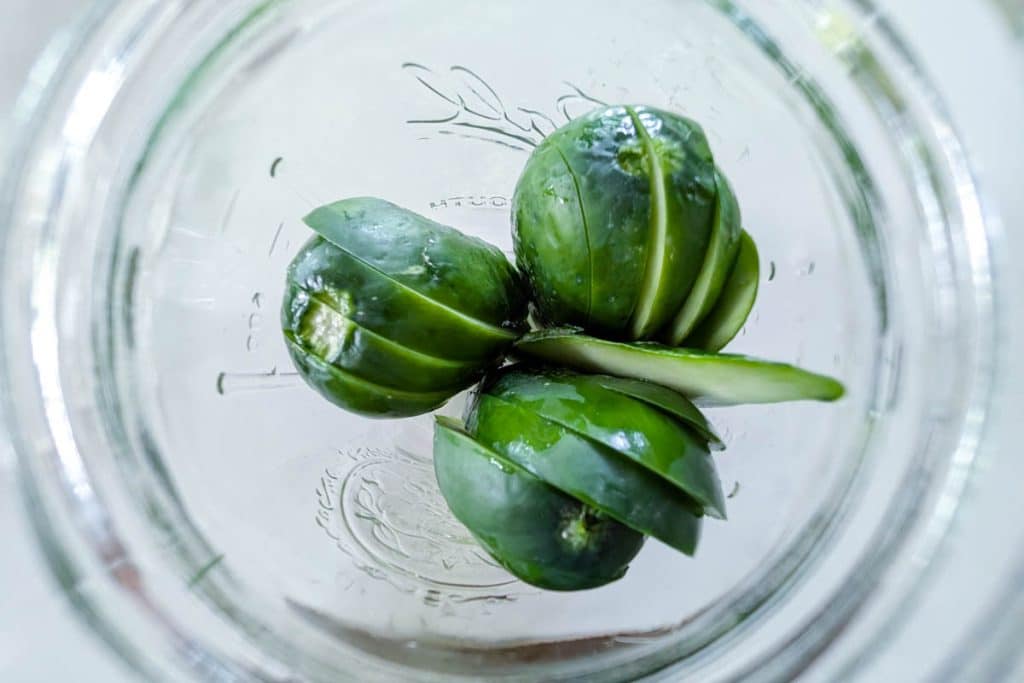
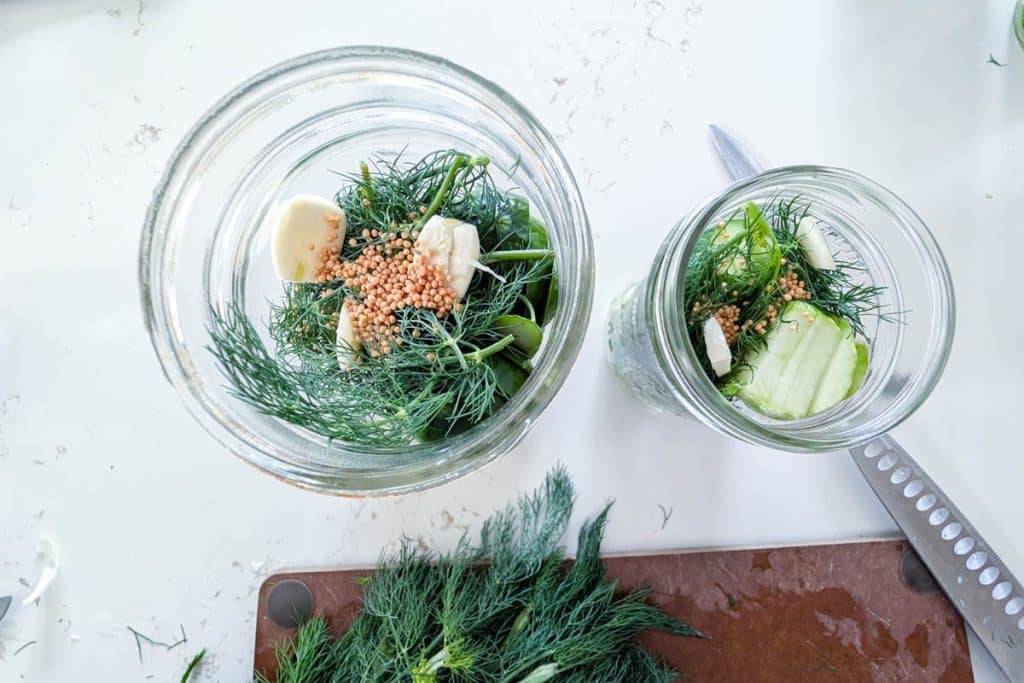
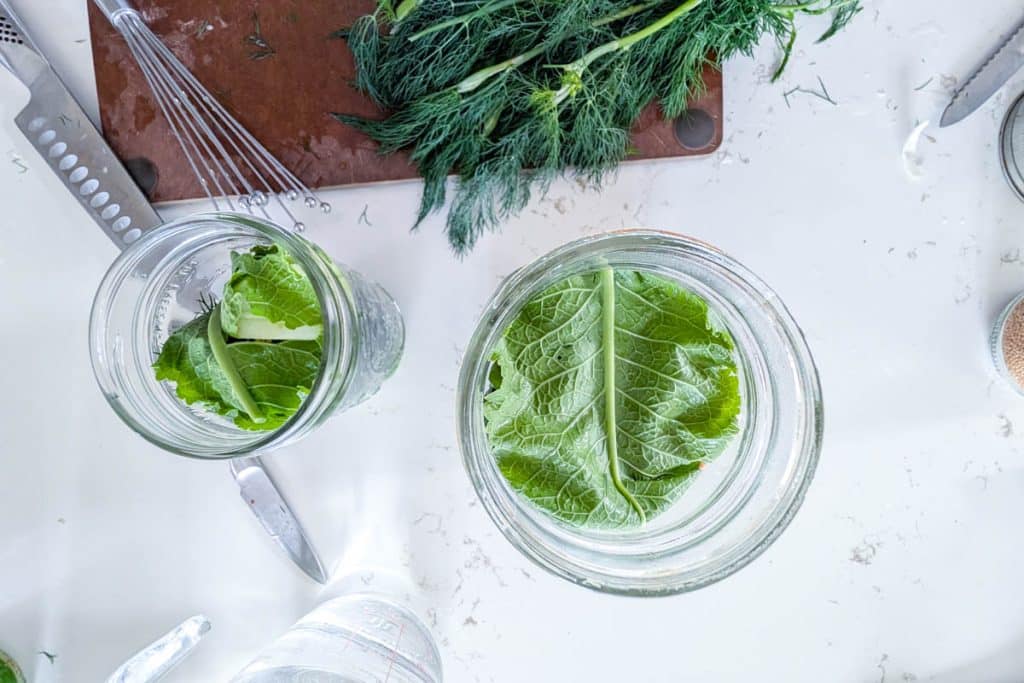
When a handful of cucumbers are ready, trim them, give them an ice-water soak, and pack a jar using your herbs, spices, cucumbers and whatever brine is needed straight from the fridge. Salt water doesn’t spoil the way a food product would, so a batch of prepared brine holds up well in the refrigerator for weeks, which turns fermenting into an ongoing project rather than a single event tied to one big harvest.
Fermentation Times by Temperature
Temperature is the single biggest factor in how quickly this ferment moves along, more so than any other variable in the recipe.
- In a cool kitchen or pantry, somewhere around 60°F to 65°F (16°C to 18°C), fermentation slows down considerably, and it can take 10 to 14 days to reach a good sour flavor. That slower pace comes with a nice tradeoff, cooler ferments tend to stay crisper since there’s less enzymatic breakdown happening over the longer stretch.
- Most kitchens sit somewhere in the 68°F to 72°F (20°C to 22°C) range, which is the sweet spot this recipe is written around; expect a good tang between days 5 and 7.
- Once the temperature climbs into the 75°F to 80°F (24°C to 27°C) range, things move noticeably faster, often reaching peak sourness in just 3 to 5 days. So check in daily, since it’s easy to go from perfectly tangy to overly soft in a hot kitchen.
- Above 85°F (29°C), fermentation happens so quickly that quality gets hard to control; pickles can turn mushy within a couple of days, and the odds of an unwanted mold or yeast bloom go up. If a kitchen runs hot in the summer months, a cooler spot like a basement, pantry, or unused closet corner will yield better results than the counter.
Fermented Dill Pickles or Refrigerated Dill Pickles?
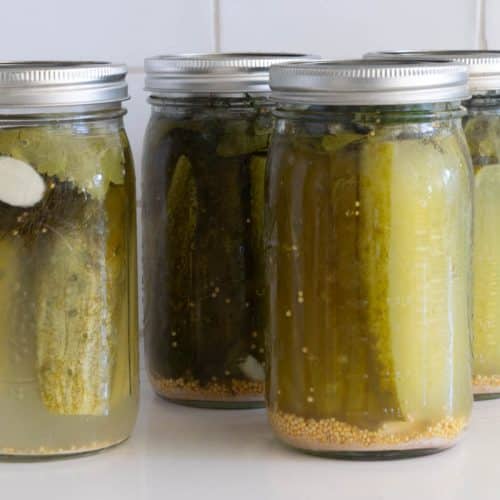
In the picture below, you can see two jars of our Refrigerated Dill Pickles on the left, with two jars of Fermented Dill Pickles on the right. Refrigerating the fresh cucumbers immediately retains their bright green color, while sitting at room temperature for fermentation causes the more olive-y color of the fermented dill pickles.
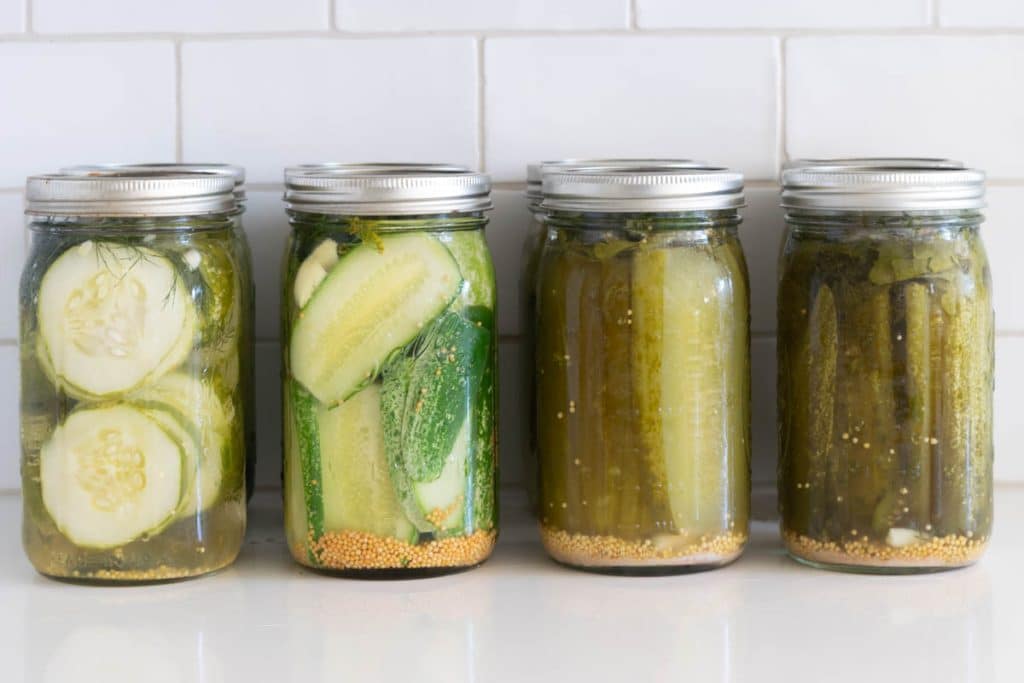
If you’ve made our refrigerator dill pickles before, this process is going to feel just a wee bit different. Those quick refrigerator pickles get their tang from vinegar, so within a day or so in the fridge you already have pickles, and the crunch and bright acidity mostly hold steady for as long as they last in the jar.
Fermented Dill Pickles work the opposite way: there’s no vinegar in the brine at all- just salt, water, and time- and the tang builds gradually as live cultures convert the natural sugars into lactic acid.
The tradeoff is a few days of patience instead of an overnight wait, our refrigerator pickles taste their best after a day or two chilling in the brine, while these fermented ones need closer to a week at room temperature before the flavor really rounds out, but what comes back is a deeper, more complex sourness along with the gut-friendly probiotics a vinegar brine simply can’t produce.
Texture differs, too; fermented pickles tend to have a slightly softer bite than crisp vinegar pickles, though a horseradish leaf or grape leaf helps close that gap. Both are worth keeping in rotation, one for when pickles are wanted today and one for when the wait is part of the appeal.
Fermented Dill Pickles
Equipment
- Glass Jars
Ingredients
- 2.5 pounds pickling cucumbers
- 35 grams non-iodized canning or pickling salt weighed (See Note)
- 5 cups water unchlorinated
- 4 garlic cloves sliced (or to taste)
- 6 fresh dill sprigs
- 2 teaspoons mustard seed
- 1 Horseradish or grape leaf (or Calcium Chloride) for crispness (See Note)
Instructions
- Trim and soak the cucumbers: Cut off the blossom end of each cucumber. Submerge in an ice water bath for 3o minutes.
- Make the brine: Stir 30 grams non-iodized canning or pickling salt, weighed (not measured by volume) into 5 cups water, unchlorinated until fully dissolved.
- Pack the jar: Add 4 garlic cloves, sliced, 6 fresh dill sprigs, and 2 teaspoons mustard seed to the bottom of your jar. Pack in the drained cucumbers as tightly as you can without crushing them.
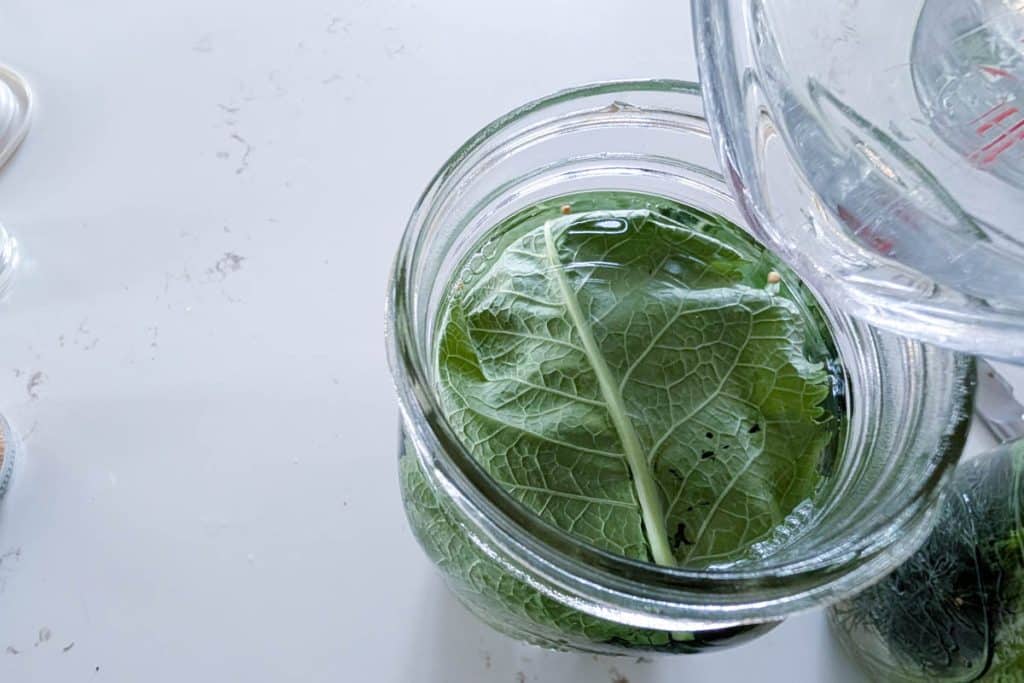
- Pour and weigh down: Pour the brine over the cucumbers, making sure they’re fully covered. Tuck 1 horseradish or grape leaf, for crispness on top and use a fermentation weight to keep everything submerged below the brine line.
- Ferment at room temperature: Cover loosely and let sit at room temperature, out of direct sunlight, checking daily to make sure the cucumbers stay submerged. (See Note)
- Taste and refrigerate: Once they’ve reached a tang you like, move the jar to the refrigerator. This slows fermentation way down and the pickles will keep improving in flavor for weeks.
Notes
Nutrition
Other Fermented Recipes
If this is a first taste of home fermentation, there’s plenty more to explore once the jar is empty. Our sauerkraut turns cabbage into a tangy, probiotic-rich condiment using the same basic principles at work here, and the beet sauerkraut version brings in beets, apples, and ginger for something a little different. For anyone wanting to branch into dairy, milk kefir is about as simple as fermentation gets, just kefir grains and milk left on the counter overnight.
Thanks so much for spending a few minutes of your busy day with me!
To ensure you don’t miss future content, pop your email in the pale green box on the right or click here. I usually send one email weekly, so I won’t inundate your inbox. I’m sensitive to an overflowing email inbox!
We will only use your email address to send you emails, no more than 1-2 weekly. In addition, you will have access to my growing library of knit & crochet patterns and other printables. Check back often as this library will continue to grow. You can unsubscribe anytime by emailing me or clicking on the “unsubscribe” link at the bottom of all emails.
And you can access many of the products I refer to on my Nourish and Nestle Amazon Page. You can access it here.
So, if you’d like to participate in the ‘subscriber benefit’ action, simply subscribe to Nourish and Nestle here or use the form on the right sidebar. It’s slightly towards the top.
I have sent all my subscribers the link to the Subscriber Benefits Library. If you missed it or misplaced it, let me know.
Until next time…