Make a DIY Wrapping Paper Organizer Cart
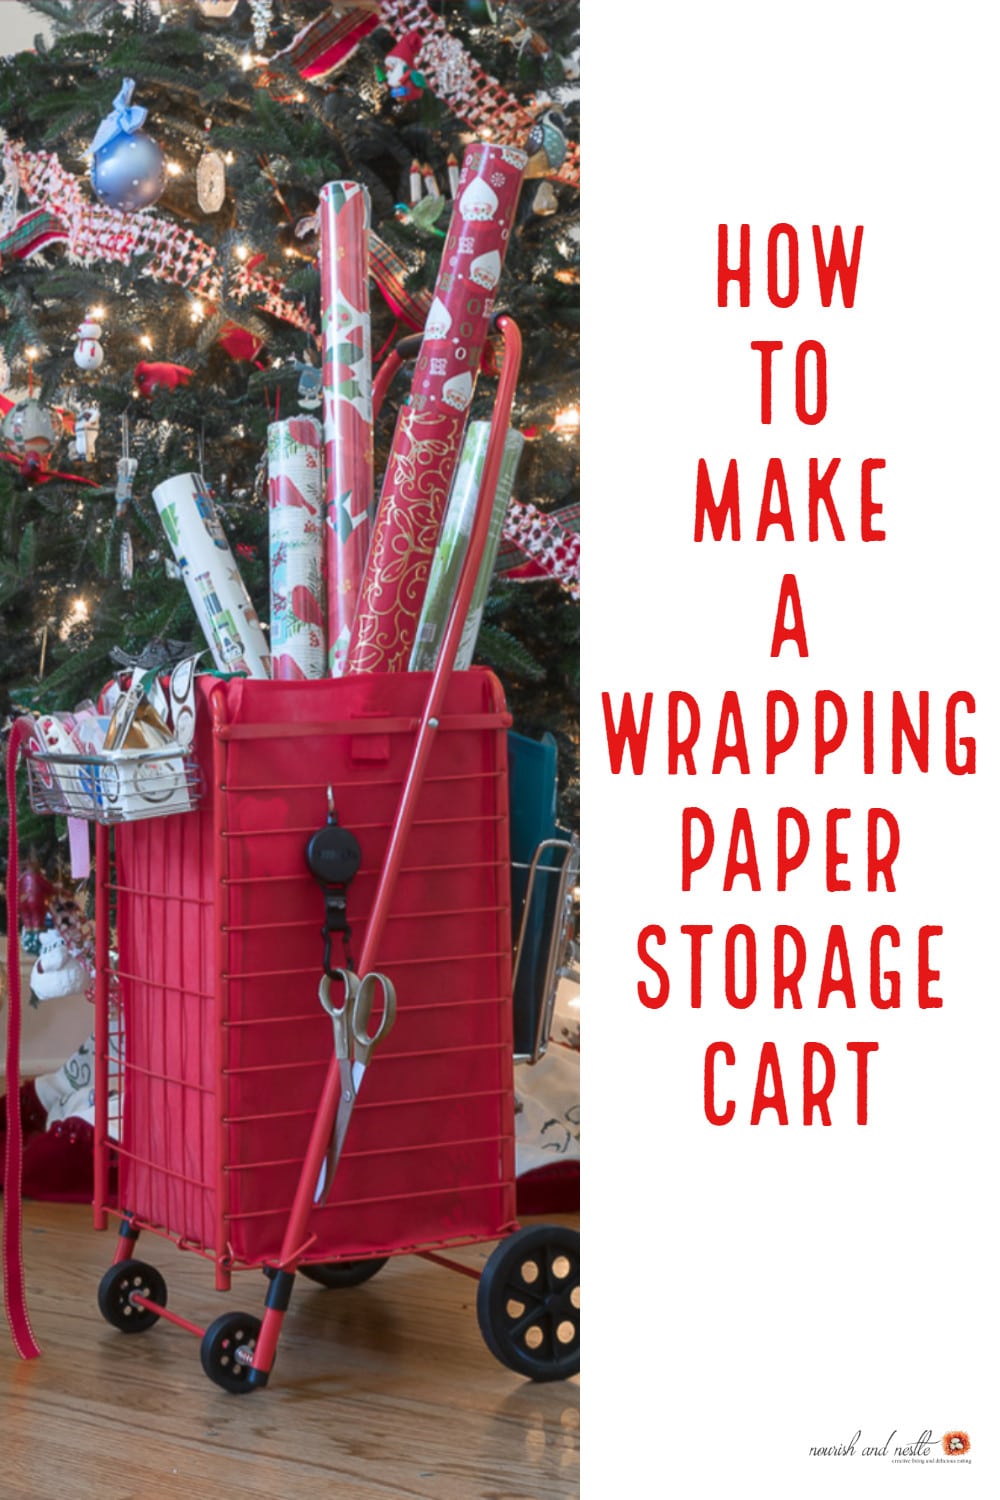
This easy-to-make DIY Wrapping Paper Organizer cart will keep all your paper, tape, gift tags, and ribbon organized and easy to access and is perfect for wrapping paper storage year-round. I am sharing what I used to make my cart and how I organized it. If you have dreams of organized gift wrap storage dancing in your head along with sugar plums, then this DIY wrapping paper organizer cart will make all your Night before Christmas dreams come true!
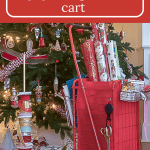
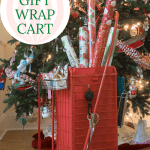
I know that I will cause all sorts of jealousy with what I’m going to tell you, but…Momma got a zippy new set of wheels…meet my fancy DIY Wrapping Paper Organizer Cart!
It can go from 0 to 1 in 10 minutes! Not only that, it truly is the perfect wrapping paper organizer!

Table of Contents
My little DIY gift wrap cart comes in a fun and snappy candy apple red, and the ‘cargo hold’ is the perfect wrapping paper storage space year-round.
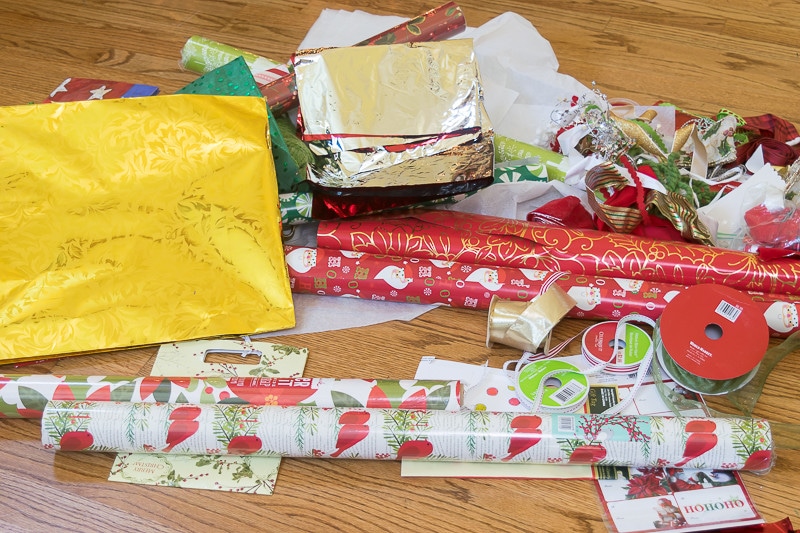
Yes, my friends, I have taken my gift-wrapping game from this HOT MESS…
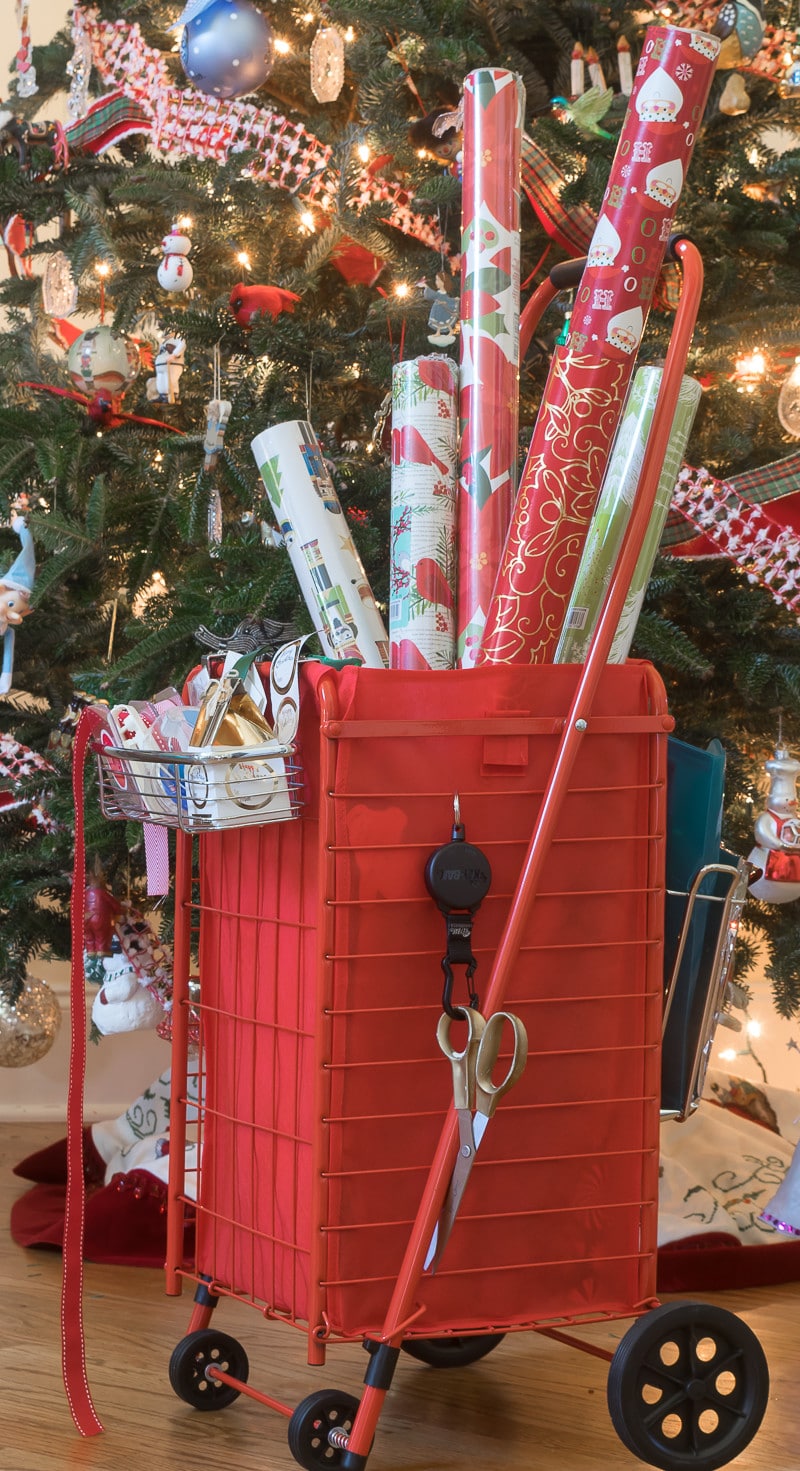
To this snappy little DIY Wrapping Paper Organizer Cart.

For MANY years, we dealt with a long narrow plastic box whose sole purpose was to keep and organize wrapping paper and wrapping necessities. It didn’t succeed at its sole purpose and resulted in this year after year.
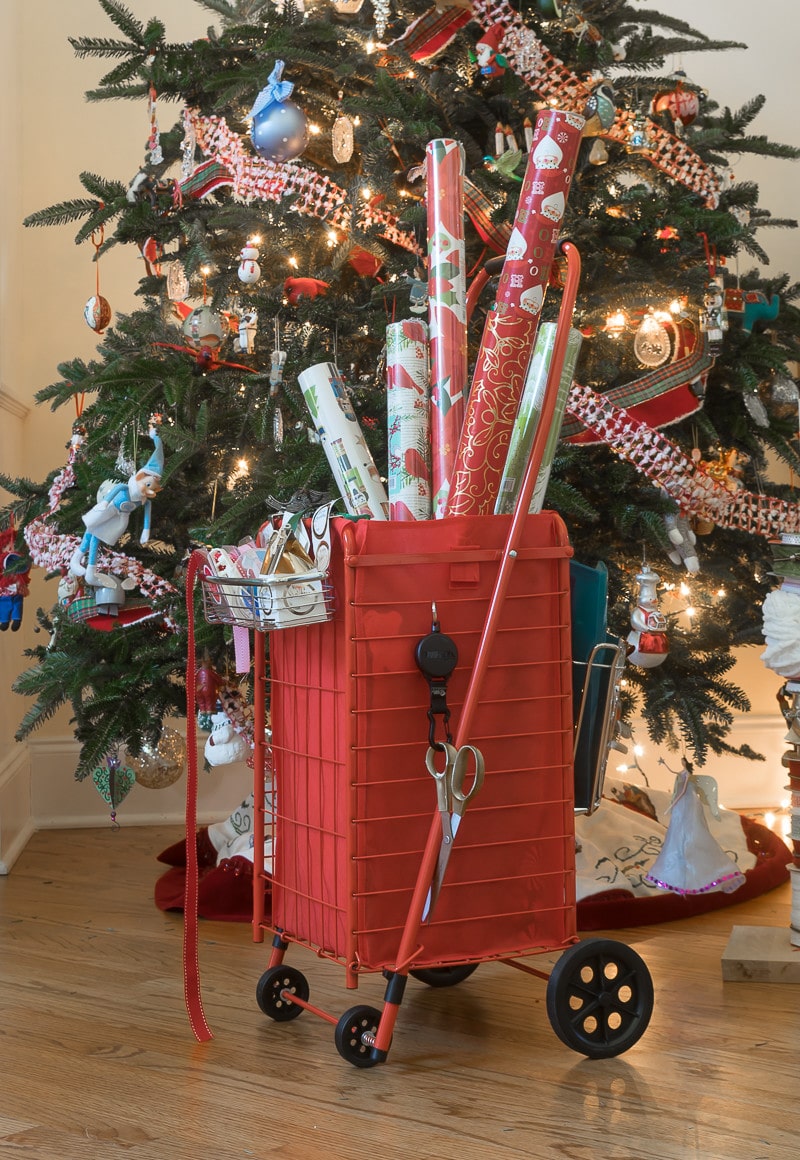
There just wasn’t a place for everything and an easy way to access everything. So I took matters into my own hands and designed a customized DIY Wrapping Paper Storage Cart that was truly functional and an ideal gift wrap organizer.
Details of my DIY Wrapping Paper Organizer Cart:
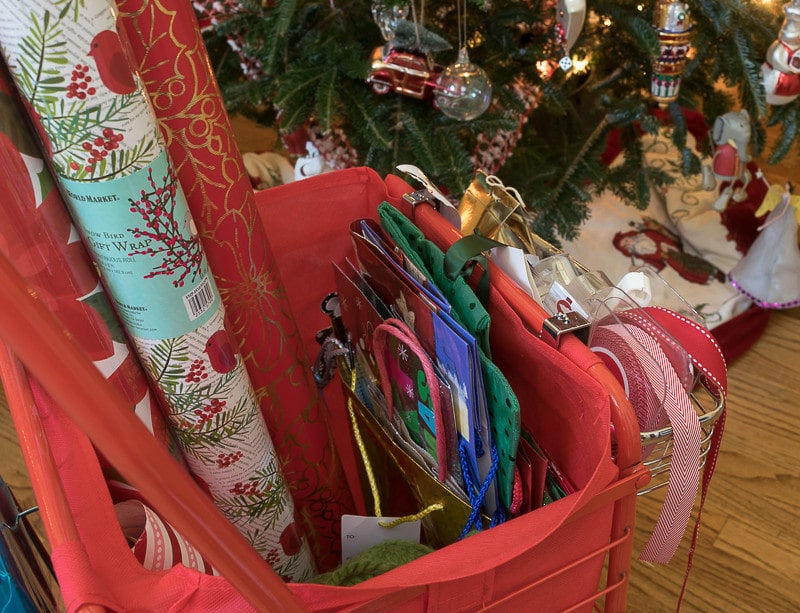
- The gift wrap stands up straight in the Wrapping Paper Organizer; you can easily see what you have and easily access what you need. I have all my gift bags tucked inside one larger gift bag inside the cart…and when you’re done wrapping, voila! It is also ideal for storage year-round!

- The
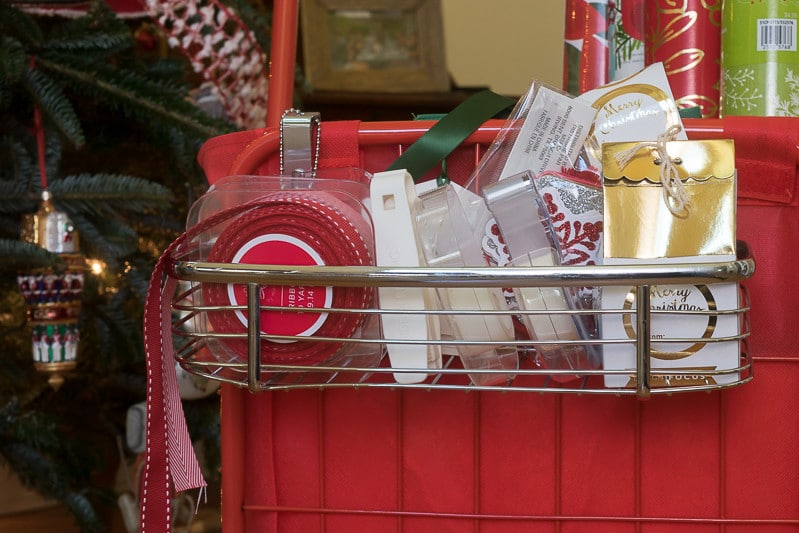
glove boxstorage up front holds my tape and random wrapping doodads…
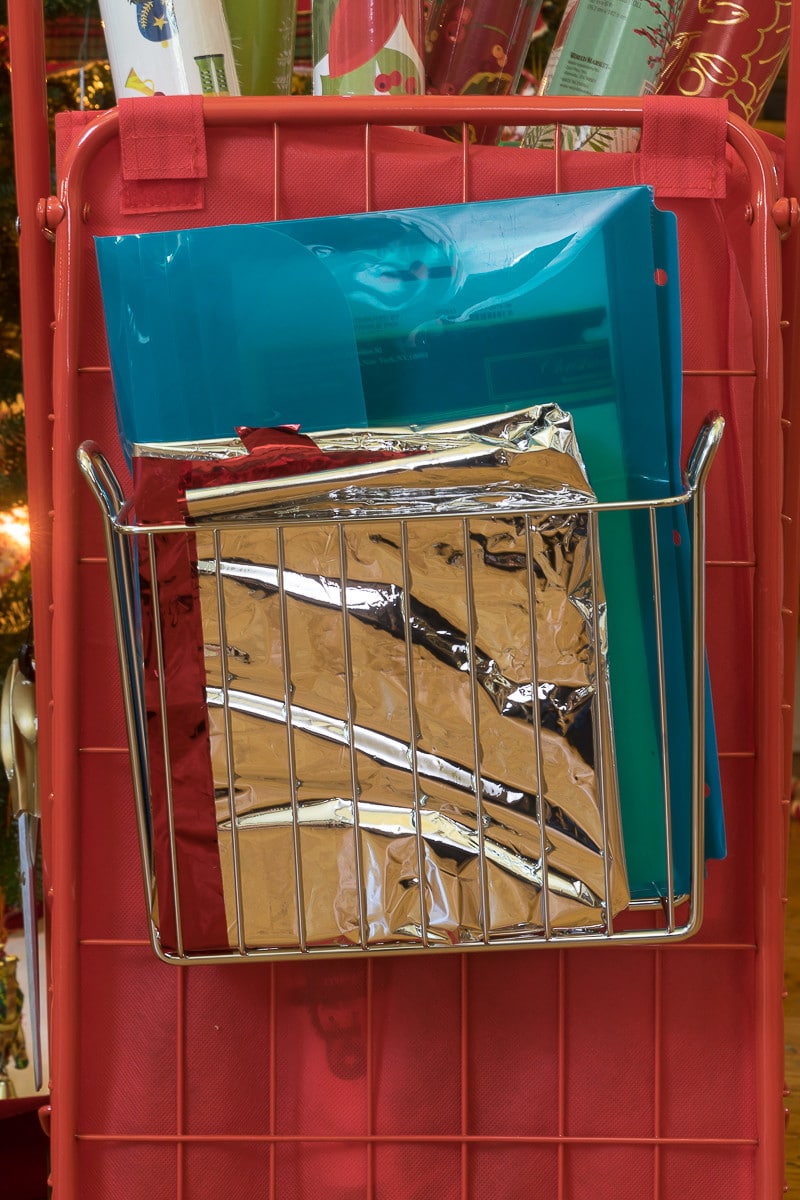
- while the storage in the back of my Wrapping Paper Storage Cart holds folded sheets of tissue paper and a folder of gift tags, receipts, and pens.

- But perhaps the most cherished, invaluable, can’t-live-without, rocks-my-world detail of my new DIY Wrapping Paper Organizer is the retractable scissor holder!
 This little gem will stretch 4 feet to allow ample room for cutting paper, BUT will prevent the inevitable ‘disappearing scissors’ phenomenon that occurred WHENEVER I would sit down to wrap gifts.
I can’t tell you how much I love my new wheels!
Shockingly, I didn’t have any of these things lying around the house, so I did need to purchase everything. It was a bit of an investment, but five years later, this wrapping paper cart has withstood the test of time and wrapping. I looked at some already-made gift wrap storage and organizers, but I didn’t see how they would change the game for me. I would still need to pull everything out to access the stuff at the bottom of the box or they weren’t as portable as my cart.
You may already have some of these or might want to customize your cart to suit your wrapping needs.
Here’s what I used to make this DIY Wrapping Paper Organizer Cart:
As an Amazon Associate, I earn from qualifying purchases. You can see my full disclosure policy here.
- Folding Wheeled Shopping Cart with Fabric Insert…the one I used is no longer available. But this one looks very similar.
- Retractable Reel for scissors
- Magazine Rack to hold tissue paper and tag folder
- Small Rack for tape and miscellaneous
- Plastic Envelope to hold sheets of tags and loose tags
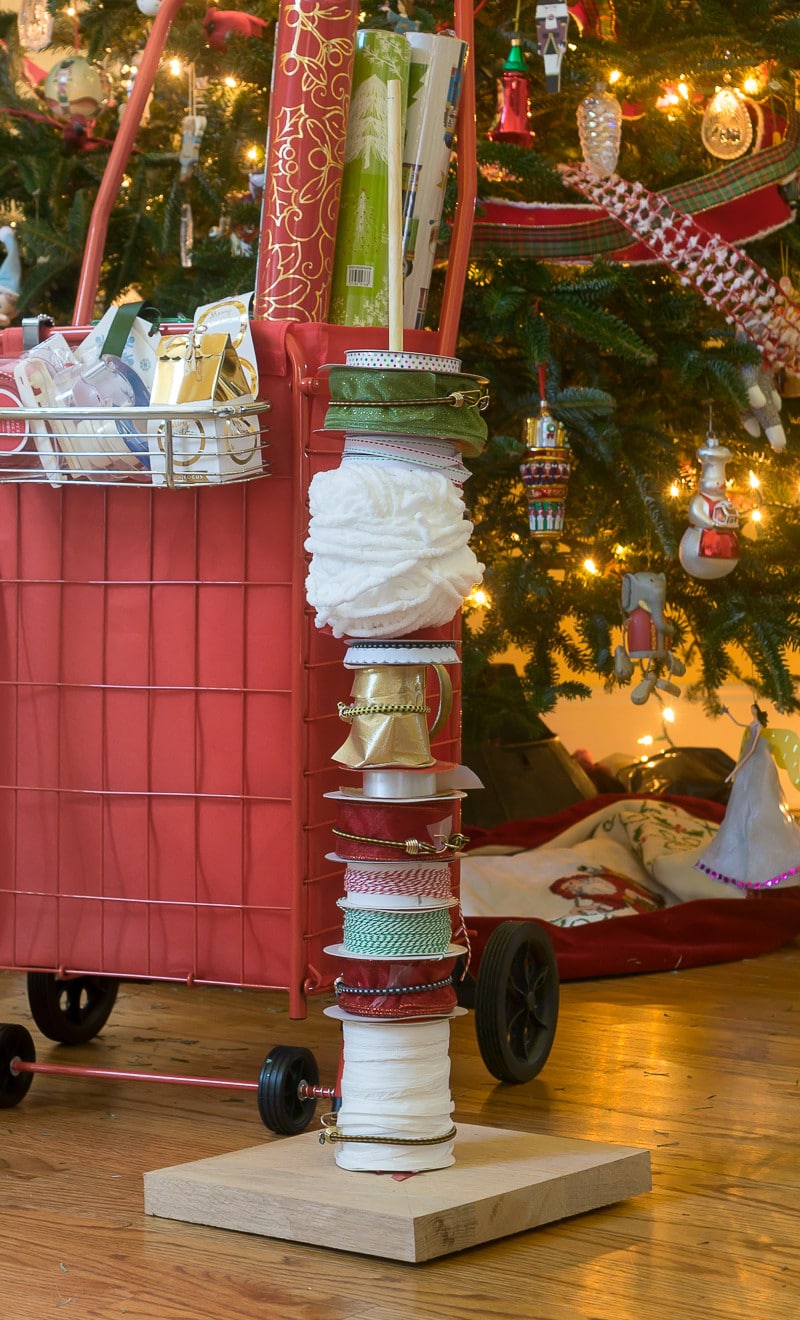
And as if my wrapping paper supplies weren’t already organized enough…I put together this ribbon tower to corral all my spools of ribbon. Small bungee cords keep the ribbon neat.
Interested in More Decluttering or Organizing Posts?
- Catch up on all 4 weeks of the Unclutter Your Nest Bootcamp here:
Week 1: Bedrooms and Bathrooms
Week 2: Kitchen and Craft/Office Space
Week 3: Den/Living Room/Play Room/Coat Closet/Laundry Room
- Other Decluttering and Organizing Posts:
Where to Donate and Recycle Your Discards
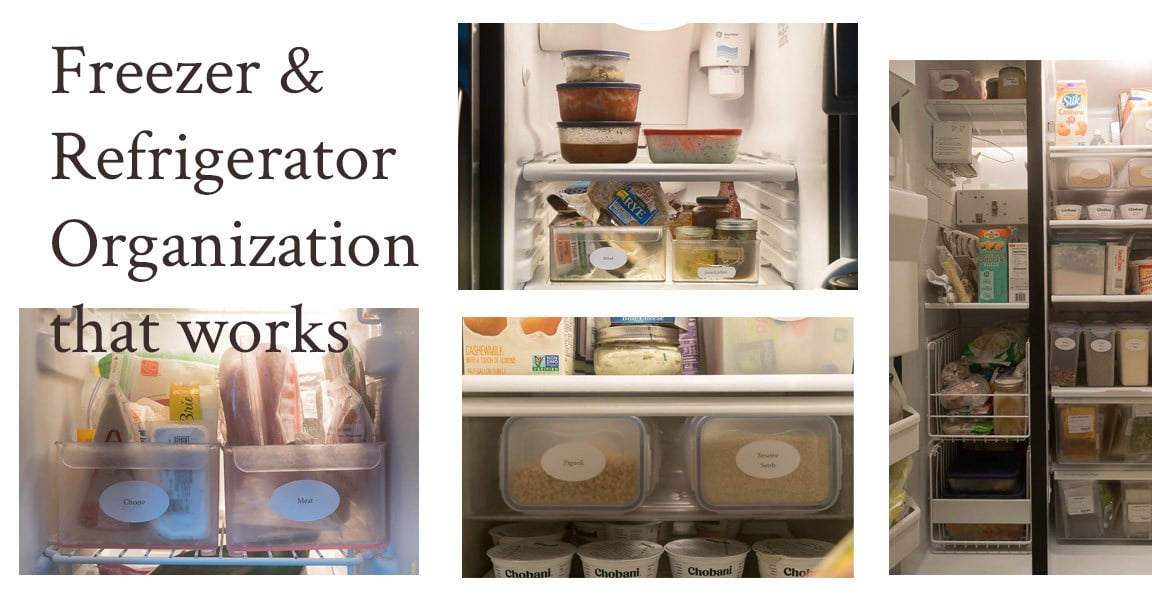
Freezer and Refrigerator Organization that Works
Personalized Kitchen Drawer Organization
Organizing and Storage Ideas for an Uncluttered Bathroom
Organized Closets and Cabinets
Organized Office and Craft Room
Clutter-Free Kitchen and Organized Linen Storage
Technology and Digital Declutter Ideas – Week 1
Do you have an organized Wrapping Paper setup?
If you want to revisit this DIY Wrapping Paper Organizer Cart in the future, bookmark this page or pin this image.
Thanks so much for spending a few minutes of your busy day with me!
To ensure you don’t miss future content, pop your email in the pale green box on the right or click here. I usually send one email weekly, so I won’t inundate your inbox. I’m sensitive to an overflowing email inbox!
We will only use your email address to send you emails, no more than 1-2 weekly. In addition, you will have access to my growing library of knit & crochet patterns and other printables. Check back often as this library will continue to grow. You can unsubscribe anytime by emailing me or clicking on the “unsubscribe” link at the bottom of all emails.
And you can access many of the products I refer to on my Nourish and Nestle Amazon Page. You can access it here.
So, if you’d like to participate in the ‘subscriber benefit’ action, simply subscribe to Nourish and Nestle here or use the form on the right sidebar. It’s slightly towards the top.
I have sent all my subscribers the link to the Subscriber Benefits Library. If you missed it or misplaced it, let me know.
Until next time…



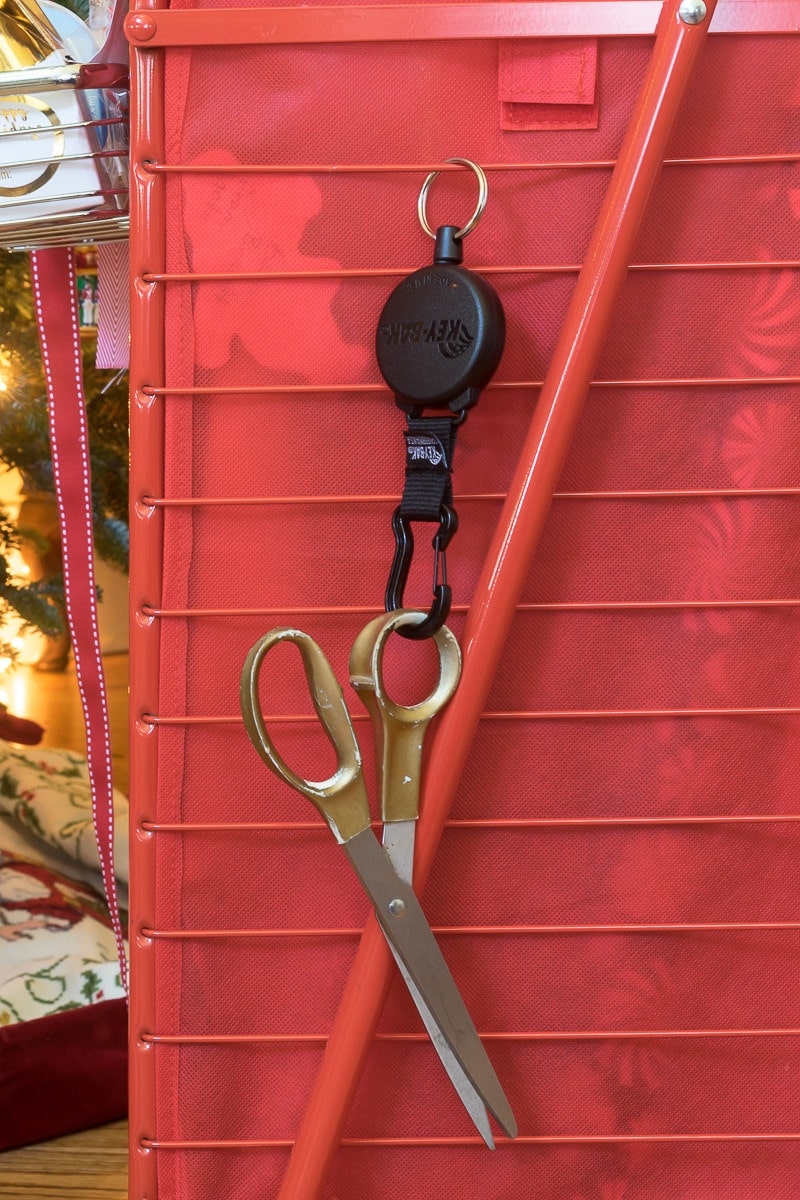 This little gem will stretch 4 feet to allow ample room for cutting paper, BUT will prevent the inevitable ‘disappearing scissors’ phenomenon that occurred WHENEVER I would sit down to wrap gifts.



Fantastic idea to keep it all together . Would love to make one of these!
Hey Barbara…I have always enjoyed gift wrapping, but not I am positively giddy because I can keep it neat and organized!
This is too funny! I have a wrapping paper hoarding problem. I always buy it end of year on crazy clearance. Funny story when I move to this house someone had stuffed my wrapping paper into an upside down plant stand. I thought it was so genius I have kept it that way for years!
Perfect solution!I’ll keep that one in mind too.
I love how this organizes the paper, but what do you do with it for the other 50 weeks of the year. The advantage of the flat box is that it’s easy to store under a bed or on a high closet shelf. BTW, love the sight and just joined.
Thanks Kirsten…I hear what you’re saying. Right now we have a large attic, so it’s really easy for me to wheel it in there for the other 11 months. But, we are looking to downsize and I think then I will use it year round, with all of my wrapping paper instead of just Christmas wrap.
I am so glad to have you on board my friend.
Hugs, Lynn
Best idea I have ever seen to store gift wrap! Like you did, I have the plastic storage box that never holds it all, then I have somewhere else for bows, then somewhere else for bags – – not to mention the scissor idea! I’m so excited, I can’t wait to try it. I’m going out tomorrow to get supplies.
Aw, thanks Cindy! Have you put your wrapping paper cart together? I’m considering making a second one for the other 11 months of the year! Thanks for swinging by my friend.
Hugs, Lynn
I absolutely love this cart and am going to give it a try. Thank you so much. I love your posts and continue to read them. Thanks so much for sharing your ideas.
Linda D.
Aw Thanks, Linda.
This cart is truly one of my favorite DIY accomplishments…it has really changed my gift wrap storage game and I feel so ‘in control’ of all that paper and ribbon! Thanks for writing in, my friend. And do share a pic of your cart when you have finished. I’d love to see it.
Hugs,
Lynn
I like this idea very much too. I can keep it in a closet and move to a space to wrap when needed. I think I would set this up for year around, and then December fill with stored Holiday papers. When my kids come they always have things to wrap – love the ability to move where needed, and everything needed is RIGHT THERE! Also, I lose my scissors constantly while wrapping – this alone will save me time! and frustration! Thank you!
Hi Joan Ann,
Very smart to use if for year round wrapping…it would be very easy to just pull the seasonal stuff out. The tape and scissors and maybe some of the ribbon could be used year-round. And the scissors that can’t be…ummm…absconded with is probably my most favorite feature!
Enjoy putting your cart together and making it work for you!
Thanks for writing in.
Hugs,
Lynn
Wish I would have seen this years ago for my daughter-in-law. She would have gone with it. She is SO organized that she has hers already organized. You had an amazing idea and I love it!
Aw, thanks Cynthia! It is truly one of my favorite organization projects ever…it is truly a wrapping paper game-changer.
Thank for taking the time to drop me that kind note! It is very appreciated.
Have a great weekend.
Hugs,
Lynn