
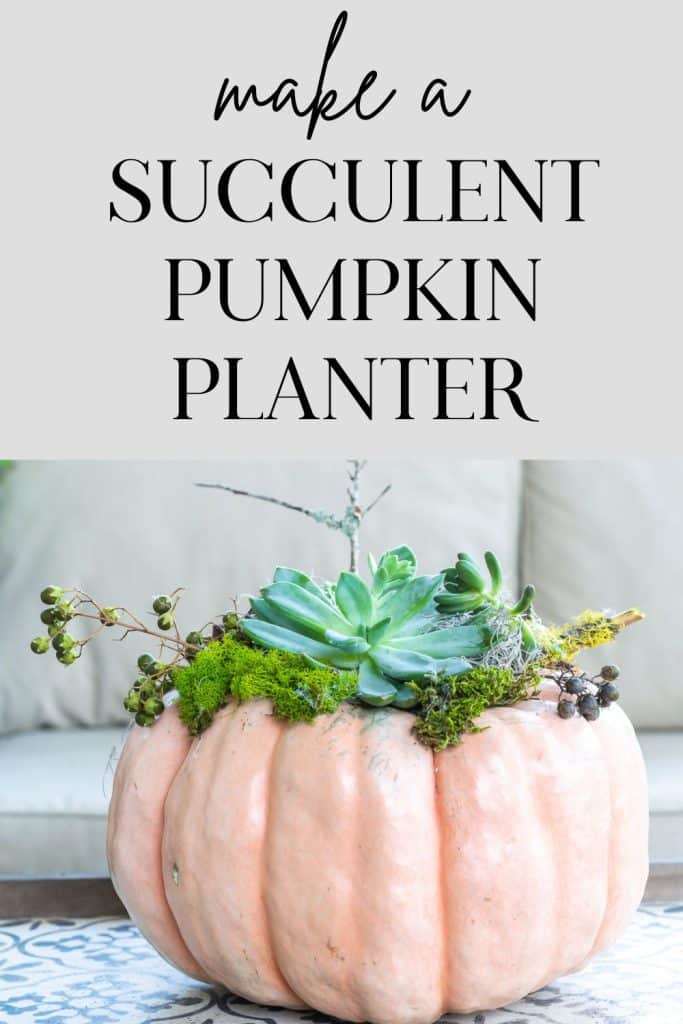
Pumpkin Succulents Planter with Moss & Twigs
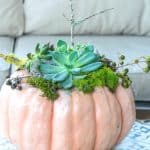
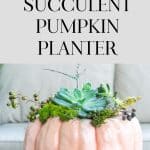
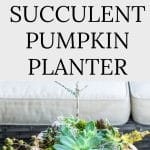
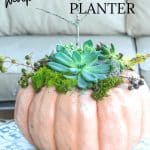
How to make a Pumpkin Succulents Planter that includes moss, twigs, berries, and other found or foraged plant material and natural trimmings.
This may indeed be the easiest DIY I’ve ever published. It seems that as soon as you start, you’re finished! This is a good and excellent thing if you are looking for some immediate gratification and instant fall home decor.
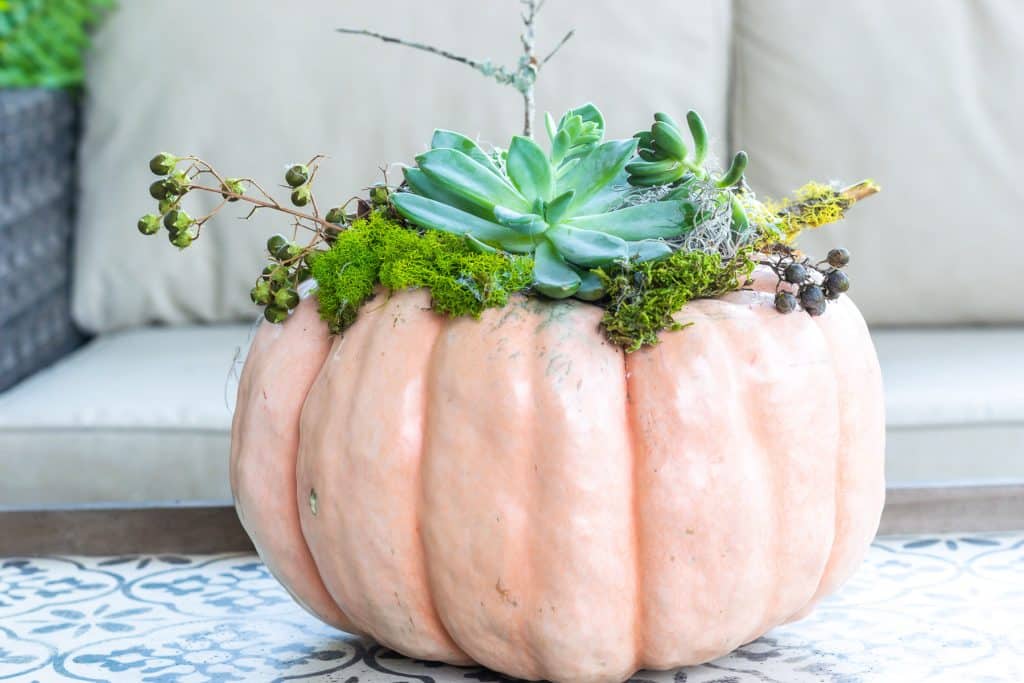
Table of Contents
great girl’s night craft
As I made this Pumpkin Succulent Planter, I realized this would be a great girl’s night craft! Invite your friends to bring a pumpkin, some succulents, some found and foraged materials from their yards, and make an evening of it!
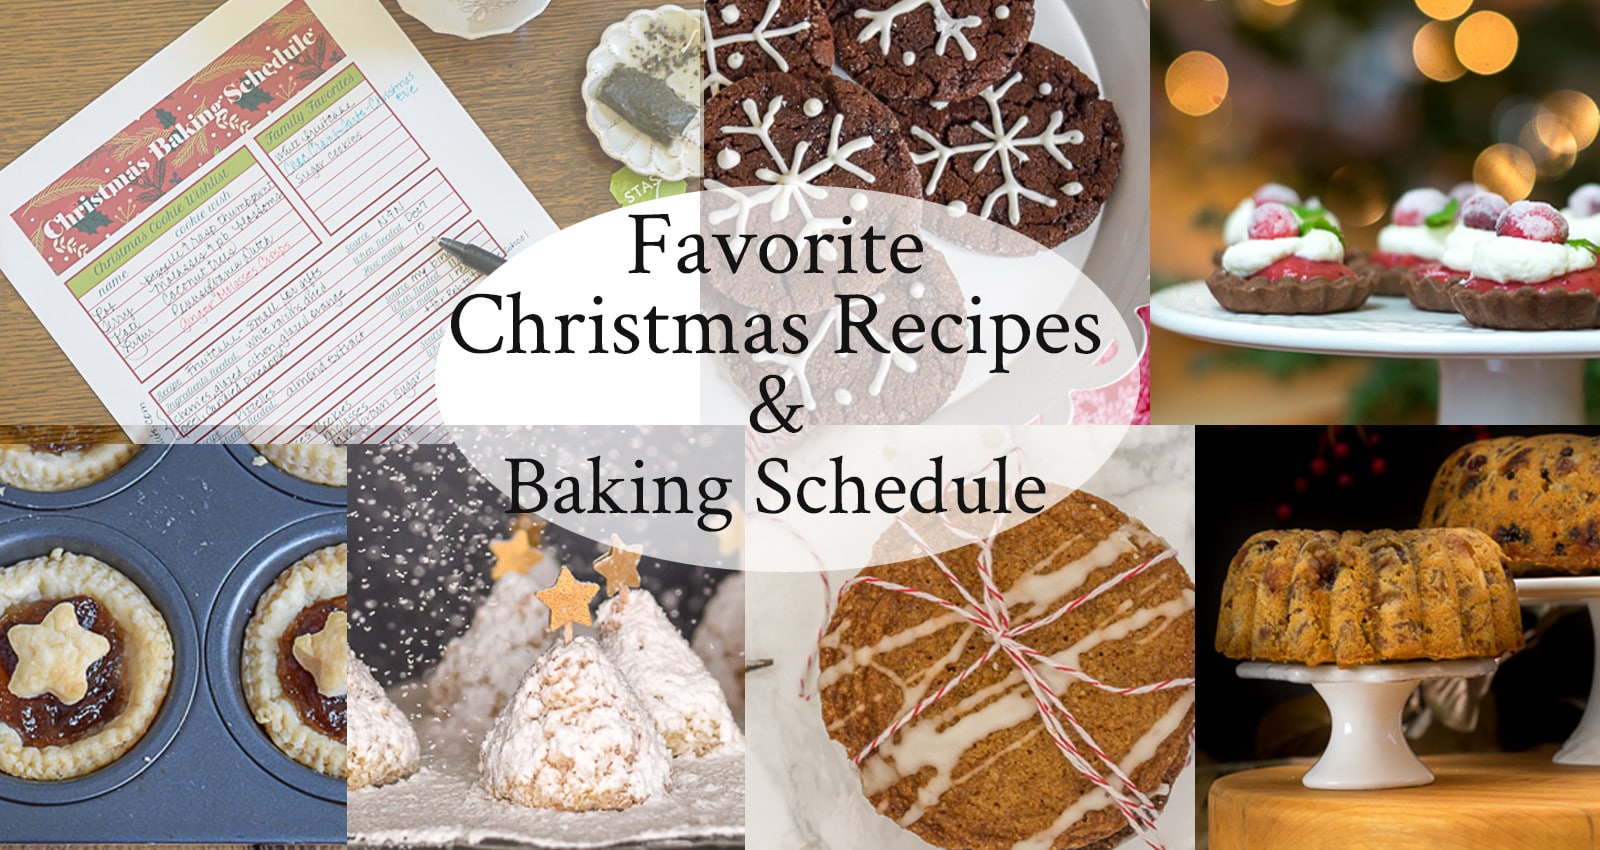
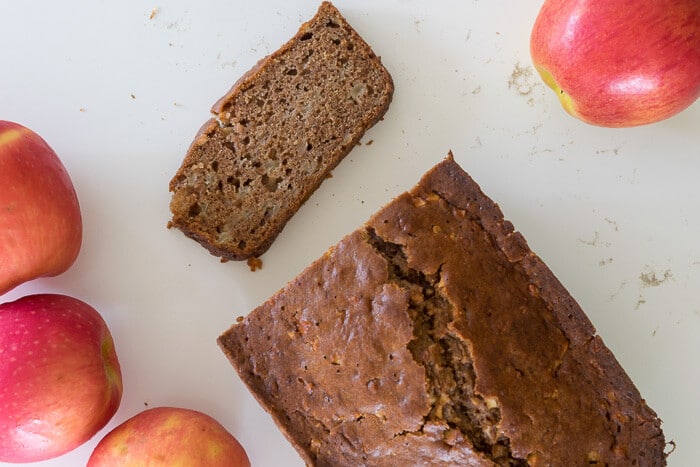
If you do decide to gather your friends for a fun evening of crafting, consider serving this Spiked, Warm Apple Cider and these Pumpkin Cheesecake Bars.
You and your guests will end the evening with good fellowship, good food, and your own succulent-topped pumpkins!
materials needed for diy succulent pumpkin planters
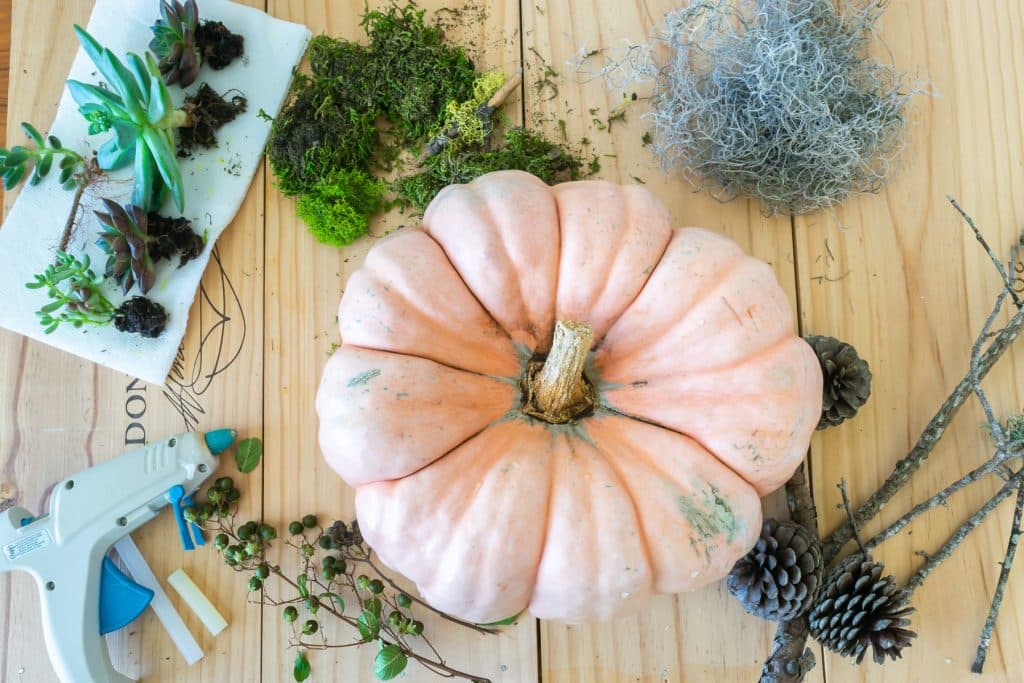
It is really up to you how you want to adorn your pumpkin. But at a minimum, you do need…
- …a pumpkin. Look for a pumpkin with some surface area at the top. And bonus points if your pumpkin has a bit of a well at the stem! The Cinderella pumpkins and other ‘flatter’ pumpkins are a great option, and they come in such pretty colors.
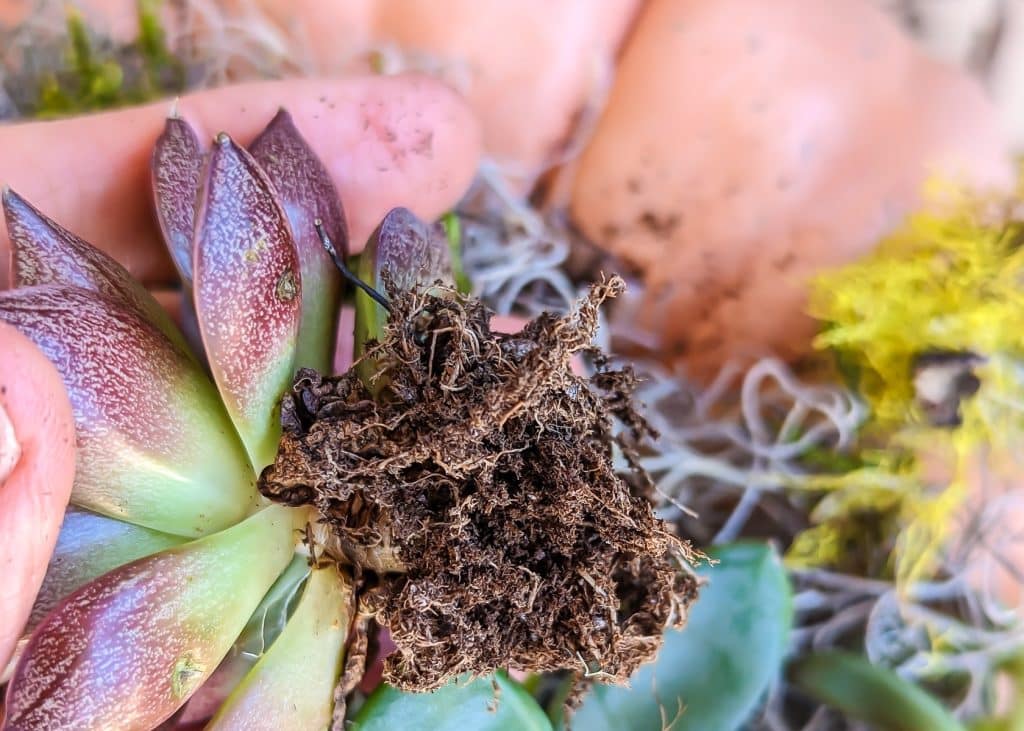
- If you are making a ‘pumpkin succulents planter’, then you need some small succulents and/or succulent cuttings. The beauty of these plants for this project is that they require very little water or soil. And they come in some pretty colors too! Like any good container garden, aim to have a ‘thriller,’ a ‘filler,’ and a ‘spiller’ succulent. All my succulents had roots. For reference, my ‘big’ ‘thriller’ succulent (Blue Quartz Pachveria) is 4.5″ in diameter, the smaller ones are about 2″ in diameter.
- And you do need a glue gun.
- But after that, it is really up to you! Here’s what I used:
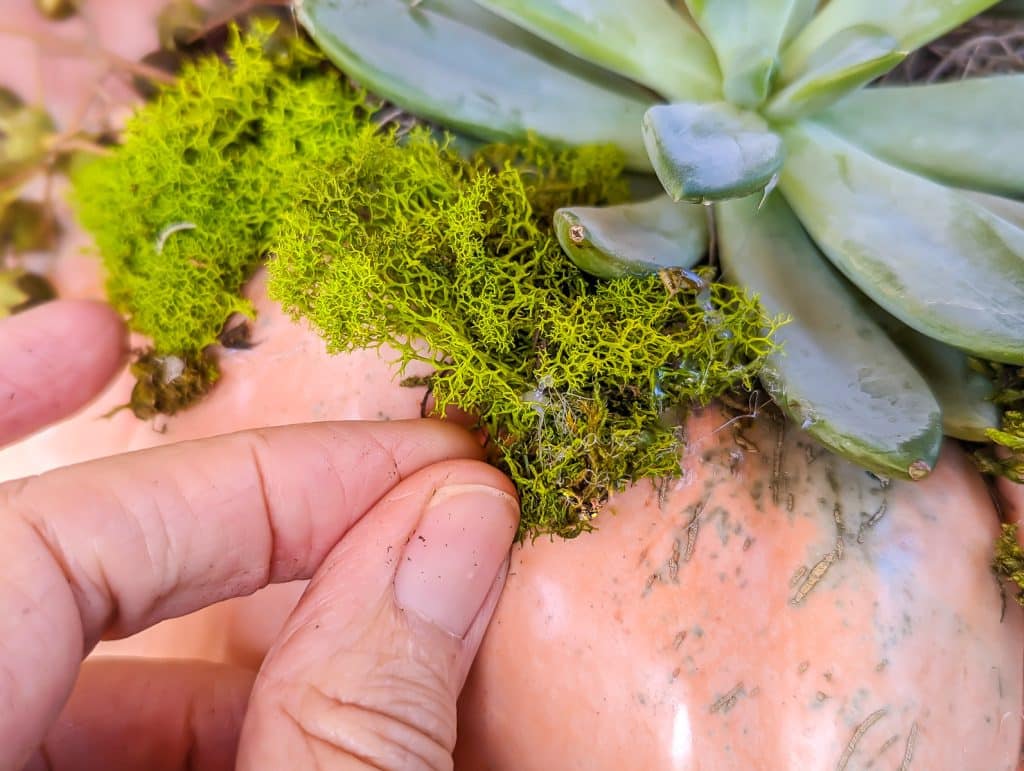
- a variety of mosses. We live in the southern U.S., and Spanish Moss is plentiful down here, so I pulled some from trees in our neighborhood. I did zap in the microwave for 1 minute to kill any possible chiggers. I also pulled some moss from our yard and nature trails and also had a bag from Michaels. I liked using a variety of different colors and textures. The moss takes the place of succulent soil.
- an assortment of twigs. I found one with lichen and moss on it, which I like. I had some sticks with pinecones still attached, but they seemed rather bulky. If you had some sticks or branches with more miniature pinecones or berries, I think they would be lovely.
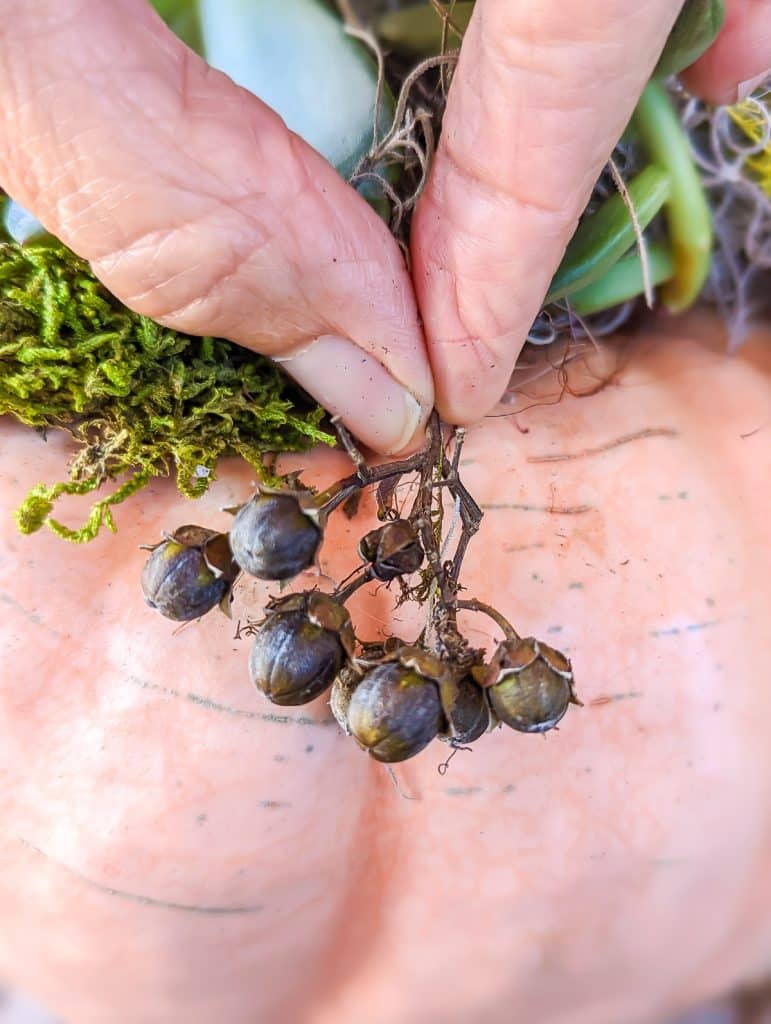
- Speaking of pinecones and berries, be on the lookout for those little gems. The only berries in my yard were the seed pods/berries from our Crape Myrtle.
- Dried flowers or grasses heads, like dried lavender, bunny grass, thistle, billy buttons, etc. I know you can easily purchase these, but I challenged myself to use what I could forage.
Want to see it in action? Here’s the video! Pin it to your Pinterest board to refer back to it in the future (or if you are just looking for entertainment this Friday!🤣)
let’s put a pumpkin succulents planter together
I’m serious…don’t blink, or you’ll miss it.
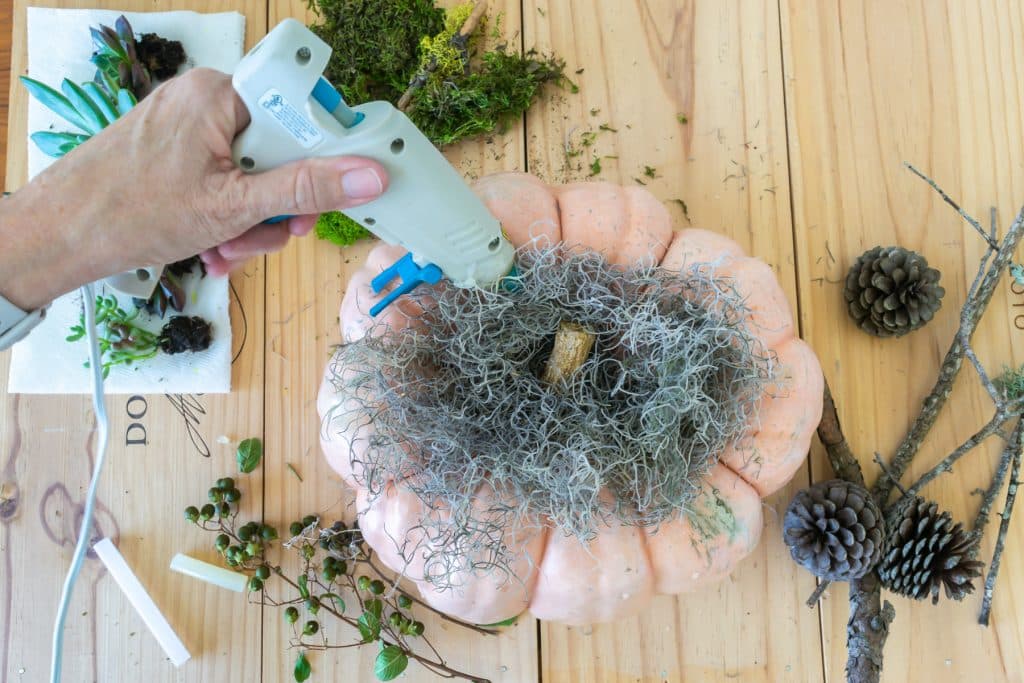
- Mound a bit of moss (I used Spanish Moss) in the center of your pumpkin. It’s up to you whether you keep the stem on or off. Secure the moss by putting dabs of hot glue in several places.
- Figure out where you want your ‘thriller’ succulent. I wanted mine right up front, so I glued it there. I kept the glue to a minimum with my succulents, just enough to keep them secure. At the end of the day, unless you have plans that I can’t think of at the moment, your pumpkin succulents planter will be living a relatively sedentary life. As such, you shouldn’t need too much glue to keep everything in place.
- If there is something else you want to have a place of priority, I’d go ahead and put it where you want it. I wanted my little lichen stick to have a good spot.
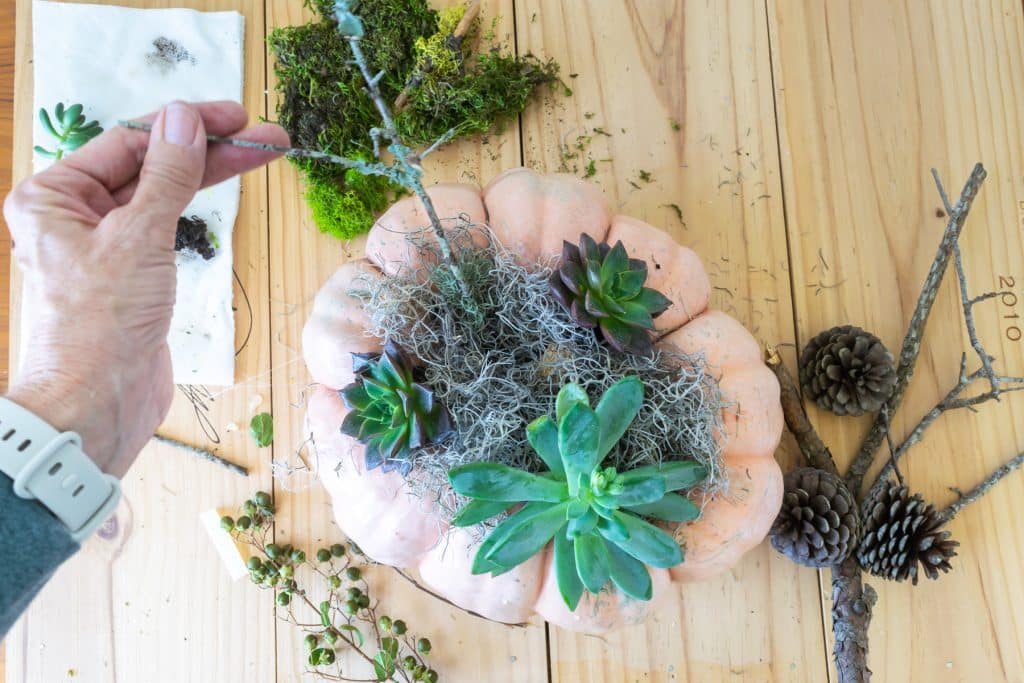
- Then it is just a matter of filling in with the rest of your succulents, moss, berries, bits, and bobs until you have an arrangement that makes you happy.
caring for your succulent pumpkin planter
- If you display your planter on furniture, you want to put something waterproof under your pumpkin.
- Keep your pumpkin away from direct sun, heat, and rain and out of freezing temperatures.
- Spritz the moss and succulents once a week. Avoid too much water pooling at the stem of your pumpkin.
- When the season is done, you can either pull your succulents out and plant them or cut the top of your pumpkin off and plant it shallowly.
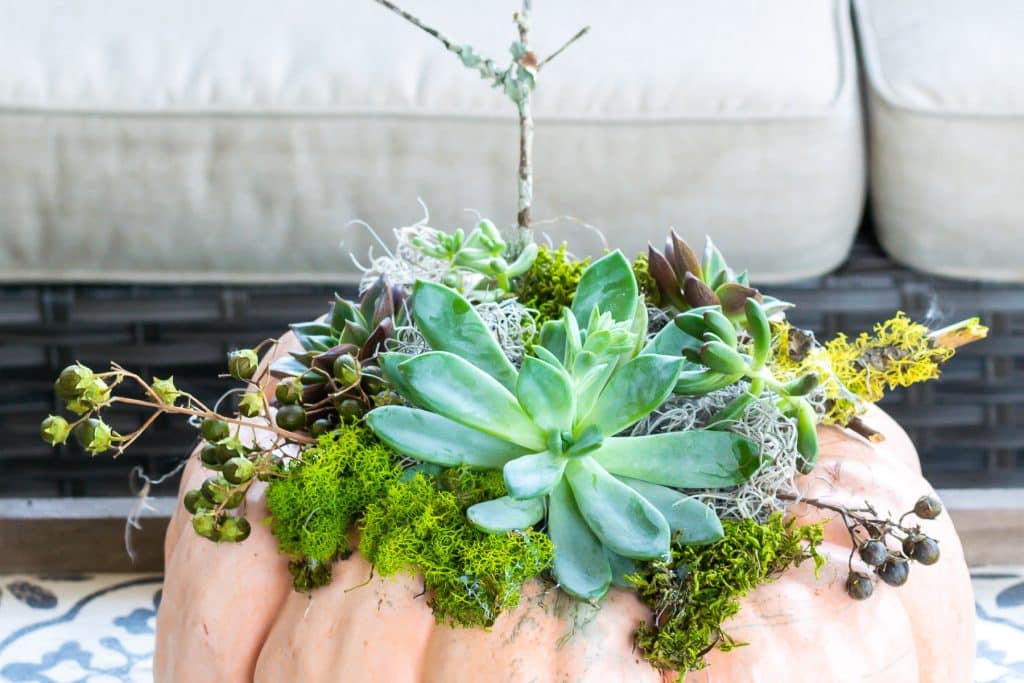
I haven’t decided if I will be giving this pumpkin succulent planter to my mom or if I’ll be keeping it on my kitchen table as a succulent pumpkin centerpiece. I’m even toying with building my Thanksgiving table around it.
Bookmark this page or pin the following image to refer to how to make your own Pumpkin Succulents Planter.
Thanks so much for spending a few minutes of your busy day with me!
To ensure you don’t miss future content, pop your email in the pale green box on the right or click here. I usually send one email weekly, so I won’t inundate your inbox. I’m sensitive to an overflowing email inbox!
We will only use your email address to send you emails, no more than 1-2 weekly. In addition, you will have access to my growing library of knit & crochet patterns and other printables. Check back often as this library will continue to grow. You can unsubscribe anytime by emailing me or clicking on the “unsubscribe” link at the bottom of all emails.
And you can access many of the products I refer to on my Nourish and Nestle Amazon Page. You can access it here.
So, if you’d like to participate in the ‘subscriber benefit’ action, simply subscribe to Nourish and Nestle here or use the form on the right sidebar. It’s slightly towards the top.
I have sent all my subscribers the link to the Subscriber Benefits Library. If you missed it or misplaced it, let me know.
Until next time…


Hello Lynn-
I love this idea. Yours is beautiful. I think you should make another one for your Mom and use yours on the Thanksgiving table.
Thanks for keeping us insiped and crafting!
Thanks Sara! I might make another for mom…but I picked up some smaller pumpkins and may do one of those for her.
And you are so welcome. I love what I do and I’m thrilled that others enjoy it as well. It is the PERFECT job!
Have a great day!
Hugs, Lynn