
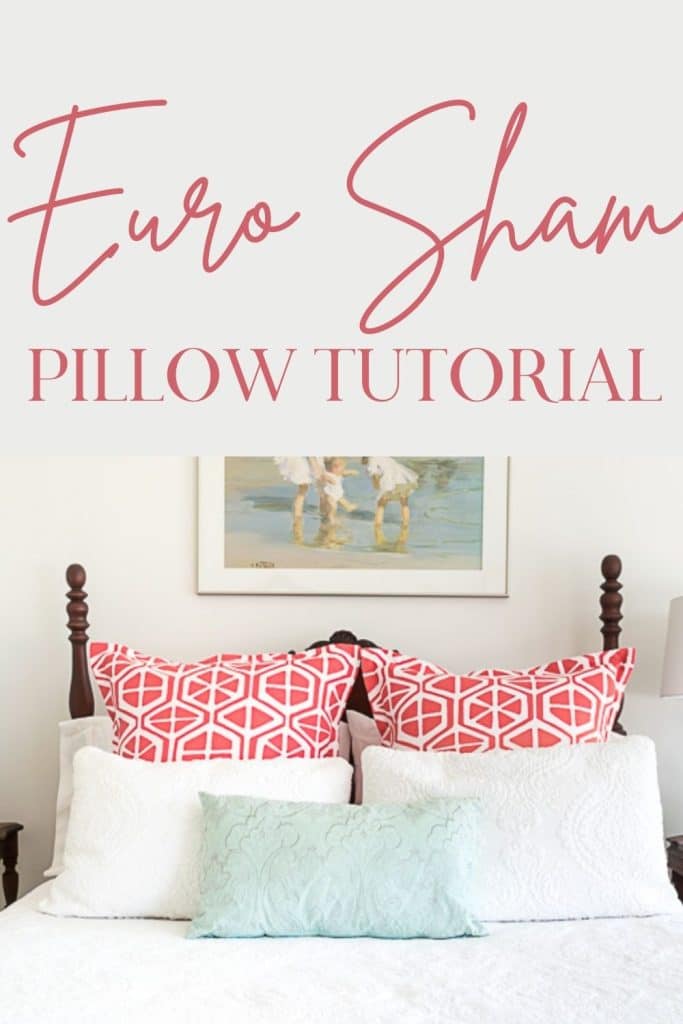
Pillow Sham Pattern with Flange Edge


A tutorial and pillow sham pattern, featuring a flanged edge.
This Flanged Pillow Sham is one of the first projects I completed when I refreshed our guest room. I also shared posts detailing how to make a DIY bed skirt and how to clean old linens as part of the guest room refresh..
I am very happy with the way our guest room turned out! Truthfully, it didn’t take much! It had been sorely neglected since we moved in. I’m a little embarrassed to show you the before.
Ugh, please remember…we had just moved in (well, we had moved a year before) and hadn’t even hung a picture. I guess I could’ve made the bed before I took the before picture, but where’s the fun in that? This pic was snapped right before we painted. We had filled in holes and cracks in the wall.
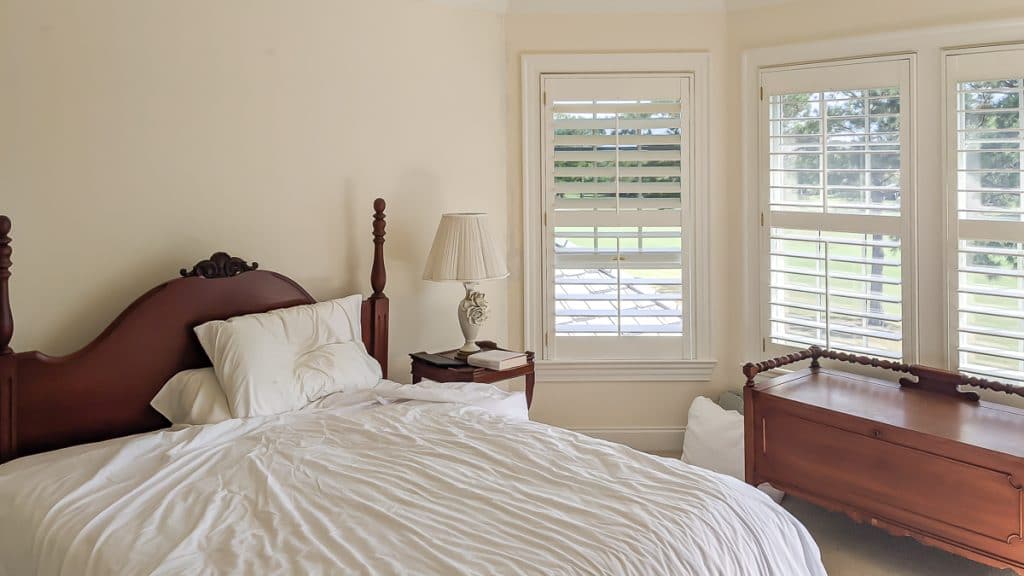
Table of Contents
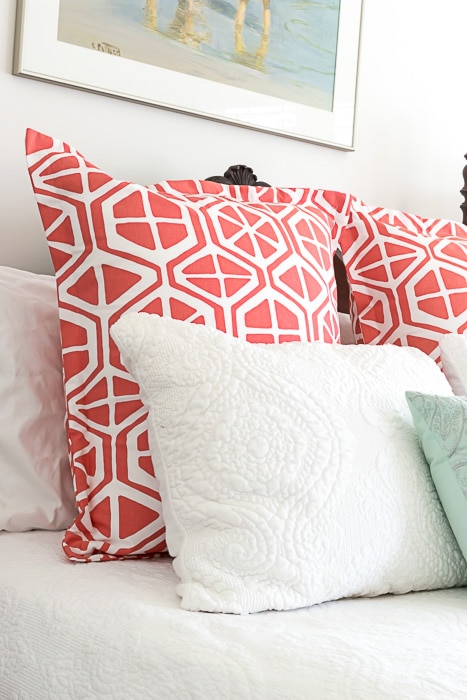
The first thing we did was give the room a coat of crisp, but soft, white paint. Then I got busy sewing this pillow sham pattern
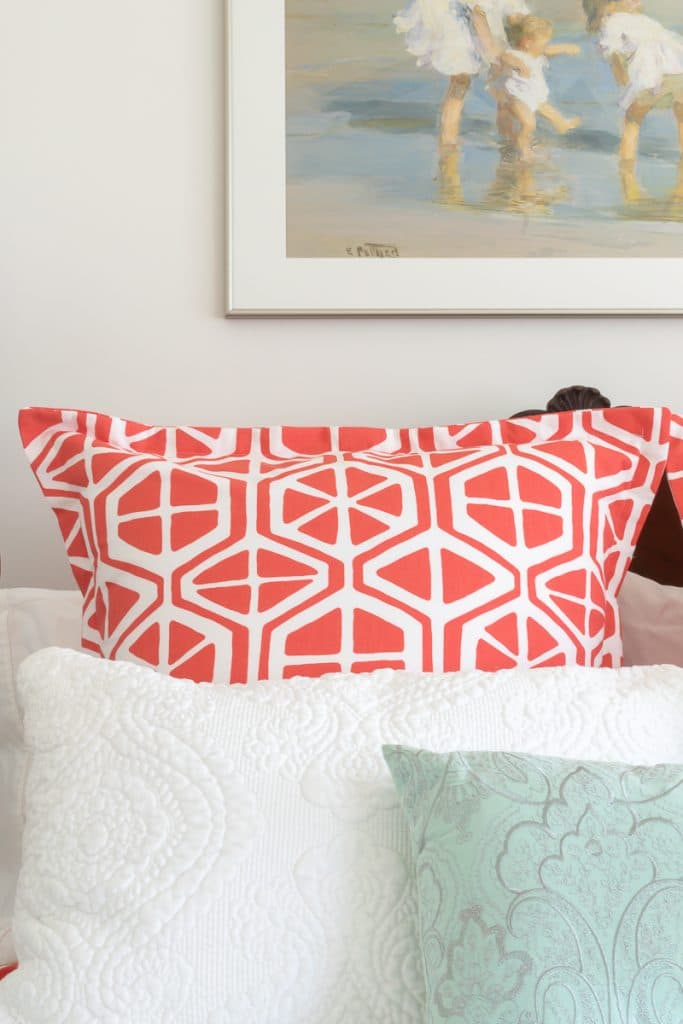
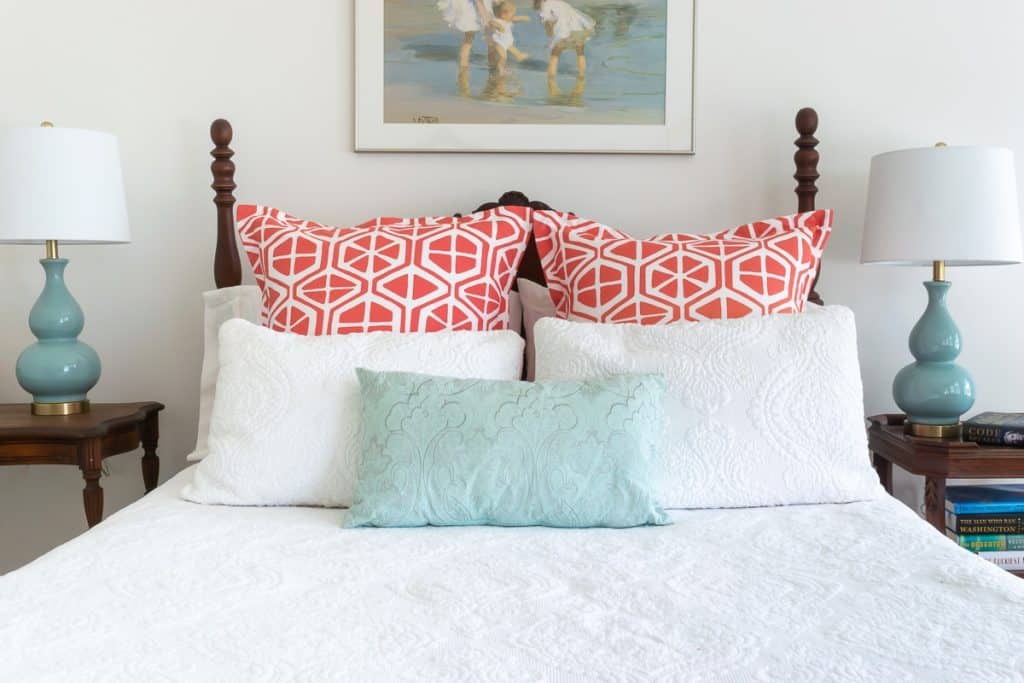
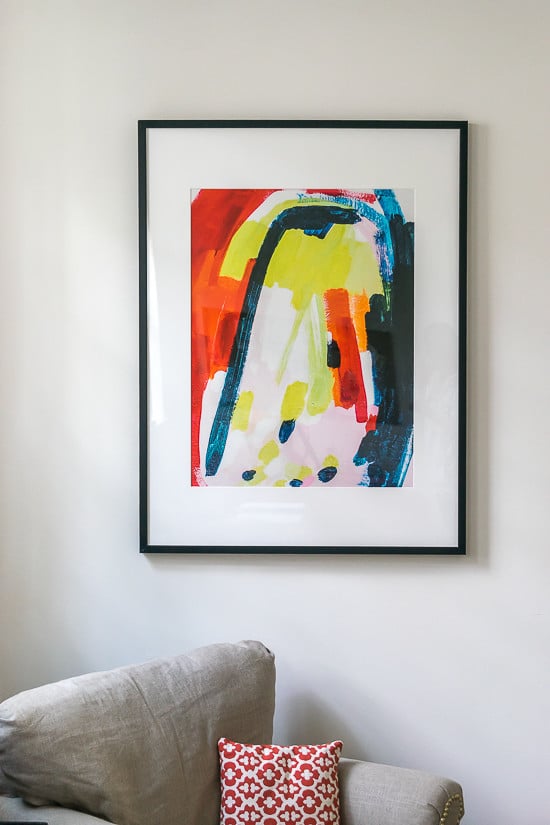
I like the look of the larger, Euro-sized (26″ X 26″) shams behind my standard-sized bed pillows, especially as these add a much-needed jolt of color.
And, first things first! My sewing skills are…sufficient. I wouldn’t want to sew clothes, but I can run a hem and sew seams together. And truthfully, those are the only sewing skills you need for this pillow sham pattern, even with the flange edge. If you can sew a straight line and read a measuring stick, you’ll be good.
What Do You Need For This Pillow Sham Pattern?
Some of these are affiliate links, and I will earn a small commission off of the sale of these products, but the price you are charged is not affected. You can see my full disclosure policy here.
- Pillow Form
- Your choice of fabric. The first step is determining how much fabric you need. Most people working in fabric stores can help you, but if you want to figure it out on your own, this is what I do.
For Euro Sham Pillows (26″ by 26″): I used 3.6 yards of 54″ wide fabric for two shams. I’m a visual gal, so this is how I figure out how much fabric I need.

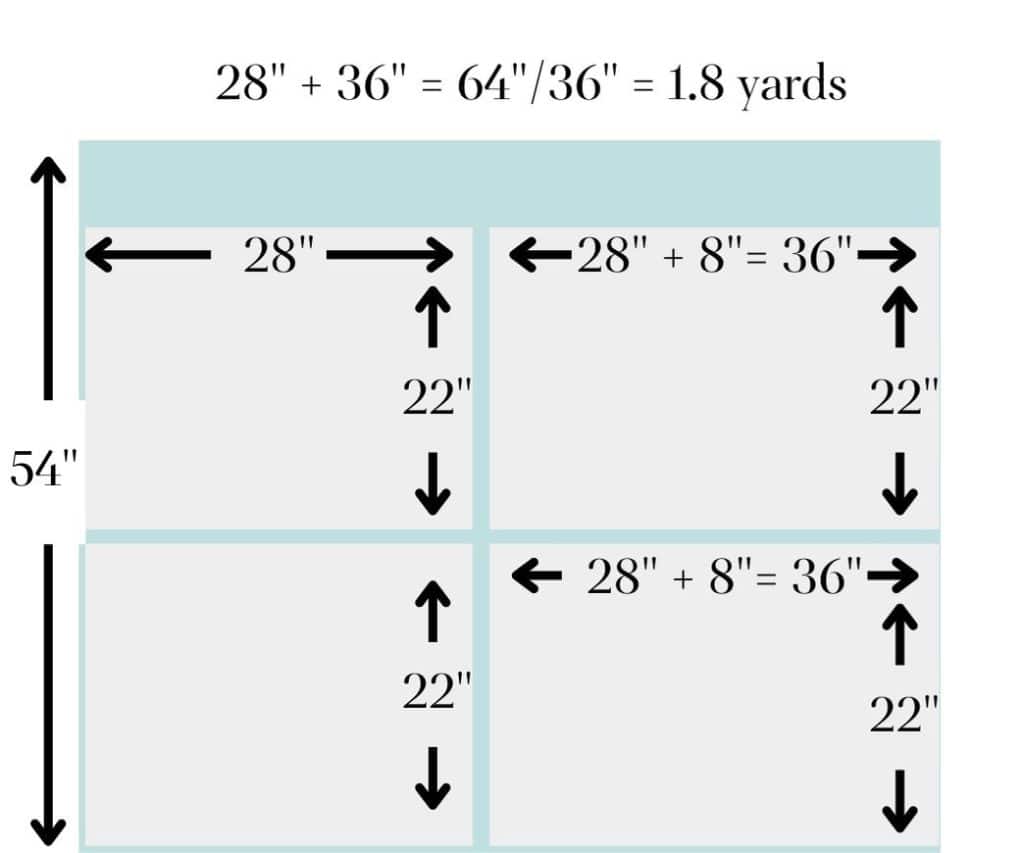
For Standard Pillows, you would only need 1.8 yards of 54″ wide fabric, as shown below. This assumes that you like the fabric pattern running lengthwise. Check that out before you buy your fabric.
- Fusible Fleece, 45″ by 60″ is enough for 2 pillows, whether you’re making euro shams or standard shams. This is optional, but highly recommended, especially if you don’t want floppy flanges! (ain’t nobody wants that!)
- Yardstick
- Thread
- Scissors
- Pins
- Iron
- Sewing Machine
Flanged Edge Pillow Sham Tutorial
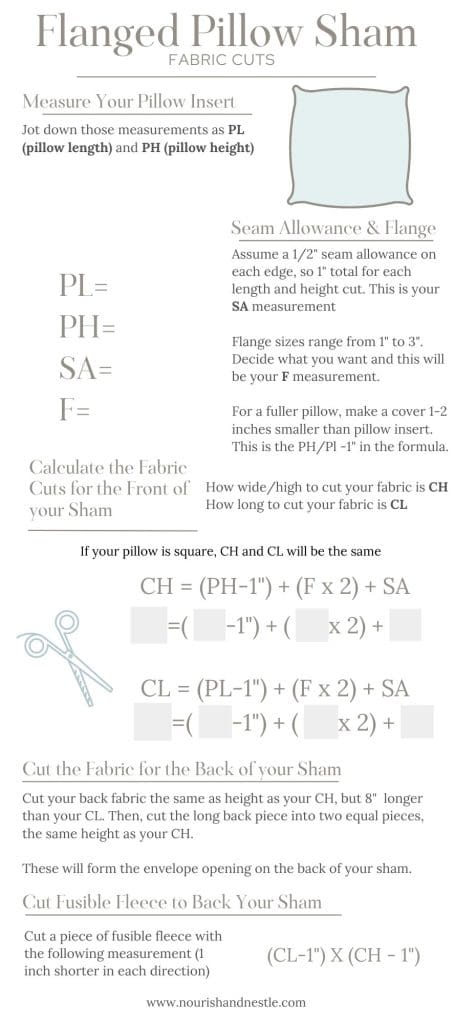
1. Cut Your Fabric Pieces and Fusible Fleece
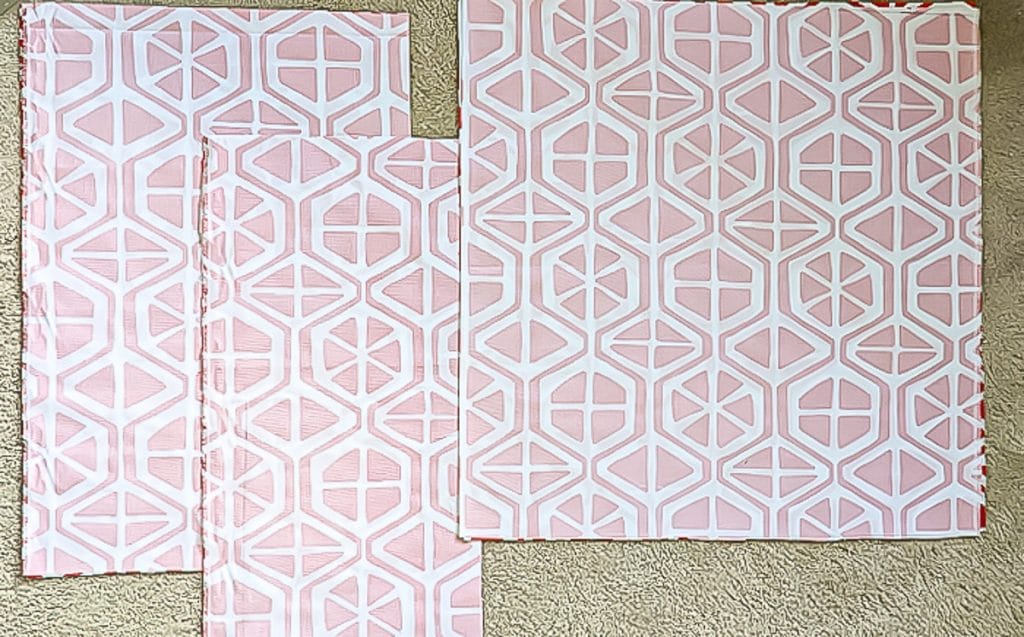
The simple steps on this handy chart will help you determine the fabric cuts you need to make. Grab the printable in the Subscriber Library or pop your email in the button below and I’ll email it to you.

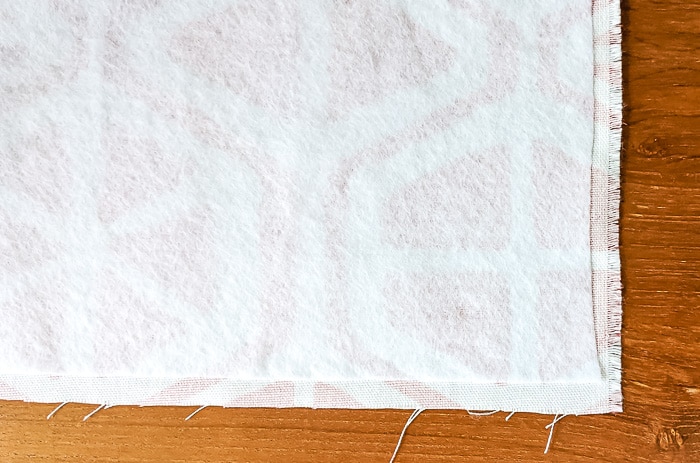
2. Iron the Fusible Fleece to the Wrong Side of the Front Piece of Fabric
This next step is optional but highly recommended. It really helps keep the flange of this pillow sham pattern standing up instead of flopping over and gives the front of your sham fabric a nice finish.
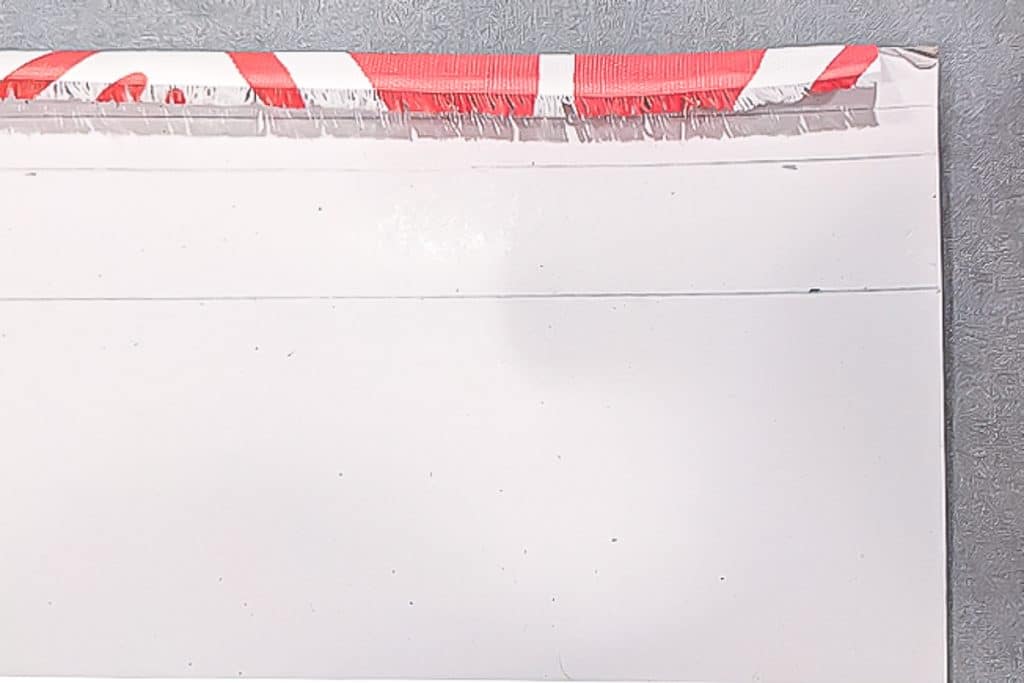
3. Iron Folds on the Back Pieces of Fabric
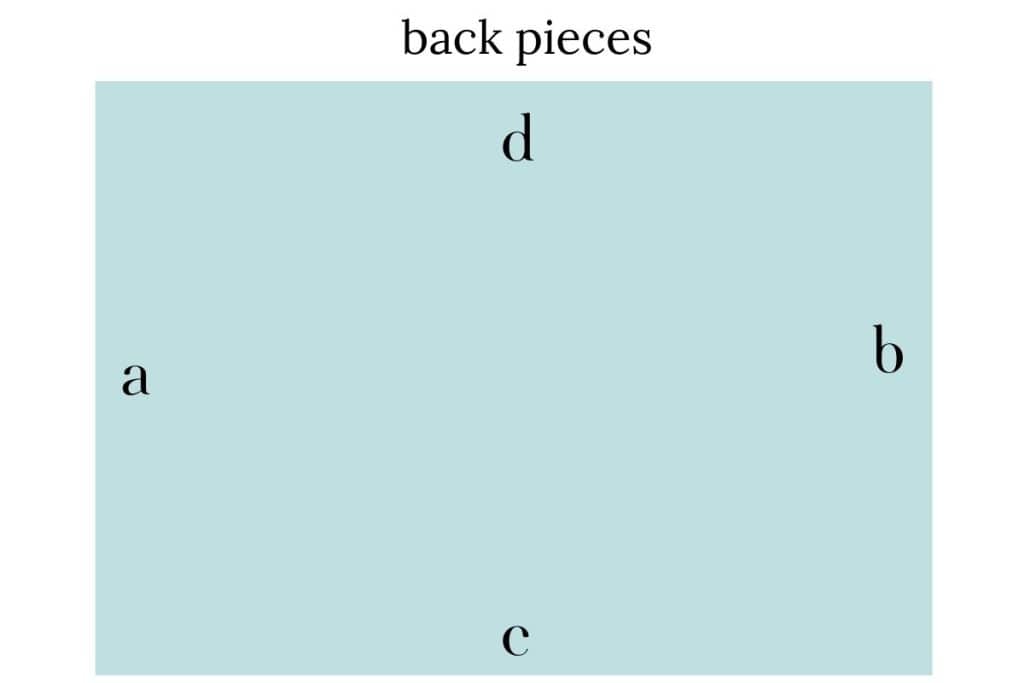
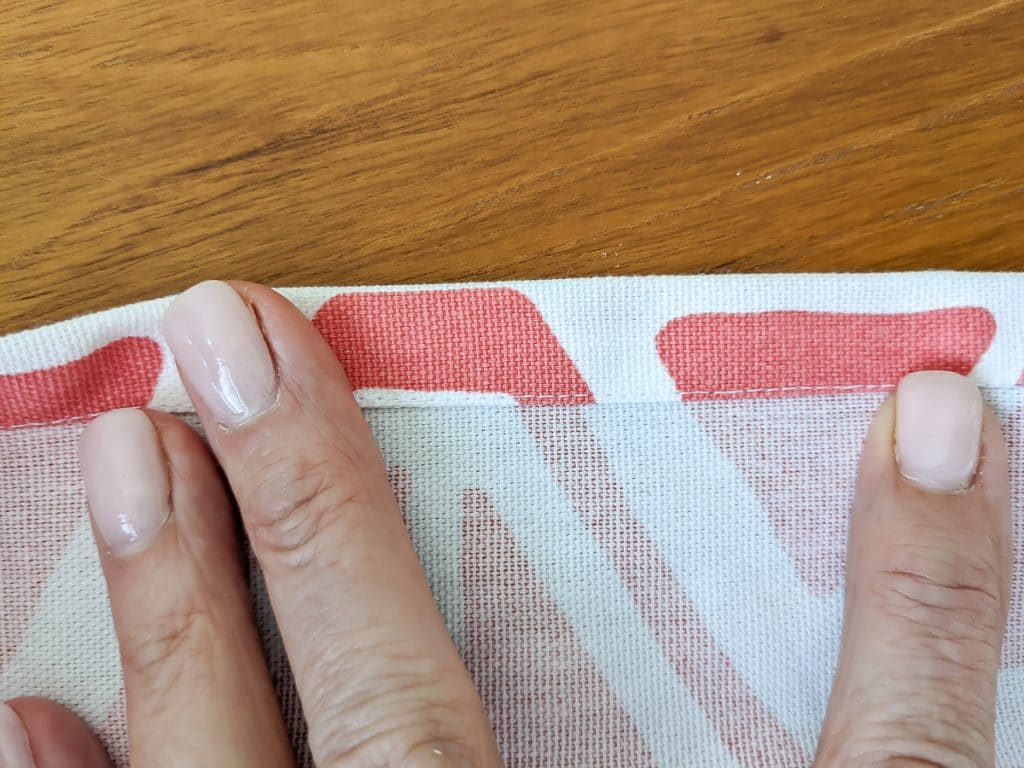
- With the back of the back panel pieces facing up, fold over 1/2″ on one of the short edges (a or b) and iron. Then fold that end over 1/2″ again and iron. These hemmed ends are the ends that will overlap on the back of the sham. Do this on one of the raw edges of each of the back panels.
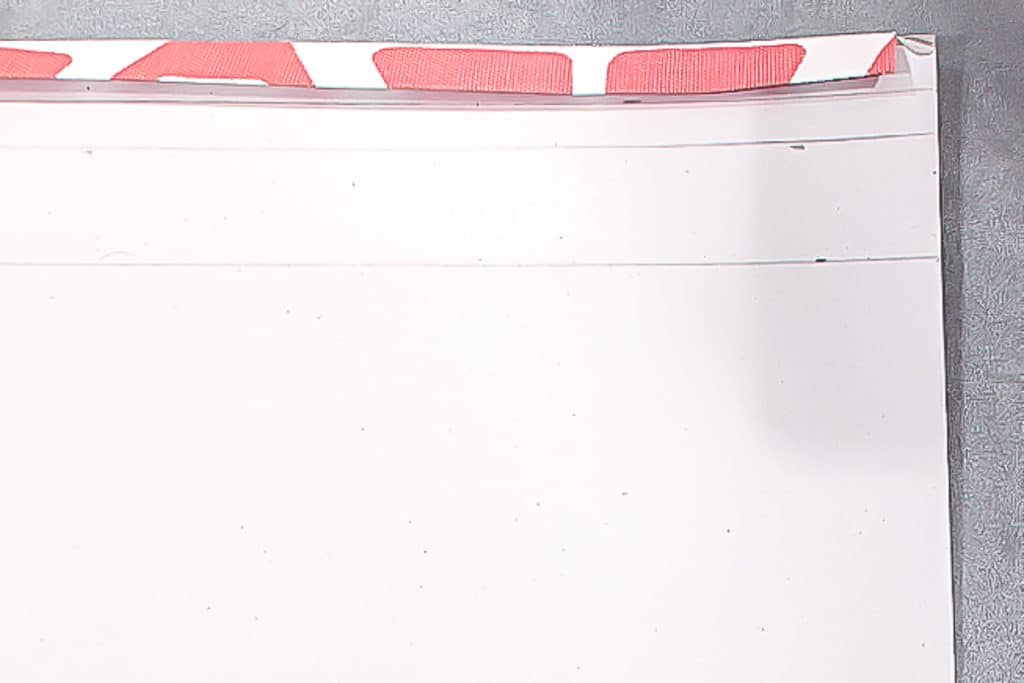
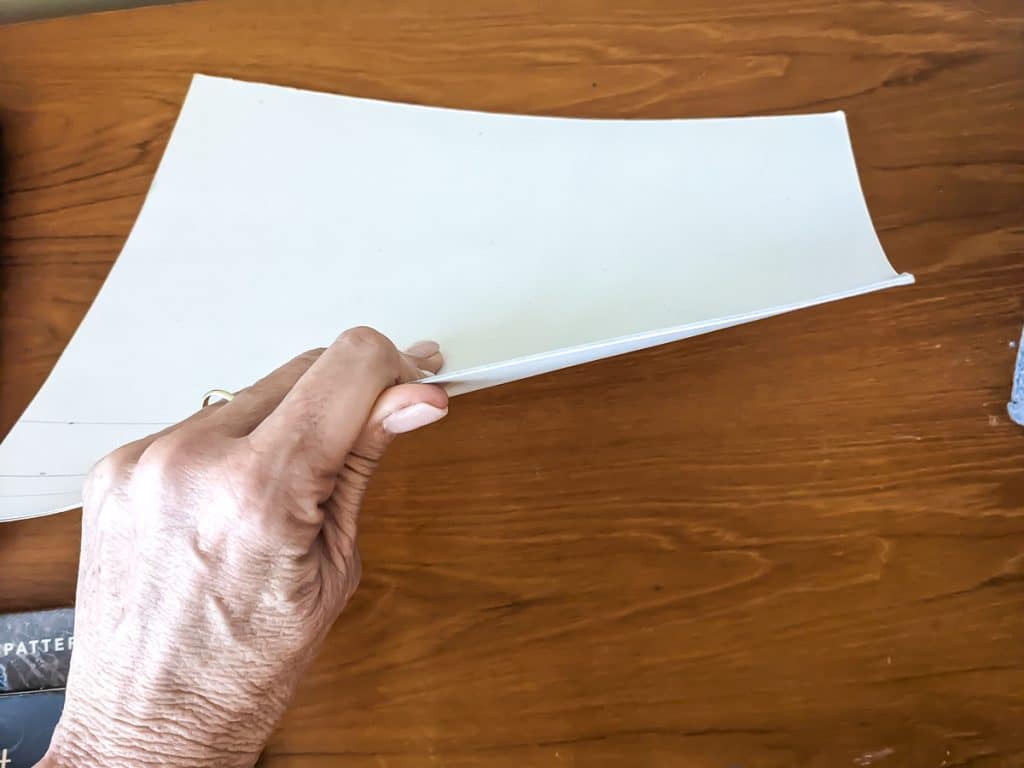
I use a thin piece of cardboard that I’ve marked 1/2″ increment lines. This helps me get a straight folded edge.

4. Sew Hem Along the Last Fold, on the Outside Edge.
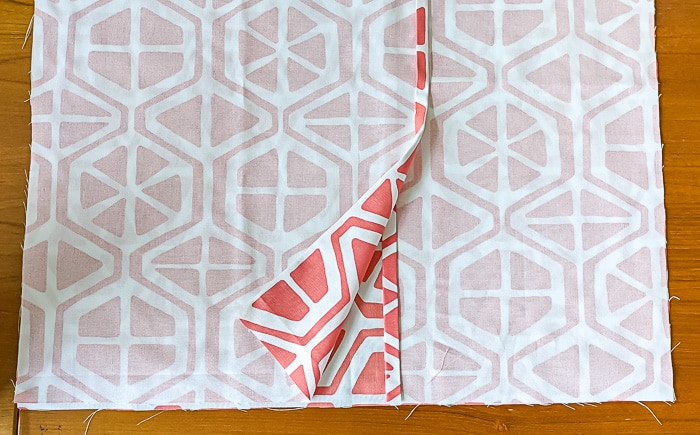
5. Place back pieces on the front piece, right sides together.
6. Pin in Place
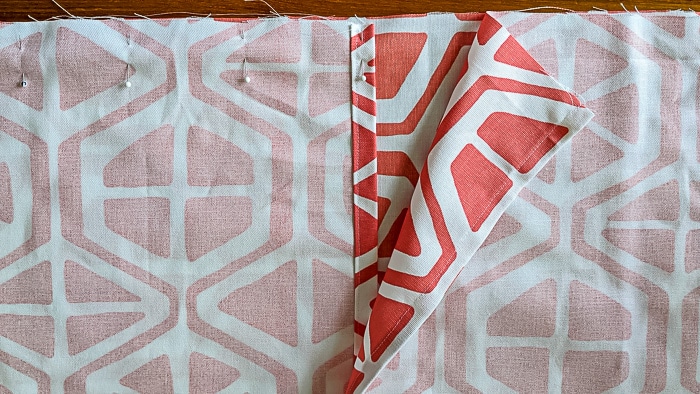
7. Sew in Place
Using a 1/2″ seam allowance, sew around the entire sham. Secure the beginning and end of your seam by running your machine back and forth a few times.
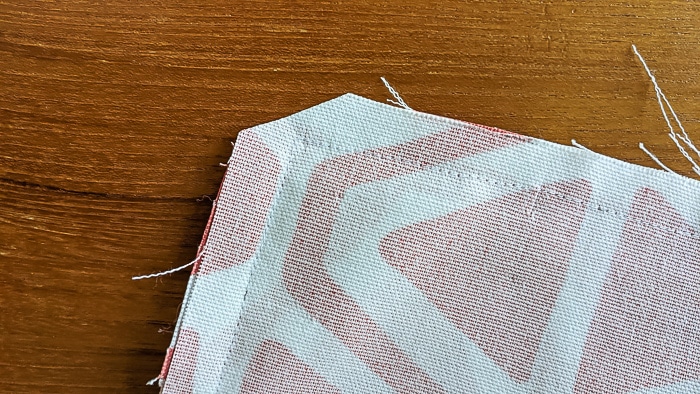
8. Clip Each of the Four Corners, as shown
9. Turn your pillow sham cover right side out and use a butter knife to poke out the corners so that they are crisp. Iron well.
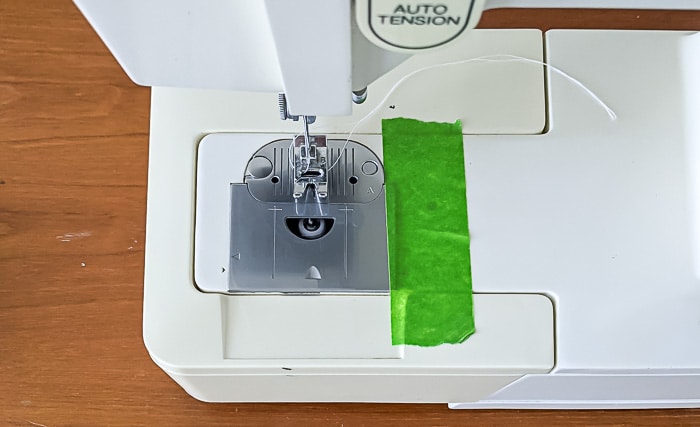
10. Sew/Top Stitch the Flange
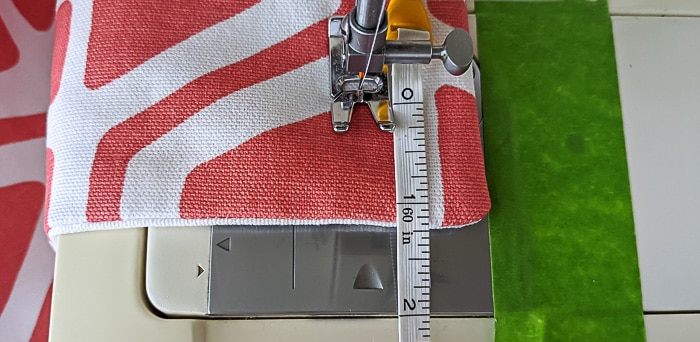
Place a piece of tape out from your needle at the width you’ve determined for your flange size. I opted for a 1.25″ flange so I placed a piece of tape 1.25″ out from my needle. Once again, you can make your flange as wide as you want it. But larger flanges are more likely to flop.
Using the tape as a guide, sew around your sham. These stitch lines designate the flange. When you get to corners, stop, raise the presser foot and turn your fabric at the same distance as you chose for the size of your flange. In this case, I stopped and turned the corner at 1.25″. Make sure to secure the beginning and end of your top stitch seam.
11. Give your entire pillow sham a good ironing and fill it with your pillow.
12. Step back and look at your handiwork! You just made your own pillow shams!
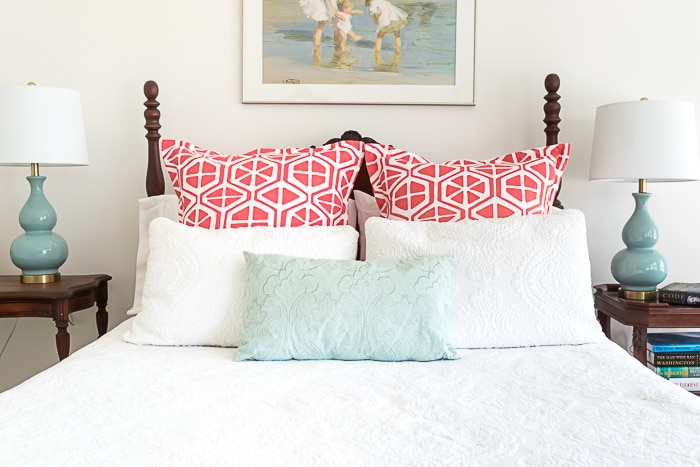
How about a little before and after? I had forgotten just how forlorn this room looked! And just wait until you see the bed skirt and cushion on that hope chest.
I hope you found this pillow sham tutorial helpful! Next, we are going to tackle the skirt!
Bookmark this page or pin the following image to return to this Pillow Sham Pattern in the future.
Thanks so much for spending a few minutes of your busy day with me!
If you want to make sure you don’t miss future content, pop your email in the pale green box up on the right or click here.
I usually send out 2-3 emails a week so that I won’t inundate your inbox. Believe me, I’m sensitive to an overflowing email inbox! We will only use your email address to send you emails, no more than 1-2 per week.
In addition, you will have access to my growing library of knit & crochet patterns, as well as other printables. Check back often as this library will continue to grow.
Please know that you can unsubscribe at any time by emailing me or clicking on the “unsubscribe” link at the bottom of all emails.
And, you can access many of the products I refer to on my Nourish and Nestle Amazon Page. You can access it here.
So, if you’d like to get in on the ‘subscriber benefit’ action, simply subscribe to Nourish and Nestle here or use the form on the right sidebar. It’s towards the top a bit. I have sent all my subscribers the link to the Subscriber Benefits Library. If you missed it or misplaced it, drop me a line.
Until next time…


Hello! Great tutorial and just what I need. Is there a way to print the tutorial (easily)? Thank You!
Hi Kim, I’ve emailed the pdf of cuts for you. I hope this helps.
https://nourishandnestle.com/wp-content/uploads/2022/02/Flanged-Pillow-Sham-Fabric-Cuts.pdf