
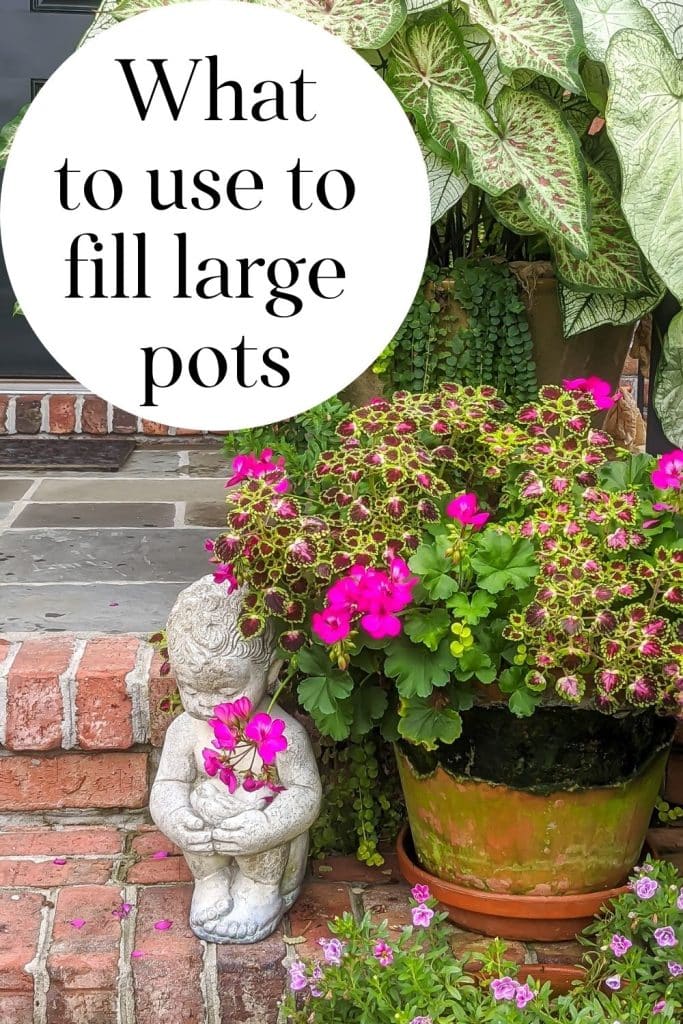
Tricks to Fill a Large Planter

This post shares a variety of materials, tips, and tricks to fill a large planter or pot, other than dirt! Because most of these fillers are items you most likely have lying about, these suggestions are also the cheapest way to fill planters!
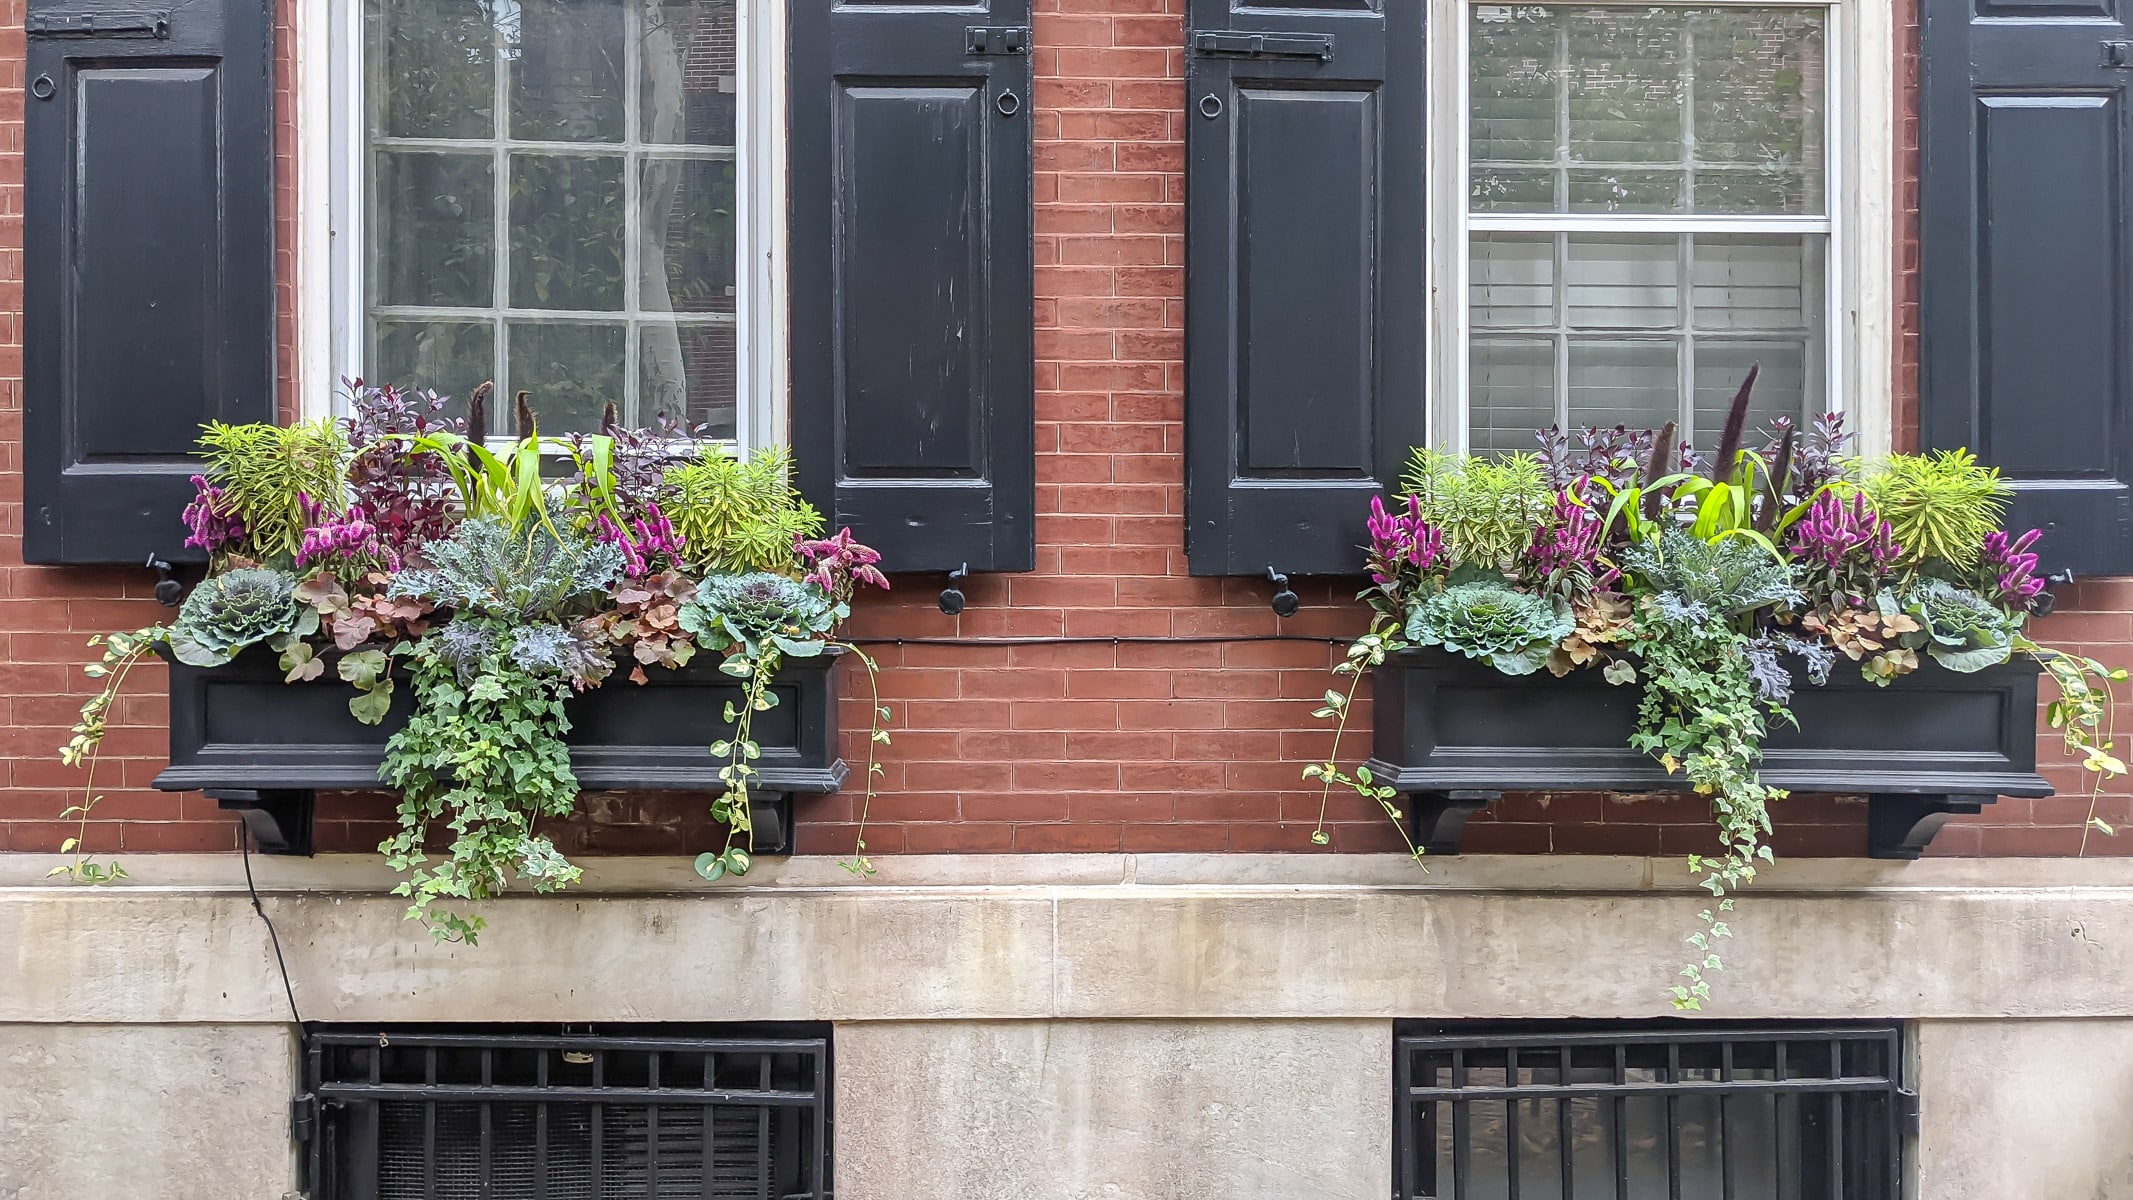
If you know me, you know I love a planter filled to the brim with seasonal colors. I have a variety of planters in just about every size on the stairs to and from our home and right outside our screen porch. I collect container garden ‘recipes’ just as I do food recipes. Pop over here to see all my Container Garden Recipes in one place.
With all these pots comes a whole lot of money spent on soil…right?
Nope! Sit back and let’s dive into some of the cheapest ways to fill planters.
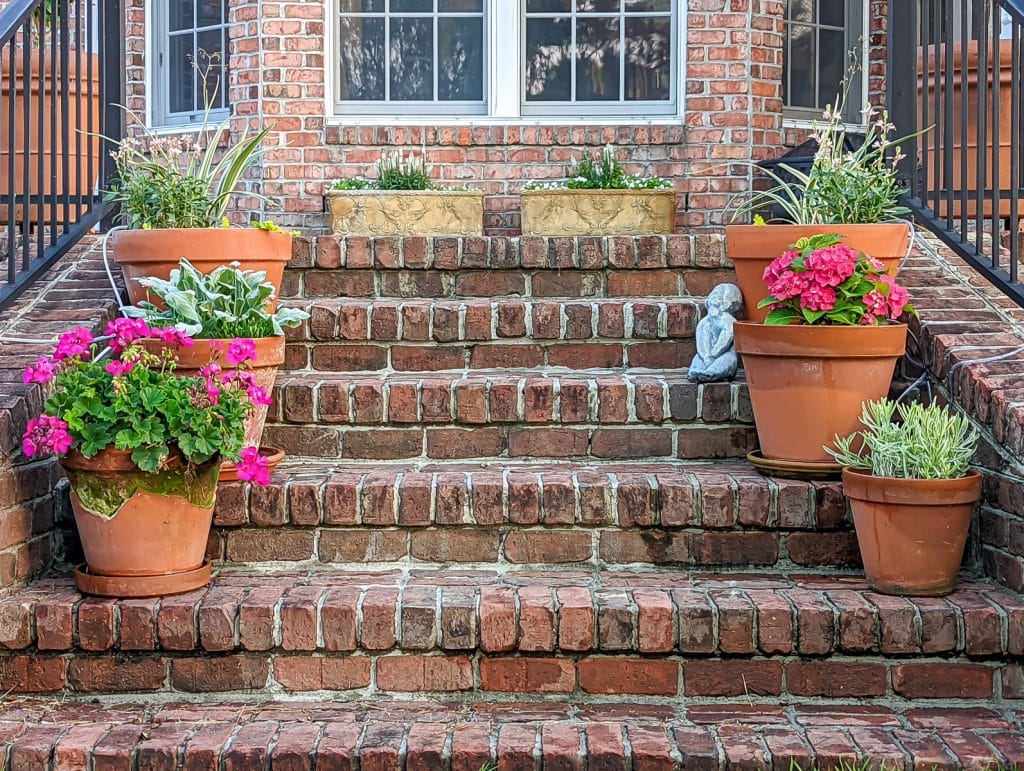
Table of Contents
You can easily fill a large planter with an assortment of items that would normally go into your trashcan or recycling bin, saving you money and your back.
Before You Start Filling Your Planter, Ask Yourself a Few Questions:
- Do I need to move this planter?
- Will I want to hang this planter?
- Is it a lightweight planter like this one?
- Will this planter blow over without weight at the bottom?
If the answer to questions #1 or #2 is ‘yes’, you’ll want to consider filling your planter with lighter-weight items. If question #3 or #4 is answered in the affirmative, you’ll want to add heavier items to the bottom of your planter.
Some of these links may be Amazon affiliate links and I may earn a small commission from the sale of these products to help defray the costs of operating this site, but the price you are charged is not affected. You can see my full disclosure policy here.
Three Layers to Your Planters
- Layer One will be the top layer of soil that your plants will grow in, and you want to make sure you have enough good, rich soil for them to thrive.
- Most annuals will have a shallow root system (think vinca/periwinkle, impatiens, begonia, coleus, creeping jenny, verbena), as do lettuces and some herbs, like oregano, thyme lavender, chives, and basil. Make sure these plants have about 6-8″ of soil.
- For deeper-rooted plants like tomatoes, basil, parsley, black-eyed Susans, and purple coneflower, ensure you have at least 12-18″ of soil.
- Do a little research to determine how much soil your plant needs and how much of the pot you can fill with non-soil.
- Layer Two is optional but can prevent your precious potting soil from sifting down to your filler layer, reducing the benefit you’ve been striving for! This layer should be permeable, such as landscape fabric, newspaper, mesh filter, old window screening, or similar material. Don’t use plastic bags or sheeting as those materials won’t allow water to run through.
- Layer Three will be your bottom layer. It will have an assortment of the items listed below.
- Once you determine how deep you need your soil to be in layer one, fill the bottom of the planter up to that point. For instance, If you have a 2-foot-deep pot and are planting tomatoes (which need about 12-18″ of soil), fill about 6-12″ inches of the bottom of the pot with filler items.
- If you have space between your items, consider filling in the remaining space of layer one with old soil, bunched-up pantyhose, or packing peanuts (the kind that doesn’t dissolve).
IMPORTANT!
Regardless of what you put in your pot to fill the space, make sure that the pot holding your plant has drainage holes so that water doesn’t accumulate. You may have a pot within a pot for decoration purposes, but again, ensure that the pot holding the plant and its dirt has drainage holes.
AND…if you are potting a plant that likes its soil more on the dry side, use only rocks or sand to fill the bottom. Some of these other items slightly impede water drainage.
The good GREAT news is that many of these items will cost you nothing and will keep a few things out of the landfill or recycling center. As I previously mentioned, using these filler suggestions is also the cheapest way to fill planters! When I am getting ready to plant a new planter, I go through my recycling bin and pull out items like many of those listed below.
Materials, Tips, and Tricks to Fill a Large Planter
Plastics
Plastic water bottles, milk jugs, sour cream, yogurt containers, and soda bottles with lids (you don’t want the water to get in the bottles and stagnate). Avoid bleach, ammonia, and other plastic containers that held harmful chemicals. Also, plastic plant pots (with holes) turned upside down are great fillers.
- Pros: Reuses materials that might otherwise go into the landfill, are lightweight and can help with drainage—bonus points for using biodegradable options that are environmentally friendly.
- Cons: As plastic slowly breaks down, chemicals can be released into the soil. You may choose to use plastic filler only for non-edible food plants.
Crushed Aluminum Cans
- Pros: Crushed aluminum cans (crushed so they don’t collect water) are another lightweight option that can help with drainage, and one of the cheapest way to fill planters. Using crushed aluminum cans also keeps them out of landfills. And, unlike organic materials, aluminum cans don’t decompose, maintaining their structure and function as a filler over time.
- Cons: There’s a concern about chemicals leaching from the cans into the soil, although aluminum is generally considered safe and is used in many gardening products. It’s still something to consider, especially for edible plants. Crushed cans may have sharp edges that could also pose a risk when handling the filler material.

I know it looks like I’m just dumping trash in my pots, which I am doing. 🤷♀️ But, it is just one of several tricks to fill a large planter and think of all the 💲 I’m saving on soil! 😉
Packing Peanuts, Styrofoam and Pool Noodles
Make sure they don’t dissolve in water (grab a few and run them under water—you’ll quickly know if they dissolve or not). Consider accumulating them in a bag so they don’t get everywhere when you need to report. If you use a plastic bag, put the bag in your pot so that the opening is facing down or has a few small holes poked in it so it doesn’t fill with water.
- Pros: Lightweight and can improve drainage. Again, bonus points for using biodegradable options that are environmentally friendly.
- Cons: Non-biodegradable types can be harmful to the environment. They may also shift or compress over time, potentially affecting drainage.
Broken Ceramic, Terra Cotta Pieces and Stones
- Pros: Add stability to planters, excellent for drainage, and reuse materials that might otherwise be discarded.
- Cons: Can add significant weight, making planters harder to move.
Wood Chips or Bark
- Pros: Organic and improve soil structure as they decompose. It is lightweight and helps with drainage.
- Cons: Decomposition can affect the filler volume over time, requiring replenishment. May attract pests.
Expanded Clay Pellets
- Pros: Enhance aeration and drainage, reusable, and sustainable. Ideal for a variety of plant types.
- Cons: More expensive upfront cost compared to some other materials. They may float to the surface if not properly covered.
Coconut Coir
- Pros: Sustainable and lightweight, promotes healthy root growth, and improves moisture retention.
- Cons: Can decompose over time, requiring replacement. May hold too much moisture for some plant types, necessitating careful watering practices.
Bricks, Rocks, Pebbles, Gravel and Cinder Blocks
Bricks
- Pros: Durable and provides excellent stability and can improve drainage when placed correctly. These items are also reusable and can be arranged to create space for better air and water flow.
- Cons: Heavy, making planters difficult to move and may not be suitable for all plant types, especially those requiring deep, unobstructed root growth.
Rocks
- Pros: Improve drainage and prevent soil from becoming waterlogged. Versatile in size and shape for different planter needs.
- Cons: Heavy can make planters less mobile and retain heat, potentially overheating roots in direct sunlight.
Pebbles
- Pros: Smaller than rocks, offering more flexibility in use and arrangement. Improve drainage and aeration when used as a base layer.
- Cons: May shift over time, affecting drainage and root growth. Smaller pebbles can become mixed with soil, complicating plant removal or pot cleaning. A layer or landscape fabric will be helpful.
Gravel
- Pros: Excellent for improving drainage and aeration in pots. It is relatively lightweight compared to larger rocks or bricks.
- Cons: Like pebbles, gravel can mix with soil over time, making separation difficult; use landscape fabric. May compact over time, potentially reducing its effectiveness in improving drainage. Requires careful placement to avoid obstructing drainage holes.
Cinder Blocks
- Pros: Highly durable and provide excellent support and stability. Porous nature can help with aeration and drainage.
- Cons: Very heavy, significantly reducing planter mobility. Porous material can harbor moisture, potentially leading to mold or mildew issues if not properly managed.
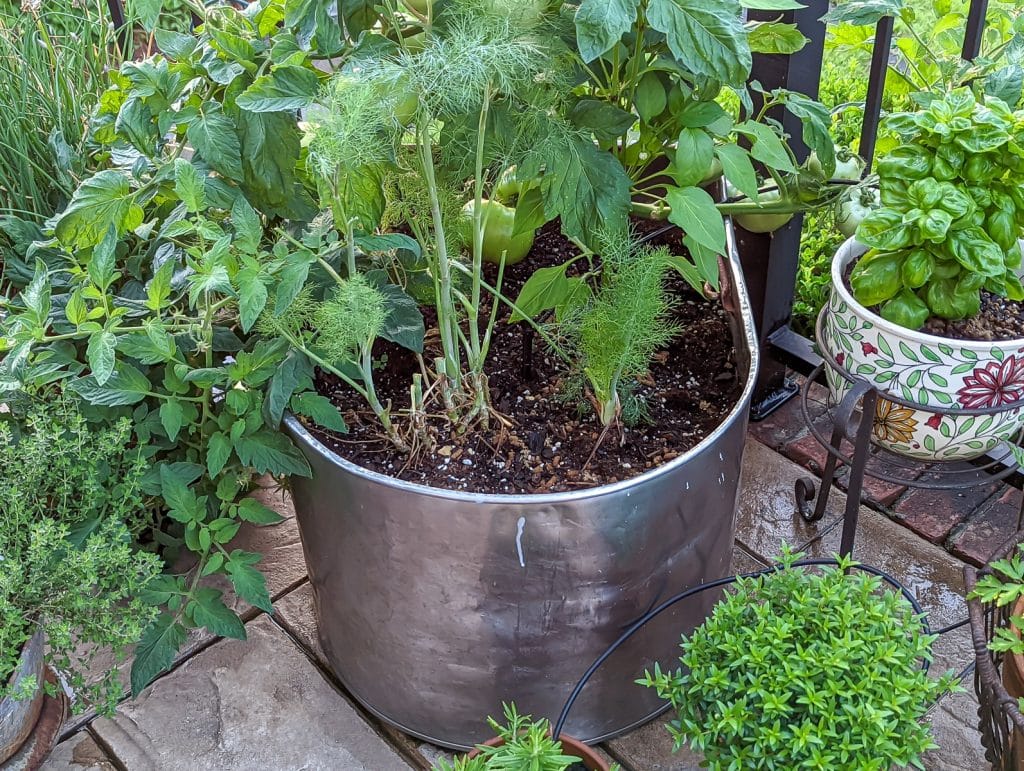
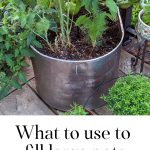
This is my porch vegetable and herb garden. I have a tomato, fennel, pepper, and the last of some dill growing in a large aluminum planter. I really don’t know what this planter is; my husband went to a restaurant supply auction several years ago and brought it home for me.
It makes a unique and good-sized planter, measuring 15″ deep and wide, and 25″ long. We drilled holes in the bottom for drainage. (*p.s. Please let me know if you know what this ‘planter’ is. It looks like an industrial-sized mixing bowl, but the back of it is flat! I’ve never seen a flat-sided mixing bowl, so we are flummoxed!)
I wanted to give the tomato as much soil as possible, so I filled the back with good-quality soil, compost, and ground-up eggshells. However, I used broken terra-cotta pot pieces at the front, where the dill and fennel are, to reduce the amount of soil I needed there.
What Not To Use to Fill a Planter
- Metal, as it will rust and fall apart, causing air pockets in your soil
- The same applies to any organic matter, like logs, wood, paper, wood chips, cardboard, etc. They may be fine for the short term, but over time, they will decompose, you will get air pockets that can damage the roots, and the plant will start sinking. No Bueno. 😔
- Sheets of plastic, bubble wrap, etc...
Frequently Asked Questions About Using Fill in Planters
Materials like plastic bottles and gravel can improve drainage, leading to soil drying out more quickly. Monitor moisture levels closely and adjust watering as needed. A layer of mulch on top can help retain moisture.
When used correctly, these materials should not adversely affect plant health. In fact, by improving drainage and preventing soil compaction, they can contribute to healthier root systems. Ensure that the materials used are clean and free from harmful chemicals, especially when growing edible fruit and vegetables.
Yes, most of these materials can be reused. Expanded clay pellets, plastic containers, and foam can be easily removed and reused. Biodegradable materials like coconut coir and wood chips may decompose over time and can be mixed into the soil or composted if they’re fully broken down.
Bookmark this page or pin the following image to refer back to this post, sharing items, tips, and tricks to fill a large planter.
Thanks so much for spending a few minutes of your busy day with me!
To ensure you don’t miss future content, pop your email in the pale green box on the right or click here. I usually send one email weekly, so I won’t inundate your inbox. I’m sensitive to an overflowing email inbox!
We will only use your email address to send you emails, no more than 1-2 weekly. In addition, you will have access to my growing library of knit & crochet patterns and other printables. Check back often as this library will continue to grow. You can unsubscribe anytime by emailing me or clicking on the “unsubscribe” link at the bottom of all emails.
And you can access many of the products I refer to on my Nourish and Nestle Amazon Page. You can access it here.
So, if you’d like to participate in the ‘subscriber benefit’ action, simply subscribe to Nourish and Nestle here or use the form on the right sidebar. It’s slightly towards the top.
I have sent all my subscribers the link to the Subscriber Benefits Library. If you missed it or misplaced it, let me know.
Until next time…


Hi-
What is the plant to the right in front of your mixing bowl planter?
I have these all over my flower beds and I pull them out because I don’t know what they are.
Do they have flowers?
Hi Joy,
That’s a Greek Myrtle. They do get flowers, but I’ve succeeded in killing two of them in the span of one year! I’ve been trying to grown them as a topiary, but I think they are sensitive to too much or too little water. I haven’t given up yet though!