
Drawer Organization Solution
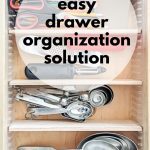
This Drawer Organization Solution uses simple drawer dividers to bring order to chaos in your drawers.
As I work my way through the 2021 Declutter Challenge, I am also doing a little organizing. I am now working on decluttering and organizing my kitchen and want to share this super easy and somewhat customizable drawer organizing solution.
We’ve been in this house for about 18 months. I am finally figuring out how I want to organize my kitchen to work best for me.
We built our previous home, so I designed the kitchen just the way I wanted it. We did not build this home, so I have been noodling on how to work what I have to organize the kitchen.
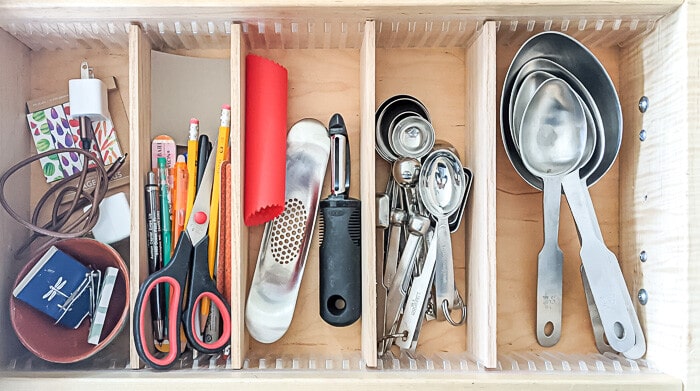
Table of Contents
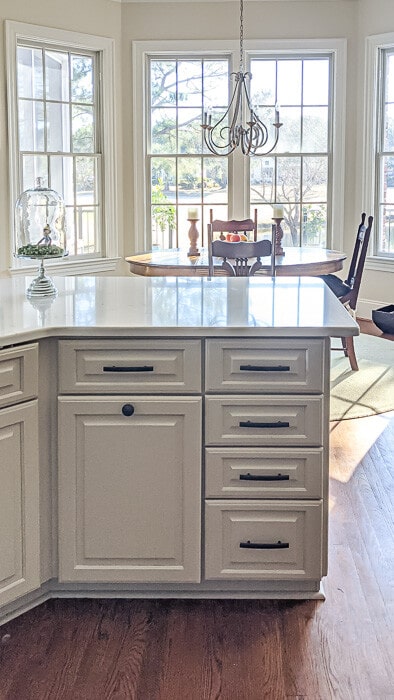
I find myself working at one counter area more than others. This counter is where I cut vegetables for salads and set my mixer when I bake. While my knives have always been housed in the drawer under this counter, I realized that many of the other tools I regularly used when working here were at the farthest part of the kitchen.
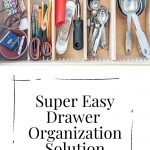
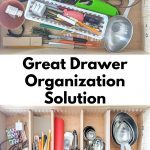
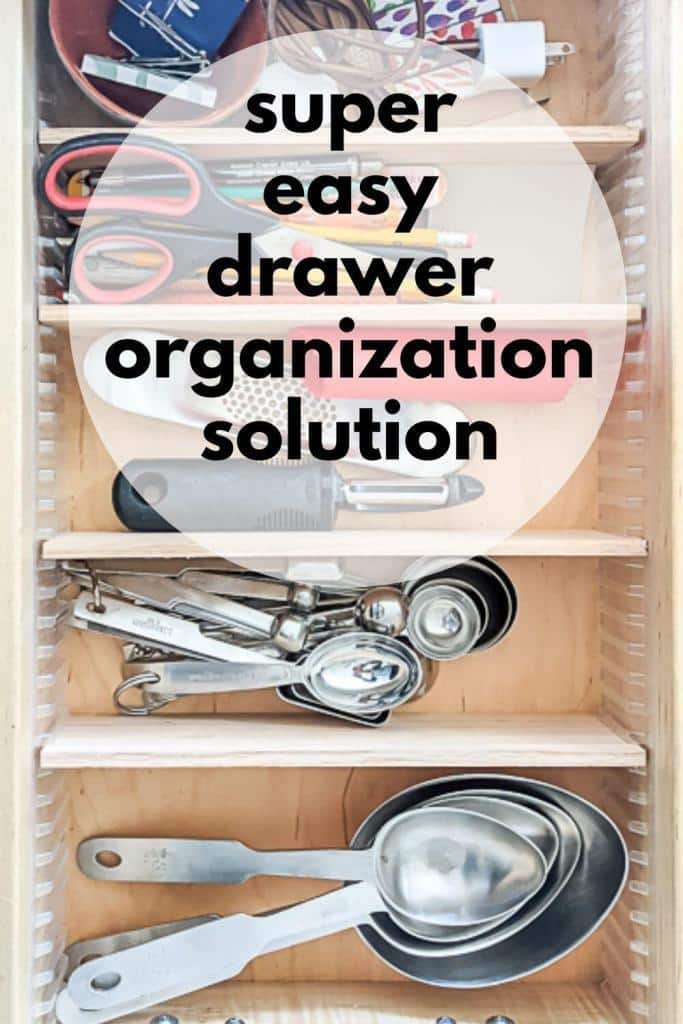
Once I realized that, I targeted one of the drawers under the counter to house just those regularly used kitchen tools. This area only has small, narrow drawers, so I was limited to just the basics; measuring spoons, measuring cups, vegetable peeler, and garlic crusher. I also realized that I liked having pens, pencils, and a pair of scissors on hand when working here as well.
I spent some time online trying to find a drawer organizer for one of the drawers to help me organize it. Due to the narrow size of the drawer, I could not find any premade drawer organizers that would fit.
Some of these links may be Amazon affiliate links and I may earn a small commission from the sale of these products to help defray the costs of operating this site, but the price you are charged is not affected. You can see my full disclosure policy here.
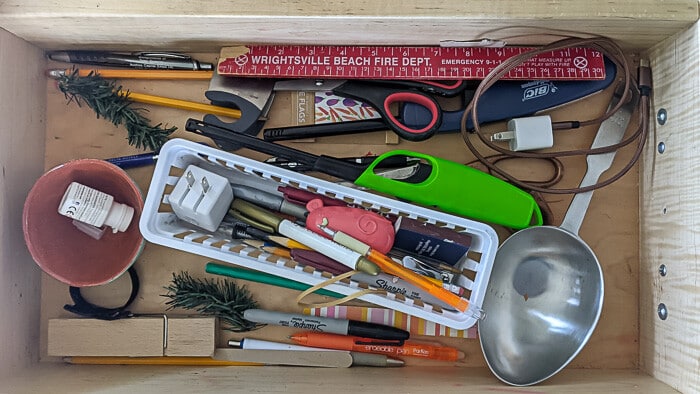
I realized I would have to ‘build’ my own drawer organization and set about figuring that out. When I came across Rockler’s Drawer Divider Holder, I knew that this product would give me the flexibility to organize my skinny, currently hodge-podge, drawer just the way I needed it to be organized! (BTW…those little faux branches of Christmas greenery were some of Peep’s favorite things to play with over the holidays!)
Materials I Used For This Simple, Drawer Organization Solution
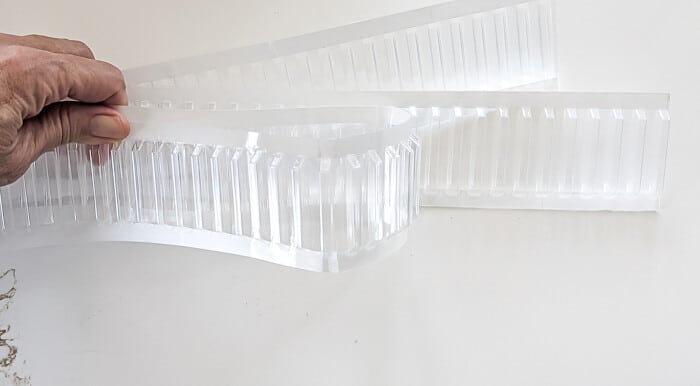
- Rockler Drawer Divider Holder. I would describe this as a flexible, plastic tape with sturdy ridges that will securely hold 1/4″ wood. It is self-adhesive once the paper is removed from the tape on the back of the holder.
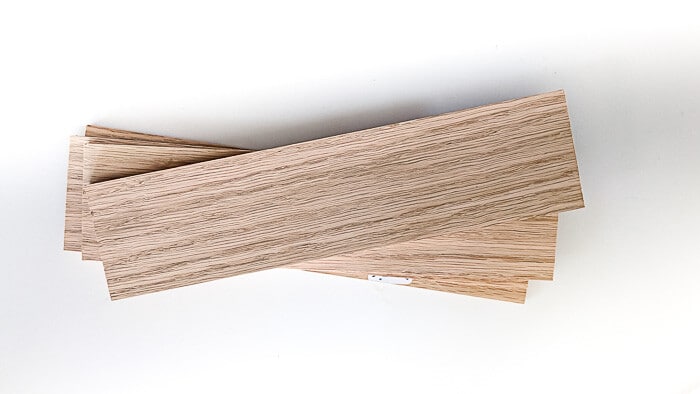
- 2 boards of 1/4″ by 3″ by 3′ . I used Oak (I don’t know why lumber companies need to mess with us as it relates to measurements! For instance, like 2′ x 4″ lumber is actually 1 1/2″ by 3 1/2″! The actual measurements of this board are 1/4″ by 2.5″ by 3’…so…whatever)
- Table Saw to cut the boards to the desired size (Or…Home Depot will make the cuts for you there…for free!)
- Scissors to cut the Drawer Divider Holder
Make Your Simple Drawer Dividers
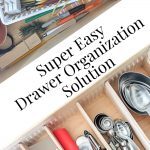
- Decide how many sections you want. I ultimately decided on 5 sections, largely determined by the size I needed each section to be.
- Cut the wood to the width of your drawer, less just a hair (like 1/8″ of an each)
- Cut the drawer dividers to the length of your drawer. Make sure that you line up the tape so that each piece starts in the same place (i.e. right at a ridge or between two ridges) so that your sections aren’t cockeyed.

- Pull the paper from the tape and adhere them to the side of your drawers. Make sure that each side starts on the same place on the tape (i.e. right at a ridge or right between ridges)

- Figure out how wide you need each section and slip in a piece of your wood.
This was SUCH an easy drawer organization solution; I immediately started noodling where else I could use this Drawer Divider Holder tape. All told, the project cost me $32, but I have a little leftover tape and some leftover wood.
I’m off to do more kitchen decluttering and organizing; which I am a little sheepish to admit I really do enjoy!
If you’d like to refer back to this Drawer Organization Solution in the future, bookmark this page or pin the following image.
Thanks so much for spending a few minutes of your busy day with me!
To ensure you don’t miss future content, pop your email in the pale green box on the right or click here. I usually send one email weekly, so I won’t inundate your inbox. I’m sensitive to an overflowing email inbox!
We will only use your email address to send you emails, no more than 1-2 weekly. In addition, you will have access to my growing library of knit & crochet patterns and other printables. Check back often as this library will continue to grow. You can unsubscribe anytime by emailing me or clicking on the “unsubscribe” link at the bottom of all emails.
And you can access many of the products I refer to on my Nourish and Nestle Amazon Page. You can access it here.
So, if you’d like to participate in the ‘subscriber benefit’ action, simply subscribe to Nourish and Nestle here or use the form on the right sidebar. It’s slightly towards the top.
I have sent all my subscribers the link to the Subscriber Benefits Library. If you missed it or misplaced it, let me know.
Until next time…


Expecting our first grandchild ..a girl in May (Amelia Jean), after 2 miscarriages ,our daughter and husband are you can imagine are over the moon ….
Looking for a simple ,but with a little knitted pattern ,baby jacket/cardigan .
I have knit the feather and fan baby blanket, in white some time ago in anticipation for this blessed event.
Would it look ok if I added pink fringing to edges.?
I don’t crochet just knit .
Enjoy your blog, and be assured we are praying for your country and situations .
God is bigger than all of this as we surrender to His will.
Blessings abound, Geraldine (from Canada)🙏🏻
Good Morning Geraldine,
What wonderful news for you and your family! I know you are over the moon! And what a lovely name!
I think you should absolutely add a little pink fringe to the edge! I know it would be lovely. The applied icord may work best with the ‘ruffled’ edge of the blanket. I don’t know what your edge looks like now, but another option would be to use a crewel needle and ’embroider’ along the edge…that may be daintier.
Sadly, I don’t have any jacket/cardigan patterns. Have you looked on ravelry? They have so many patterns.
Keep me posted on what you decide to do with the blanket.
Hugs, Lynn
Hello Lynn,
I think changing your blog name to “news from the nest” a fantastic choice!
Jo-Ann
Thanks Jo-Ann,
Thanks for chiming in.
I’ve begun the process for a general, but modest, rebrand over the next couple of months and think I ought to wrap the Monday Musings up with it.
Thanks again for your input! I ❤my readers!
Hugs,
Lynn
wow genius! have you been able to find a cheaper product? i’d even sacrafice the adhesive component b/c you can add double sided whatever product you desire!