How to Make a Fall Wreath for the Kitchen
Instructions and a video showing how to make a Fall Wreath using mostly ‘edible’ ornaments’
In my ongoing efforts to channel ‘all things fall’, I’ve filled my pots outside with mums and pansies, lined my front porch stairs with pumpkins of all sorts and filled bowls with pinecones. I’ve set my table with my pumpkin plates, baked every apple-spiced dessert I can think of and have some luscious candles burning. I think now that I’ve finished this Fall Kitchen Wreath, I can finally sit back and say, ‘C’mon Fall, I’m ready for you!’
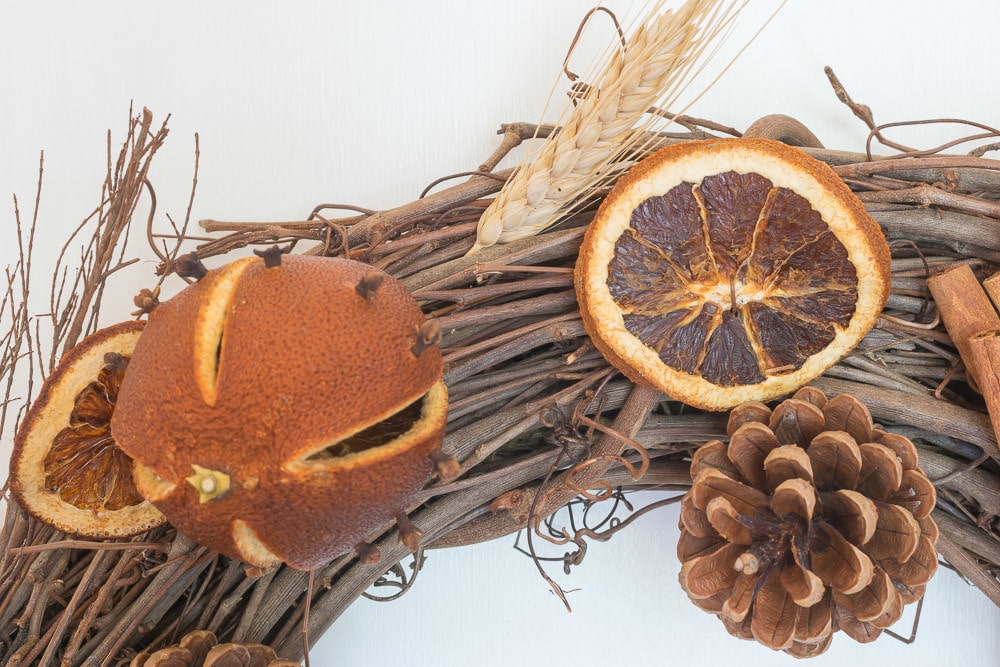
I tried my hand at making dried oranges and orange slices last month, which became the basis for this Indoor Wreath. With those dried oranges in hand, I decided I wanted this to be a Kitchen Wreath, bearing mostly edible ornaments. To the dried oranges and orange slices I added sticks of cinnamon, a dried artichoke, and a few wheat sheaves. The pinecones, while not edible, seemed de rigueur for a fall wreath…right?
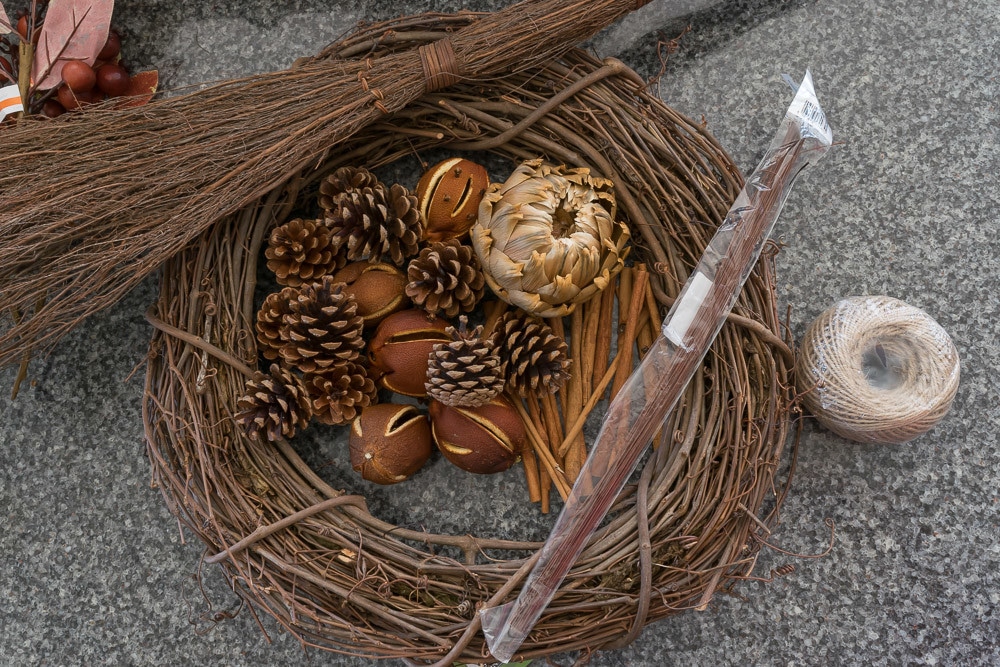
Table of Contents
Some of these links may be affiliate links and I may earn a small commission off of the sale of these products to help defray the costs of operating this site, but the price you are charged is not affected. You can see my full disclosure policy here.
Materials Needed for a Fall Kitchen Wreath:
- Dried Oranges, with or without cloves
- Dried Orange Slices
- Cinnamon Sticks
- Dried Artichoke
- Pinecones
- Wheat Sheaves
- You could also add whole nuts, dried bay leaves and other dried fruit like pomegranates, apple slices, etc…
- Grapevine Wreath
- Brown Floral Wire
- Hot Glue Gun and Glue Sticks
How to Dry Whole Oranges and Orange Slices:
If you go the dried orange route, you need to plan a few days in advance. The process isn’t hard and doesn’t require much effort, but does require a couple of days in your very low oven.
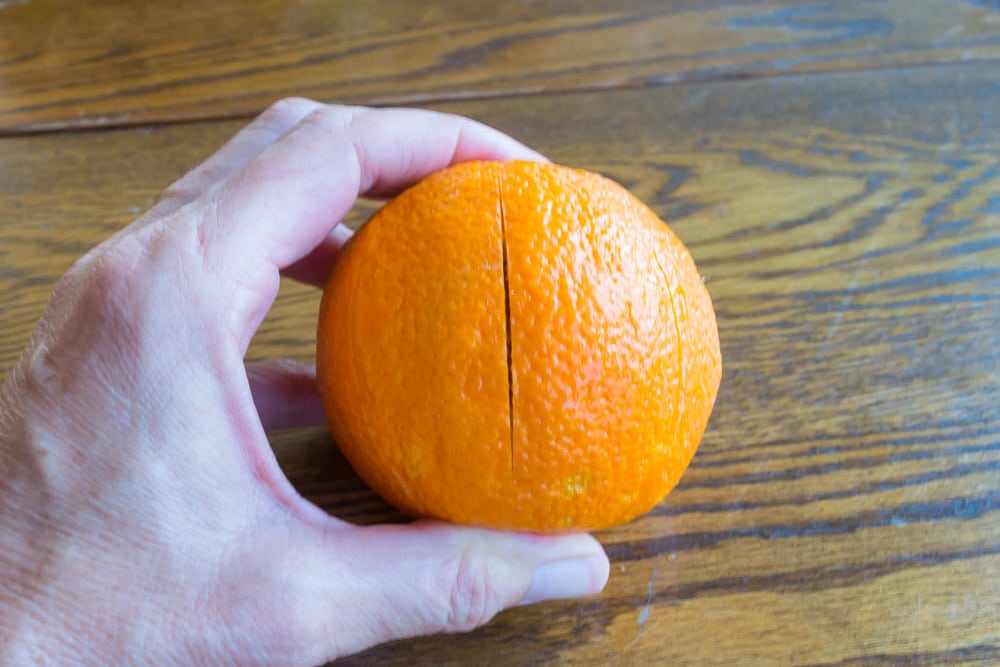
The first step for whole dried oranges is to make several slices into the orange. The key is that you must reach the actual fruit under the skin, you can’t just make a shallow cut in the peel. You need the heat and air to reach the actual fruit flesh in order to dry it out. If while in the oven you notice that a cut was not deep enough, simply take the fruit from the oven and make the cut a little deeper.
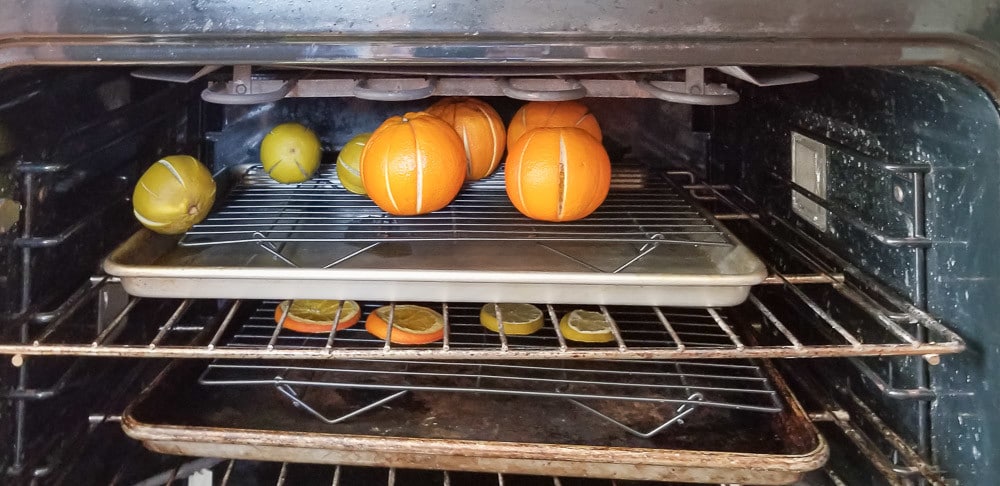
Place the oranges in your dehydrator or low-temperature oven (150°) and let dehydrate for 2-3 days. If you need to use your oven while you are drying the oranges, take them out and let them sit on your counter until you can put them back in the oven. I turned my oven off at night and turned it back on in the morning.
The slices will take a much shorter time.
You can also stud your orange with cloves in any pattern.
How to Make a Fall Kitchen Wreath:
- I began my wreath by putting ‘the bow on it’. In this case, the ‘bow’ is the dried artichoke and wheat sheaves. I figured I wanted to know where the focal point was going to be as I added the rest of the wreath ornaments.
- I then used a skewer to put a hole through each orange and then treaded wire through each hole. I then attached the oranges around the wreath.
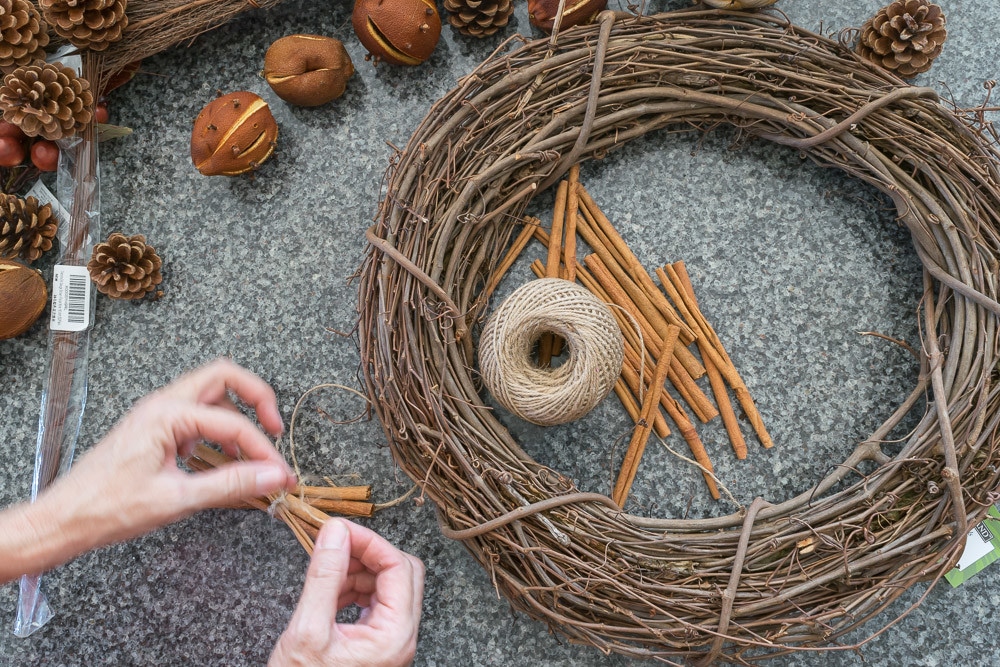
- Bundle several cinnamon sticks together and attach them with wire to the wreath.

- Tie a piece of wire around the base of each pine cone and attach them to the wreath.
- Shape your wire into a U shape and push through the orange slices. Then attach the orange slices to the wreath.

- Fill in open spaces on your wreath with some wheat sheaves

If you are in need of other ideas for your front door, feel free to check out these other fall wreath ideas that I have collected.
Bookmark this page or pin the following image to return back to this post on how to make a Fall Wreath.
Thanks again for spending a few minutes of your busy day with me today. Please know that I welcome each and every comment that comes my way. If you want to make sure you don’t miss future content, pop your email in the beige box up on the right or click here. I usually send out 1 email a week, so I won’t inundate your inbox…believe me, I’m sensitive to an overflowing email inbox!
When you subscribe to Nourish and Nestle, be assured that we will only use your email address to send you emails that will keep you up to date with the latest news and content on the site. In addition, you will have access to my growing library of knit patterns, crochet patterns, as well as other printables. This library will continue to grow, so check back often.
Please know that you can unsubscribe at any time by emailing me or clicking on the “unsubscribe” link at the bottom of all emails.
Did you know that you can access many of the products I refer to in all of my posts on my Nourish and Nestle Amazon Page? You can access it here.
So, if you’d like to get in on the ‘subscriber benefit’ action, simply subscribe to Nourish and Nestle here or using the form on the right sidebar. It’s towards the top a bit. I have sent all my subscribers the link to the Subscriber Benefits Library. If you missed it or misplaced it, drop me a line.
Until next time…
Hugs,