
How to Clean a Rusty Cast Iron Skillet
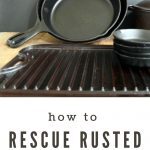
Instructions for how to clean a rusty cast iron skillet. After thoroughly cleaning, we will also tackle how to season a rusty cast iron skillet.
I am a cast iron cookware devotee.
I do like my stainless steel cookware, but when it comes to non-stick, a cast iron is my go-to pan. Truthfully, well-seasoned cast iron cookware is not as ‘non-stick’ as some other “Non-Stick” labeled cookware. But I’m too suspicious of the chemicals and processes involved in making the ‘non-stick’ feature of other non-stick cookware. I’ll always default to a low-tech, no chemical, tried and true item that’s been safely used since the Han Dynasty (206BC-220AD).
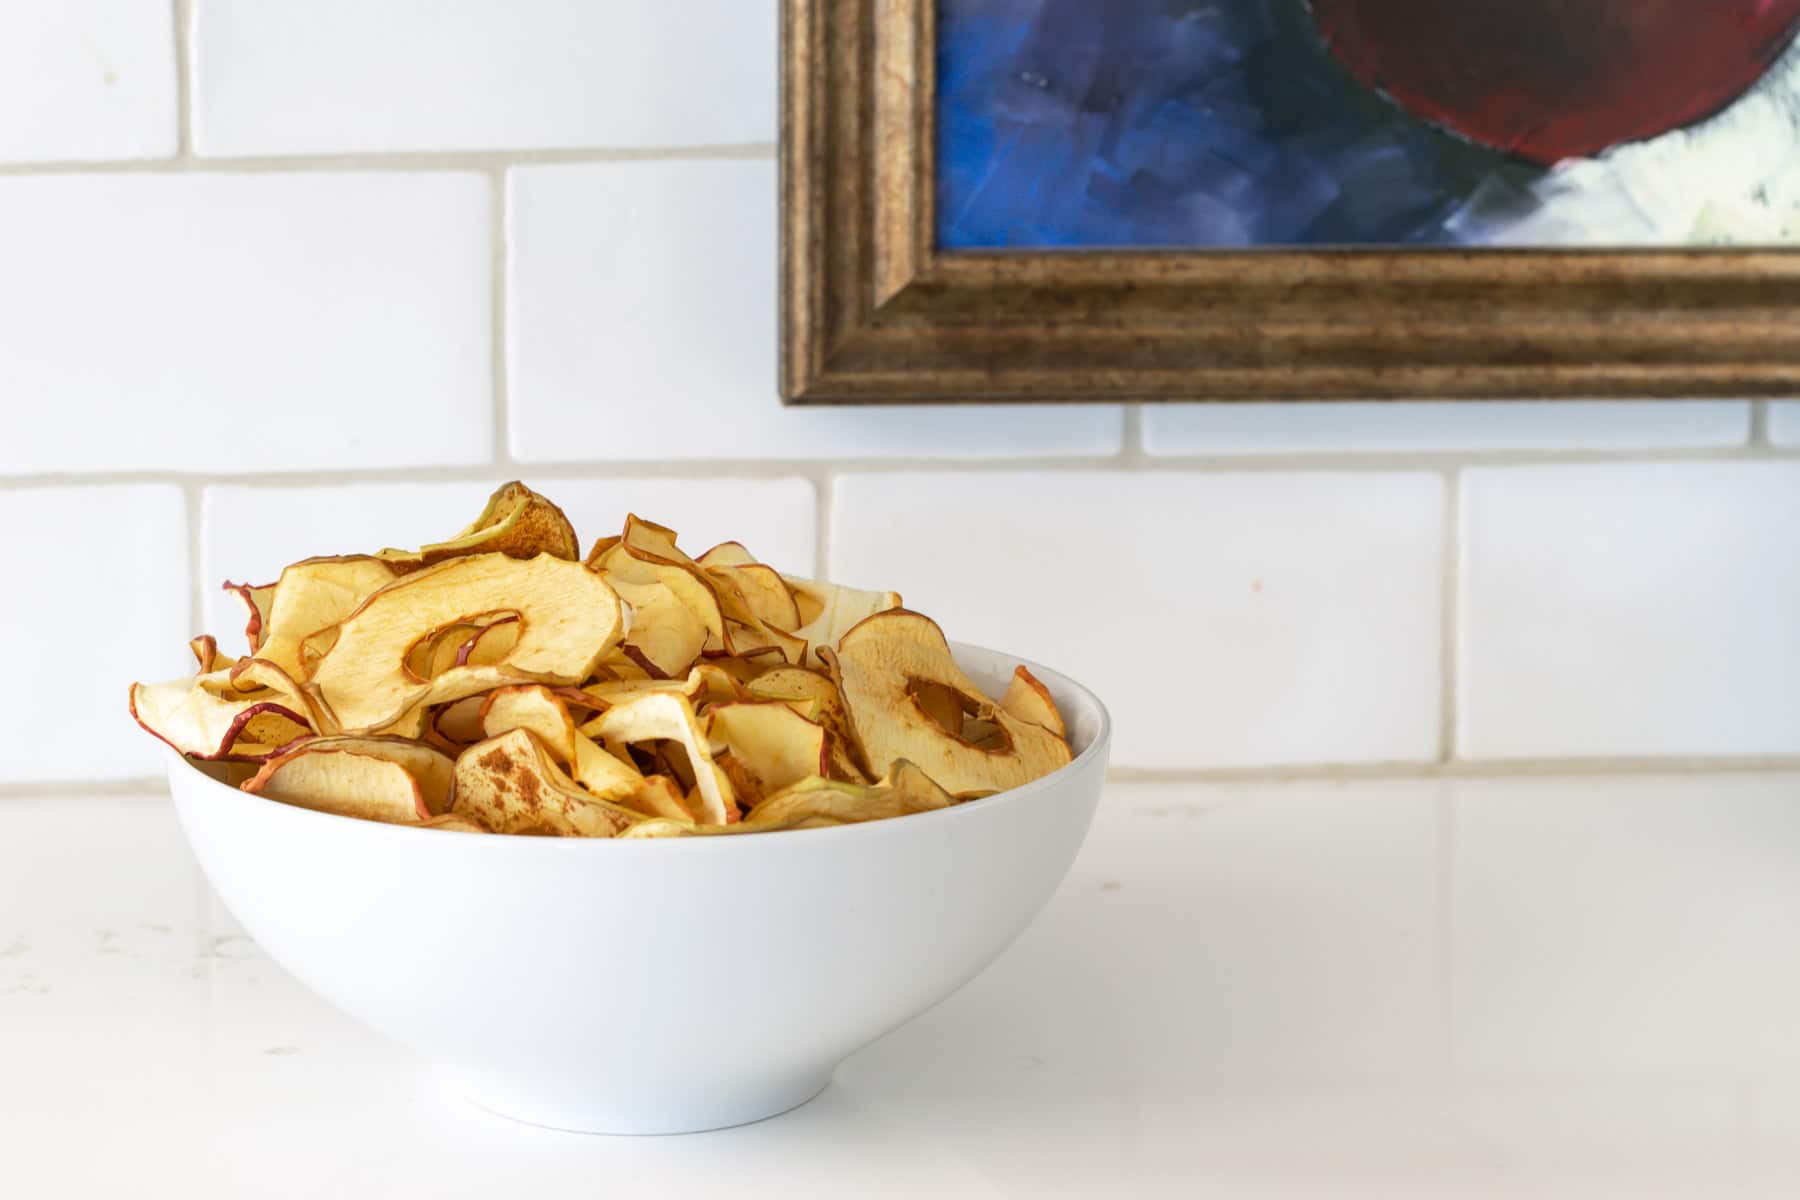
In addition to the set of 4 Lodge 5-inch cast iron skillets that I’ve written so fondly about (skillet apple crumble, skillet brownie, skillet pecan pie, individual almond fig clafouti); I also regularly use a Dutch Oven, a 10-inch skillet, a 12-inch skillet, and a 2-sided grill/griddle.
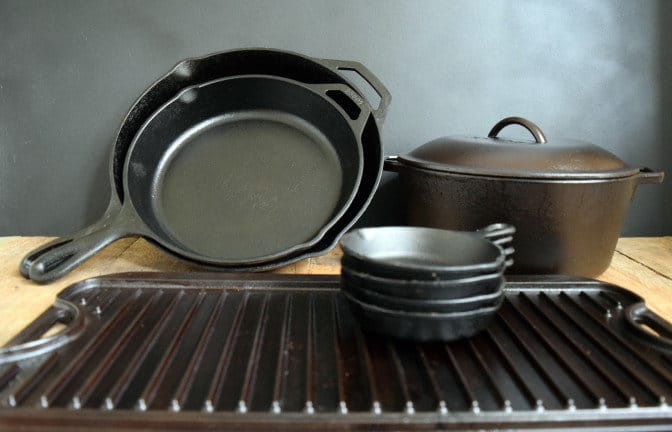
Table of Contents
All that being said, you can’t just throw your cast iron skillet in the dishwasher or, for that matter, just wash and forget it. So this is where I got stuck (no pun intended) on my cast-iron learning curve. Of course, I never put it in the dishwasher! But I know I didn’t ‘tend’ to it regularly as I should have.
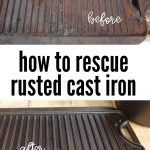
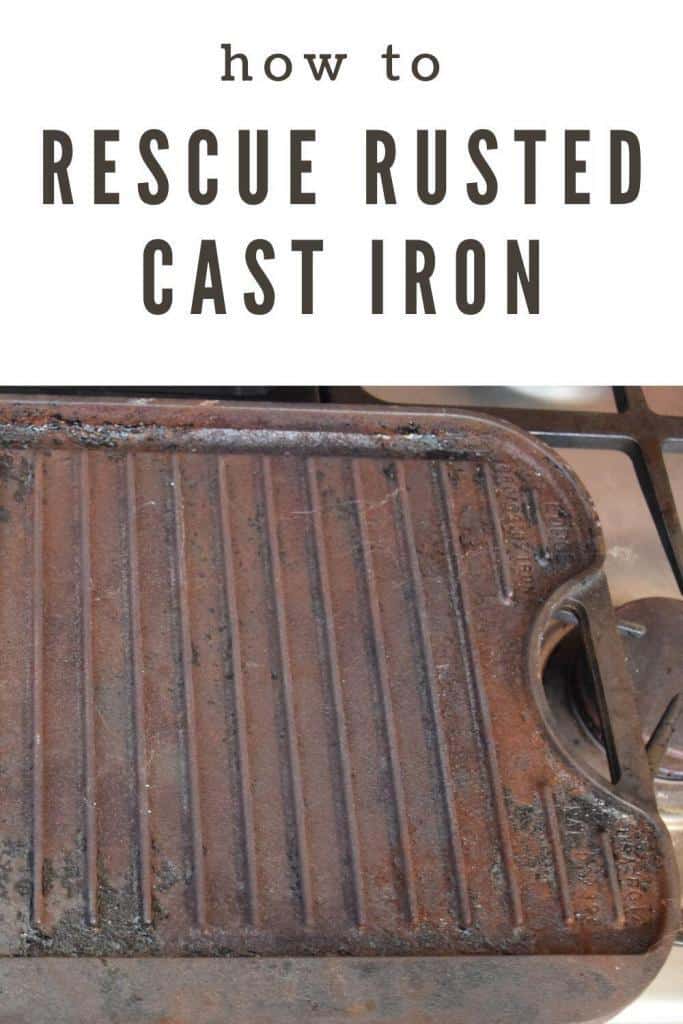
My skillets are actually in pretty good shape, but the lid of my dutch oven became rusted on the inside because I didn’t make sure it was dry when I put it away. And my grill/griddle was just a hot rusted cast iron mess because I seasoned it poorly several years back.
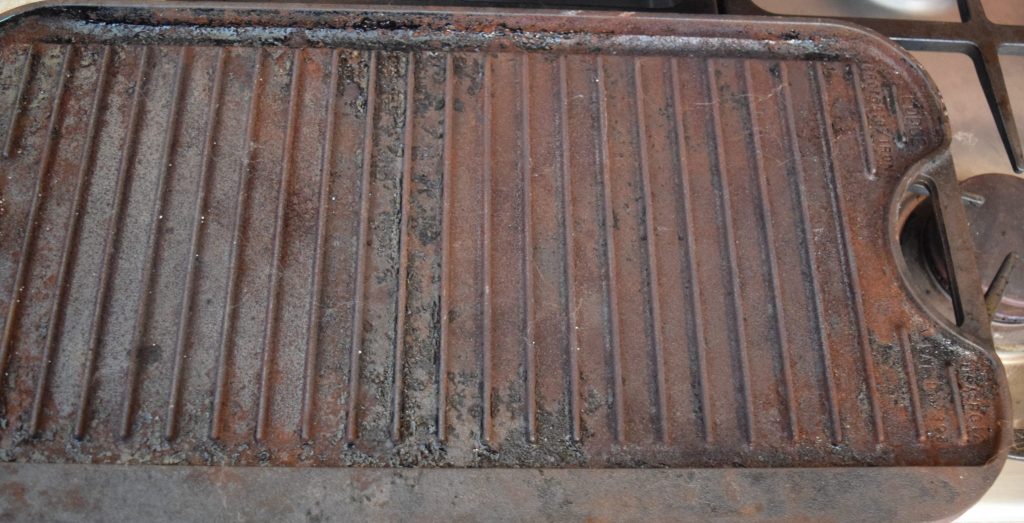
I recently decided it was time to rescue my rusted cast iron and resolve to be a better cast iron owner. To that end, I researched how to clean a rusty cast iron skillet. I realized that I needed to take off whatever finish remained on the dutch oven, its lid, and the griddle and start from scratch.
How to Clean a Rusty Cast Iron Skillet, Pan, or Griddle:
Before we dive into how to season a rusty cast iron skillet, let’s first discuss how to clean it.
- With your cast iron cookware in your oven, turn the oven on to the self-clean mode. The approximately 850° temperature of self-clean mode carbonizes and turns to ash the finish, build-up, and dirt from your cast iron and oven.
- Once it is cool, use a 2″ wire cup brush or 2″ wire wheel brush drill attachment to remove any remaining rust on your cast iron item. The two together cost less than $10. If your cast iron is not as bad as mine, you can probably use a wire brush instead of the drill attachments.
- Once you feel you’ve nailed all the rust on your cast iron with wire brushes, give your cast iron a good rinse with water, but don’t use soap.
- Dry the cast iron off, then put it in the oven to thoroughly dry it and warm it up. I set my oven to 450° and put the cast iron in when I turned the oven on and ‘baked’ it for about 5-10 minutes.
How to Season a Cast Iron Skillet, Pan or Griddle
- If you haven’t already done so, set your oven to 450°F.
- Thoroughly rub your clean cast iron with a seasoning oil. Pop over here for a list of good oils for seasoning cast iron. Keep the layer of grease as thin as possible. I tried using paper towels (the lint/fibers got all in the grease), a bristle basting brush (the bristles fell out and got in the oil), and a silicone basting brush (just a pain in the neck). I finally realized the best solution was getting my hands on the cast iron and rubbing the grease all over it. PLUS…my skin was so soft after the process! As a warning, you want to do this when your cast iron is warm but not so warm that you can’t rub your hands all over it.
- Place your cast iron in the hot oven and let it bake for one hour.
- Remove it and let it cool enough so that you can rub another thin coat of oil over it.
- Return it to the 450°F oven for one hour.
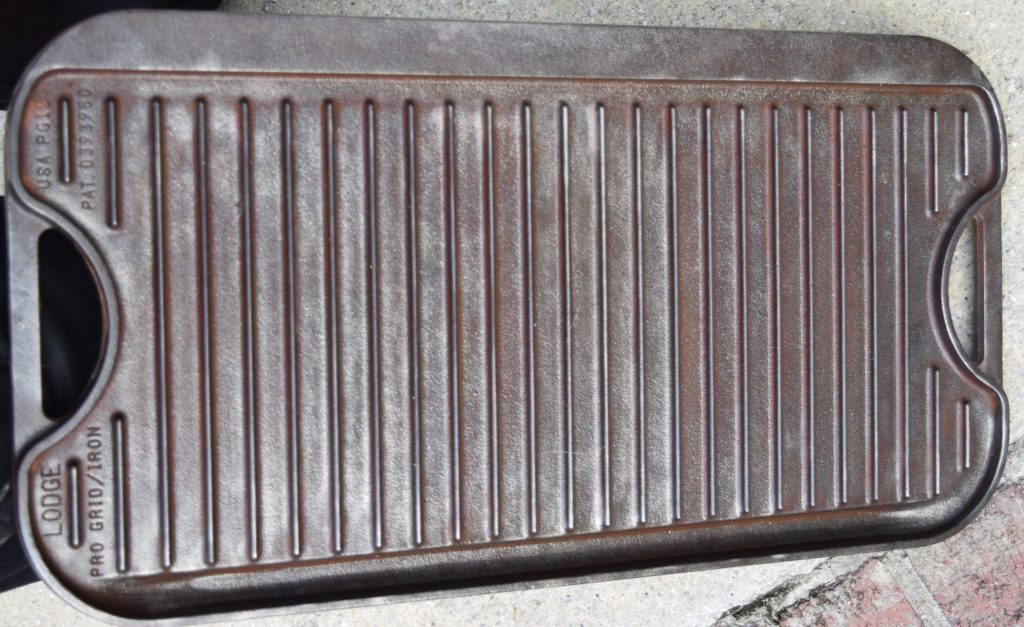
- Repeat this process several times, 5-7 times should be enough for a wonderfully slick, non-stick surface.
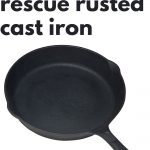
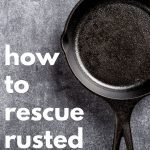
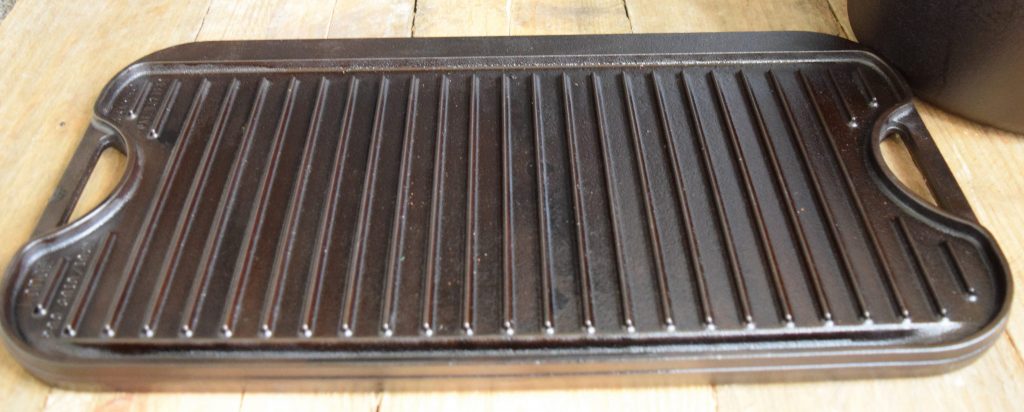
TADA!! Will you look at that shine!! That’s pure non-stick goodness right there!!
How to Keep Cast Iron Well-Seasoned:
- After each use, dry your cast iron, heat it slightly on the stove and rub oil over the cooking surface. Wipe off excess oil with a paper towel (or soy ink newspaper), let it cool, and then store it.
Lessons Learned:
- I read somewhere that you could do it outside on your grill instead of baking the cast iron in your oven. So, I thought ‘What a great idea!” and turned my grill on. Here’s the rub…my grill thermometer doesn’t work very well…I guess. After one hour, my grill/griddle looked like it did after the self-cleaning mode. The heat from my grill removed the oil I had just put on. Obviously, my grill was hotter than what the thermostat claimed. Plus, the whole thing is having indirect heat in the oven versus direct flames on the grill. At the end of the day, I figured I was better off doing it inside and dealing with the burnt vegetable oil smell. Luckily it’s a cool day, and I can open the windows.
- Keeping it a thin layer is key, no matter what oil you choose. I went astray in past cast iron seasoning attempts because I had too much vegetable oil, which puddled or baked unevenly.
- After thoroughly coating your cast iron with your preferred oil and removing any excess, put your pieces in the oven. I put my Dutch oven upside down so any runoff wouldn’t puddle on the bottom of my pot. You may also want to put a cookie sheet lined with aluminum foil at the bottom of your oven to catch any drips.
- Let your cast iron cool to the touch but still warm, and repeat the greasing/oiling and baking process 2-3 more times.
- Now that I’ve cleaned my cast iron and re-seasoned it, I am determined to keep it well-seasoned regularly. It will be easier than going through this process again.
- Plan to invest several hours; 4 hours for the self-clean cycle and 3-4 for each 450° ‘baking’ cycle…up to 20 hours total baking time. Although you are not actively involved most of the time and the process can be spread out as long as you need, why bother if you keep it well-seasoned? (Can you hear me motivating myself to do a better maintenance job?)
Cleaning my cast iron was on my to-do list for some time, and it feels good to scratch it off.
Refer back to these tips on cleaning a rusty cast iron skillet, bookmark this page or pin the following image.
Thanks so much for spending a few minutes of your busy day with me!
To ensure you don’t miss future content, pop your email in the pale green box on the right or click here. I usually send one email weekly, so I won’t inundate your inbox. I’m sensitive to an overflowing email inbox!
We will only use your email address to send you emails, no more than 1-2 weekly. In addition, you will have access to my growing library of knit & crochet patterns and other printables. Check back often as this library will continue to grow. You can unsubscribe anytime by emailing me or clicking on the “unsubscribe” link at the bottom of all emails.
And you can access many of the products I refer to on my Nourish and Nestle Amazon Page. You can access it here.
So, if you’d like to participate in the ‘subscriber benefit’ action, simply subscribe to Nourish and Nestle here or use the form on the right sidebar. It’s slightly towards the top.
I have sent all my subscribers the link to the Subscriber Benefits Library. If you missed it or misplaced it, let me know.
Until next time…


Wow, thank you for the great details! I need to save this post (and get some Crisbee!).
Thanks Carolyn! I do like the Crisbee…gonna order some more soon just to make sure I have it on hand.
Just printed thus & I am headed out to try this product. Thank you. I too love my cast iron skillets 😉
Oh yay! Your cast iron will love you for it!
I use crisco to coat my cast iron. They are in very good shape. Can I switch to crisbee or should I start from the very beginning and start over with the oven cleaning?
Hi Marilyn,
I think you are fine to switch over and start using the Crisbee now. I think you will find that there is much less of a strong aroma with the Crisbee than with Crisco. Let me know what you think!
I am also a lover of cast iron. I will have to give Crisbee a try. Thanks for the tip!
Hey Robin of the very cool West Elm Curtain Rods and now the equally clever wishbone napkin rings! Thanks for stopping by today. Give the Crisbee a try and let me know what you think. It’s working well for me!
Hi Lynn, thank you for the nice review on Crisbee.
You are very welcome Linda! Just speaking the truth!
Have a great day, Lynn
Thank you for the nice review, we appreciate it very much!
You are very welcome Bradley. I do think you’ve got a great product and I’m glad I found it. Happy New Year!
Lynn
I have a couple of cast iron skillets that need a rehab. It seemed so intimidating, but this post makes it seem doable. I think I’ll give it a try! Thanks so much!
Good luck with re-doing your cast iron. It wasn’t hard…just a little time consuming. I do have to say that I like the crisbee puck. Thanks for stopping by and hope you have a great weekend.
Lynn
Hey Lynn,
What do you think of the enamel coated cast iron pans?
I haven’t personally tested them out yet, but they seem to have all the benefits of cast iron without rusting problems or having to season them.
Cheers,
Tara
Hi Tara! From what I’ve read, Lodge and Le Creuset have their products independently tested for safety in terms of lead emissions. I don’t know about some of the other brands.
I love they way they look and may some day invest in them, but have had a hard time justifying the price tag when my lodge cast iron dutch ovens and skillets do the exact same thing at 1/10th of the price. But…if someone wanted to send one my way, I’d love to be on the receiving end of that present!
What are your thoughts?
Thanks for sharing that information! It’s always good to know about the safety standards of different brands. And I totally get what you mean about the price tag, but hey, if someone wants to gift you a Lodge or Le Creuset, who are we to say no? 😉
here is my website:1321downtown.com
relatade post:https://1321downtown.com/caring-bamboo-cutting-board/
Agreed! Send all the Lodge and Le Creuset my way!
I performed this process on an iron skillet we bought at a garage sale for $2. It turned out perfect. Thanks
Oh Ferland, I am so glad to hear that you had the same success that we did. Did you use the Crisbee puck? I love that stuff!
Thanks for sharing your successes.
Lynn
Crisbee is my go-to seasoning agent.
The resulting finish and no stick skillets are worth the effort that it takes to do a good job.
I’ve been using Crisbee for a long time now. I’m not affiliated with the company or the product although I would love to be!
Brad Stuart is the owner and Crisbee is entirely a family owned business here in the USA.
Lynn, your instructions and review are excellent.
Thanks so much!
Sue.
So glad to find another Crisbee fan! I started with the puck and now use the stick…and my pans are so much happier. I can’t believe it took me so long to figure out how to take care of my cast iron the right way.
And thanks for giving my instructions a thumbs up! So glad to have that affirmation.
Have a great day Sue!
Where can I get the Crisbee?
Hi Teresa! You can get it on Amazon at https://amzn.to/3lr7evI or directly from the Crisbee site, https://crisbee.org/collections/shop. I swear by the stuff!
Hey there, Author! Thank you so much for sharing your tips on how to clean a rusty cast iron skillet. As someone who loves to cook, I have had my fair share of struggles with rusty cookware, and your article provided some great insights on how to get my cast iron skillet back in shape.
One of the things I appreciated most about your article was your emphasis on using natural cleaning agents. I’ve always been hesitant to use harsh chemicals on my cookware, so it was refreshing to see that there are alternative methods that can be just as effective. Your suggestion to use vinegar and baking soda was particularly helpful, as I already have those items in my kitchen and they are affordable to purchase. I also appreciated your explanation of the science behind why these ingredients work to remove rust. It’s always helpful to understand the reasoning behind the techniques!
Another aspect of your article that stood out to me was your recommendation to season the skillet after cleaning. I had heard about seasoning cast iron before, but I didn’t know much about the process. Your step-by-step instructions were easy to follow, and I feel much more confident about maintaining my skillet going forward. Overall, I found your article to be incredibly informative and helpful. Thanks again for sharing your expertise!
Thanks so much, Jack.
I’m happy you found it useful. That is always my intent.