Knitting in the Round with Circular Needles

Expand your knitting skills by learning how to knit in the round. This article teaches knitting in the round, specifically using circular needles. In a separate post, we will address knitting in the round with double-pointed needles.
Knitting in the round is useful when you want to knit ‘tubelike’ garments like hats, gloves, cowls, and some sweaters. Technically, you could knit all these items on straight needles and seam them, but once you learn how to knit in the round, you’ll look for opportunities to use this skill.
It just so happens that I have several patterns that use knitting in the round and circular needles! Check out this Chunky Knit Christmas Stocking, this Broken Rib Christmas Stocking, or this Twists & Cables Knit Hat Pattern. For the Christmas stockings, we use Circular Needles to knit using the Magic Loop Method, which we dive into in this post.
Teaching Knitting in the Round is one of many published knitting tutorials. You can see the whole ‘How to Knit’ series here.
what are circular knitting needles?
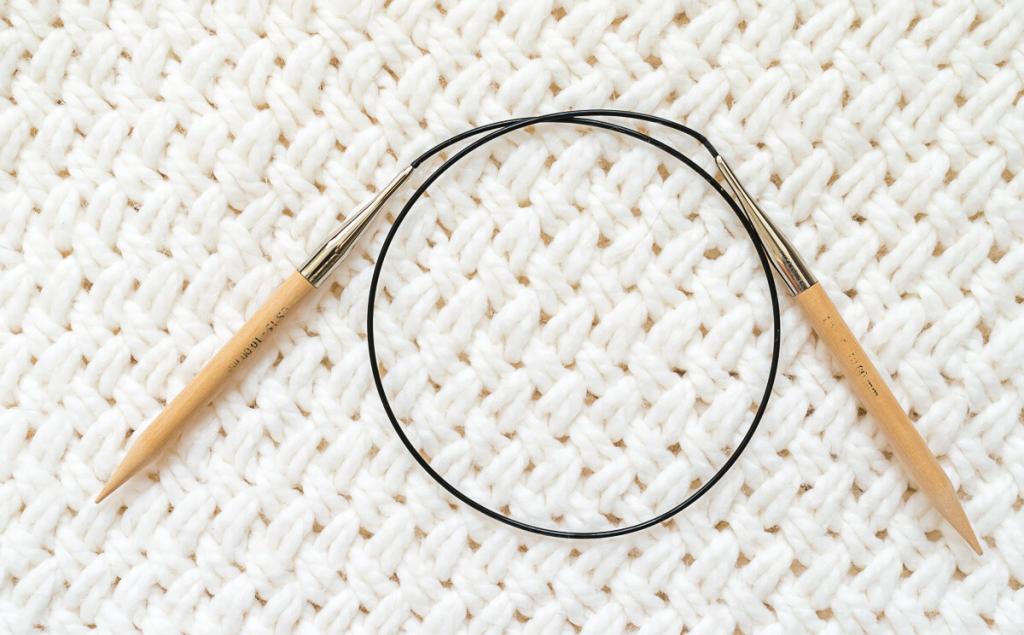
Table of Contents
Circular knitting needles are knitting needles comprised of two short straight needles connected by a flexible cable. The straight needle portion of the circular needle is defined by sizes just as regular straight knitting needles (i.e., US 7 (4.5mm), US 8 (5mm), etc…). Circular needles also come in various lengths, defined as the length from the tip of one needle point to the tip of the other needlepoint. You will find circular needles with lengths from 16″ to 40″+.
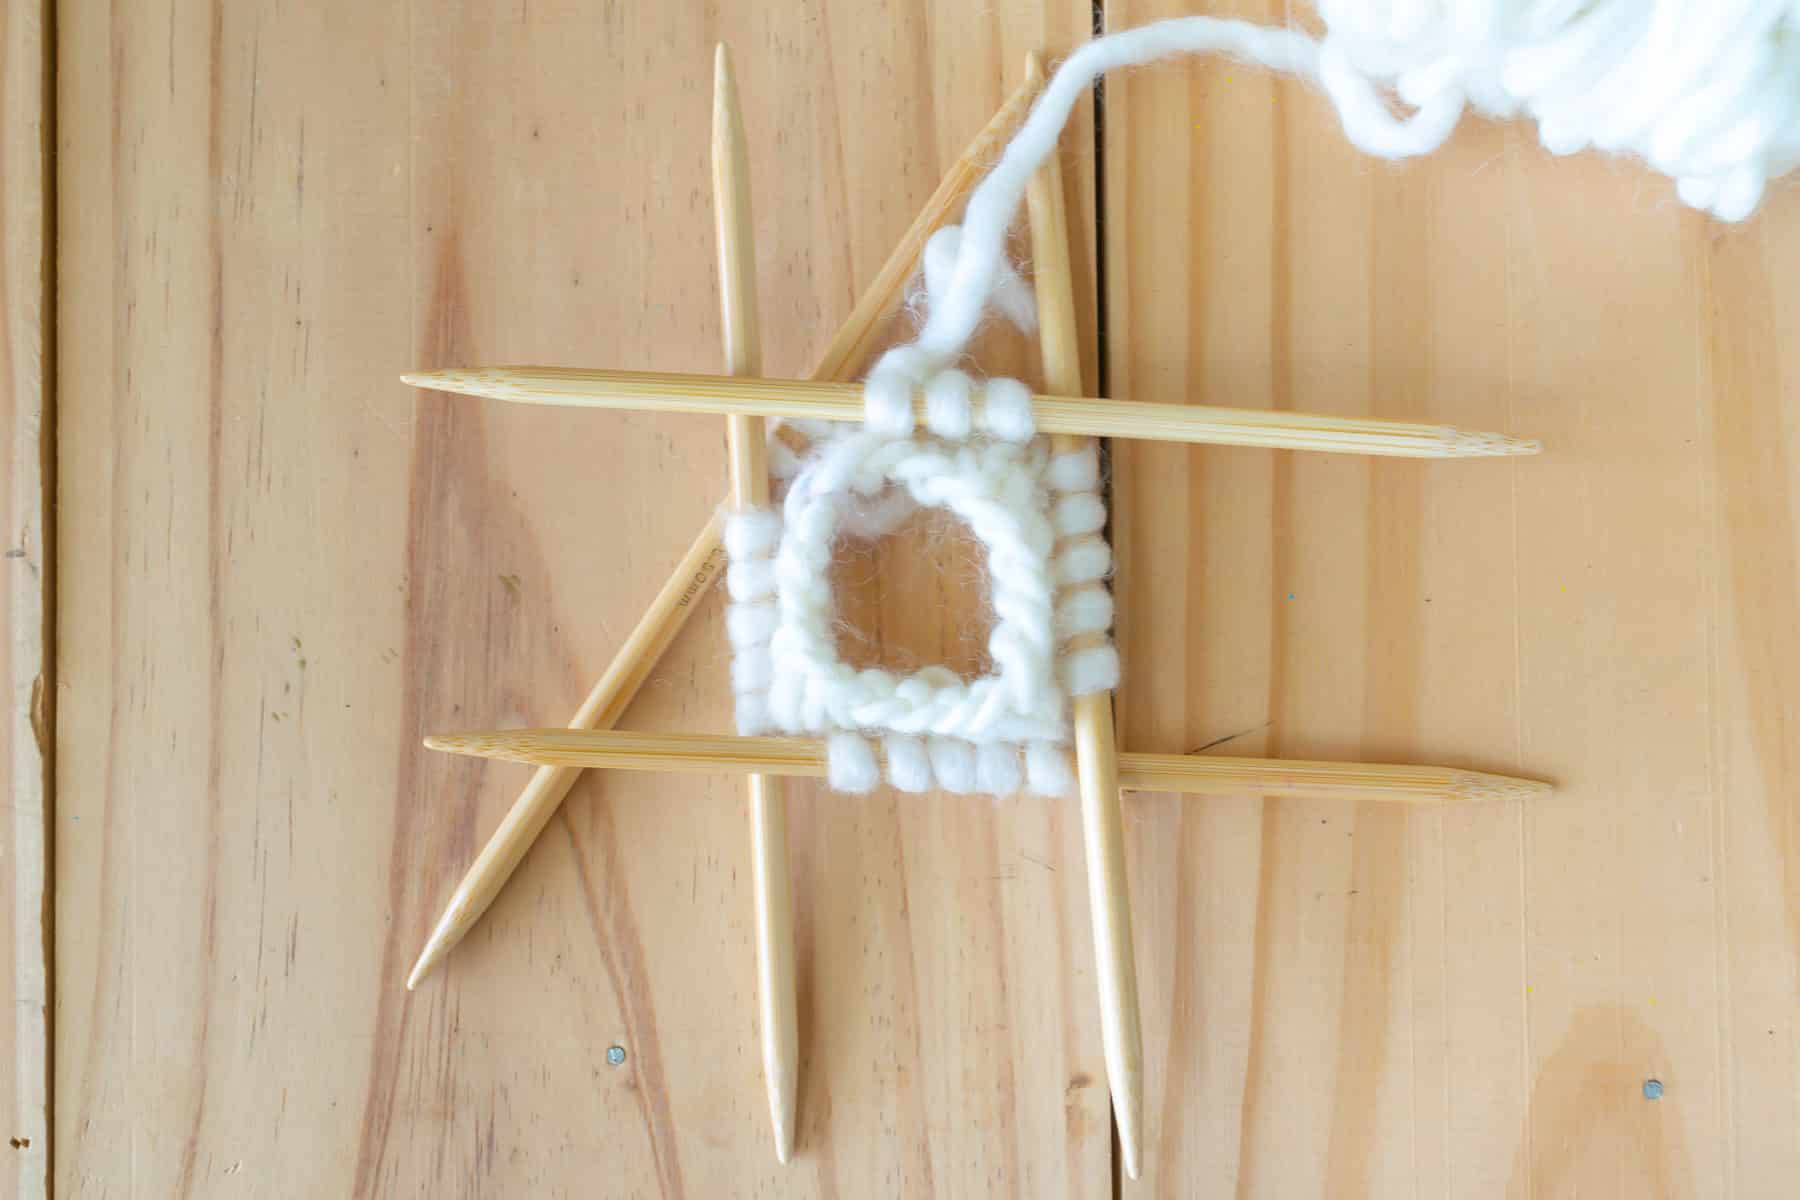
For smaller projects, like baby socks or when you need to decrease the size of the ‘tube’, like when you close off a hat, double-pointed needles will be better. Another option for small circumference projects or closing off of hats or sock toes is the Magic Loop, the brilliant invention of Sarah Hauschka. At its simplest, the Magic Loop uses the flexibility of the cord to allow the manipulation of small circumference projects. You can see a video I made using the Magic Loop here.
Like straight needles, you will find different points on circular needles as well. The sharper points are recommended for working thin yarn and lace projects, and the blunter tip is for bulky yarns.
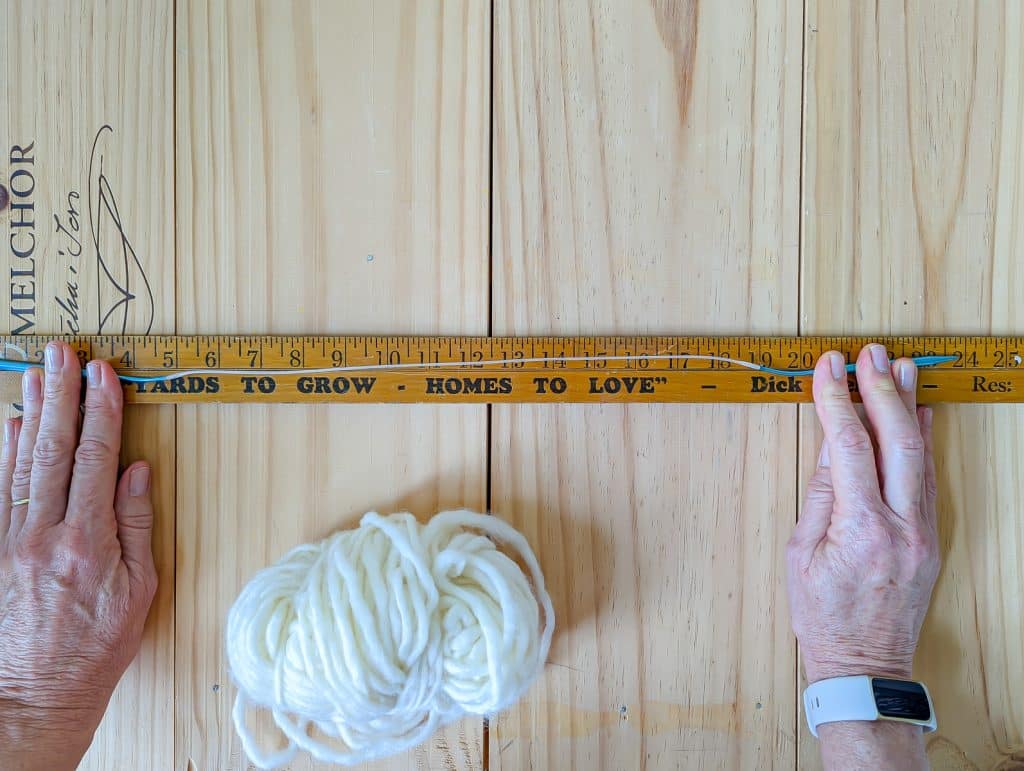
A rule of thumb to keep in mind is that the length of your circular needle should be shorter than the circumference of your project. For instance, for this hat pattern that has a circumference of 22″, I used 16″ circular needles. You may need 24″ to 36″ circular needles for a knit cowl.
The pattern will tell you what size and length of circular needle you need. It will be written something like this: US 4 (3.5mm) circular knitting needles (16″ long)
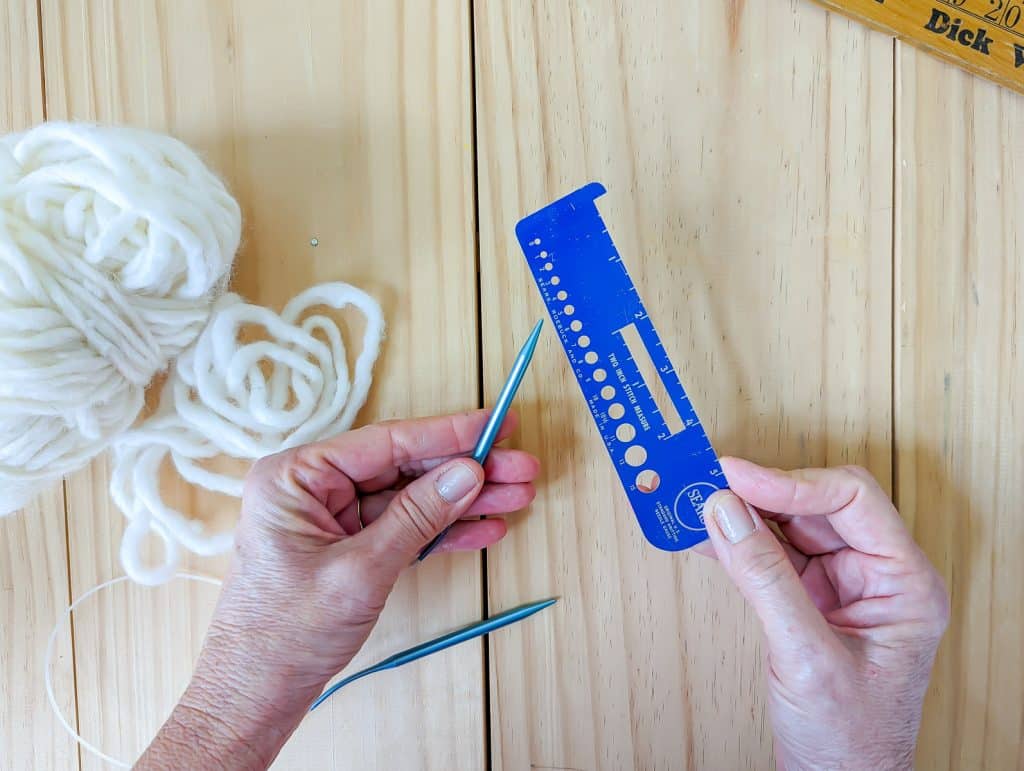
Oftentimes, circular needles don’t indicate their size. A needle/stitch gauge comes in handy.
a quick note about the cord
I have never been one to spend a good deal of money on knitting needles. In all honesty, I’ve never knit with really nice needles, so I can only speak of what I know, but I’ve always been able to knit what I want and enjoy the process with the less expensive straight needles.
Circular needles are a different story. I have found that the less expensive/cheaper/more economical circular needles have rigid cords and a mind of their own, oftentimes making knitting with them a frustrating experience.
Additionally, less expensive needles are more likely to have rough joins between the needle and the cord, snagging your yarn as you work. Not only is this frustrating when you are working, but it does take a toll on your yarn and finished project.
If you will be knitting in the round frequently, I think it is worth spending a bit more money when purchasing circular needles. Specifically, you want to look for flexible circular needle cables that have no memory, meaning that they don’t stay in one shape. Some of the metal circular needles I like are Chiao Good Red Lace and addi Turbo Rocket. If you like bamboo needles, I’ve enjoyed knitting with Clover Takumi Circular Needles.
Many knitters use and love interchangeable circular needles, like this Chiao Goo set. They come with all the cord lengths and needle tips, you just screw in the cord length you need with the needle.
I am slowly transitioning my collection of circular needles to the nicer ones.
circular knitting needle organization
Circular knitting needles, with their cords of varying lengths, are notoriously challenging to keep organized. After too many years of tossing them in a bag and weeding through them each time I needed a certain size, I figured out a simple circular knitting needle organization that works so well for me.
benefits of knitting in the round
- No Seam! Knitting in the round creates a tube, eliminating the need for seaming once done knitting.
- Rows (or you might hear them referred to as rounds) work seamlessly into the next. As such, you won’t be moving the left-hand needle over the right hand each time you reach the end of the row.
- Perhaps my favorite part of working in the round is always working on the front of your work. With a stockinette piece, this means you will only knit the whole piece.
- The two previous benefits of knitting in the round also mean that it is quicker than knitting with straight needles.
- Less hand and wrist fatigue as the straight part of the needles are much smaller, meaning that your hands need to hold less weight. Most of the weight ends up ‘hanging’ from the flexible cord.
- While we won’t discuss it in this post, circular needles are also handy when knitting large, flat items like blankets. You would turn the work after each row and not join rows/rounds.
- Double-pointed needles are helpful when knitting small tubes in the round. We will discuss using double-pointed needles in another post.
things to remember when knitting in the round
- Your gauge will probably be different when knitting with straight needles, even of the same size.
- Twisted rows are the most significant consideration…you need to be mindful to keep your rows not twisted…especially at the beginning.
how to knit in the round with circular needles
- Cast on as you usually would with straight needles.
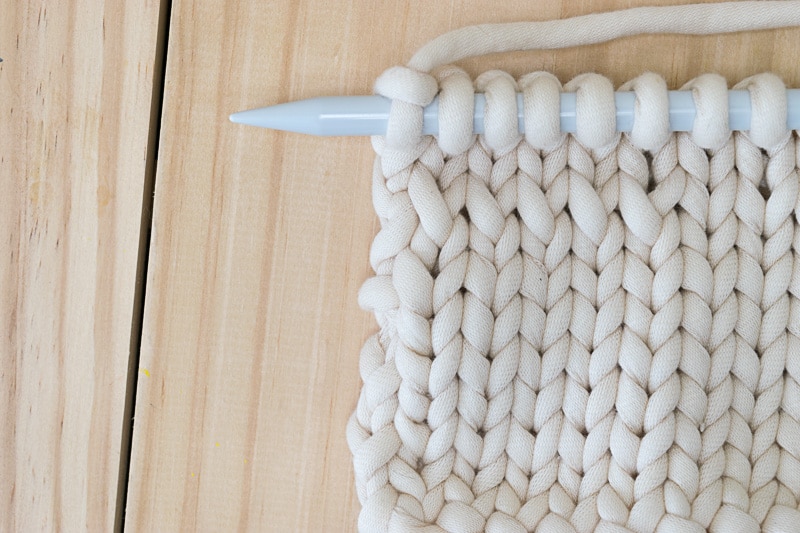
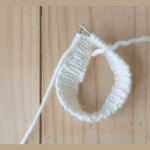
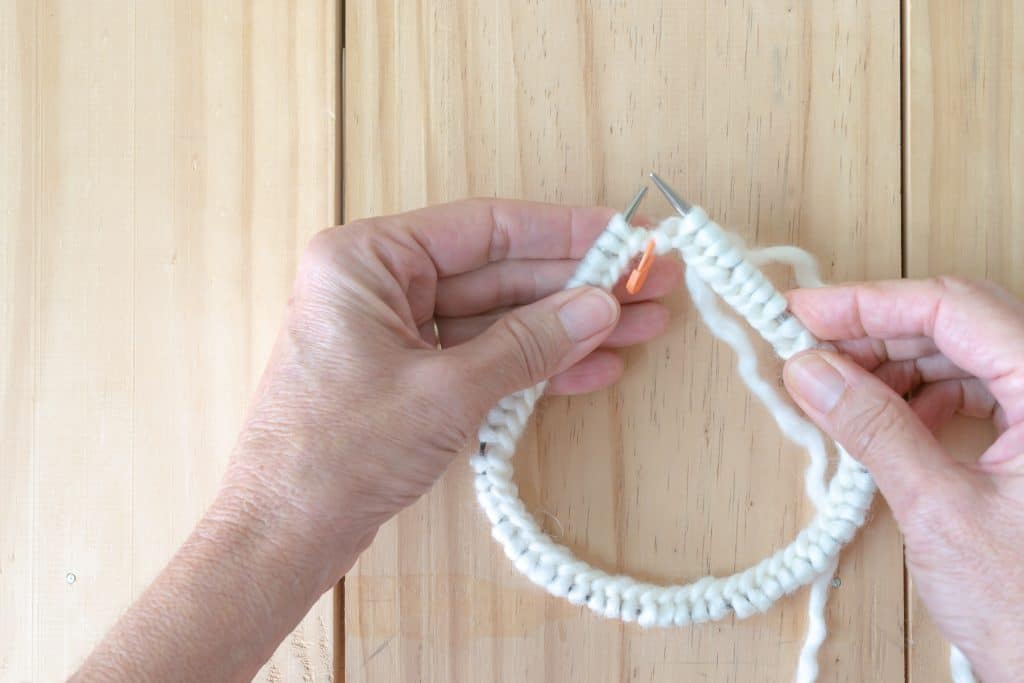
- Double-check (and maybe triple-check) that your stitches are not twisted. You should see the ‘braid’ edge of the cast-on staying untwisted.
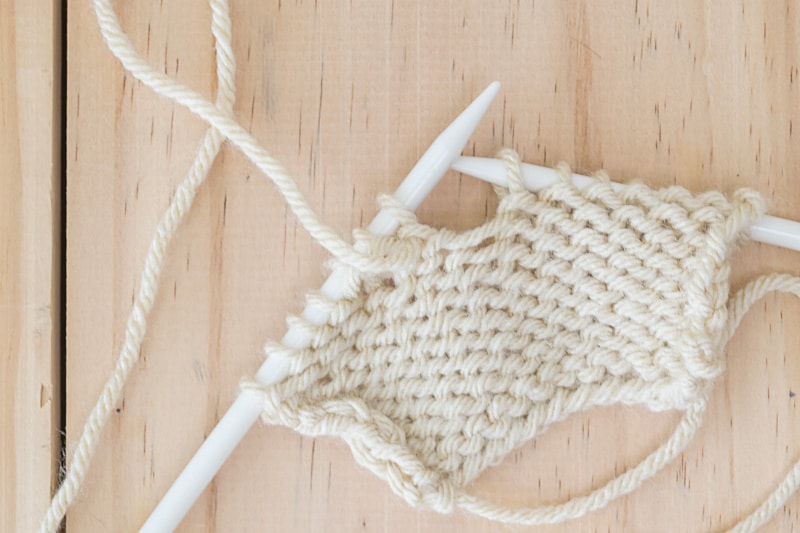
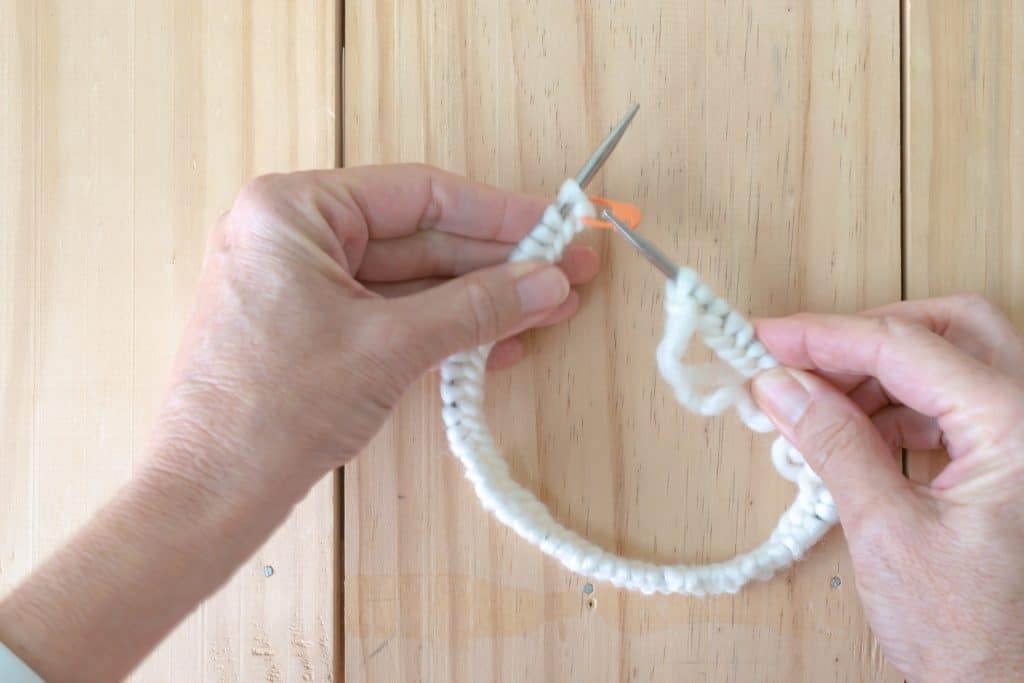
Note how the stitches twist around the cord in the image below. You don’t want to continue to knit if your cast-on row looks like this.
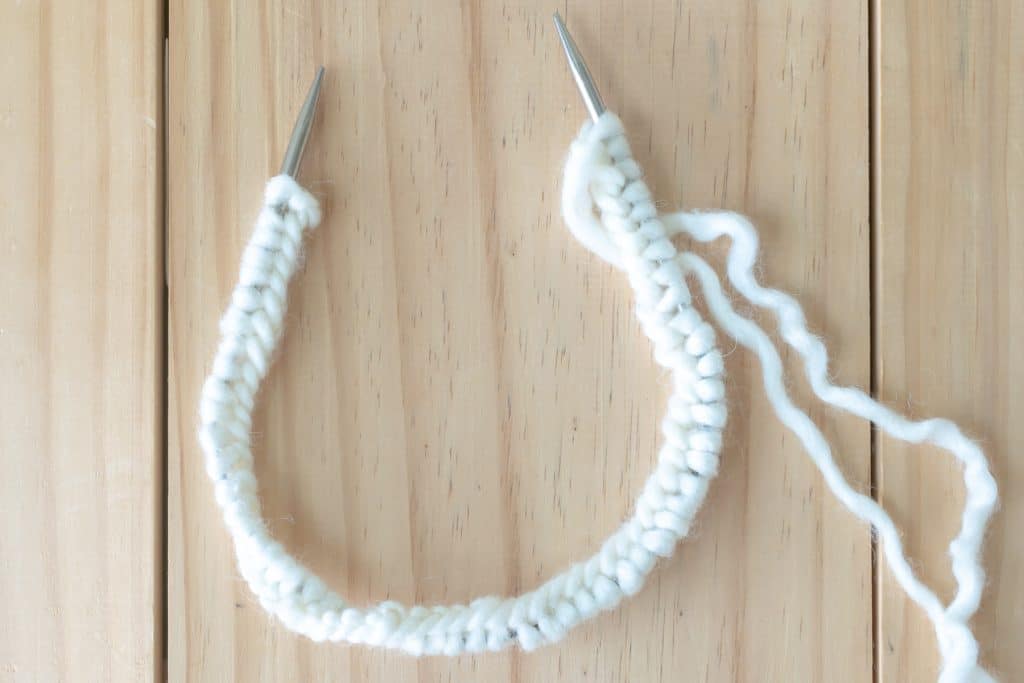
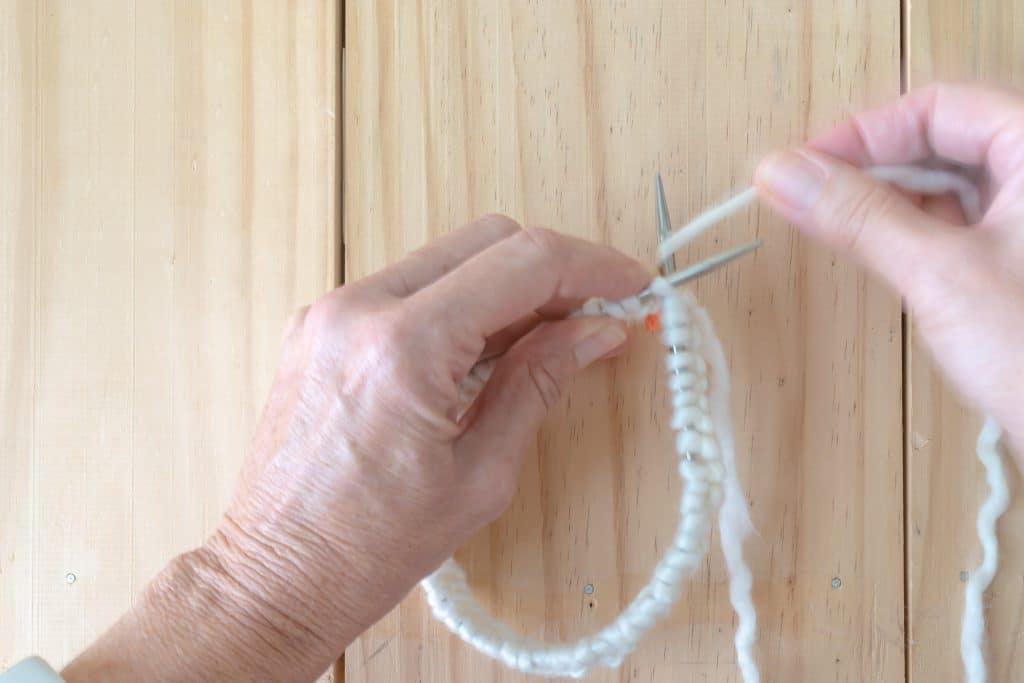
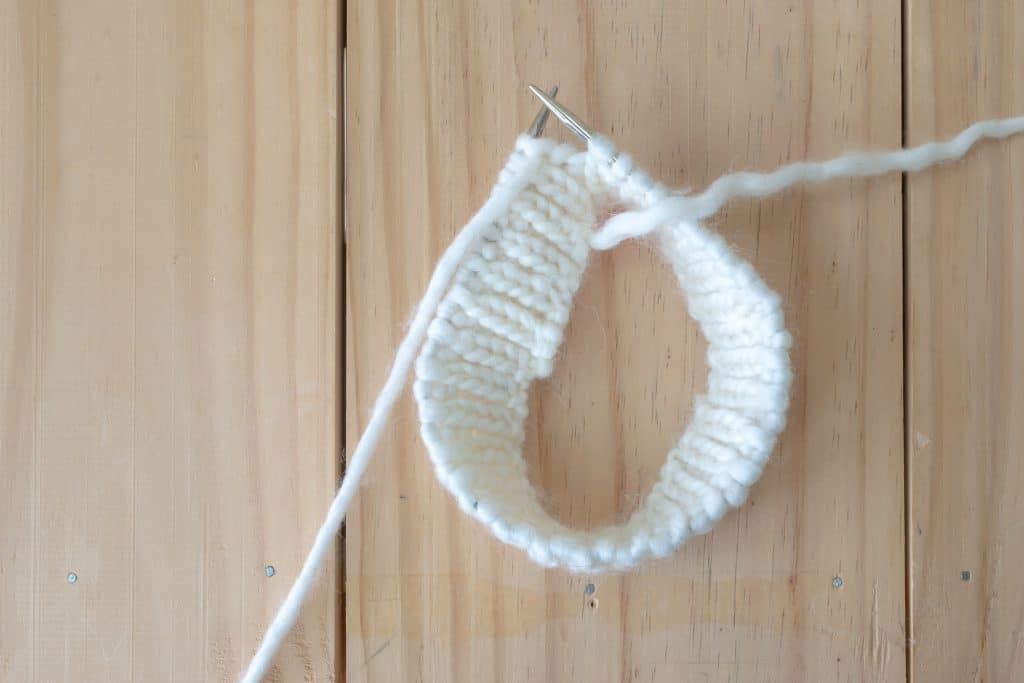
Untwist your stitches so that they look like the image below. Note the braid edge of the cast-on, which naturally wants to be inside, runs along without a twist.

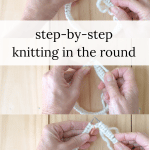
- After you’ve cast on your requisite number of stitches and ascertained that your stitches aren’t twisted, hold the two needles in your hands, with the tail end in your right hand, as you would typically with straight needles.
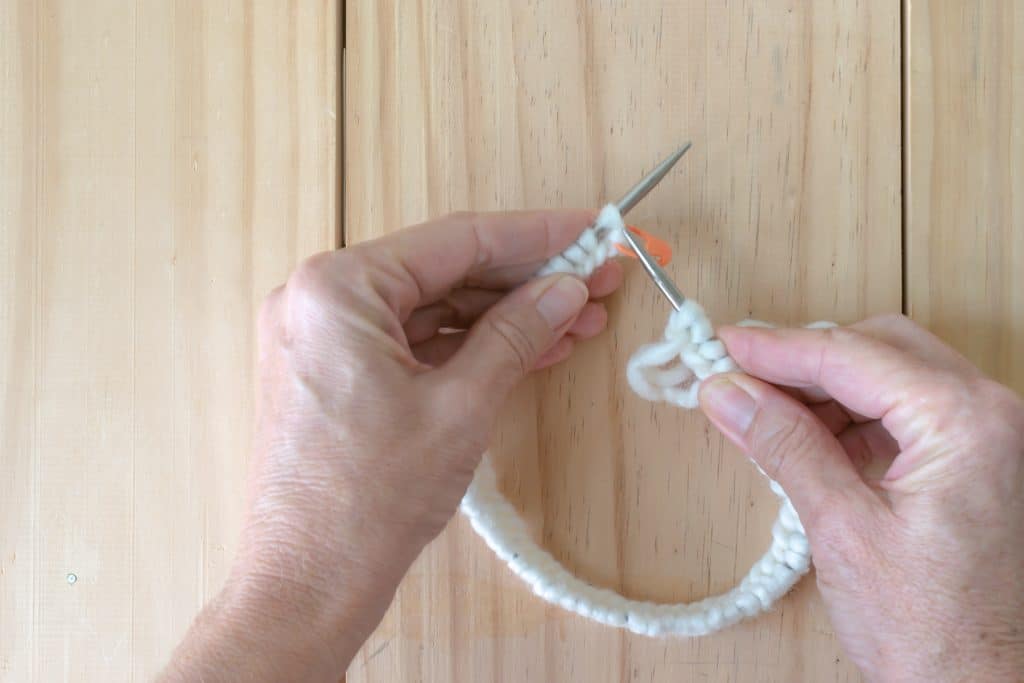
- A stitch marker is helpful to signal the end of one row (or round) and the beginning of the next. Alternately, your cast-on yarn tail is an indicator of beginning a new row as well.
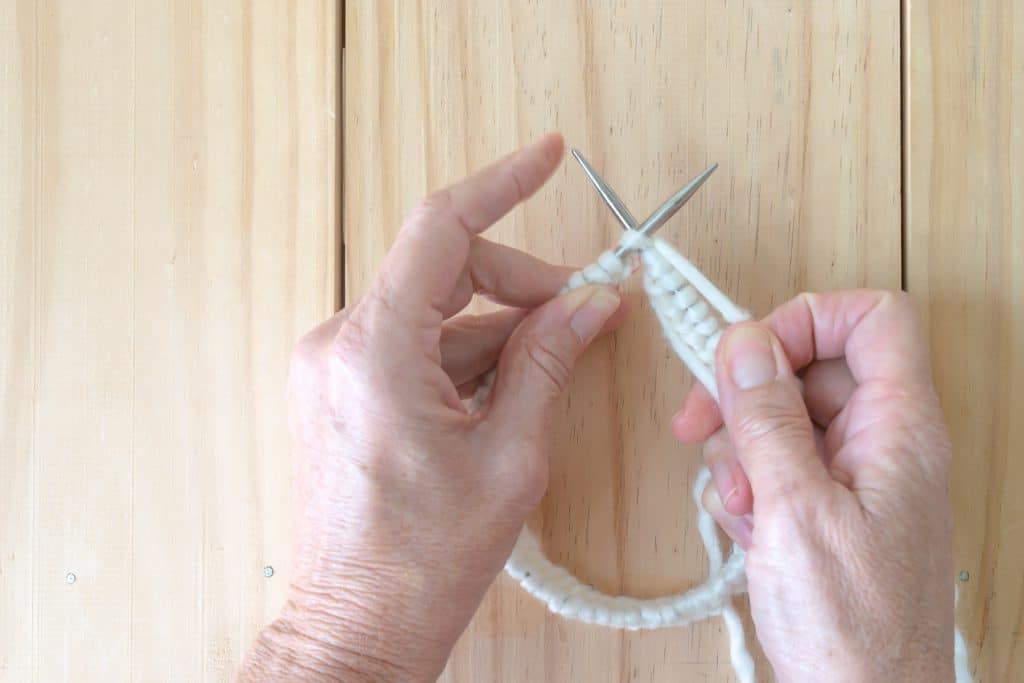
- Work the first stitch (we are knitting), making sure to ‘snug up’ the stitch by gently pulling on the working yarn.
- Your pattern directions will instruct you how many rows, rounds, or inches to work.
- Casting off in the round is done the same way you cast off with straight needles.
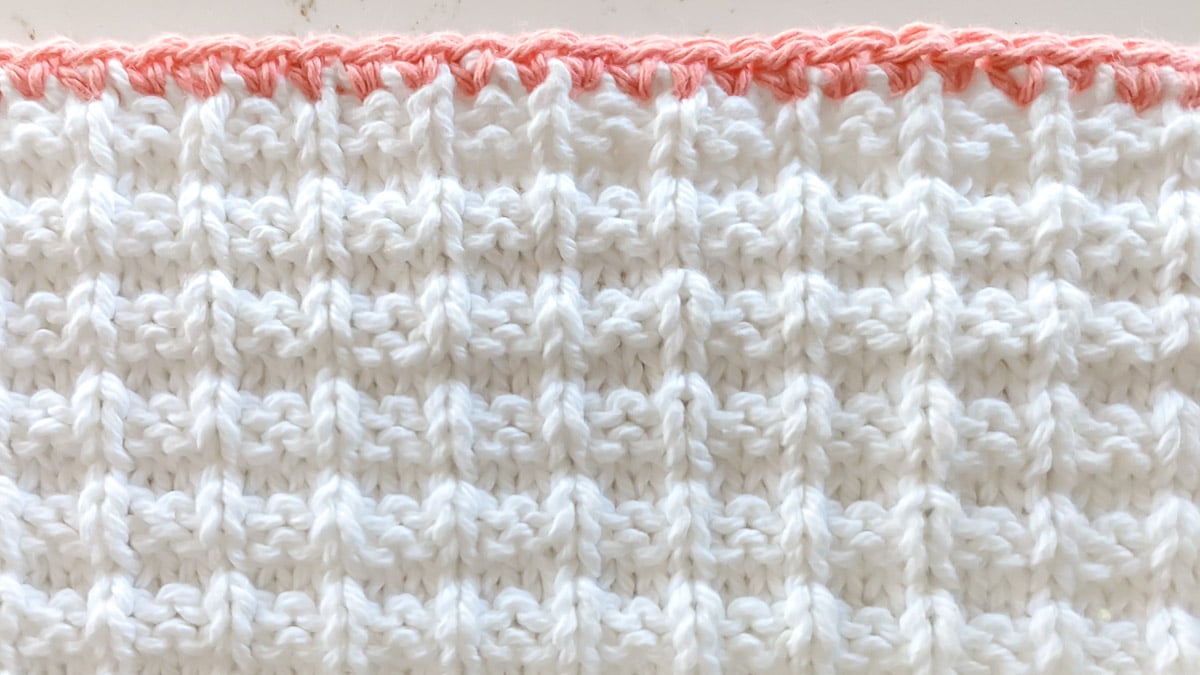
knit the rib stitch in the round
Because you are always knitting on the front of your work, when knitting rib stitch in the round, you will always knit the knit stitches and purl the purl stitches.
Be mindful of the number of stitches in your ribbing repeat. For instance, if you have a K2P2 repeat, you need to have a total number of stitches that is divisible by 4; otherwise, you will have 4 knit stitches where the rounds join.
what we learned about knitting in the round
- The MOST important thing to remember is to ensure your stitches aren’t twisted.
- Other than that, knitting in the round is just like knitting with straight stitches, except you are always knitting on the front of your work, and you don’t need need to move the needles between your hands. This makes knitting in the round quicker than knitting with straight needles.
- Knitting in the round is great for tubular-type projects; think hats, socks, and cowls.
- Circular knitting needle sizes correspond with straight needle sizes, but there is also a cord length to consider.
- A stitch marker is handy to show where one row/round ends, and the other begins.
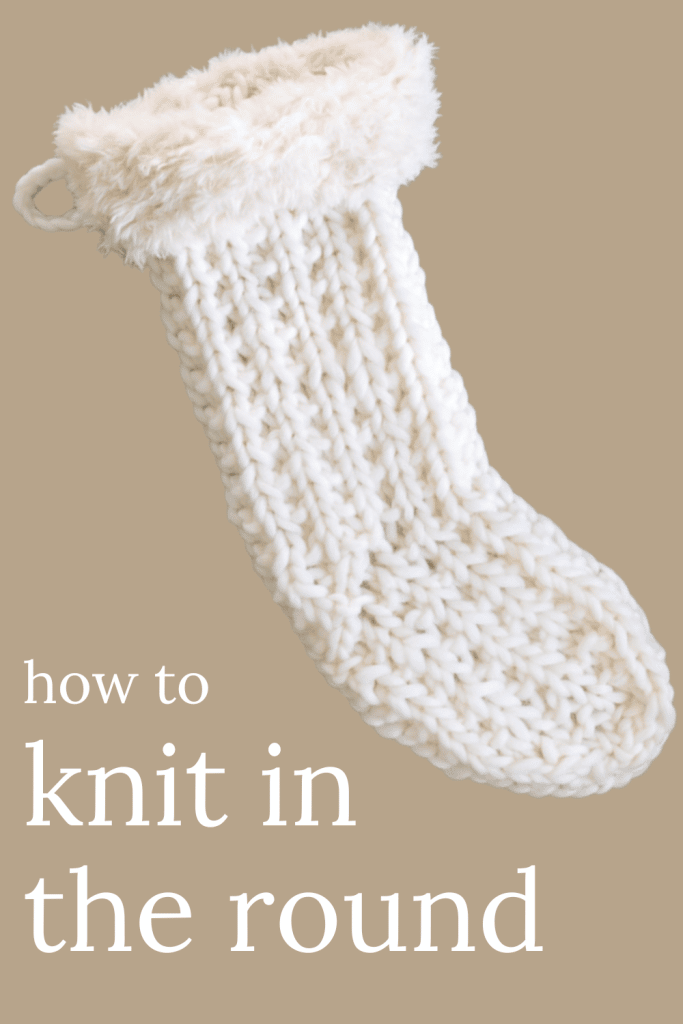
Bookmark this post or pin the following image to return to this post about Knitting in the Round the next time you need it!
Thanks so much for spending a few minutes of your busy day with me!
To ensure you don’t miss future content, pop your email in the pale green box on the right or click here. I usually send one email weekly, so I won’t inundate your inbox. I’m sensitive to an overflowing email inbox!
We will only use your email address to send you emails, no more than 1-2 weekly. In addition, you will have access to my growing library of knit & crochet patterns and other printables. Check back often as this library will continue to grow. You can unsubscribe anytime by emailing me or clicking on the “unsubscribe” link at the bottom of all emails.
And you can access many of the products I refer to on my Nourish and Nestle Amazon Page. You can access it here.
So, if you’d like to participate in the ‘subscriber benefit’ action, simply subscribe to Nourish and Nestle here or use the form on the right sidebar. It’s slightly towards the top.
I have sent all my subscribers the link to the Subscriber Benefits Library. If you missed it or misplaced it, let me know.
Until next time…