Magic Loop Knit Tutorial

This Magic Loop Knit Tutorial contains written, step-by-step pictures and a video to fully explain this knitting technique.
Whether you’re a novice knitter just starting or an experienced artist looking to hone your skills further, the Magic Loop Technique is worth learning and mastering. It is another way to knit in the round, but specifically for small circumference projects like gloves, socks, baby hats, sleeves, etc.
The Magic Loop technique has several advantages. It removes the worry of losing or juggling multiple double-pointed needles, especially on the go. It’s perfect for small-circumference knitting and allows you to try on items like socks or gloves as you knit them. It also permits you to work on two items at once (two socks, two mittens, etc.), ensuring they are of the same size and tension.
Lastly, many knitters find it more comfortable and rhythmic once they master the method. All that said, it is a personal preference. If you have mastered Double-Pointed Needles for your small circumference projects, then stick with them. The Magic Loop technique is just another option.
This post shows how to use Double-Pointed Needles, and this post discusses knitting in the round with Circular Needles.
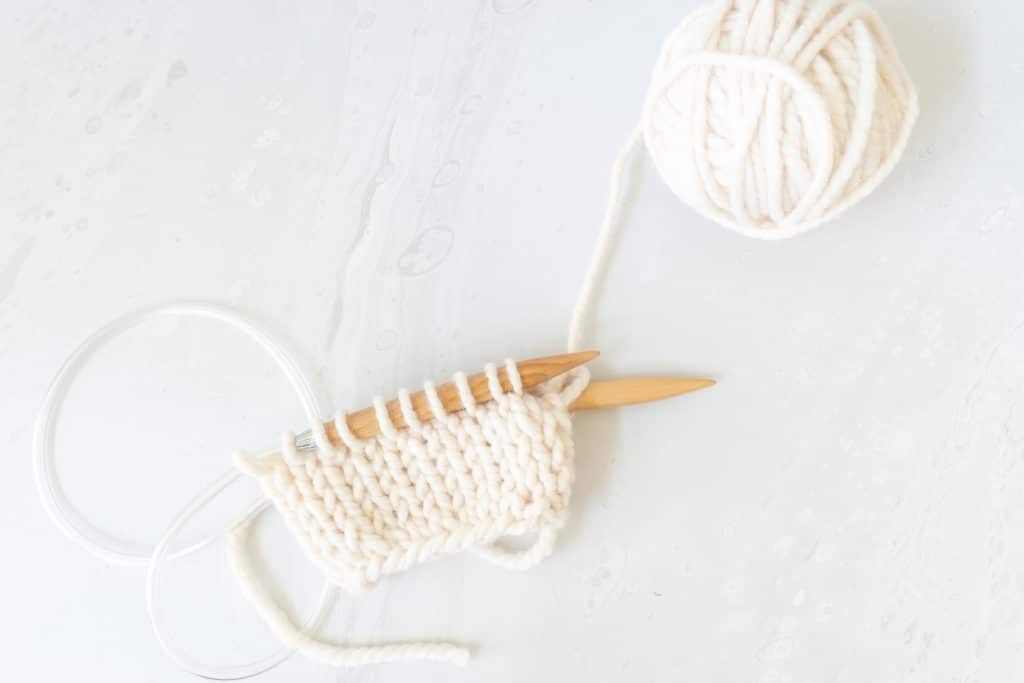
Table of Contents
what is the Magic Loop technique?
The Magic Loop Technique, a brainchild of Sarah Hauschka and Bev Galeskas, is a way to knit in the round that uses a single long circular needle. This technique eliminates the need for double-pointed needles (DPNs), smaller circular needles, or two circulars to knit small circumferences like socks, sleeves, or the top of a hat.
While its name might imply wizardry, the Magic Loop Technique, in fact, is quite straightforward. It involves pulling a loop of cable out from the knitting stitches, dividing them into two halves, and thereby allowing you to work around in a continuous spiral.
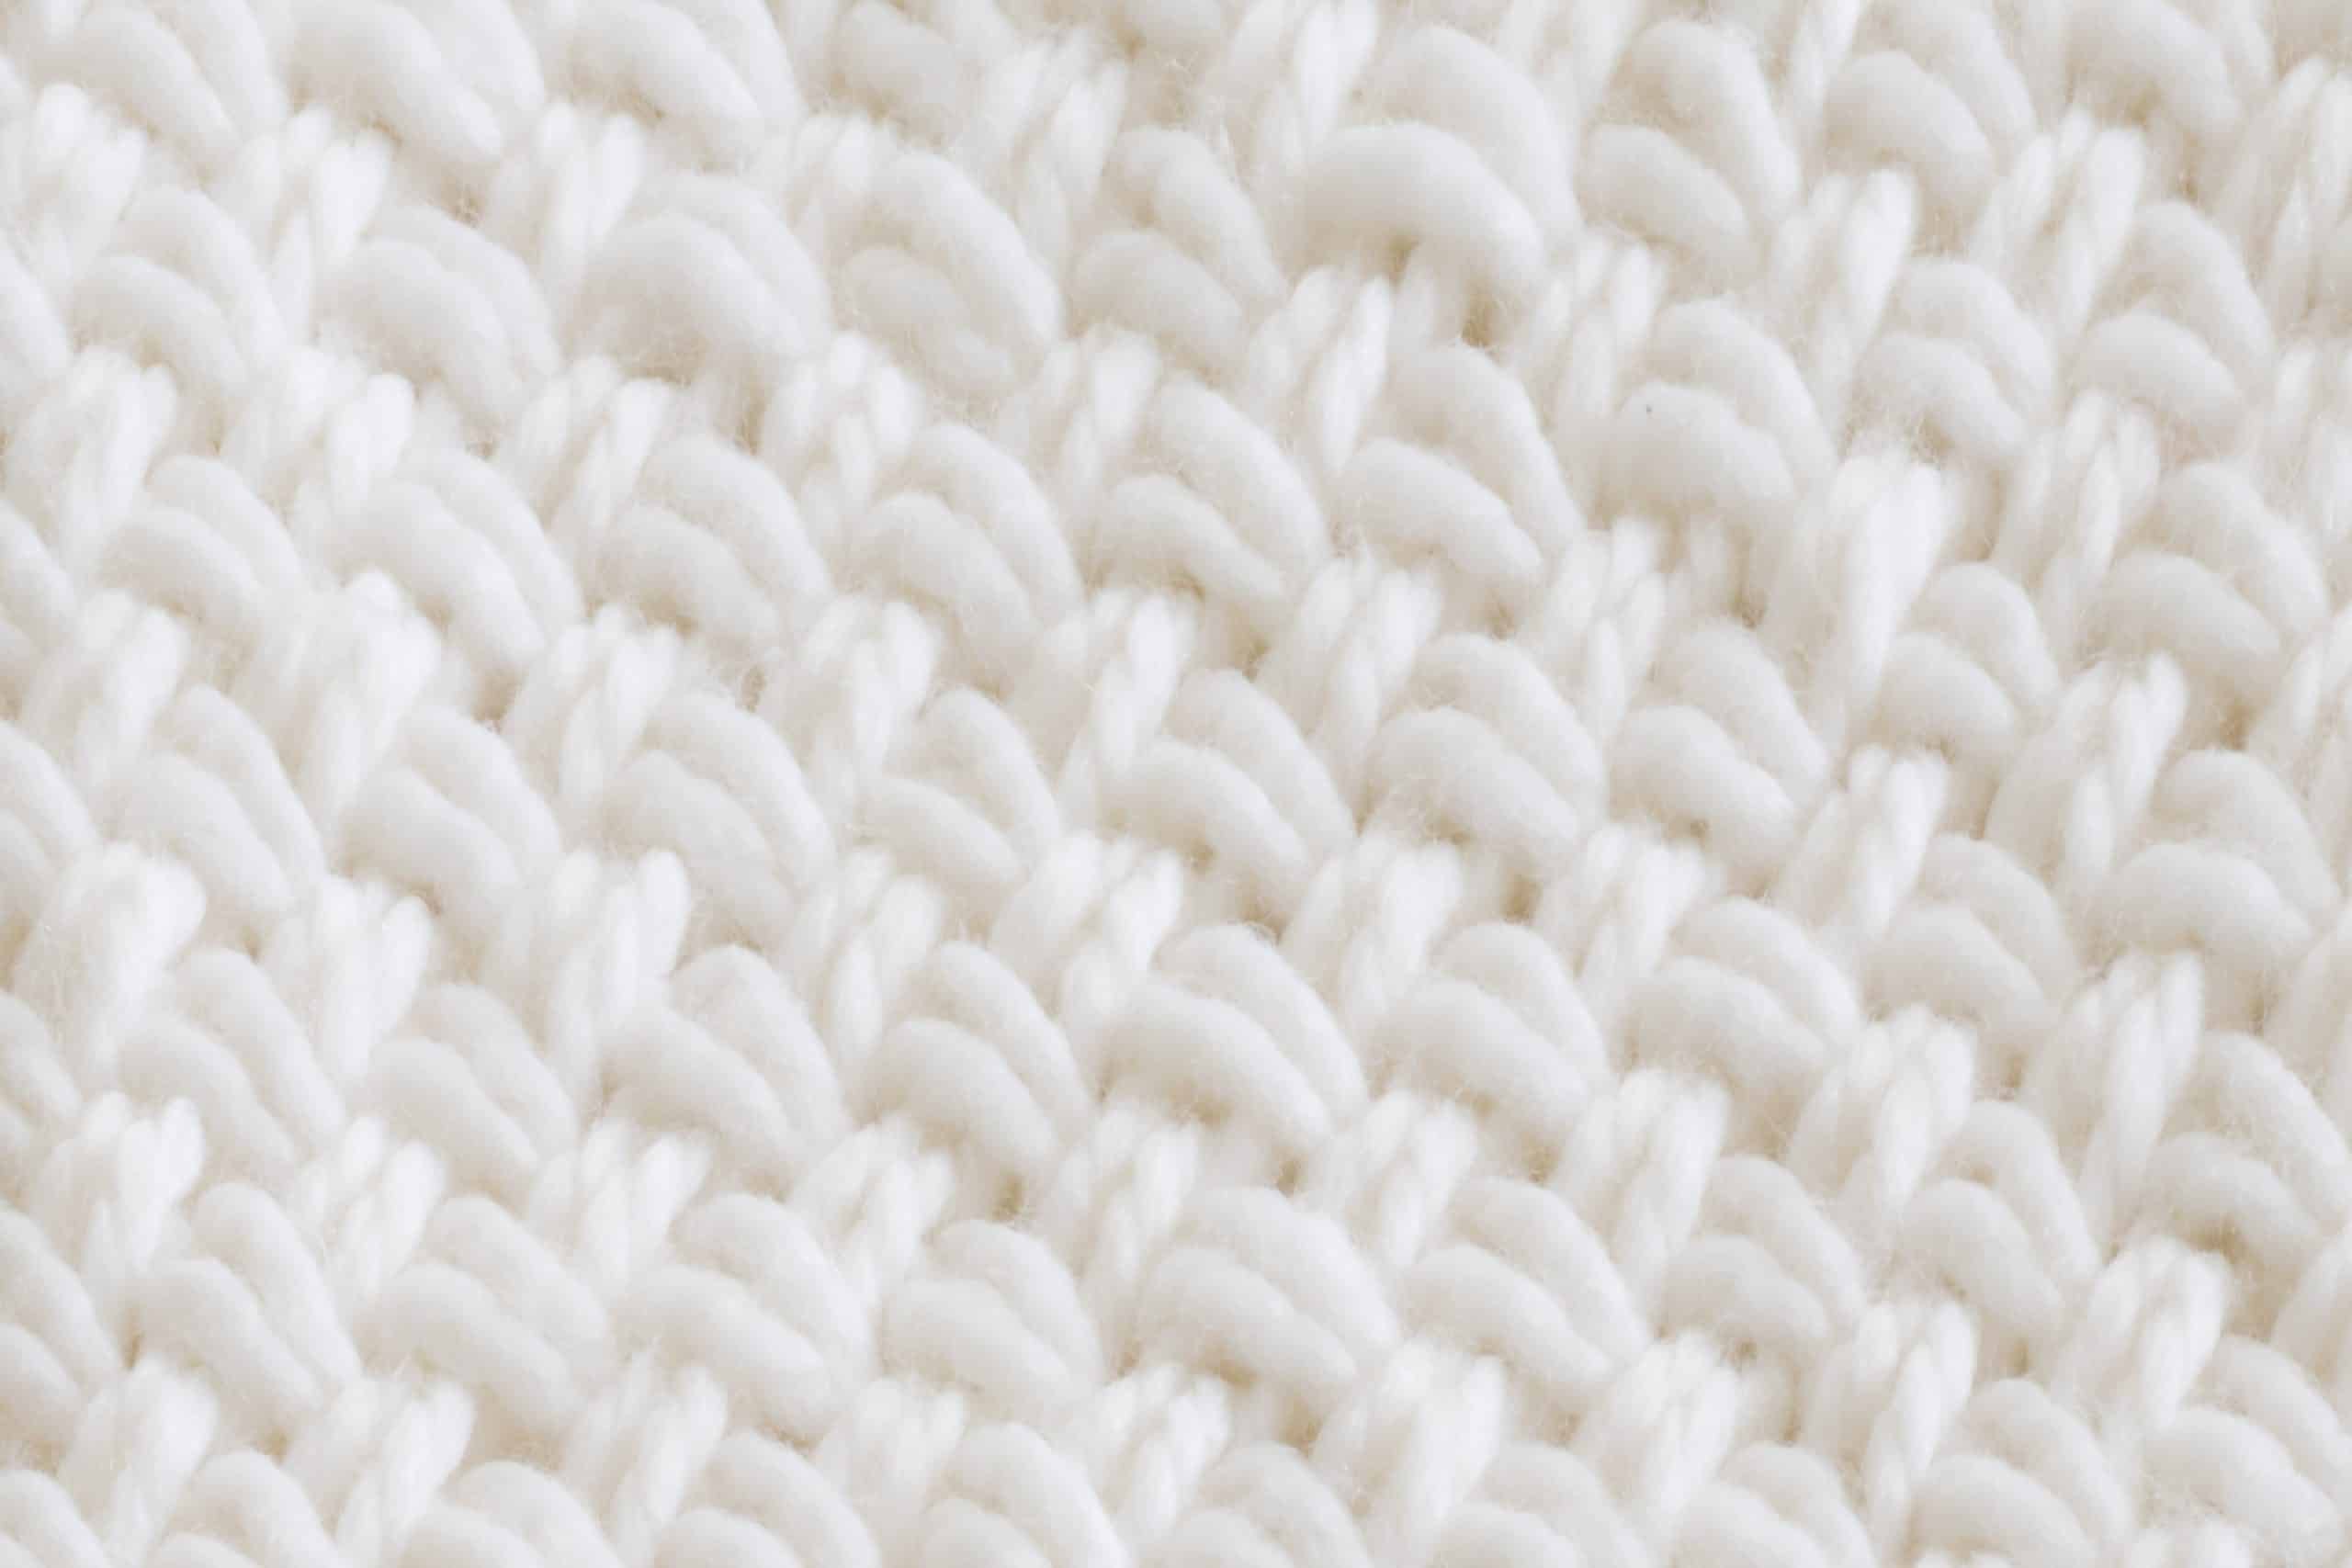
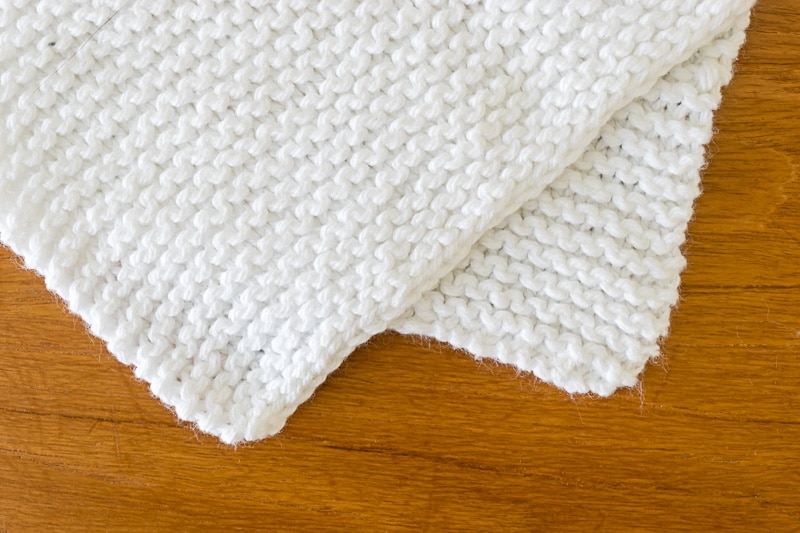
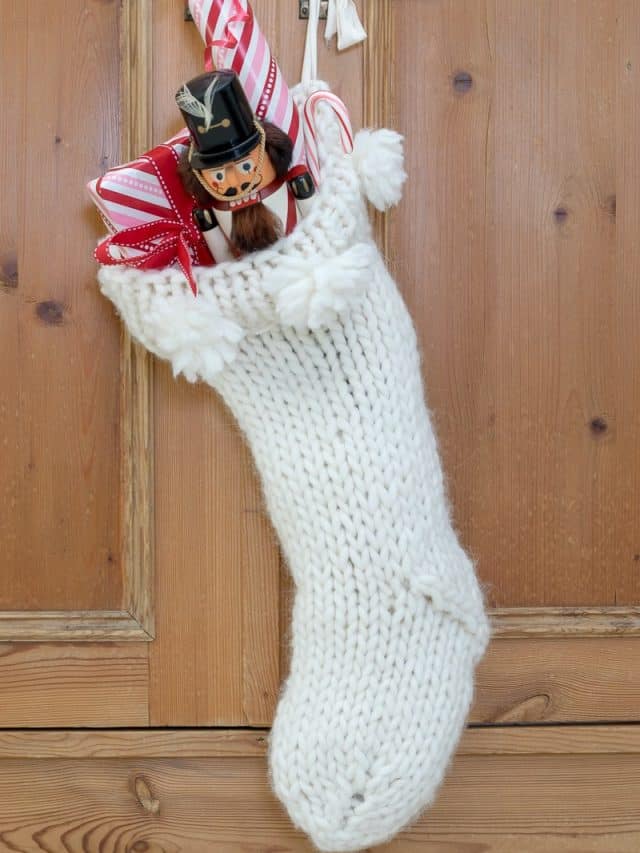
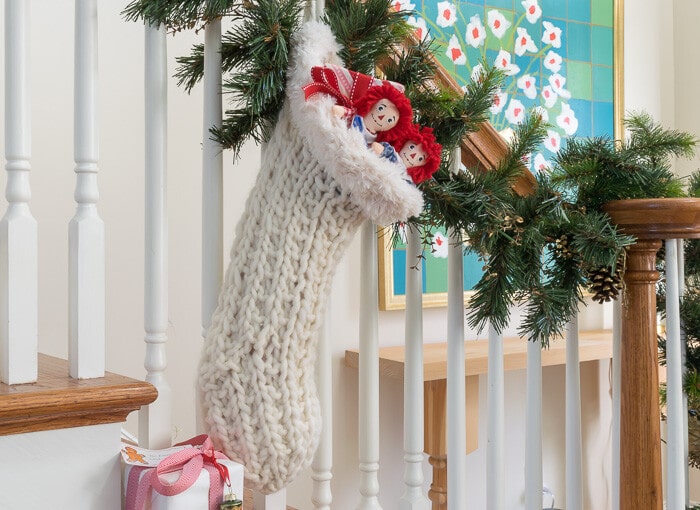
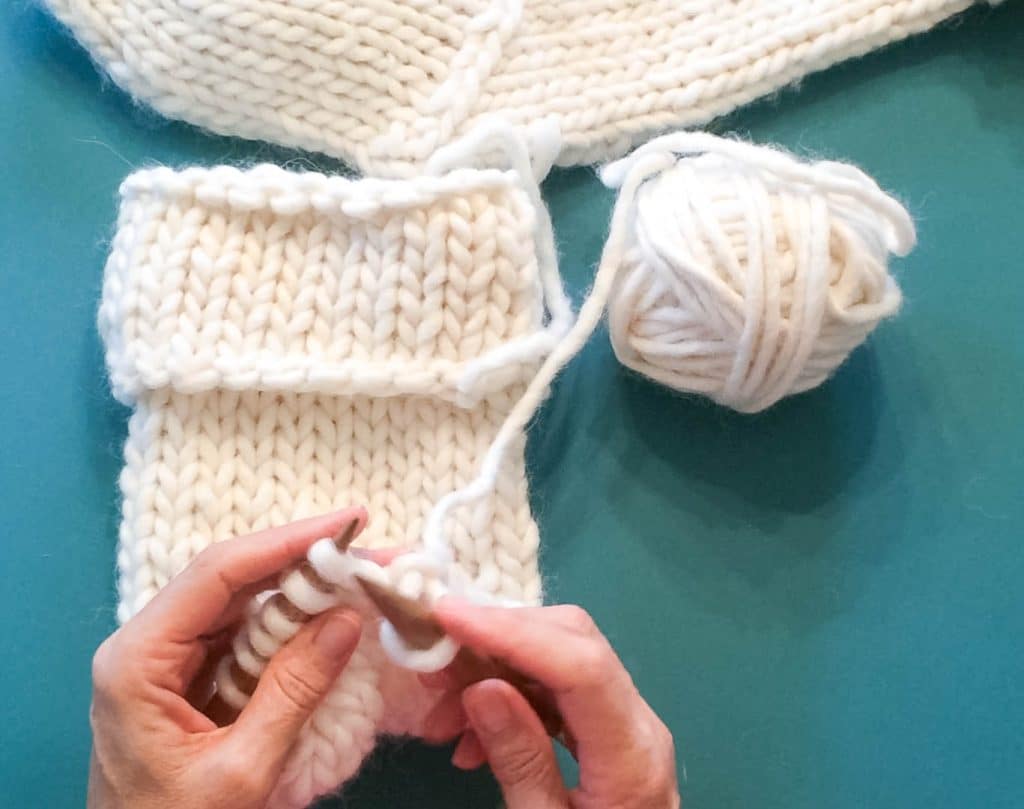
I use the Magic Loop when I knit my Christmas Stockings. Nab the free patterns for the Chunky Knit Christmas Stocking (shown on the left) or this Broken Rib Stocking (shown on the right).
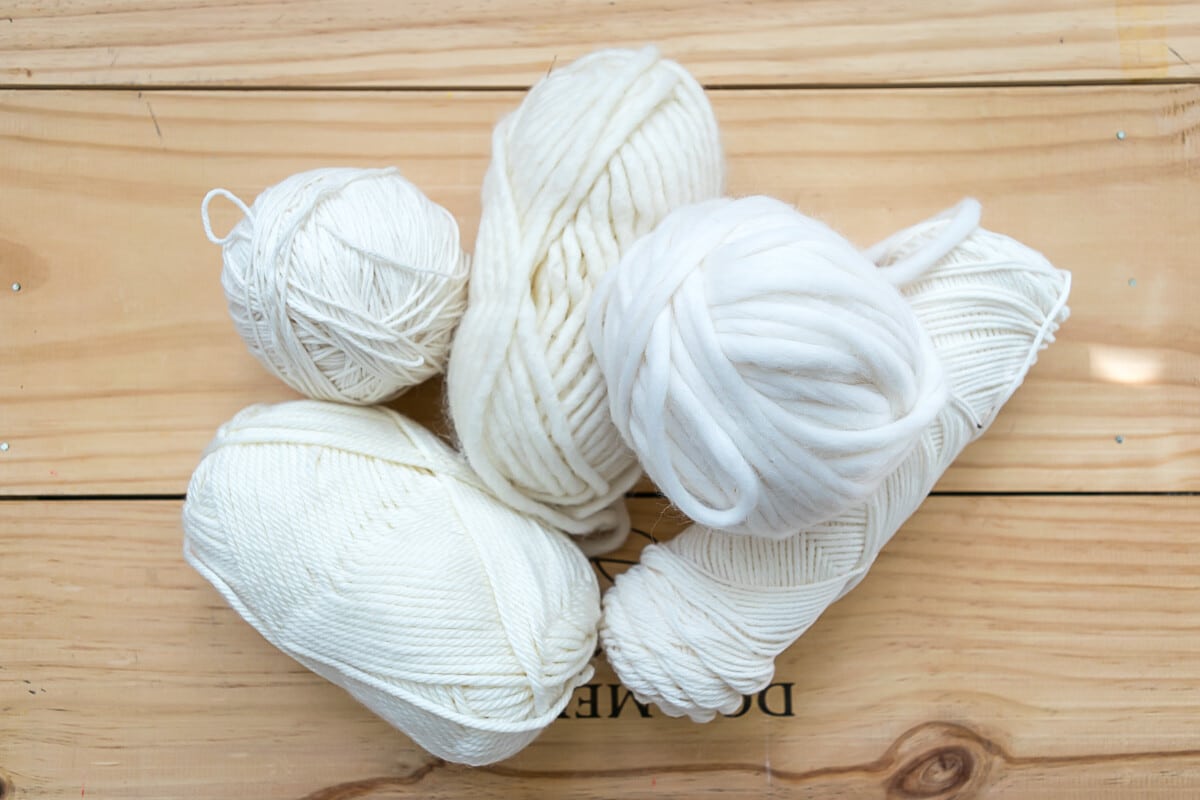
what you need
To successfully knit using the Magic Loop Technique, all that is required is a circular needle with a flexible cable that is long enough to accommodate the stitches. The needle’s length often depends on the size of the project; however, a 32″ or 40″ circular needle usually works best for most projects.
The type of cable is also critical. You should opt for a circular needle with a flexible, soft, and thin cable, as a stiff cable could impede the loop and make knitting challenging.
As a refresher, circular needles are measured from tip to tip. For this example, I’m using a US Size 17 (12.75mm), 40″ circular needle. (If you watch the video, I said it was 38″, but after I made the video, I measured it more accurately…shhhh…that’s our little secret!) The solid needle part of my 40″ circular measure 5.5″ each, so that cord is really only 29.”
For a more in-depth dive into knitting needles, pop on over to this post on Knitting Needle Sizes and Materials.

when you might want to use the Magic Loop
- Small Circumference Knitting: The Magic Loop technique shines when you’re working on projects with small circumferences, such as socks, mittens, gloves, or the tops of hats. It eliminates the need for double-pointed needles, which can be tricky to manage, especially for beginners.
- Projects Requiring Frequent Fitting: The Magic Loop method is extremely convenient if you’re knitting a piece like a glove or a sock that may require regular fitting. You can simply slide your work onto the cord/cable and try it on without worrying about dropping stitches.
- Two-at-a-Time Knitting: The Magic Loop method is fantastic for knitting two identical pieces at once, such as socks or sleeves. This ensures that both items are the same length and have the same tension.
- Avoiding Seams: For projects where you want to avoid a visible seam, like cowls or infinity scarves, the Magic Loop technique is perfect since it allows you to knit in the round seamlessly.
- Knitting On-the-Go: Magic Loop is a popular choice for knitters who like to take their work on the go. Since you’re only using one needle, there’s less risk of losing a needle, and it’s easier to pick up your work and put it down.
how to knit using the Magic Loop method
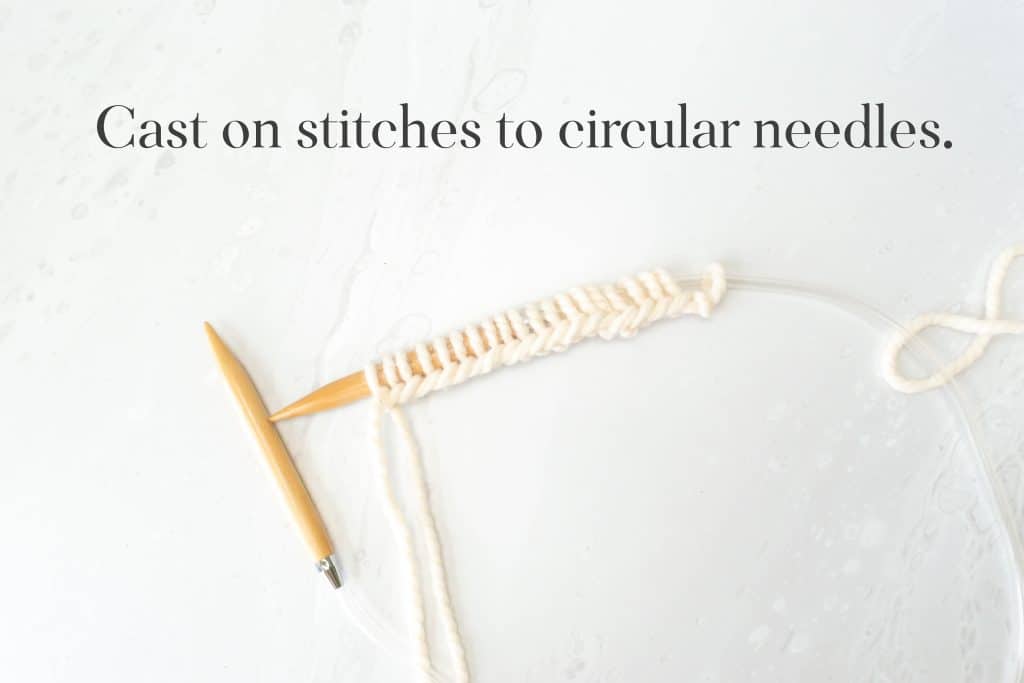
the set up
- Cast on the required number of stitches for your project onto the circular needle.
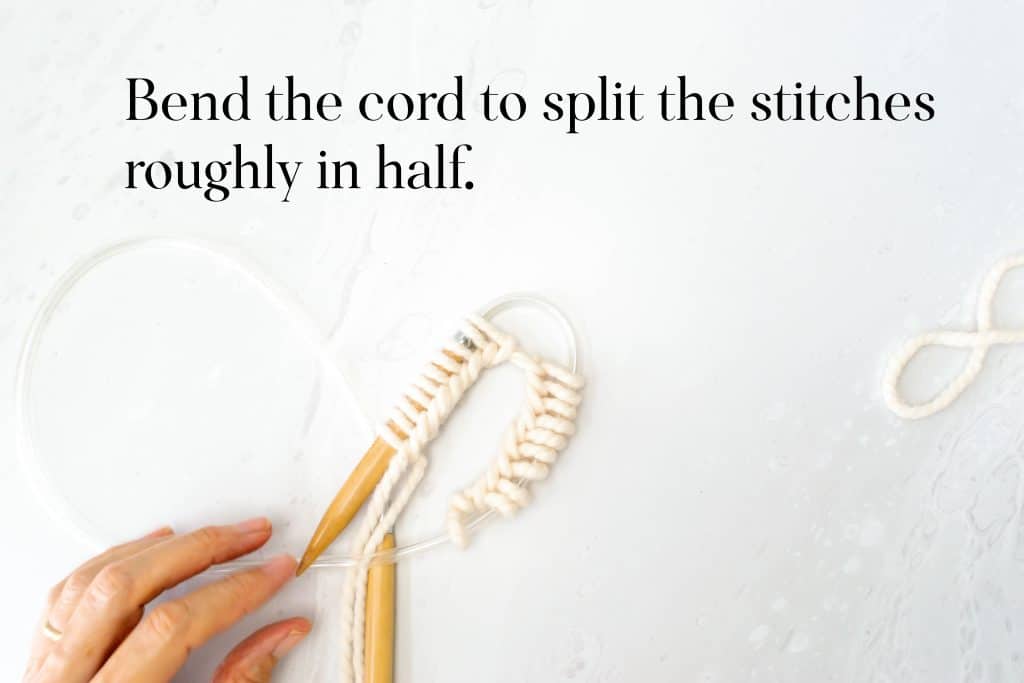
- Fold the flexible cord of your needles and divide the stitches by approximately half (or however many are instructed by your pattern), placing half on each side of the fold.
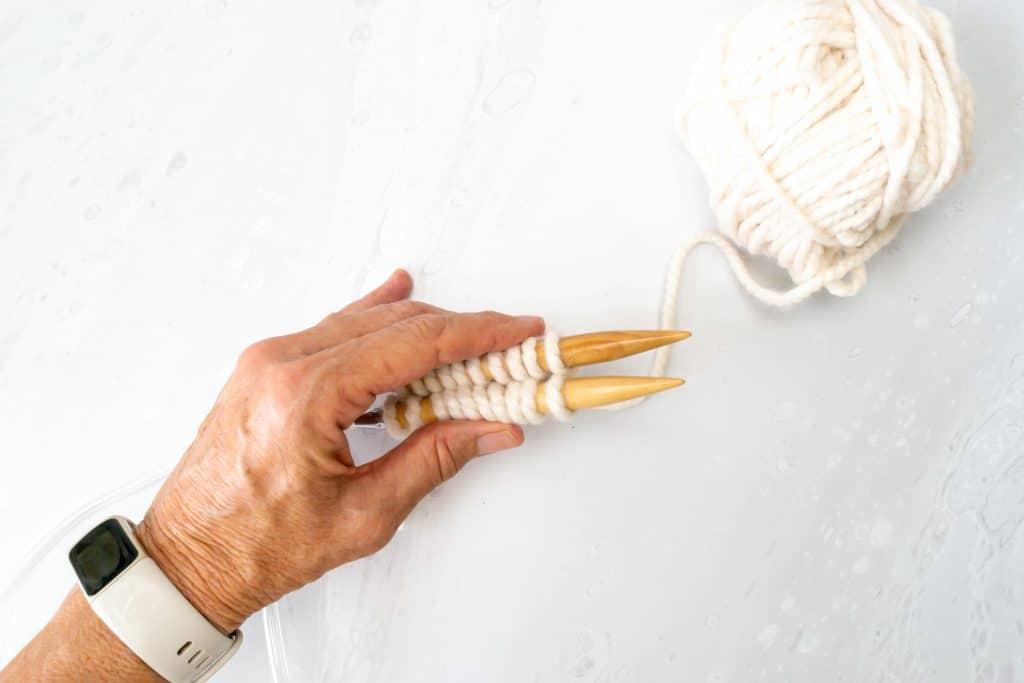
- Slide the stitches to each solid needle, ensuring the cast-on edge is aligned and not twisted.
- Turn your needles so the pointed ends are both facing to the right. The working yarn should be in the back.

joining the ends to make a loop
There are several methods of joining your work in the round. This is the way I do it.
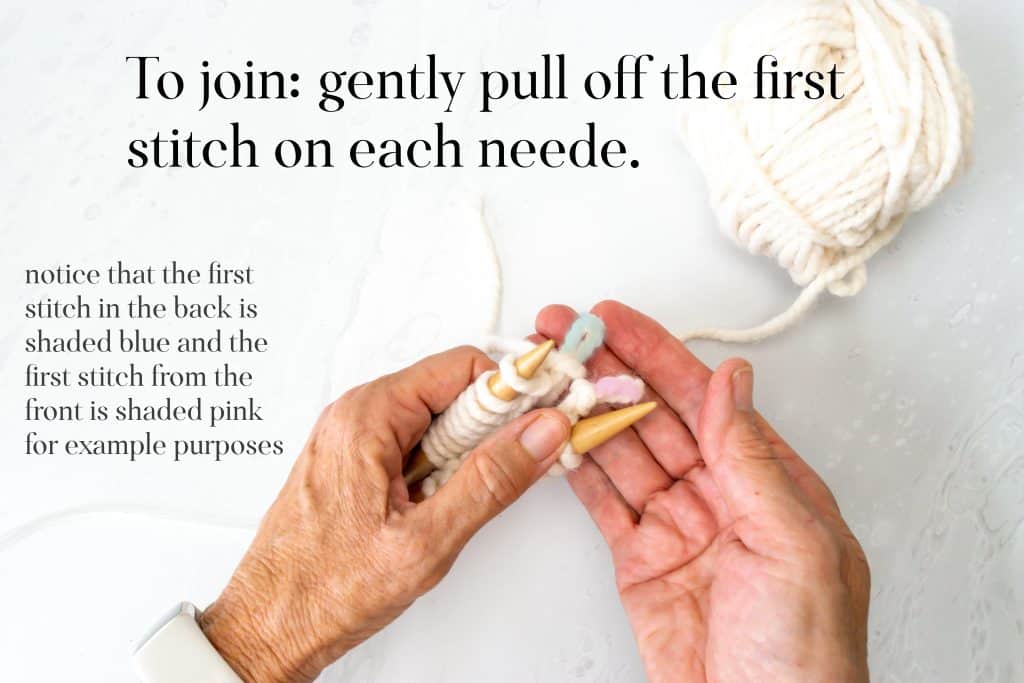
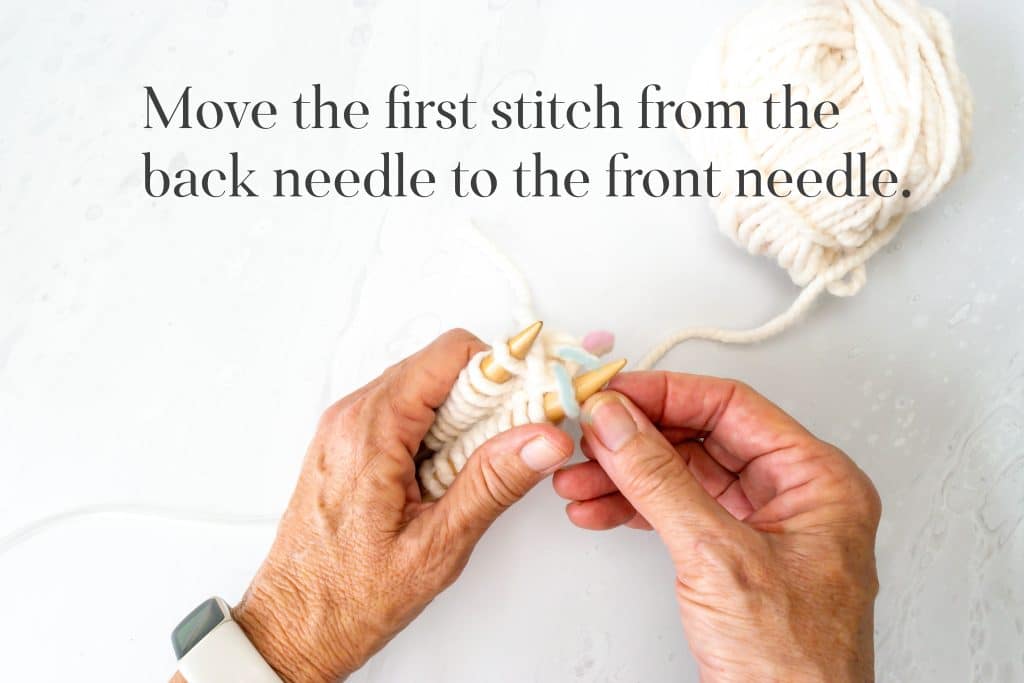
- Gently pull off the first stitch on each needle. Keep them intact; just remove them from the needles. In the images below, I’ve colored the first stitch on the back needle blue and the first on the front needle pink.
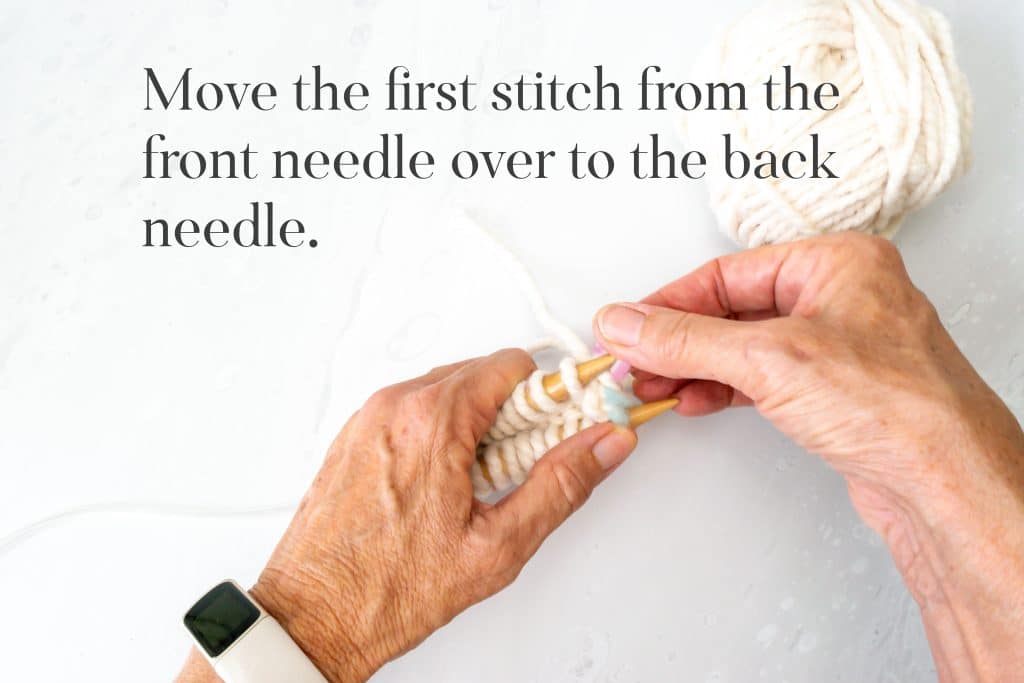
- Move the first stitch from the back needle to the front needle and then the first stitch on the front needle over to the back needle.
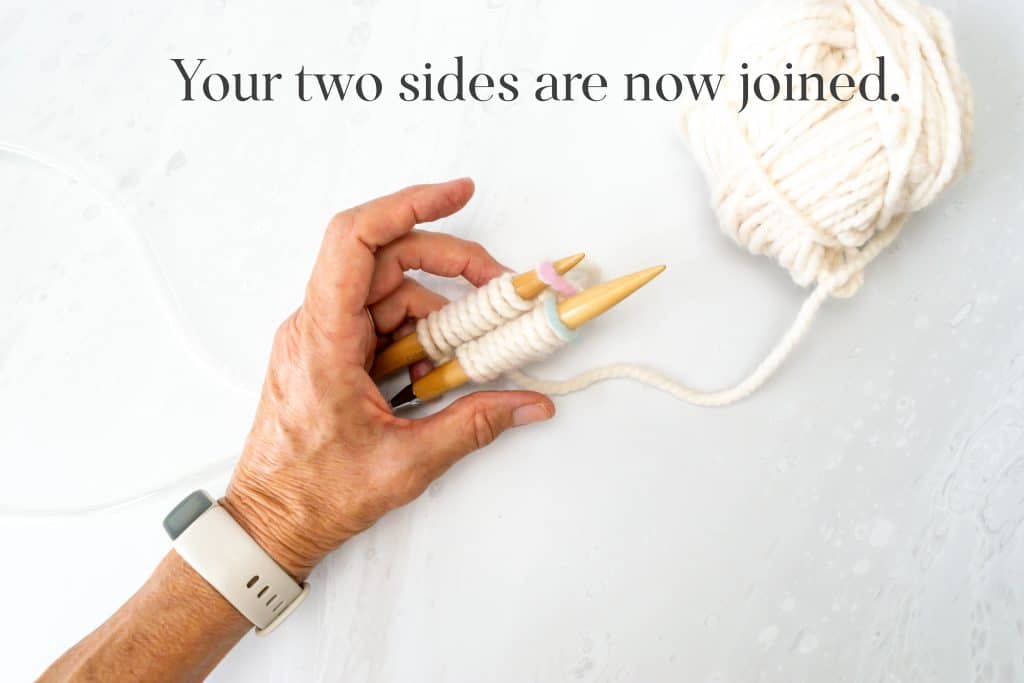
- Your work is now joined, and you are ready to start knitting the Magic Loop!
knitting using the Magic Loop
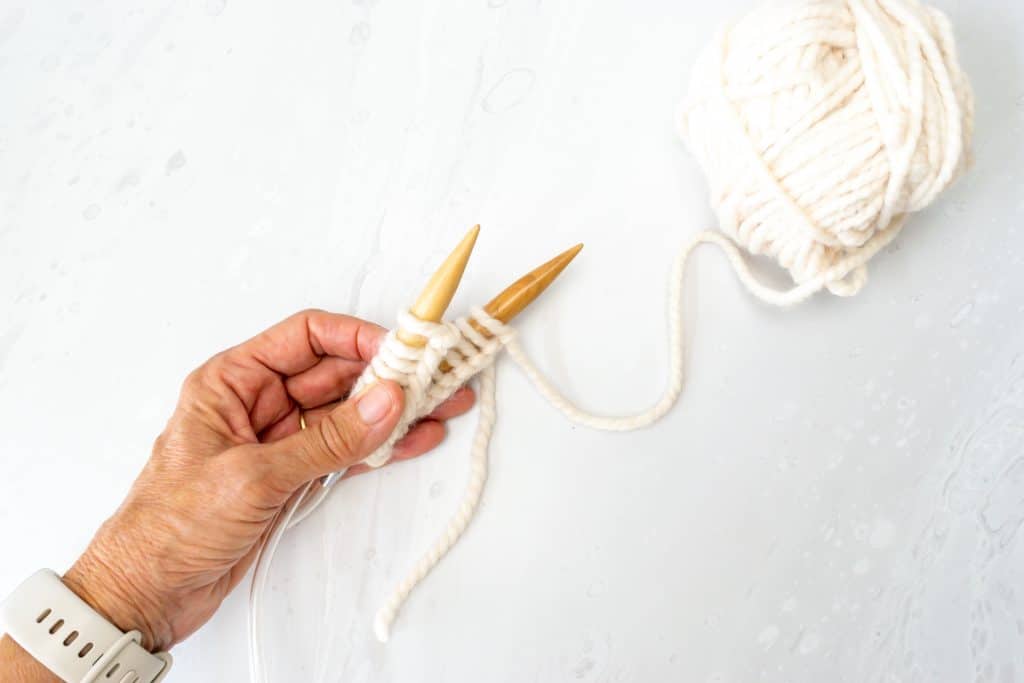
- Hold your needles such that the needle with the working yarn (from the ball) is at the back and the needlepoint is on the right. The front needle is the one you’ll knit onto.
- Slide the stitches on the back needle off of the needle and onto the cord. This frees up the solid part of the back needle and makes it flexible enough to maneuver and knit.
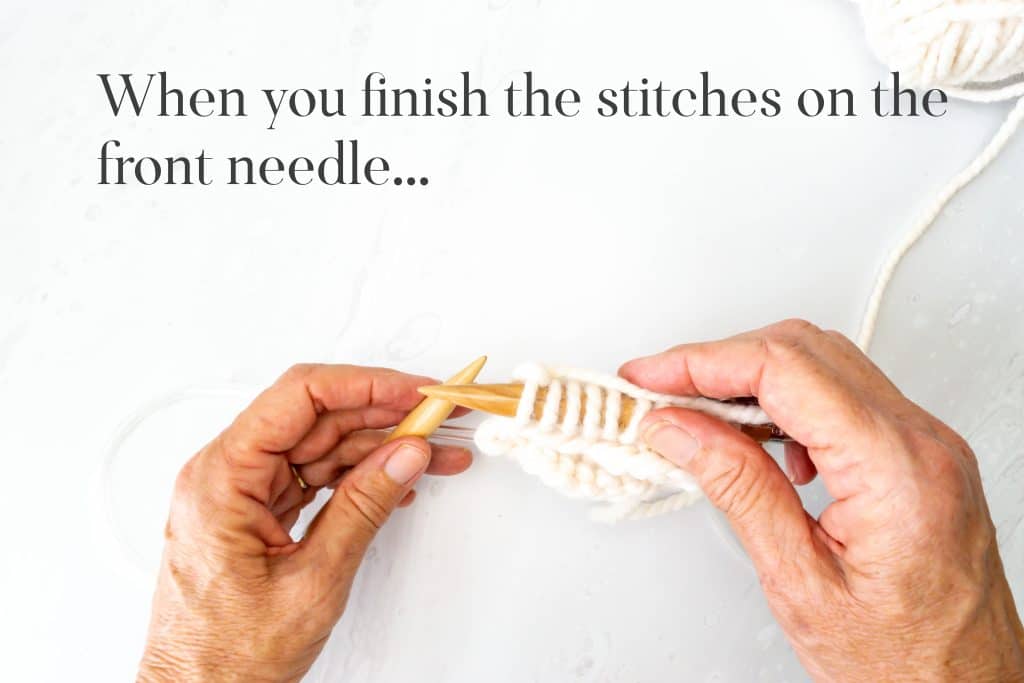
- Using the back needle, knit all the stitches on the front needle.
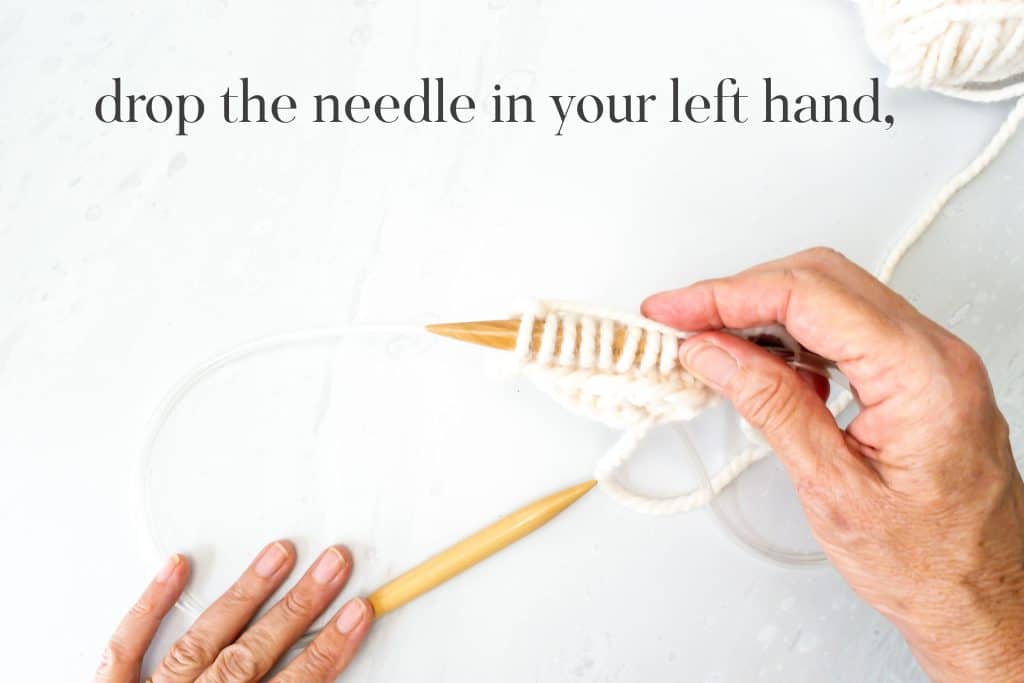
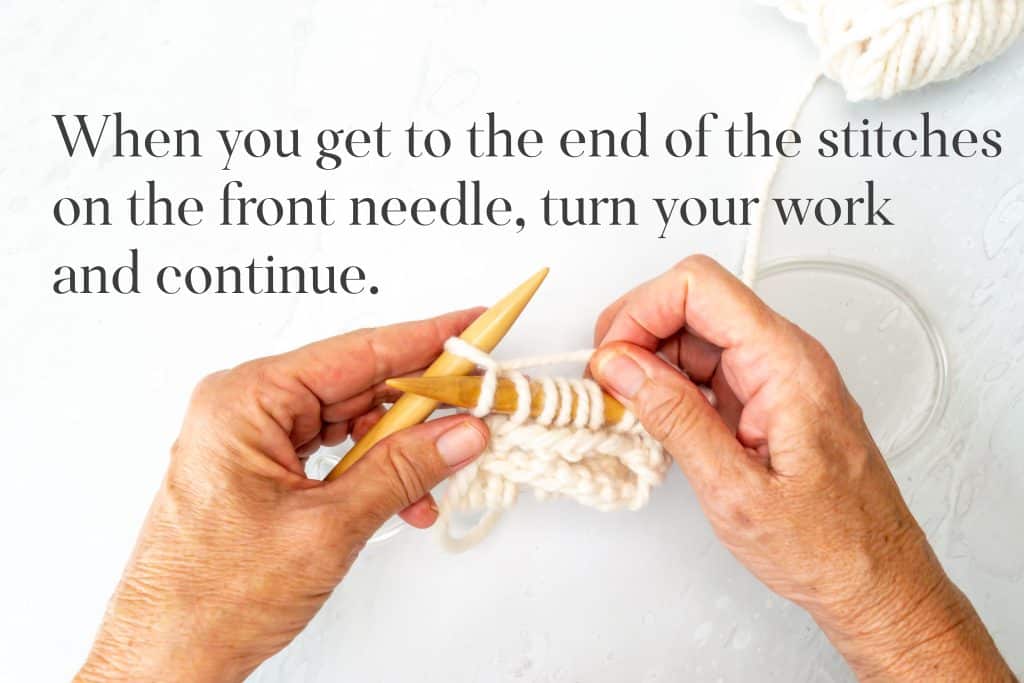
- After you’ve knit the stitches on the front needle, you will have an empty needle in your left hand and the newly knit stitches on your right needle.
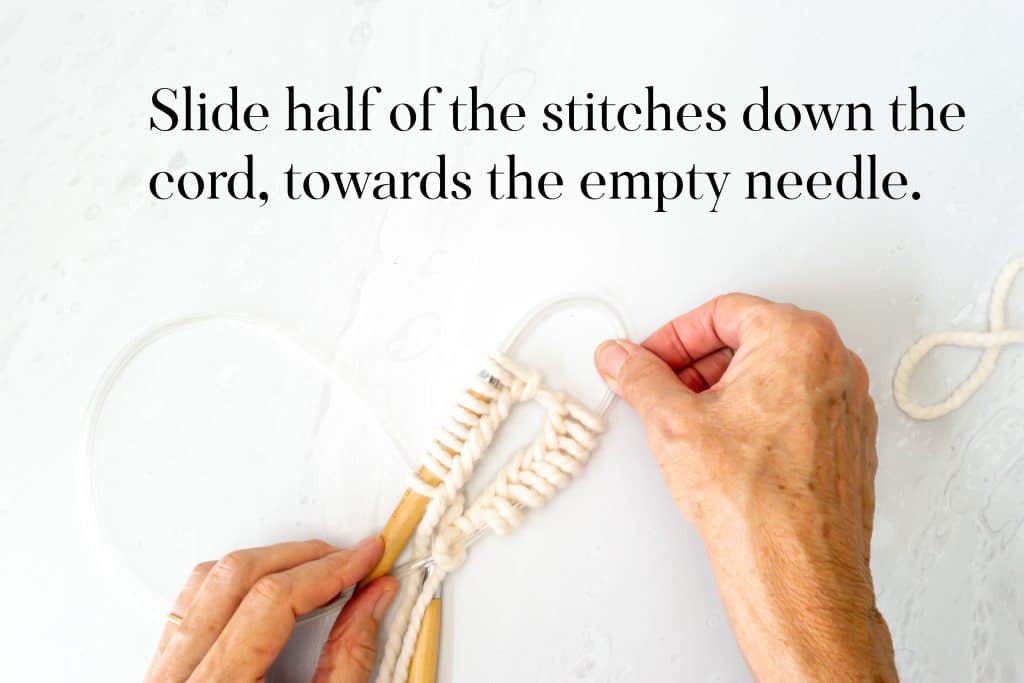
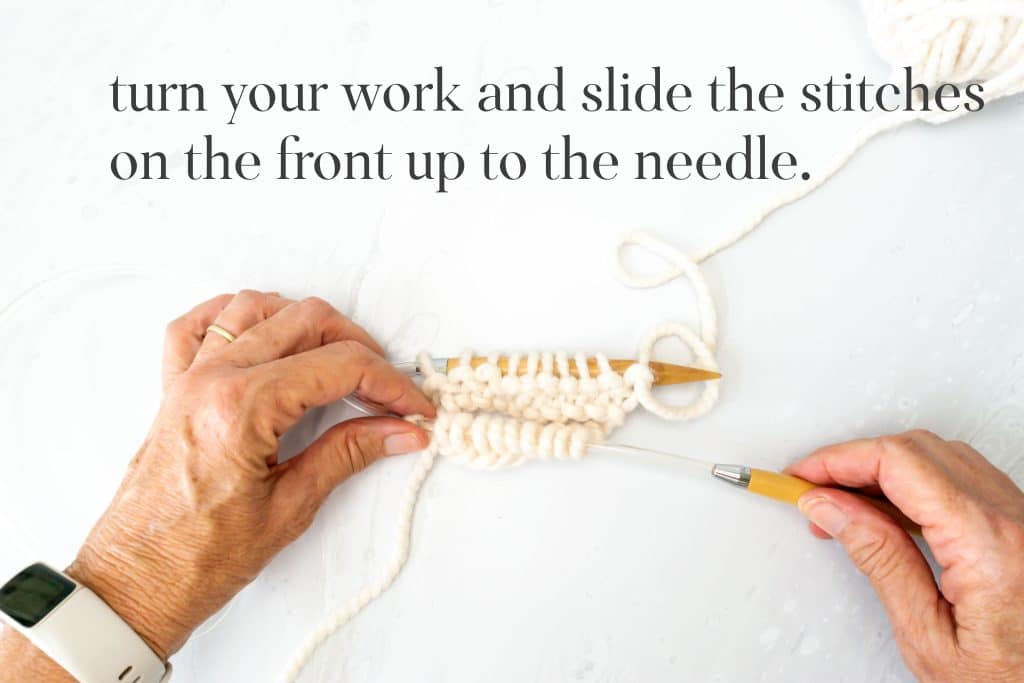
- Rotate your work, putting the needle with the working yarn at the back, with the needle points facing to the right. Slide the stitches that are on the cord up onto the front needle. You should have half of the stitches on the back needle and half on the front again.
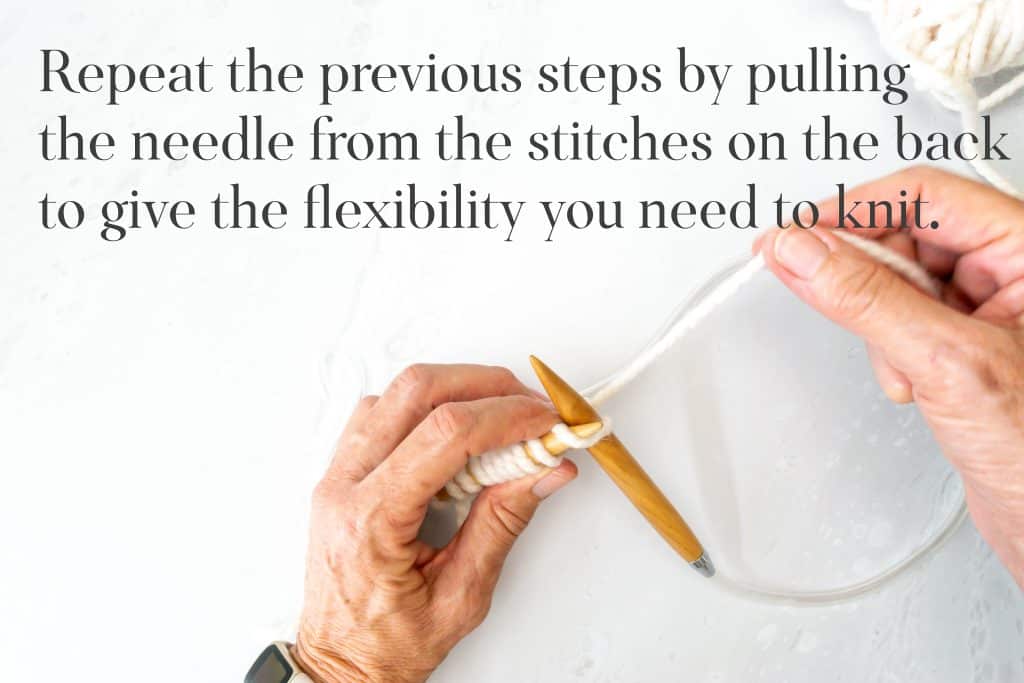
- You are back to where you started. Repeat sliding the stitches off the back needle, onto the cord and using the back needle to knit the stitches on the front needle. This is the Magic Loop.
- You’ll continue to work this way as long as your pattern suggests.


tips for success
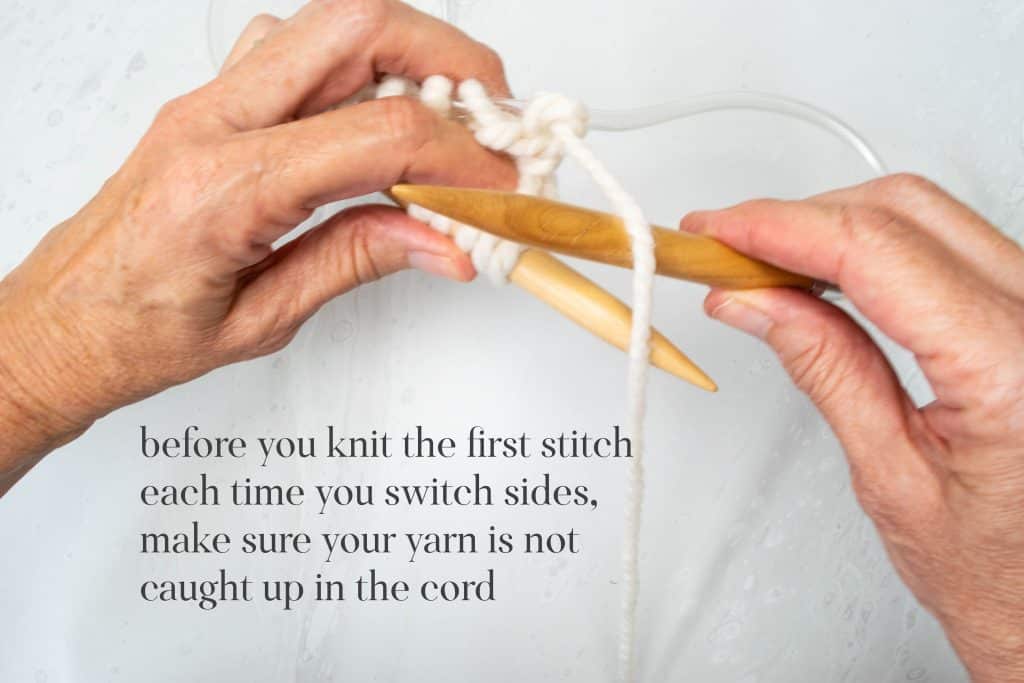
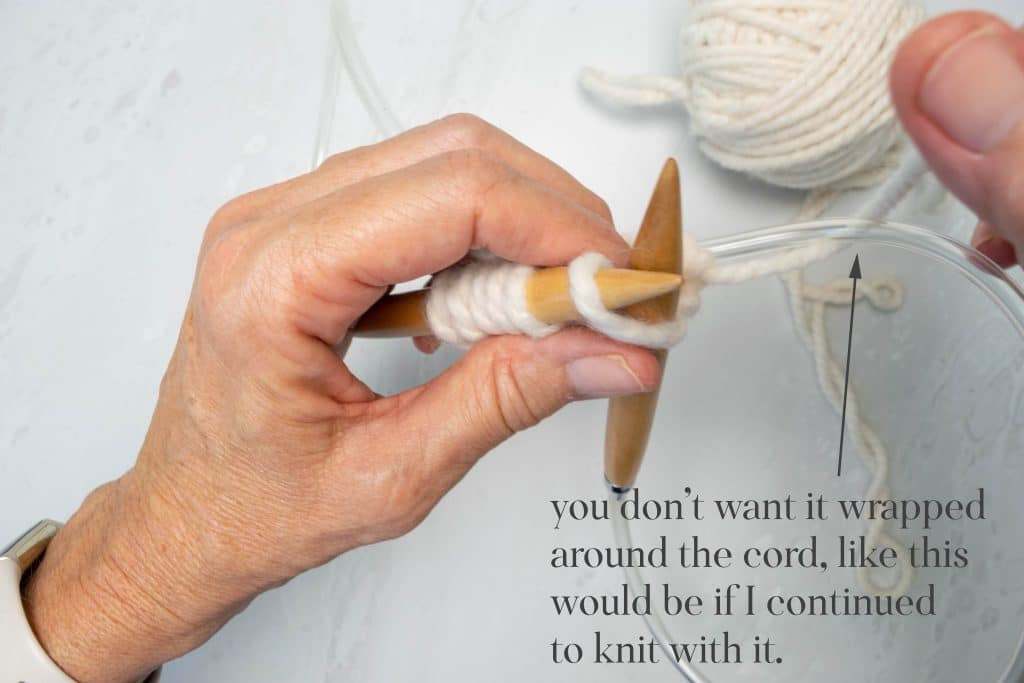
- Ensure that your working yarn does not come up from under the cord.
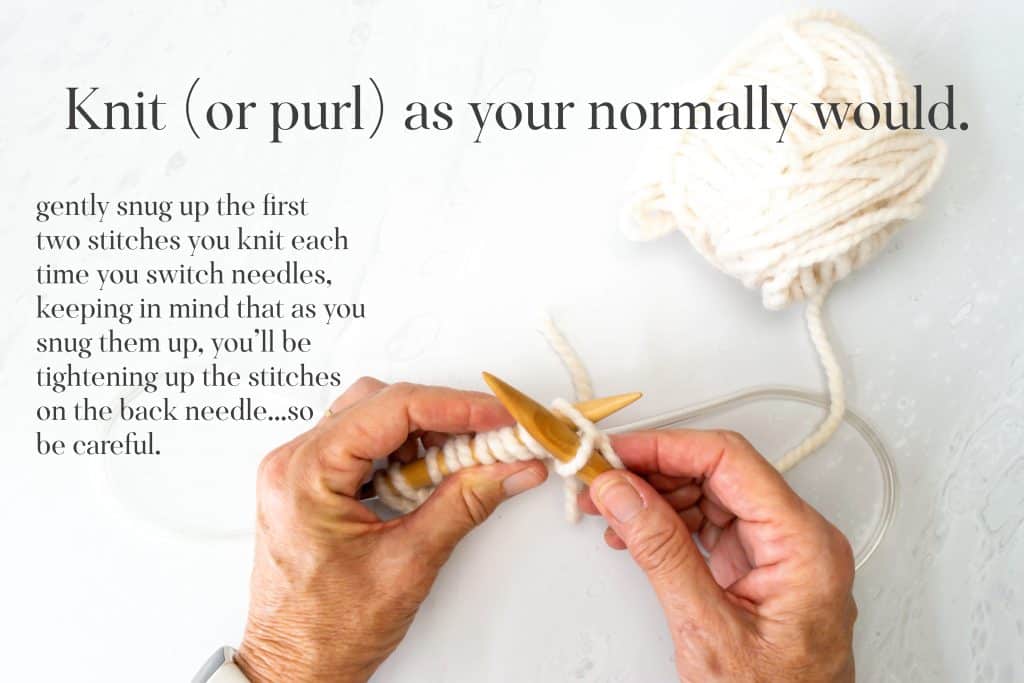
- Snug up the first and second stitch each time you switch needles. Do it gently, keeping in mind that as you pull the yarn to snug those stitches, you are tightening up the stitches in the back.
a few common questions about Magic Loop Knitting
- What is the Magic Loop technique in knitting? Magic Loop is a technique for knitting in the round that uses a single long circular needle. It’s especially useful for small-circumference knitting, like socks, sleeves, or the top of a hat.
- What length of circular needle should I use for Magic Loop? A 32″ or 40″ (80 or 100 cm) circular needle is commonly used for most Magic Loop projects. The length you need can depend on the size of your project and your personal comfort.
- Can I use the Magic Loop method for any pattern that calls for knitting in the round? Yes, you can use the Magic Loop method for any pattern that requires knitting in the round. It’s especially useful when the number of stitches is too small to fit comfortably on a standard circular needle.
- Can I knit two items at once using the Magic Loop method? Absolutely. The Magic Loop method is excellent for knitting two items at once, such as socks or mittens. This ensures both items are identical in size and tension.
- How do I avoid a ladder or loose stitches at the join in Magic Loop knitting? A common issue in Magic Loop knitting is laddering, which is when loose stitches form a ladder-like gap at the join. This can be minimized by pulling the working yarn a bit tighter when knitting the first and second stitch on each needle Bear in mind you will be pulling from the back stitches, so be gentle. It also helps to move the ‘join’ around occasionally by starting the new needle a few stitches before the last one ends.
- Is Magic Loop easier than using double-pointed needles (DPNs)? This is a matter of personal preference. Some knitters find Magic Loop easier and more convenient, especially for travel, as there’s less risk of losing a needle. However, others prefer the traditional feel of DPNs. If you’re new to knitting in the round, it’s worth trying both methods to see which you prefer.
- What do I do if my circular needle’s cable is too stiff for Magic Loop? If your cable is too stiff, it can be softened by dipping it in hot (not boiling) water for a few minutes until it becomes pliable, then straightening it out and allowing it to cool.
Here’s a video to further illustrate the Magic Loop Knit Technique.

please don’t hesitate to pop in with any questions about the Magic Loop technique! I’m here for that!
Bookmark this page or pin the following image to return to this Magic Loop Knit Tutorial in the future.
Thanks so much for spending a few minutes of your busy day with me!
To ensure you don’t miss future content, pop your email in the pale green box on the right or click here. I usually send one email weekly, so I won’t inundate your inbox. I’m sensitive to an overflowing email inbox!
We will only use your email address to send you emails, no more than 1-2 weekly. In addition, you will have access to my growing library of knit & crochet patterns and other printables. Check back often as this library will continue to grow. You can unsubscribe anytime by emailing me or clicking on the “unsubscribe” link at the bottom of all emails.
And you can access many of the products I refer to on my Nourish and Nestle Amazon Page. You can access it here.
So, if you’d like to participate in the ‘subscriber benefit’ action, simply subscribe to Nourish and Nestle here or use the form on the right sidebar. It’s slightly towards the top.
I have sent all my subscribers the link to the Subscriber Benefits Library. If you missed it or misplaced it, let me know.
Until next time…