
DIY Oyster Shell Lampshade
Well, I may be edging perilously close to ‘too much of good thing’…I don’t think I’m there quite yet, however I do probably need to take a hiatus from oyster shell projects. But, this oyster shell lampshade has been brewing in my head for over a year and I was driven to heed the call. I’ve always loved the look of shell lamp shades, so now that I have it out of my system, I can move on to other projects.
And in all honesty, I’ve only done 3 oyster shell projects over the past year…these oyster shell clusters, my oyster shell mirror and now this oyster shell lamp…that averages to one every 4 months…that’s not too bad.
Oh, and there was the wreath…but that only had a few oyster shells on it, so it really doesn’t count…right?
And I do live on the coast and oysters are abundant and…well, OK, enough rationalization. I’ll get on with my shell lampshade and be done with it.
But it does need to be said, I am REALLY tickled with this lampshade. Now, I know an oyster shell lamp shade may not be everyone’s cup of tea. Both of my men looked at it and said…”Hmmm…don’t you need some material under there somewhere?” and my son also said, “I mean, you can see the lightbulb.”
But my daughter and her friends loved it. So, guess it’s just a personal preference.
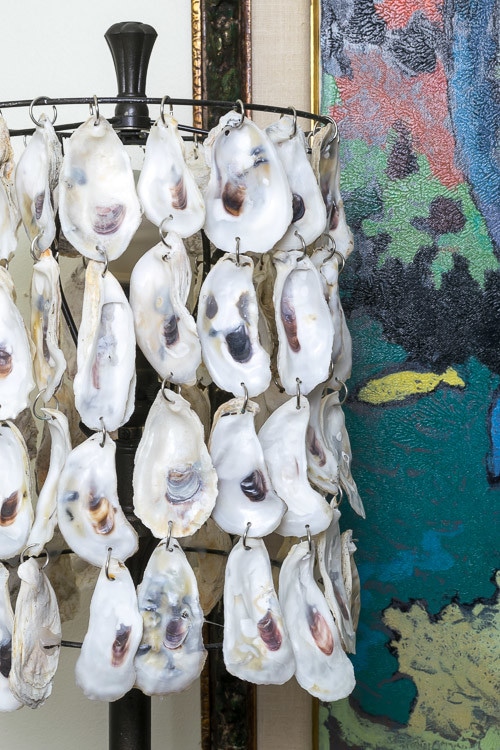
Table of Contents
And as much as I love this finished oyster shell lampshade, I think I enjoyed the process of figuring out how to make it maybe a skosh more. I am finding that I do love to noodle how to do things as much as the actual doing.
So here’s what I used to make my DIY Oyster Shell Lampshade:
Some of these are affiliate links and I will earn a small commission off of the sale of these products, but the price you are charged is not affected. You can see my full disclosure policy here.
- 84+ relatively flat oyster shells, cleaned ( I had 21 ‘strands’ with 4 shells each). You need a few extras to allow for the ones that will inevitably break while drilling the holes.
- Drill with a small drill bit
- 84- 10 mm jump rings (or as many Oysters as you are using)
- Lamp Shade (I found mine at the Habitat for Humanity ReStore for $5)- You want one with straight sides…nothing that flares or your strand of oysters won’t hang straight. Mine measures 9″ diameter by 12″ tall.
- Pair of Pliers to squeeze jumps rings closed
- If the top and bottom of your lampshade are separate, you need a couple of cords about the length you want your lampshade to be. I was extremely lucky and had 3 bungee cords that were 12″ and that worked perfectly!
- Hot glue gun
If you don’t have what you need, Michaels will have supplies for most every crafting need under the sun. You can order online here and have it shipped or you can pick it up at your convenience.
How I made my Oyster Shell Lampshade:
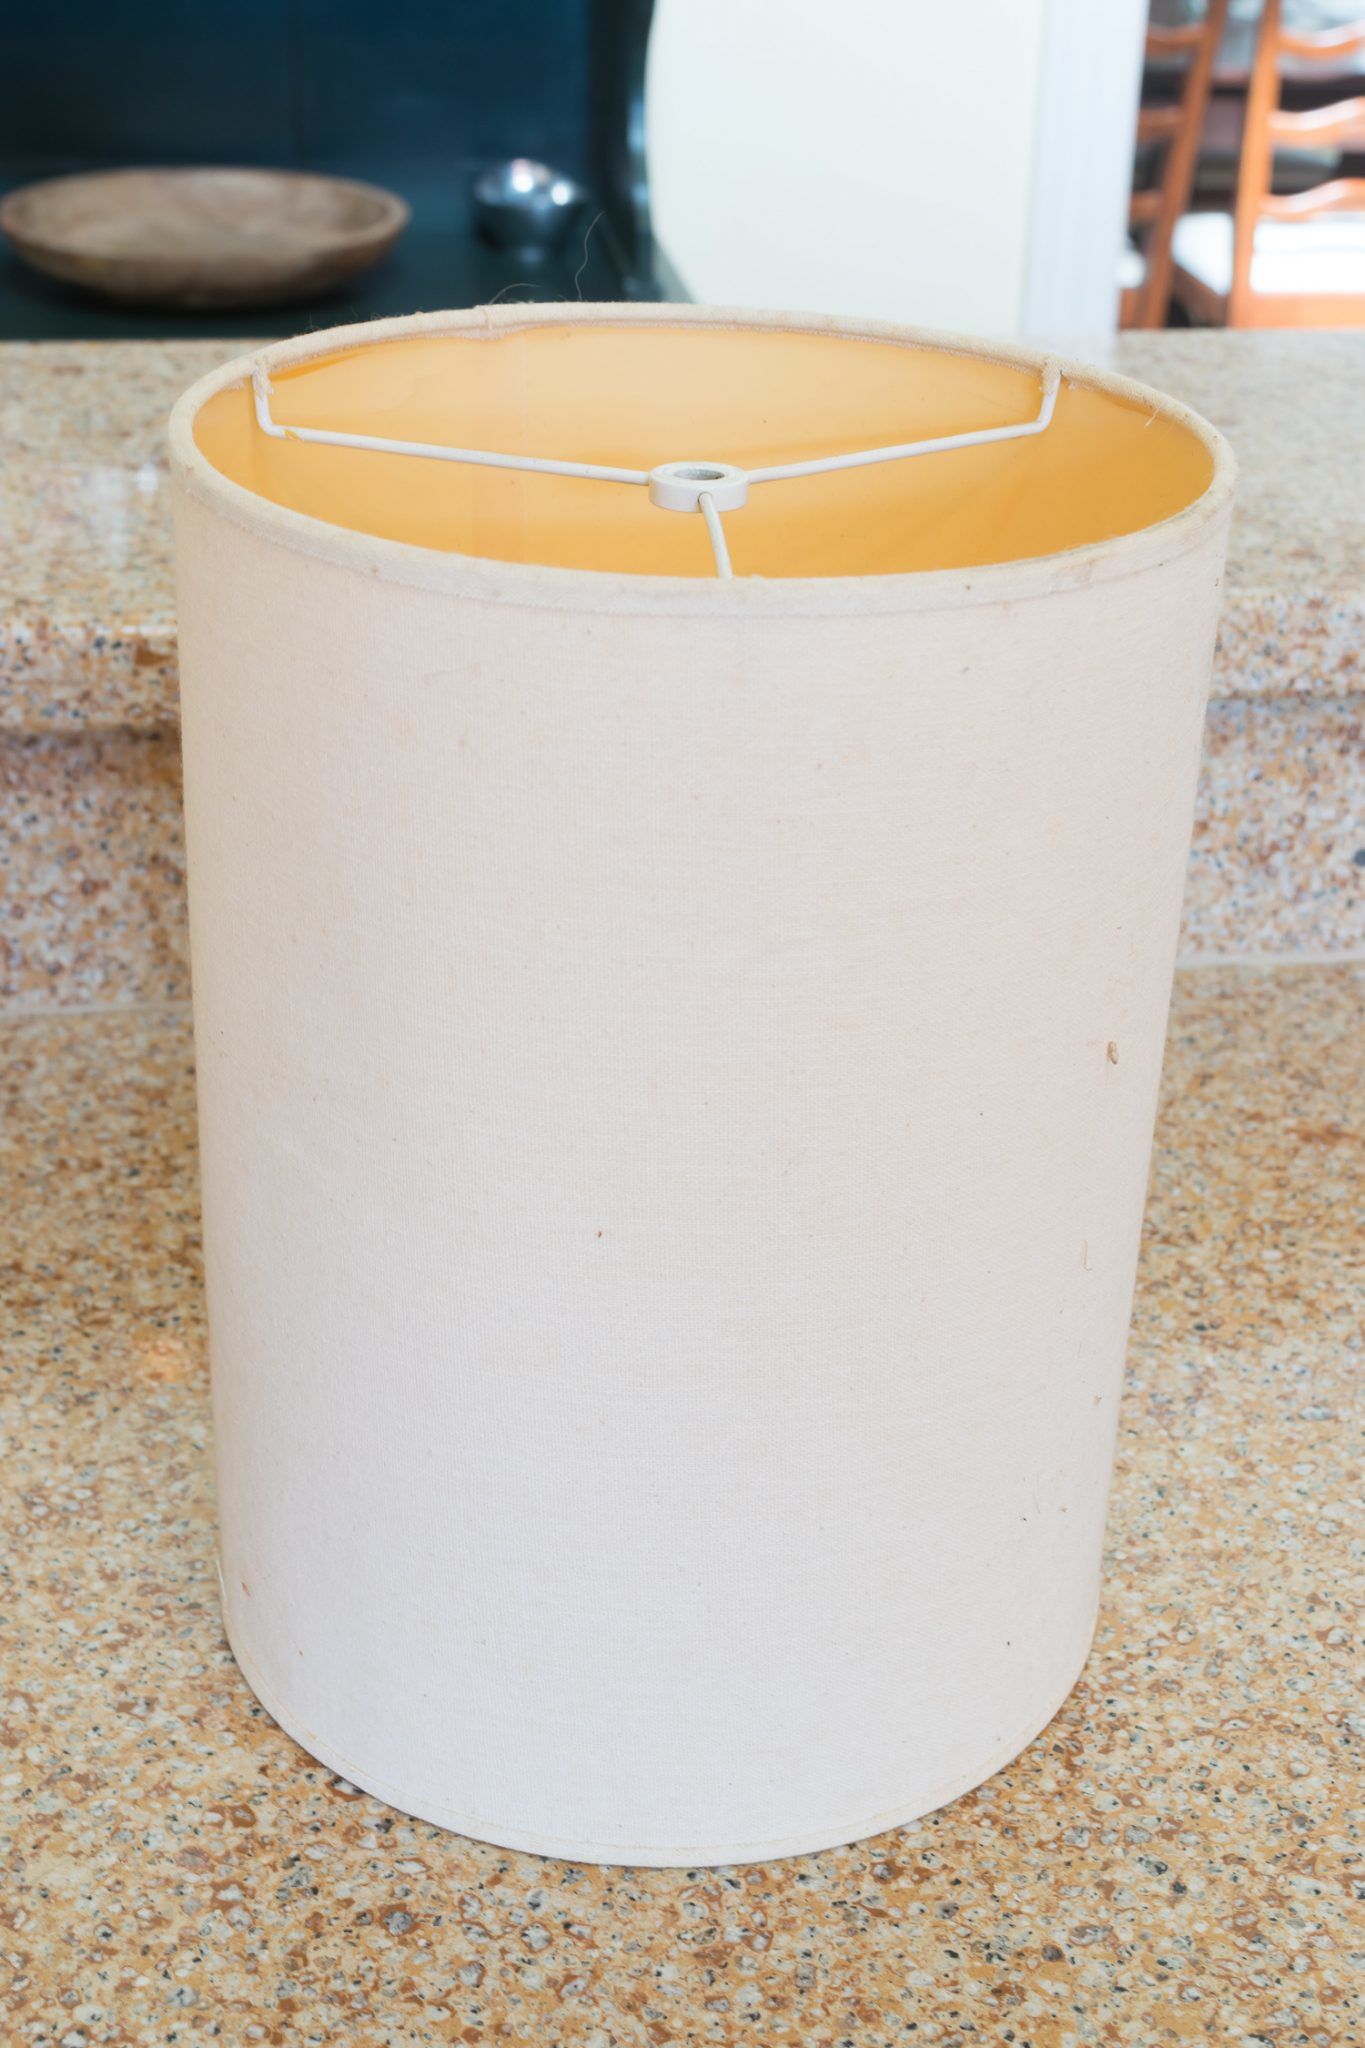
- First you need to dismantle your lampshade. This is what mine looked like when I brought it home from the ReStore

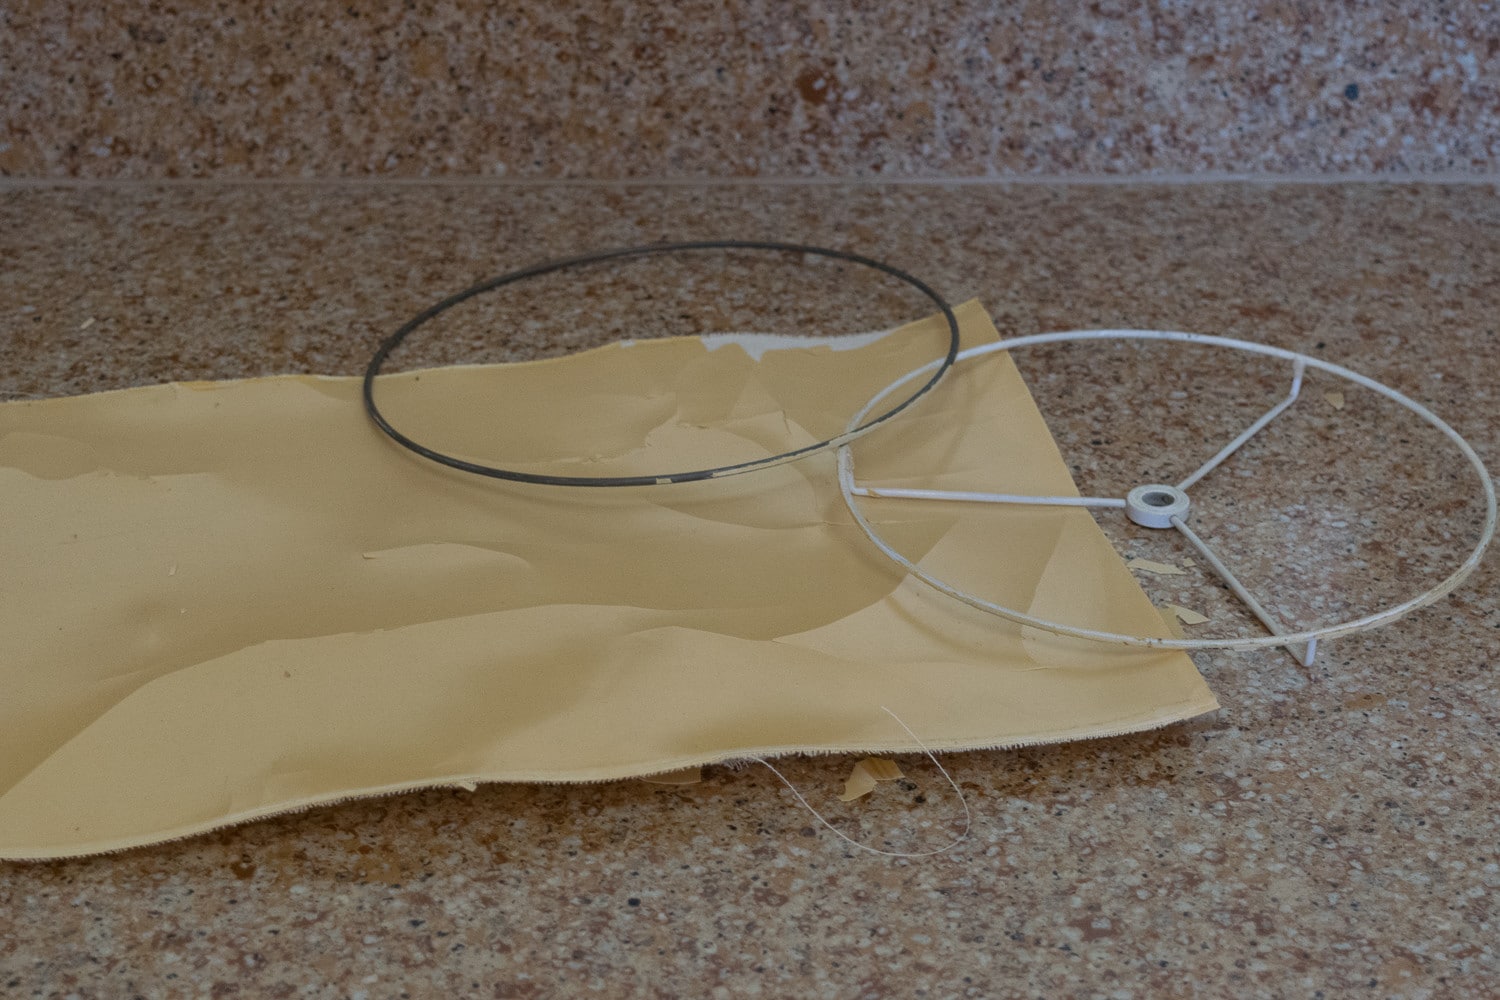
- And this is what it looked like after I took it apart, which was all of a 2-minute process

- There was some sticky glue on the top and bottom rings which I removed with GooGone and then wiped down well with rubbing alcohol to remove the GooGone residue.
- I spray painted both rings black.
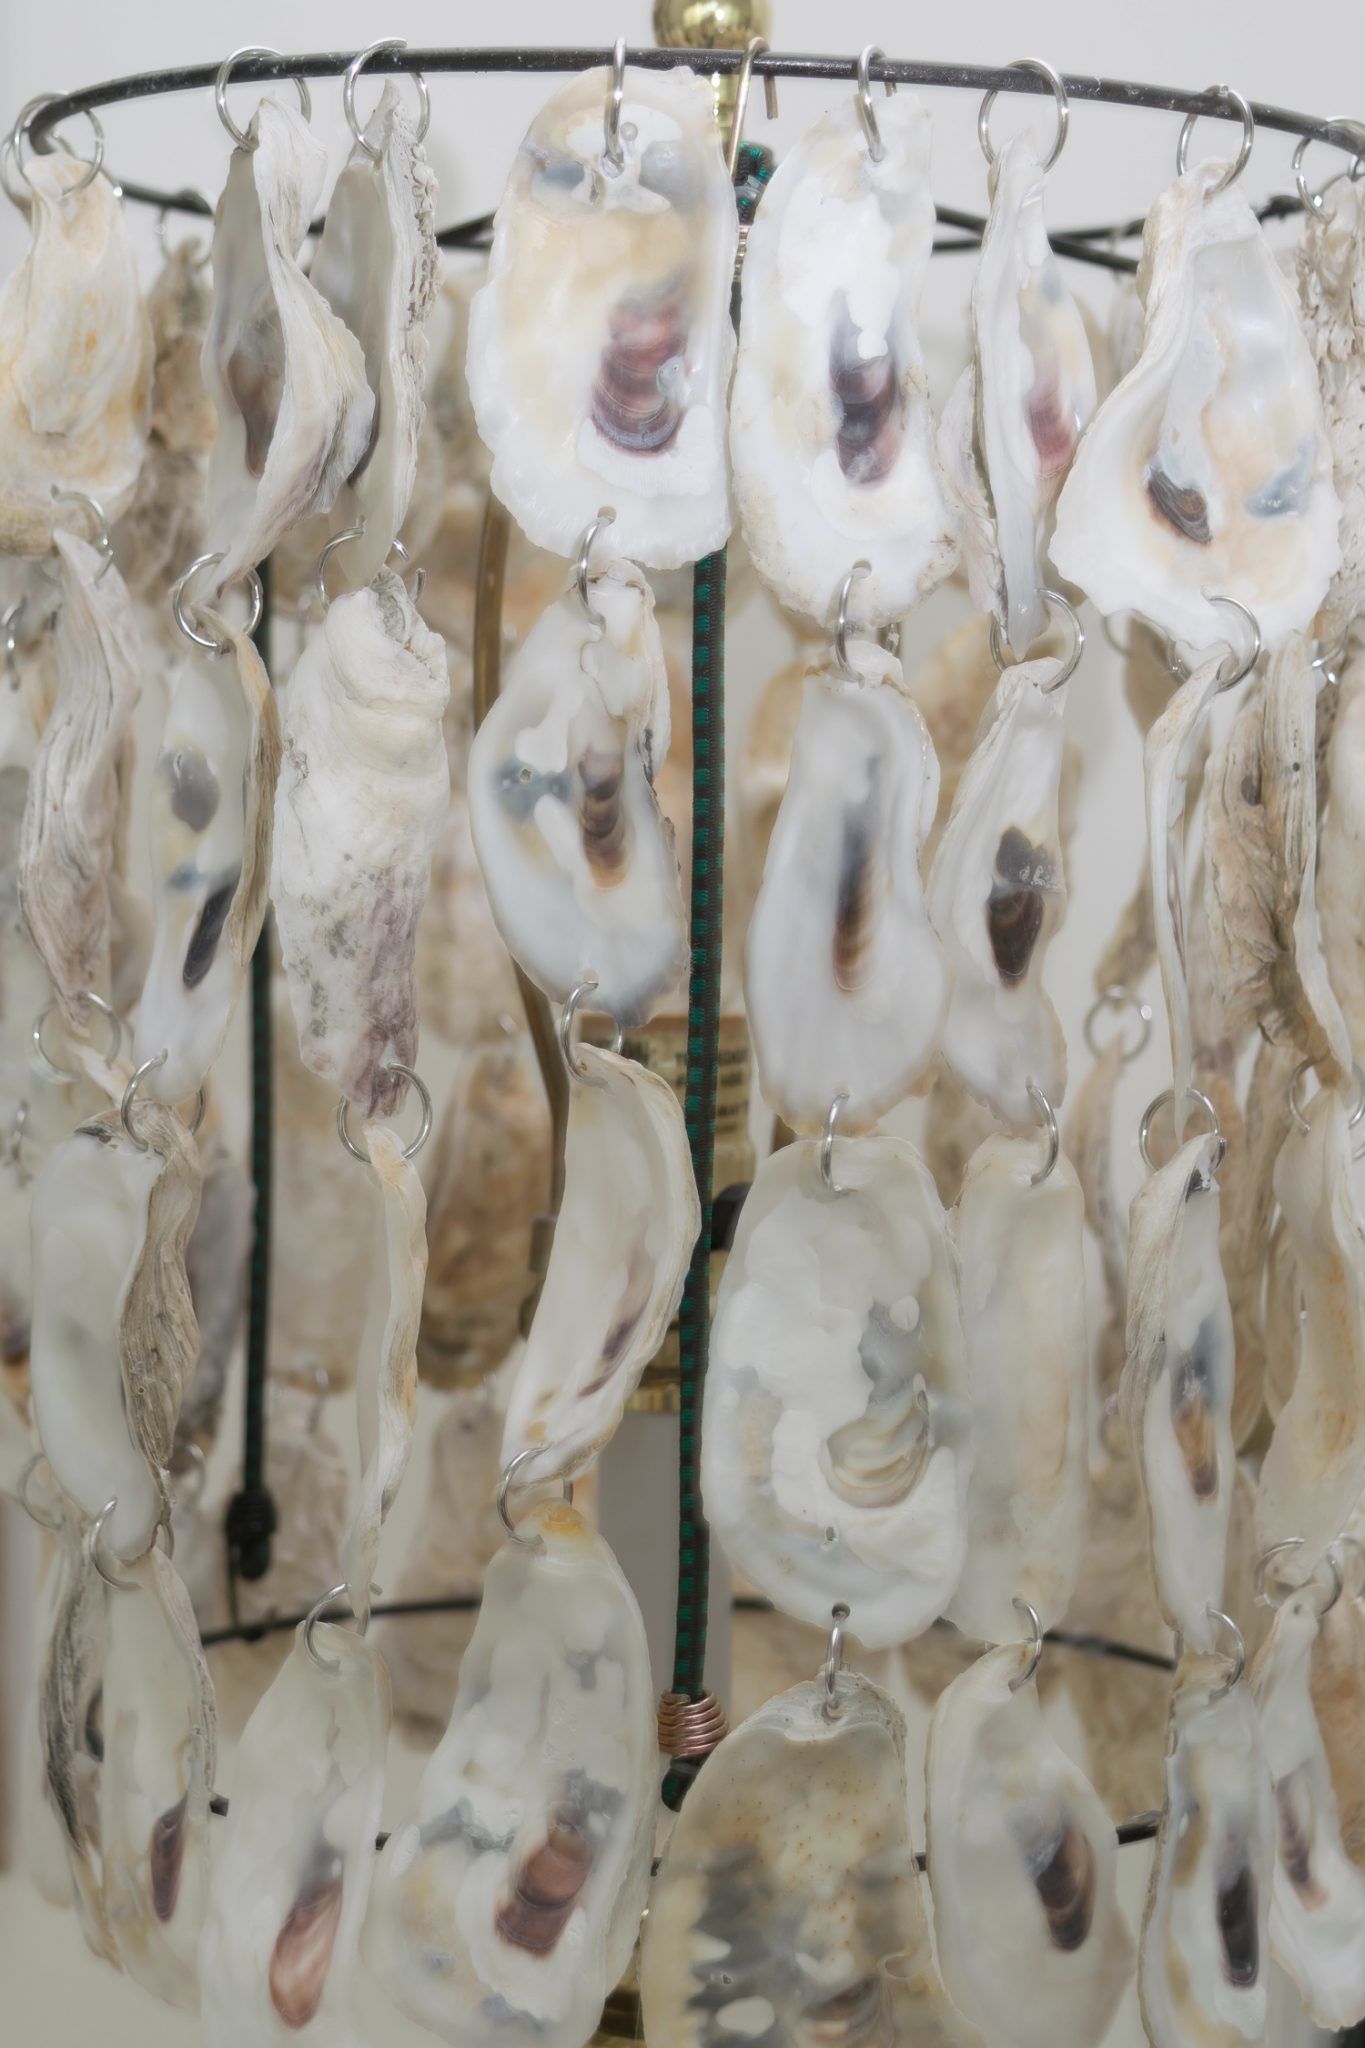
- Using my 3-12 inch bungee cords, I attach the bottom to the top while on a lamp base.

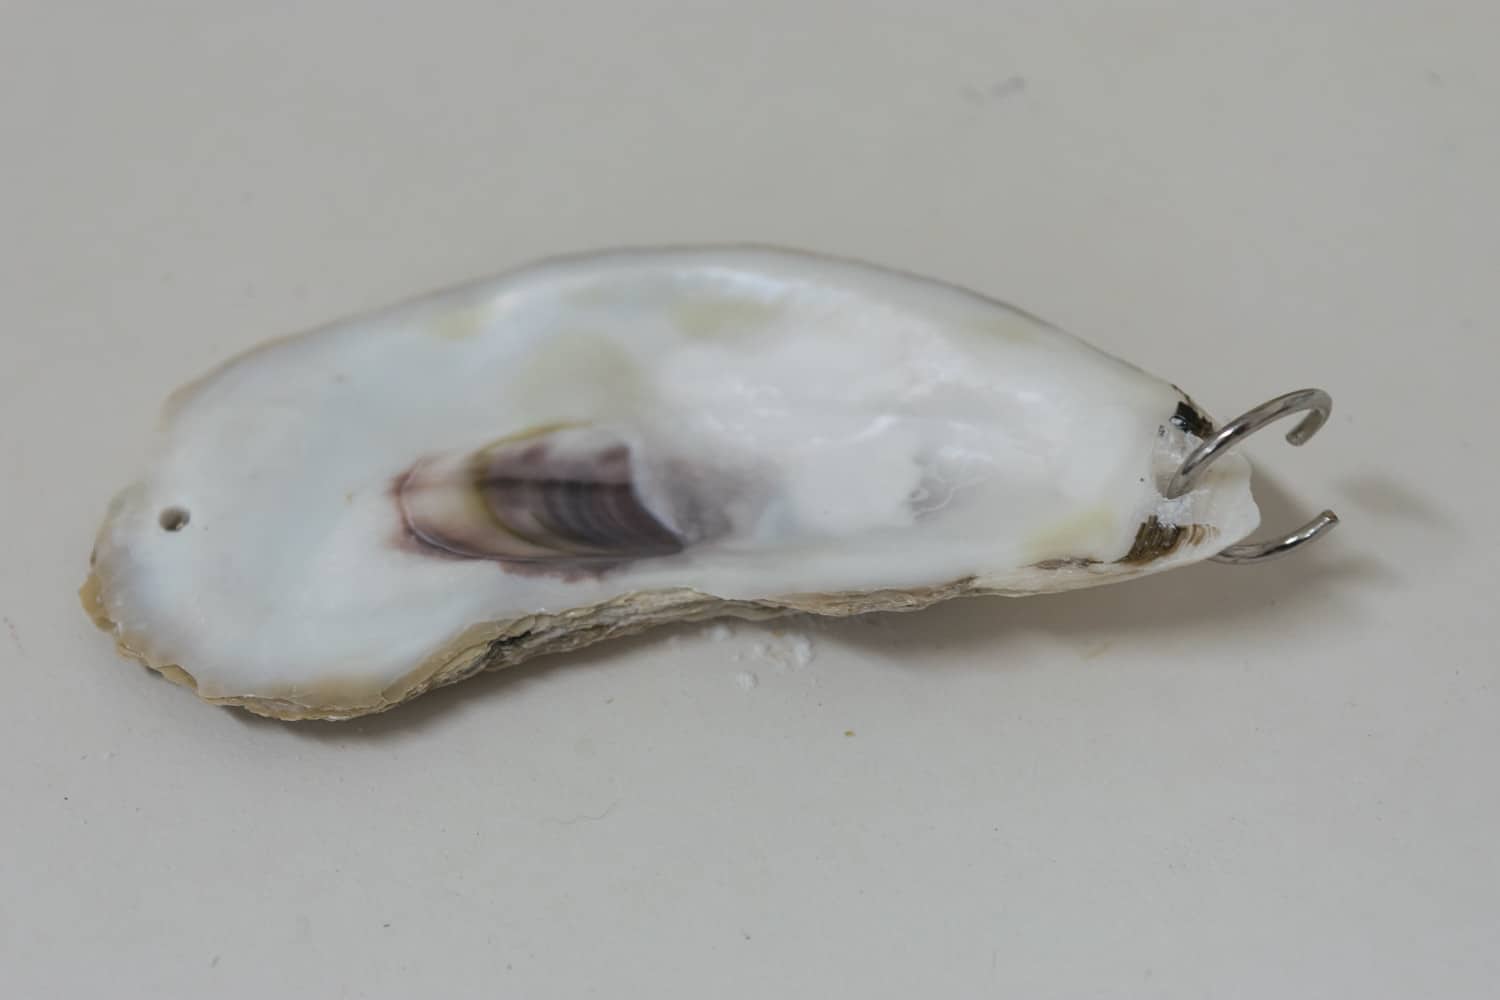
- Then it was just a matter of drilling holes in my oyster shells and attaching them to one another with the jump rings. Whoever thought you’d need to know how to drill a hole in an oyster shell? A couple of suggestions:
- Drill your hole as close to the edge of the shell as possible without breaking the shell. I probably ruined 8 in the process, which is why you need some extras.
- I put my oysters in 4 different piles, smallest to largest so that I could place them that way on the lampshade..
- I found it easier to attach the first one to the top part of the lampshade and then while it was hanging find one that would work best with it, drill the holes in that one and then attach it
- For each strand of 4 oysters, 3 of them will need holes drilled at the top and at the bottom. Your last shell does not need a hole drilled at the bottom.
- I was able to pry the jump rings open with my fingers and then squeeze them back shut with the pliers.
- Drill your hole as close to the edge of the shell as possible without breaking the shell. I probably ruined 8 in the process, which is why you need some extras.
- When all the oyster shells were hung, I hot glued the back of the bottom-most shell to the bottom ring just where the shell hit the ring.
- After the glue was set, I removed the bungee cord and focused my attention on the lamp base
- I knew I wanted a darker base to set off the white of the shells and since I didn’t have a black lamp base, I went to my default mode…I painted one
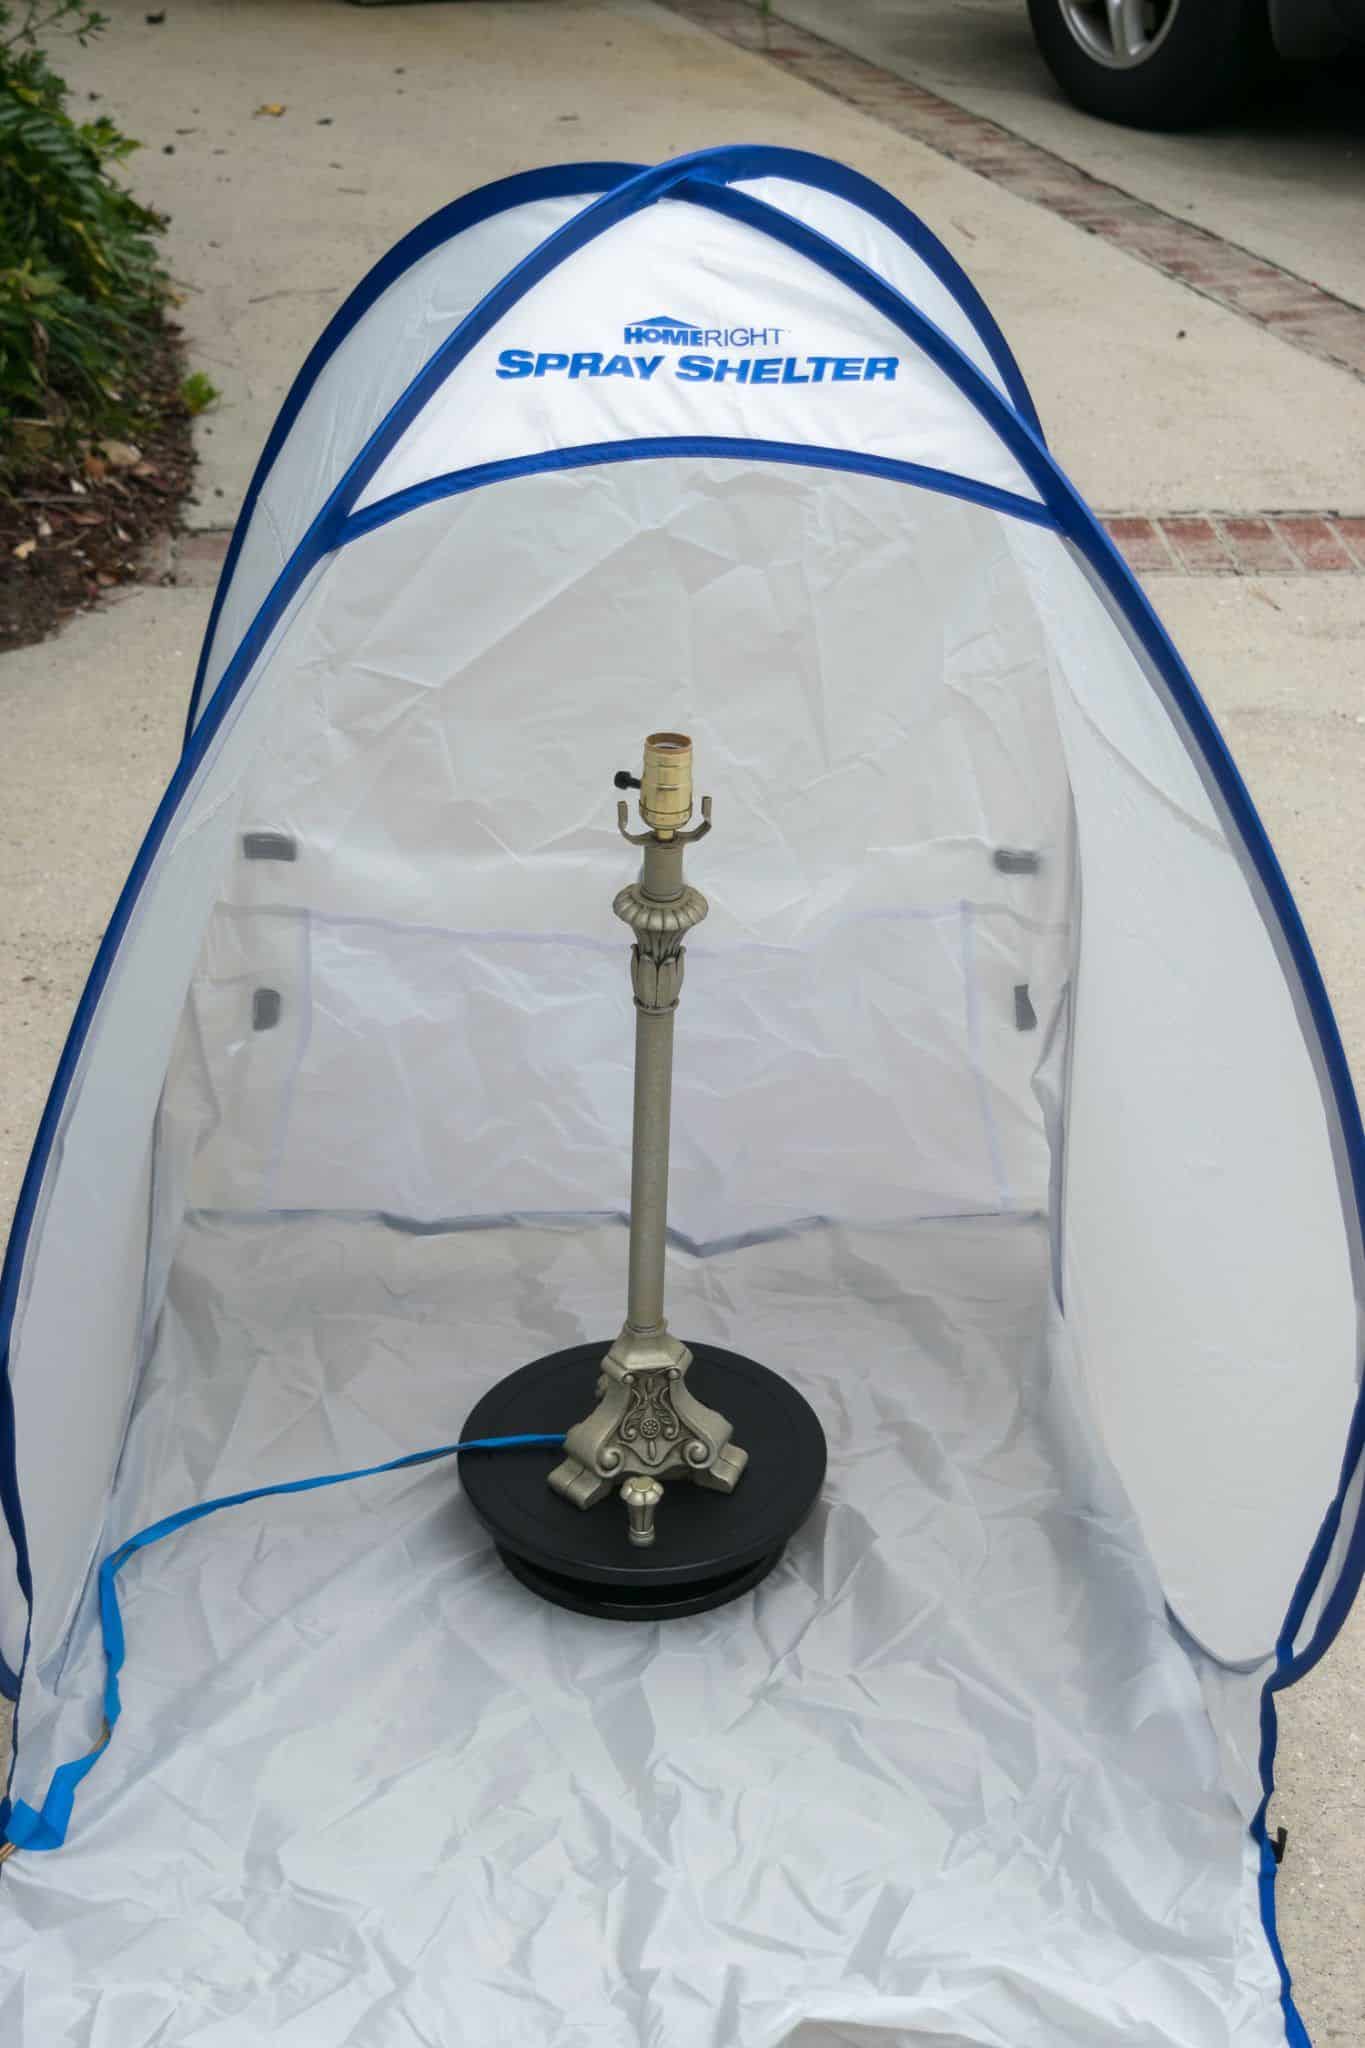
- BUT…this time I used my brand spanking new spray paint shelter from Homeright. This is one handy tool! And my enthusiasm is nothing compared to Terry’s enthusiasm. He is excited about the fact that we will no longer have outlines all over our garage floor.

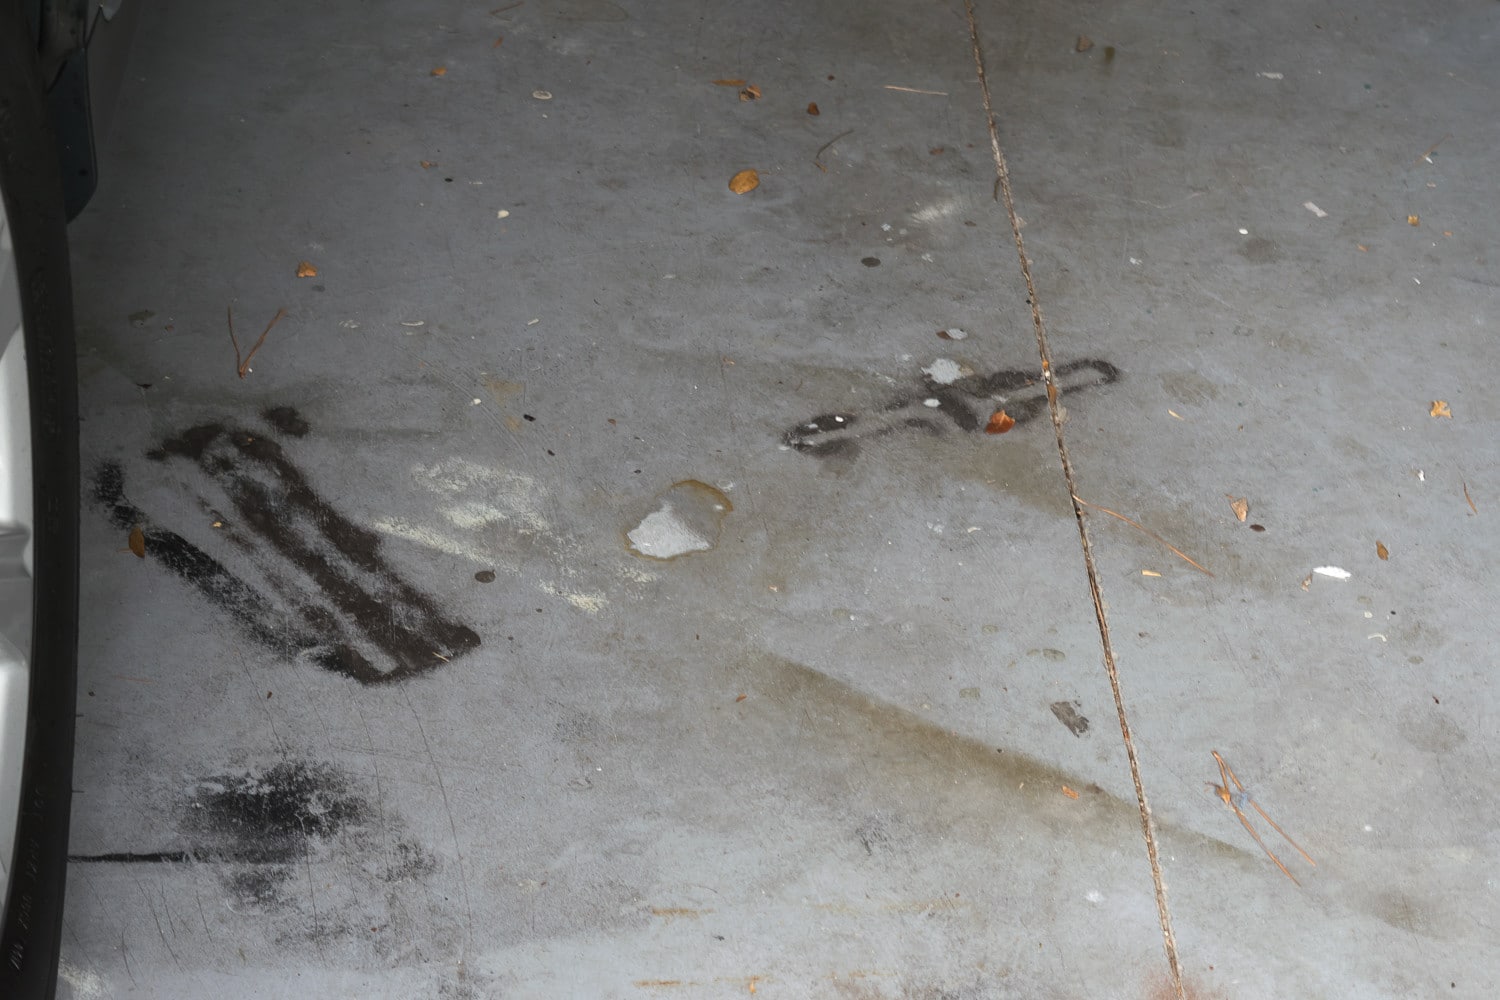
Tell me truthfully, does your garage floor look like this?
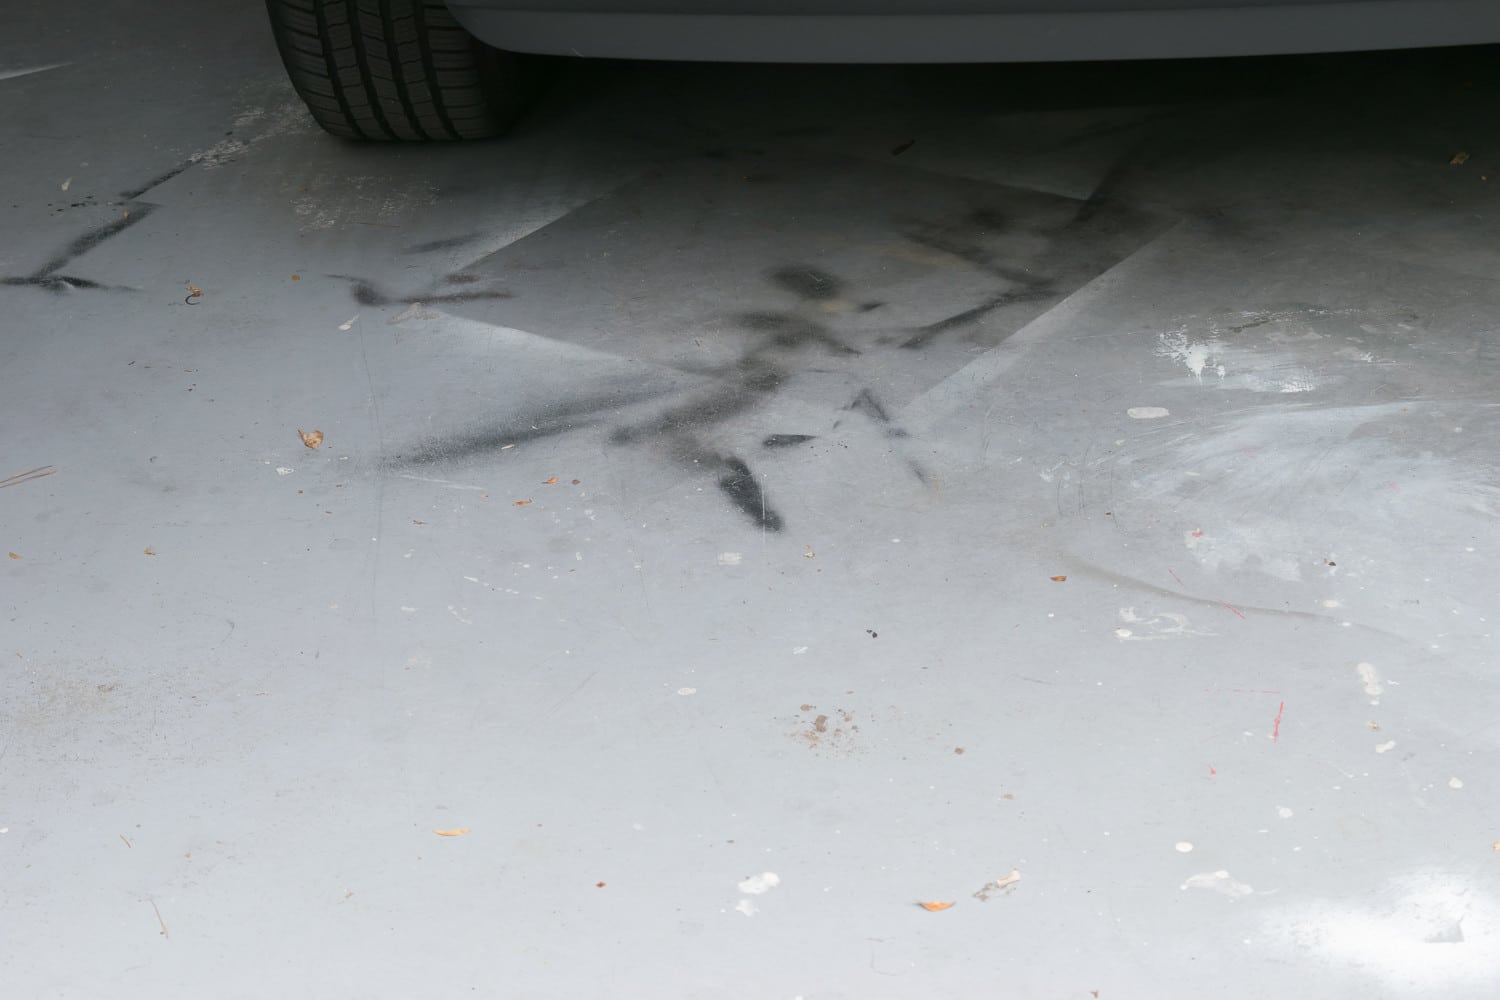
Well, those days are over my friend…because I have this spiffy tent…and equally spiffy turntable.
The obvious benefit of the tent is that it really reduces the spray that comes from using spray paint, but also avoids ‘things’ being blown onto your wet paint by a gust of wind. And the turntable makes it so easy to get to all sides of an item without having to actually touch the item you are painting.
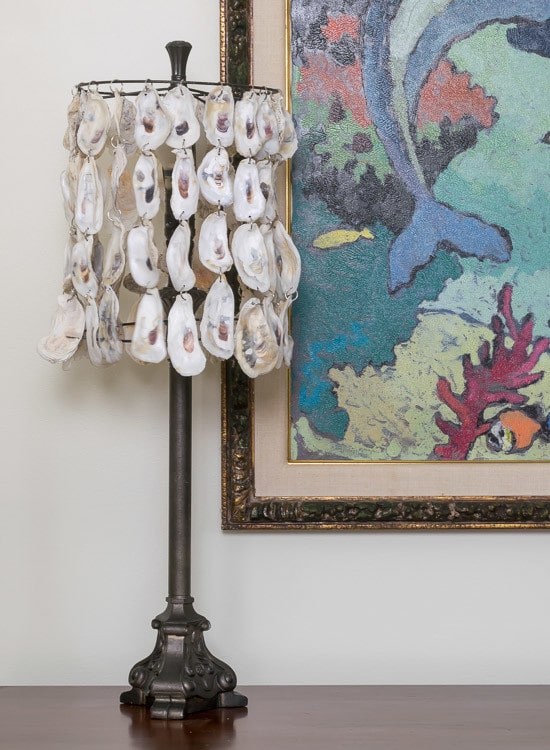
So here’s the finished product and yup, I’m loving this oyster shell lampshade in my dining room.
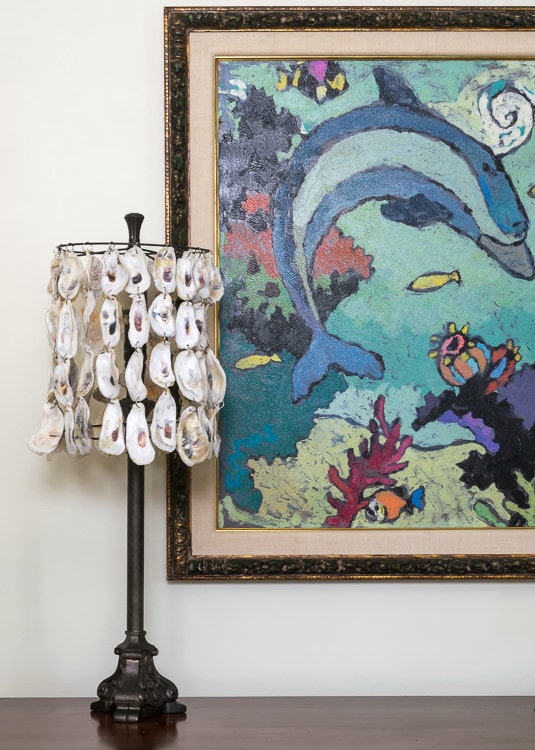
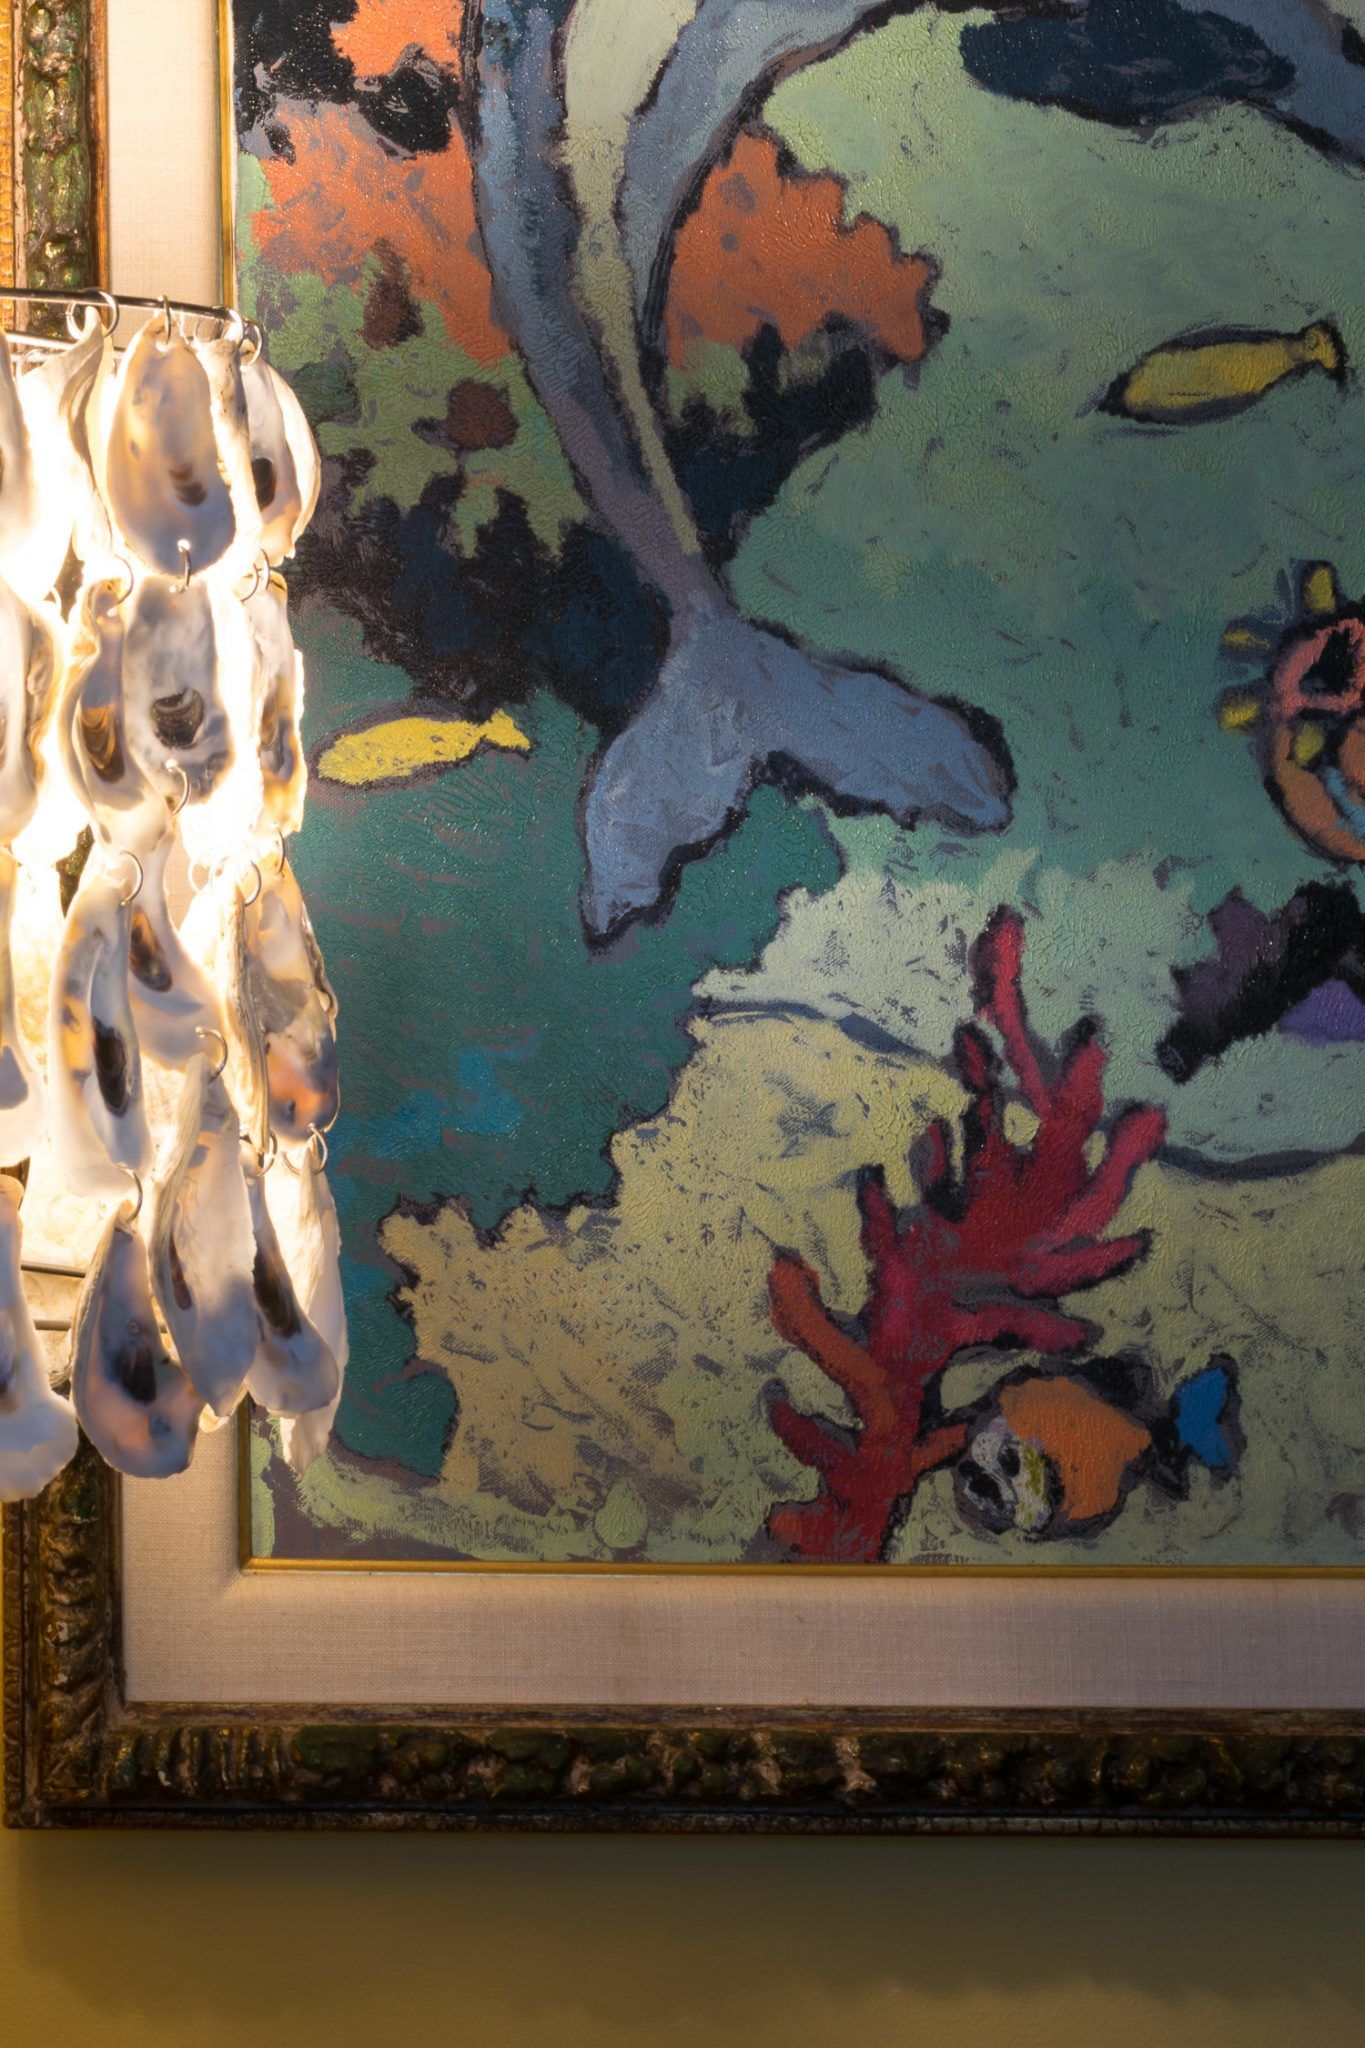
It pairs perfectly with one of my favorite paintings by Anna Jaap.
I used a low wattage soft white light bulb which produced a very soft light with no bright glare. The shadows on the wall in the evening are really lovely.
If you think you might like to upcycle some discarded oyster shells for a unique oyster shell lampshade, then pin it for your future reference. And, if you are looking for more oyster shell projects, here are ten DIY oyster shell crafts for you.


Thanks again for spending a few minutes of your busy day with me today.
Please know that I welcome each and every comment that comes my way. If you want to make sure you don’t miss future content, pop your email in the beige box up on the right or click here. I usually send out 2-3 emails a week, so I won’t inundate your inbox…believe me, I’m sensitive to an overflowing email inbox!
By subscribing to Nourish and Nestle, we will only use your email address to send you emails (no more than 2-3 per week) that will keep you up to date with the latest news and content on the site. In addition, you will have access to my growing library of knit & crochet patterns, as well as other printables. This library will continue to grow, so check back often.
And please know that you can unsubscribe at any time by emailing me or clicking on the “unsubscribe” link at the bottom of all of our emails.
You can access many of the products I refer to in all of my posts on my Nourish and Nestle Amazon Page. You can access it here.
So, if you’d like to get in on the ‘subscriber benefit’ action, simply subscribe to Nourish and Nestle here or using the form on the right sidebar. It’s towards the top a bit. I have sent all my subscribers the link to the Subscriber Benefits Library. If you missed it or misplaced it, drop me a line.
Until next time…
Hugs,

Many thanks to HomeRight for sending me their Spray Tent and Turn Table to use and review. My opinions of these products are entirely my own.


I love your oyster shell projects, Lynn! But I’ve got to say – you’re making this landlocked crafter pretty darn jealous! 😉
Oh Robin, you are so sweet. Funny thing, I am at Haven right now and a friend from Michigan asked me to bring her some shells, so I’ve got a 10 pound bag in the back of my car for her to take back north with her. I’d be glad to get some to you if we could find a way.
So jealous of you living on the coast! This oyster lampshade DIY turned out so good.
Hey Ashley, definitely one of the perks of coastal living. Funny though, I did bring several pounds of oyster shells to Haven for one of my landlocked blog buddies! So…if you really want some, I’d be glad to bring you some if we end up at the same conference in the near future.
I love your lampshade. Very creative idea!
Thanks Claire, I’m really tickled with it as well. And coming from the Queen of Creative, that is quite a compliment.
Such a clever idea Lynne!! I bet you had fun eating all of those yummy oysters too to make your awesome oyster projects! Looks so beautiful switched on also!
I do love how it looks on…I have it on a timer so I can enjoy it every evening. Thanks for popping by Sam! Have a great day.
Lynn
Lynn i think it looks great as is. No inside to hide the bulb. It is a very unique piece that will surely be a show stopper! And just like sea shells you can never have enough oyster shells!
Lynn, this is outstanding! I don’t live near the coast where I can easily pick up shells, but I love your project…so unique and unusual & it looks great there with the rest of your coastal decor and that painting. I had to chuckle when I read the reaction of your men…sounds like something mine would say! Ha! Men have no imagination sometimes…
Hi Florence and thanks so much for your kind comments. And men…they are so alike in so many ways.
Wishing you a fantastic weekend.
Hugs, Lynn
You can see the lightbulb….well, YEAH. Men are such linear thinkers – and this lamp looks like something expensive that came off of Etsy. Lovely~
Hi Mick,
I had to giggle, at both my son’s comment and then yours in response! Needless to say, as much as I love them, they are not creative muses. Thanks so much for your so very kind comments. I do love that lampshade!
Have a fantastic day my friend,
Lynn
Lovely lampshade treatment. Had you thought about glueing a cheap cultured (or good knockoff) pearl in each oyster half shell?
Good Morning Michael, Thanks so much for dropping by and leaving your kind comment. I had not thought of that! It would really add a little bling to it…maybe dress it up a bit. Who knows, I’m not one to ever say that a project is finished!
Have a great day my friend,
Hugs, Lynn
Where can I get oyster shells? I’m land locked.
Good Morning Maria
I would first check with any seafood stores or restaurants you might have in the area. I know several of my readers have been successful asking them to put some aside for them.
Worse comes to worse, you can order them from Etsy…here’s a listing for some. http://bit.ly/2CIHHqA
Good Luck!
Thanks for swinging by and wishing you a great day.
Hugs, Lynn
Just out of curiosity I wonder if scallop shells would work. I live where I can get scallop shells from the ships that dredge them. Oysters are not readily available where I live. Only scallop and clam shells. Joey
Good Morning Gloria,
I would surely try scallops…maybe smaller ones would work better.
In trying to picture the scallops, you might also need to have holes on all 4 sides of the shells and attach them to each other on the sides as well.
I guess it doesn’t hurt to try!
If you do give it a whirl, I’d love for you to let me know how it works out.
Have a fantastic day my friend,
Hugs, Lynn
Hi Lynn,
I loved your oyster shell lamp shade and knew it would be the perfect gift for my brother-in-law’s birthday – since he loves everything oyster! I had great success, with one problem. The weight of the shells broke the top part of the lamp shade harp!! This happened during transport from my house to his, and even though I had it standing up straight, it must’ve leaned just enough to cause too much stress on that part. I found another harp, but I still don’t think it’s strong enough and will look for another. Thought this was worth mentioning for anyone else who may want to make one….a great project, but take note of the quality of your lamp harp.
Wow Cynthia, I hate that you had this problem. I haven’t had an issue at all, but my lampshade is a not big…is yours rather large? I’d love to know the approximate dimensions.
I will definitely share with my readers.
Thanks so much for sharing your ‘challenge’…hoping this new harp is THE ONE!
I can hear the tinkling of the shells now! What a fun and unusual lampshade! Perfect for coastal decor!
It does ‘tinkle’…in a good way!