Update a Lamp Base with Spray Paint
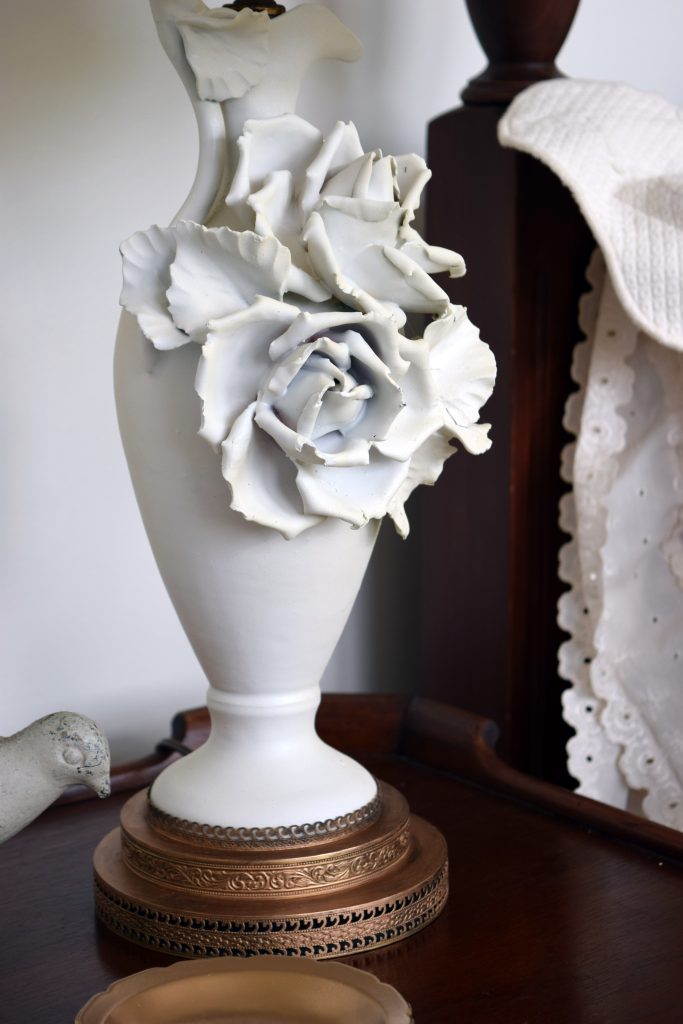
Talk about an easy way to make a big change in your room decor! I was thrilled to find out just how easy it was to update a lamp base with spray paint.
If you’ve been following along, you know I’ve set into motion the dominos of updating/refreshing/finishing our guest bedroom. The bedroom received a major facelift last year when it received new bedding and was painted. I went with a traditional toile bedskirt and cream matelasse coverlet. But I didn’t do anything else in the room. It desperately needed artwork and general refreshing.
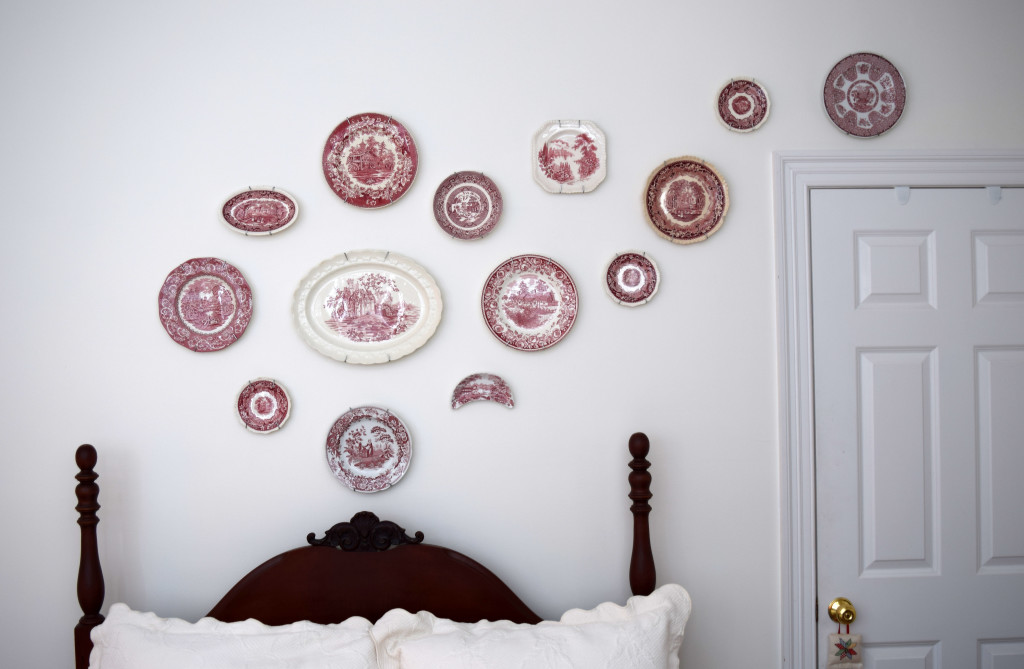
Enter the plate wall! I accumulated several red transferware plates and mounted them in a rather un-traditional and asymmetrical way to break up the traditional feel of the room.
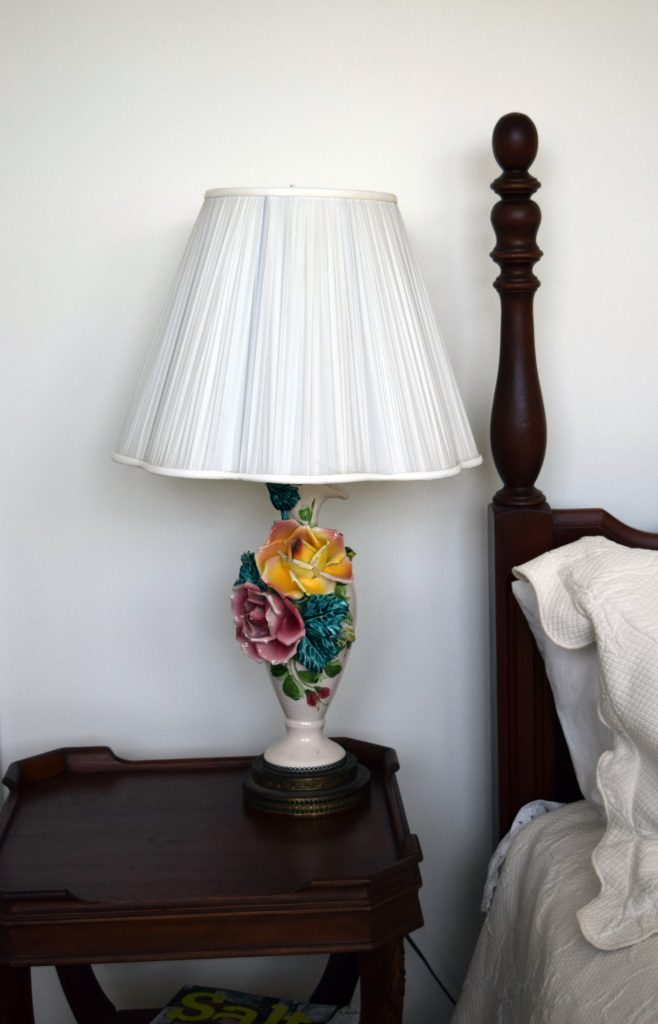
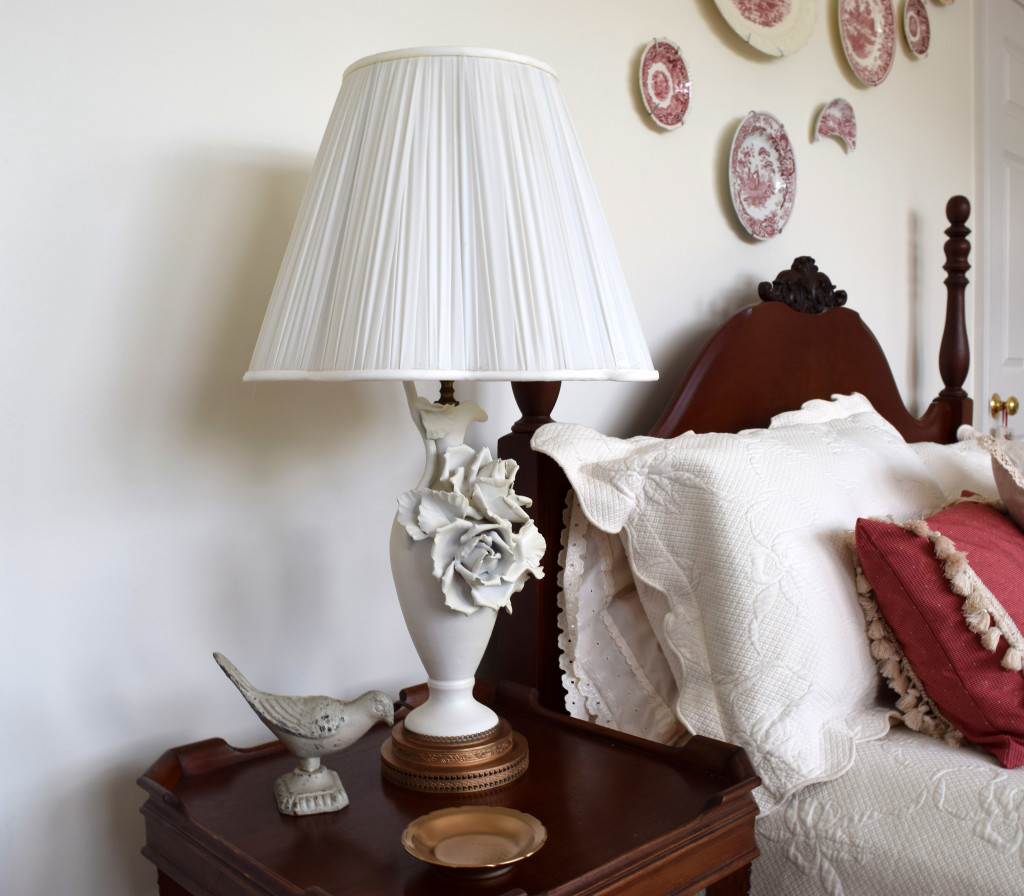
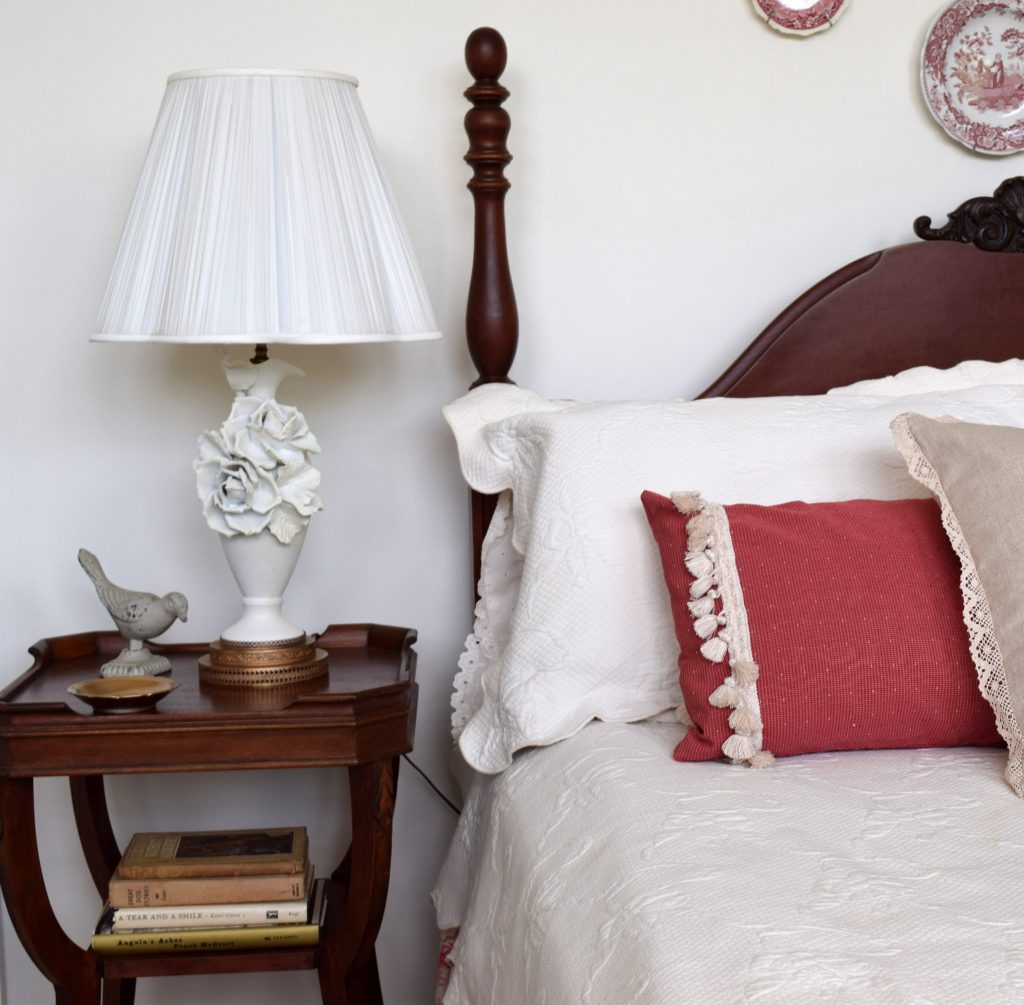
To the left of the bed in this photo is a nightstand which has, for many years, been the home to one of my grandmother’s lamps. I’m one of those people who like to have things in my home with history, opting for that over brand new and this lamp is one of those.
I remember this lamp gracing my grandmother’s nightstand when she lived with us. That nightstand’s bottom drawer also alway housed a treasure stash of Brach’s Spearmint Leaves that my grandmother, and I, so loved.
So while I would never take this lamp to Goodwill, it really has never been ‘my style’ which is why it’s been relegated to the heretofore catch-all known as ‘the guest room.’
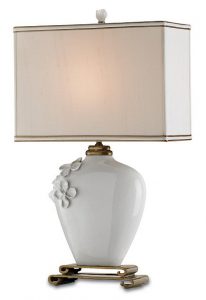
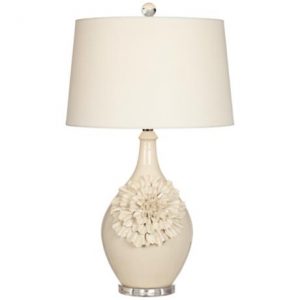
Unfortunately, when I got it in my mind to give this room some much need love, this lamp didn’t quite figure into the mix. In my mind, I was thinking of a clear acrylic or lucite lamp to further balance the traditional, so I started looking that way. However, a funny thing happened on the way to a lucite lamp…I found these lamps online:
I started wondering if I could paint Grandma’s lamp…hmm… If that worked, Grandma’s lamp could still be a part of the room, but in a reincarnated and refreshed body! From previous posts, you know that I’ll spray paint just about anything, as shown here and here as just a few examples.
So, here’s how I spray painted and updated Grandma’s old lamp:
For your convenience, this post contains affiliate links to products I use, love and highly recommend. If you purchase any product through this site, I may be compensated, but you do not pay one penny more. You can see my full disclosure policy here.
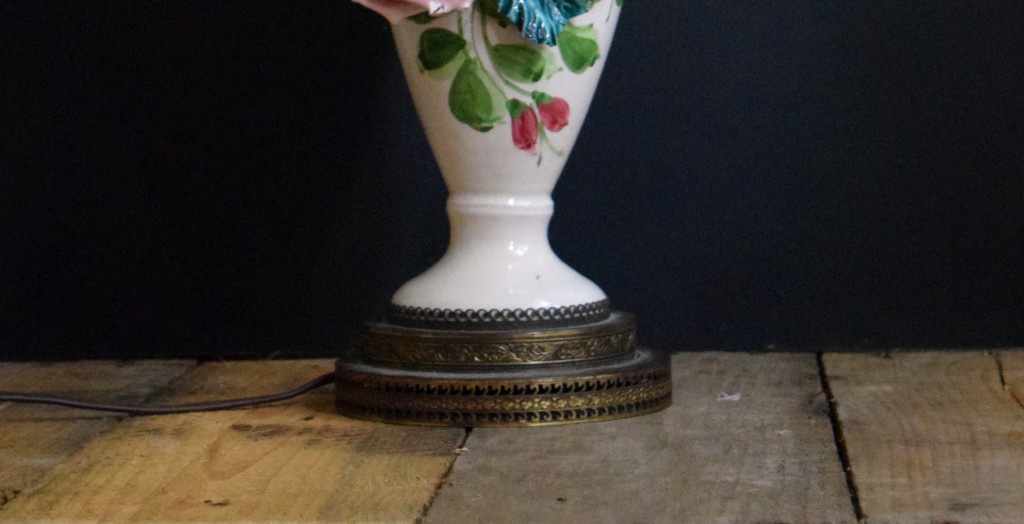
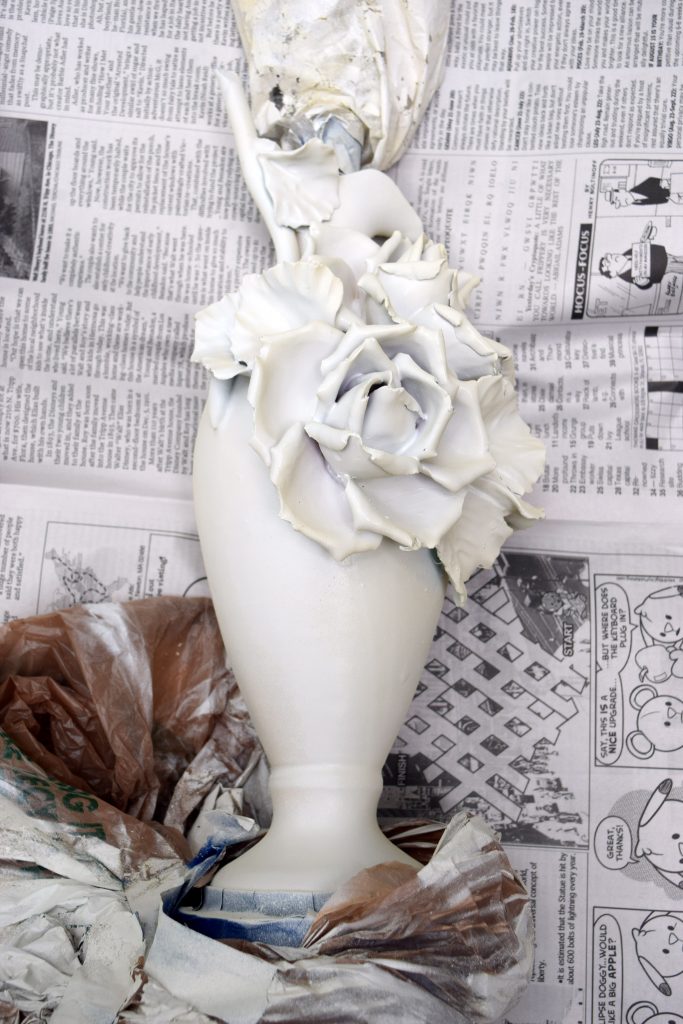
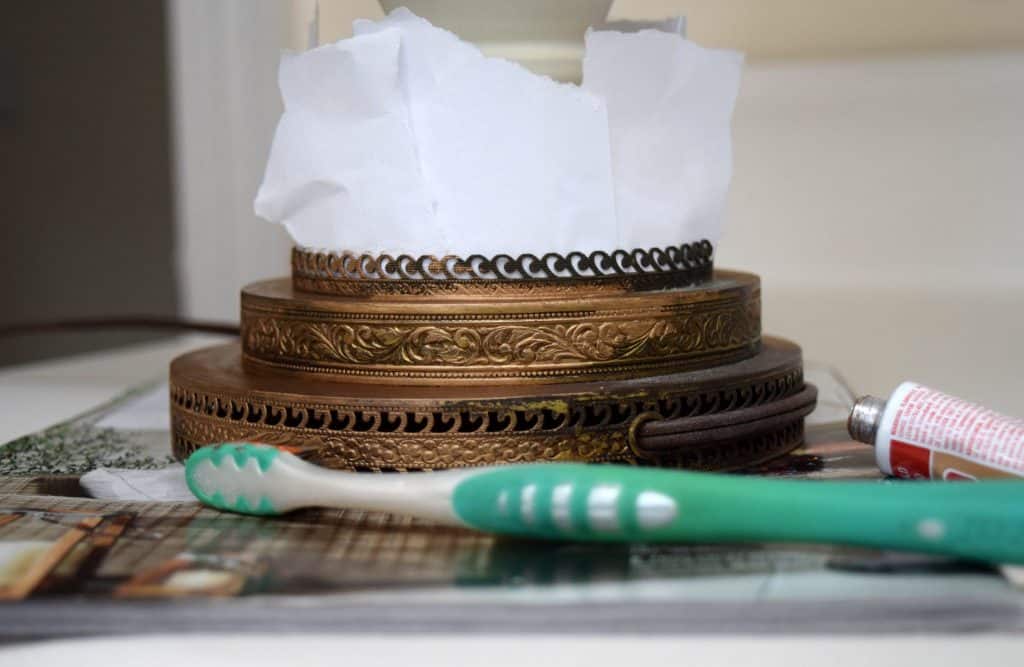
- I’ve ‘refinished’ lamps in the past and always found it easiest to take the lamp apart by unscrewing the rod in the middle. I tried to that this time but found that the base really didn’t want to be removed and I didn’t want to force it. The base of the lamp is really pretty and I did want to preserve it, so I just tucked painter’s tape behind and all over the base covered the cord and the hardware up top with bags.
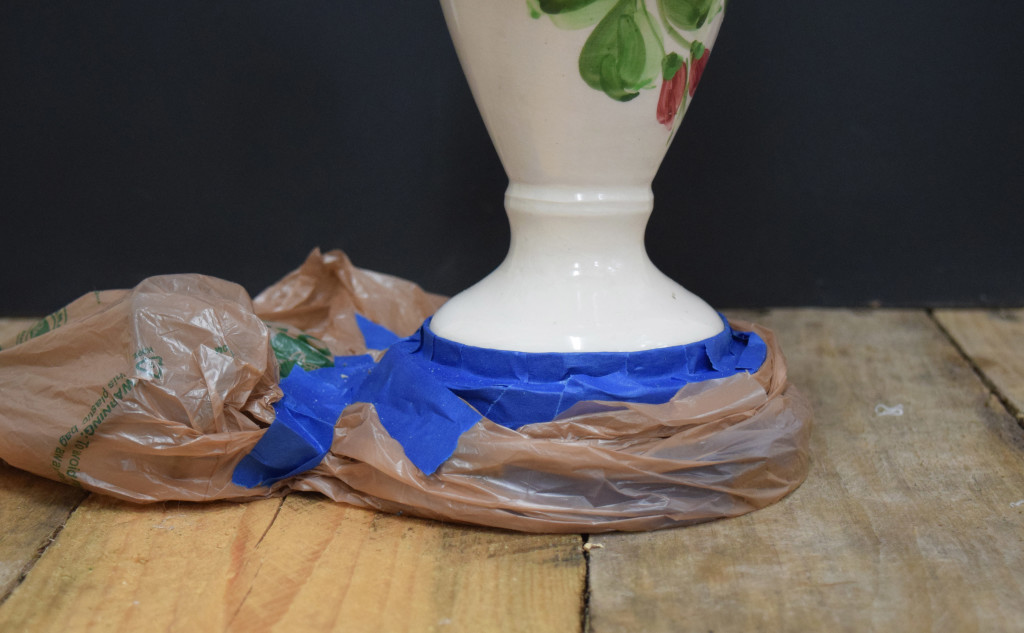
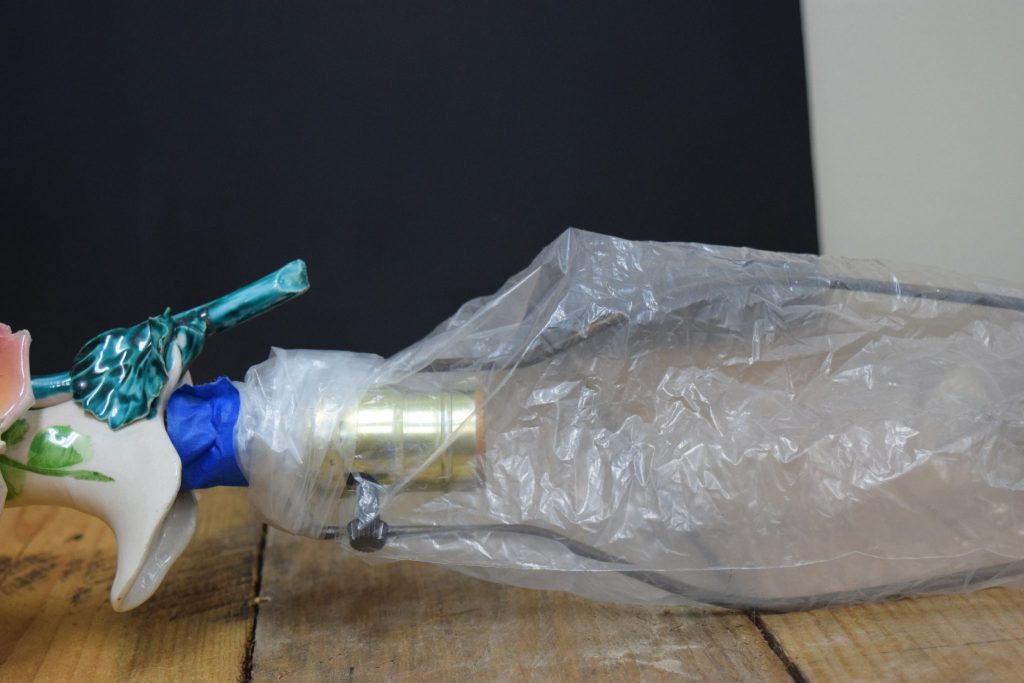
- From researching, I realized I probably needed a spray paint with a primer given the gloss surface of the lamp. I bought Krylon ColorMaster Paint + Primer in both Ivory Gloss and White Gloss. I knew I wanted an off-white, but was concerned the ivory would be too yellow, which it was. I figured if I needed to, I could blend the two colors, which is what I did.
- The ivory was way too yellow, so I spray painted the entire base with the white and then just ‘misted’ the ivory over it. I had to go back over a couple of times with the white and ivory to get it just right.
- Despite the fact that I purchased ‘gloss’ paint, the finish was not very glossy. So I purchase Krylon Crystal Clear Acrylic Coating which claimed to give it a ‘gloss finish’. Truthfully, not so much. But I would’ve used the acrylic spray paint anyway just as a protective coating. The gloss just wasn’t meant to be, which I’m O.K. with.
- Once the lamp was painted, the metal base at the bottom cried out for some attention as well. Enter Rub n’ Buff in Antique Gold. The Rub n Buff on the metal base was like that needed piece of jewelry on your little black dress, except in this case, your little white dress. It really just finished it nicely.
I think Grandma would be thrilled that her lamp is still with me, 40 years later.
And I think she’d really like its new outfit. The only thing she’d be disappointed about is that my nightstand doesn’t have a drawer for the Spearmint Leaves!
Thanks again for spending a few minutes of your busy day with me today.
Please know that I welcome each and every comment that comes my way.





That is a truly lovely lamp! Well done on the whole room revamp.
p.s. My grandmother loved those spearmint candies as well.
Really…small world! I’m sure that those spearmint candies are still available, but I haven’t looked in a while. May have to get a back for a trip down memory road with Grandma.
WOW! Your paint job really gives a beautiful new life to this lamp. Thanks for sharing at the #HomeMattersParty – we love partying with you! Hope to see you next Friday. 🙂
~Lorelai
Life With Lorelai
Thanks Lorelai, I’m pretty tickled with how it came out. Always a good thing when you’re idea actually gets realized.
Oh how smart! The lamp is really pretty and looks like something you’d spend a fortune on.
I’m pretty tickled with my lamp…I love it when an idea comes to fruition, which as we all know, doesn’t happen all the time.
LOVE this re-do! It looks fabulous! Thanks for sharing at From The Archives Friday!!
Hi Ashley, it was a fun and easy re-do. Thanks for swinging by and see you FRiday!
hugs, Lynn
I love it! What an amazing transformation! I would never have thought of that of painting a lamp like that, but you are making me look at things with a new creative eye before dismissing them! I hope you are enjoying your “new” lamp! Thanks so much for sharing over at Celebrate Your Story!
Hi Chloe, I am very much enjoying my ‘new’ lamp…it makes such a difference in the room. And it’s a good thing when a plan comes together as hoped…which doesn’t always happen! Thanks for coming by today.
Wishing you a lovely Wednesday!
Hugs, Lynn
Beautiful makeover and my hubby likes those spearmint leaves also.
Hi Sandra! Your husband must be a great guy! Aren’t those spearmint leaves the yummiest? I love how a food brings back such fond memories.
And thanks for stopping by and leaving your kind comments. They are much appreciate.
Hugs,Lynn