DIY Conversation Heart Pillows
Valentine’s Day is just around the corner, but you still have time to whip up some DIY Conversation Heart Pillows.
Well, hello there, my friends.
It’s been too long…I’ve missed our ‘chats’!
Without going into detail, I can honestly say that we are just coming out of 10 of the darkest days of our lives. It was one of those times when it’s all you can do to put one foot in front of the other and keep on going…which is what we did and are at, blessedly, at the other end.
I share this with you because a) I know there was a dramatic radio silence at this end and b) to remind us all that there are folks you see at the grocery store, at the office or waiting for your table who are carrying an incredibly heavy burden, though invisible, which is making it difficult for them to put that one foot in front of the other. But yet, they are doing it.
It was a stark reminder to me that I need to redouble my efforts to treat EVERYONE with unwavering and genuine kindness and gentleness. We just never know what burdens our fellow humans are bearing.
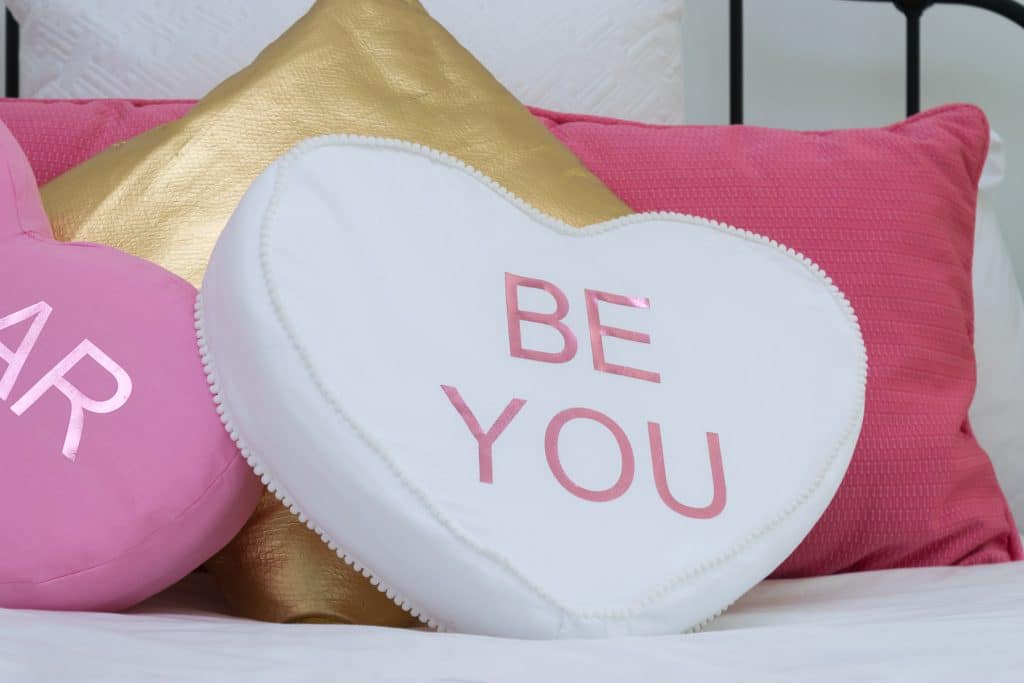
Table of Contents
So, with that out of the way…let’s talk about these fun and relatively easy DIY Conversation Heart Pillows…perfect for the upcoming Valentine’s Day.
I’m not sure what the genesis of these pillows was…hmmm…for some reason, I just felt the need to make Conversation Heart Pillows. I have seen others out and about on the googler machine, but I wanted mine to really look like conversation hearts…with straight sides.
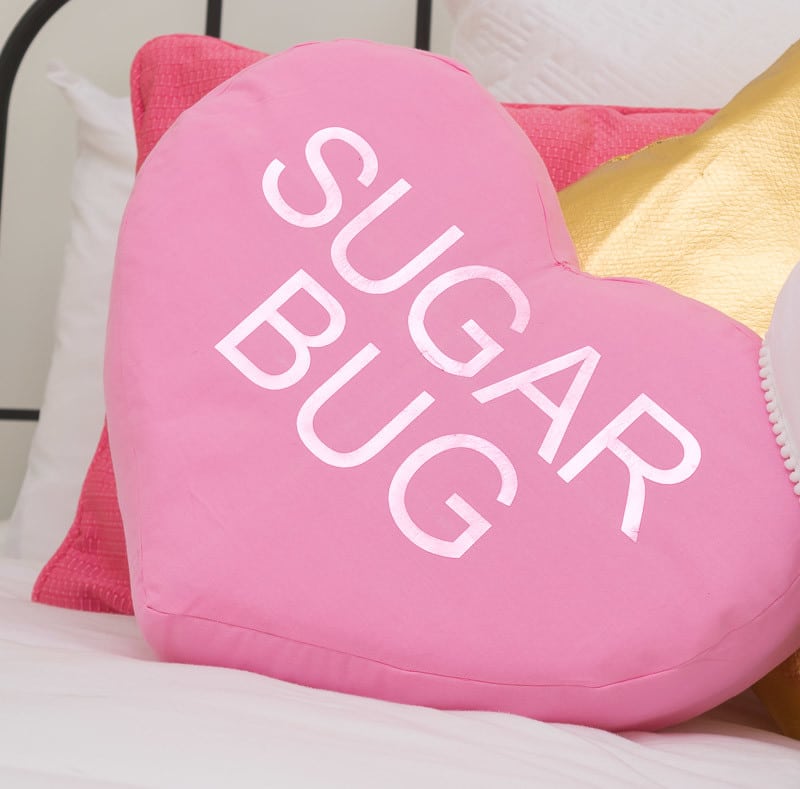
I am sending these pillows to our daughter for a Valentine’s Day gift, so I put on one of our oft-used mantras, as well as one of my favorite terms of endearment, as the messages on the hearts.
Here’s a fun list if you need some prompting for Conversation Heart messages.
what you need to make for diy conversation heart pillows
Some of these are affiliate links and I will earn a small commission off of the sale of these products, but the price you are charged is not affected. You can see my full disclosure policy here.
- Foam. For each pillow, I used 1 Foam Pad (3″ X 15″ x 17″)
- Electric Knife
- 1 yard of fabric. I used Kona Cotton in pink and white.
- I used some mini pom pom edging for the white pillow
- Batting (low loft)
- Adhesive Spray
- Sewing Machine
- Cricut Machine (I have the Cricut Explore Air 2)
- I used Pink Iron-On Foil because not one of the 3 Craft Stores we have in town had the non-metallic iron on. If I had planned ahead, I would’ve used this Pink Iron-On instead…just a personal preference. The letters would have been fun in blue as well.
how to make pillows
I will describe how I made these pillows, but I also have a video that is at the bottom of the post.
- I drew a heart on a piece of paper…I used brown Kraft paper. I still draw my heart as I did in elementary school by folding the paper in half and drawing half of a heart, cutting it out, and then unfolding it so that my heart is symmetrical.
- Then I traced the heart onto the piece of foam…I lined it up so that I could have the outline of the heart on both the front and back of the foam. This made it easier to cut it out with the electric knife as I made sure I didn’t gouge in the side of the pillow without the lines…you know how easy that is to do.
- I then cut it out with my electric knife.
- I cut out the heart shape and 3″ strips (the sides of my pillow are 3″) out of batting…the batting is a pretty thin low loft.
- I adhered the batting to the foam with the spray adhesive. You can decide if you want to do it on the front and back, just the front or not at all. You can see the in pictures…the pink has batting on the front, back, and sides, and the white has the batting only on the sides.
- Then the sewing began. I attached the side piece to one of the heart pieces (fronts together), making sure that I didn’t crease either of the pieces. It was slow, working the needle around the corners and not folding the fabric, but it wasn’t hard. Just take your time. I did it two ways…One way I attached the side so that the two ends of the side fabric met in the middle of the heart…between the 2 bumps on top. The other way was to have the two ends of the side fabric meet on the bottom point of the heart. I think the second way was easier to get a clean seam.
- Once I had the one piece attached to the side piece, I fitted it around the pillow to see how much seam allowance I needed for the second heart piece. I pinned to get a good gauge and then went back to my sewing machine, only sewing half of the second heart piece to the sides to squeeze the foam in.
- I pressed the pillow real well and cut out my words using my Cricut. There are tons of videos out there showing how to use iron-on material with your Cricut. Here’s a post I did last year but here are some of my takeaways on using Iron Ons with Cricut:
- Make sure you cut on the back of the material…the finished side will be face down on your mat when you cut (been there…done that)
- Make sure your machine knows it’s using a KISS cut…you don,t want to cut through the clear material(been there and done that too).
- Use a cloth between your iron and the material
- Then it was just a matter of tucking the foam into the pillow and hand-stitching it closed.
- TA DA!
Here’s the DIY Conversation Heart Pillow video for the visual learners out there:
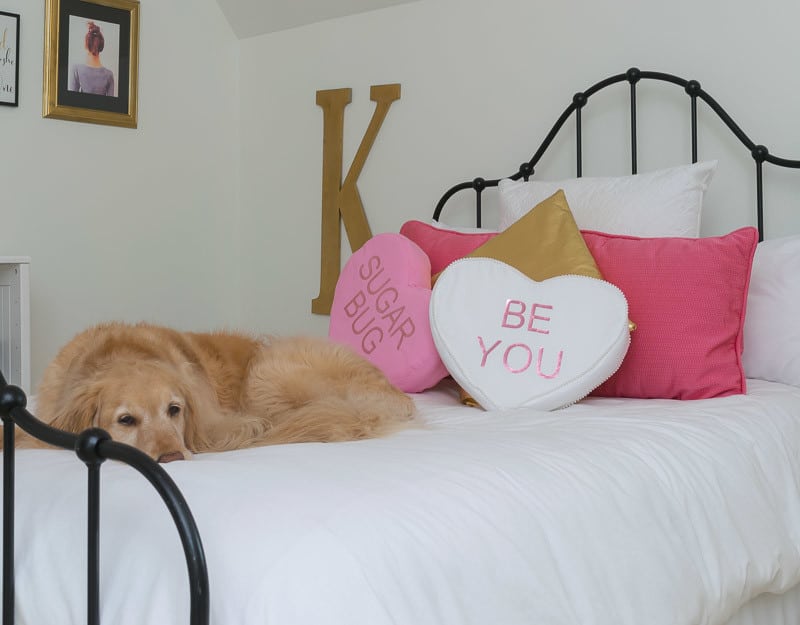
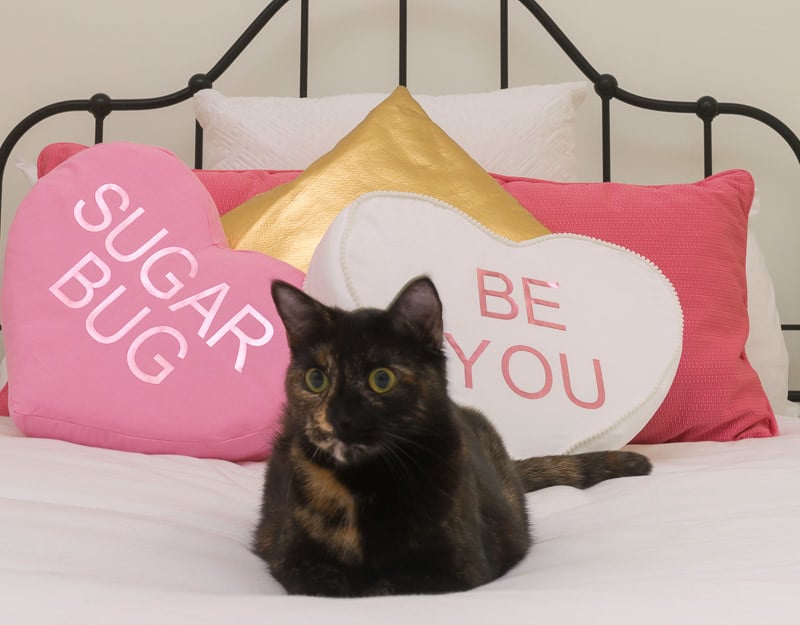
My posse follows me throughout the house. Flora needed to jump on the bed just as I was taking photos…once I obliged her with a photo and ushered her off, Peep decided she needed her moment in the spotlight.
If you found this DIY Conversation Heart Pillows tutorial helpful, then bookmark this page or Pin the following image for future reference.

Lastly, if you are looking for more DIY Cricut projects, check out these leather cord keepers that I used my Cricut to make. They make fantastic gifts as well!
Thanks so much for spending a few minutes of your busy day with me!
To ensure you don’t miss future content, pop your email in the pale green box on the right or click here. I usually send one email weekly, so I won’t inundate your inbox. I’m sensitive to an overflowing email inbox!
We will only use your email address to send you emails, no more than 1-2 weekly. In addition, you will have access to my growing library of knit & crochet patterns and other printables. Check back often as this library will continue to grow. You can unsubscribe anytime by emailing me or clicking on the “unsubscribe” link at the bottom of all emails.
And you can access many of the products I refer to on my Nourish and Nestle Amazon Page. You can access it here.
So, if you’d like to participate in the ‘subscriber benefit’ action, simply subscribe to Nourish and Nestle here or use the form on the right sidebar. It’s slightly towards the top.
I have sent all my subscribers the link to the Subscriber Benefits Library. If you missed it or misplaced it, let me know.
Until next time…





I am SO sorry that you have had such troubling days …….
Thank YOU for the reminder to treat ALL with respect, caring and kindness …… I sometimes get impatient and this is the reminder I will keep in my mind .
I hope that today is a little brighter for you ……
Thank You
Oh friend…we all have those periods in our lives, don’t we? Today is definitely brighter for us, but it was a very sobering reminder that we can be so into our own world that we don’t consider that folks are walking around in invisible pain. Thanks so much for your kind words…
Wishing you a blessed day.
Hugs, Lynn
You are Most Welcome …..
and btw, the pillows are Adorable !!!!!!! :0)
Thanks my friend.
Lynn, I am so sorry that you have been through such a bad time. You are in my prayers. Your pillows are fabulous! I have not ever seen heart pillows with straight sides and these are perfect. Your video is great and it really helps me to see how to make them! Hang in there, friend!!
Hey there friend…we all have rough patches…right?
I do love those pillows…there are winging their way to my daughter right now. I’m pretty sure she will enjoy them! I told her to not read that post so hopefully she’ll be surprised.
Many hugs, lynnn
I love your pillows, Lynn! The straight sides make them look legit! I especially love the “Be You” message – something I’m always teaching our kids!
I’m thankful you’re through your dark time – or at least through it enough to blog. I’ve been there. Last year was really tough. We’ve landed in a better place. That’s my hope for you and yours.
Hey there Robin…that is such a great quote and one that we do try to instill.
The pillows are winging their way to my daughter…who is in college and still needs to be reminded to just ‘be you’.
Thanks for swinging by my friend.
Hugs, Lynn
Lynn, I’ve been admiring these ever since you I saw this post come over my email. I loved them so much, I had to go back and admire them one more time. They are nothing short of awesome. I would love to know what your daughter thought when she received them.
Hang in there my dear friend
BIG HUGS
Jenny
Superb post & superb article. Just lovely. Keep up the creative thinking. Wish you all the best.
Thanks so much my friend!Have a great day!
Lynn
Thanks for these instructions! I’d like to try it but wondering why the batting on the sides? Here we are in 2022, 2 + years of Covid and your words still so relevant!
Hi Dee!
The batting on the side is up to you, but I like the way it filled it out a bit more. Have fun with the project! Are they going to be gifts for someone or a gift for yourself?
And thanks for your kind words.
Hugs!