
How to Block Knitting Projects

Instructions and Tips for How to Block Knitting Projects using wet blocking, spray blocking, and steam blocking.
Once you’ve finished knitting your blanket, scarf, throw, washcloth, sweater, or other knit project, you need and want to block it. Sure, you could get away with not blocking, but after all the work you’ve put into it, don’t you want it to look its best? Especially if you are giving your knit project as a gift. Blocking your knitting does make a big difference in how your finished project looks, making it more finished and professional-looking.
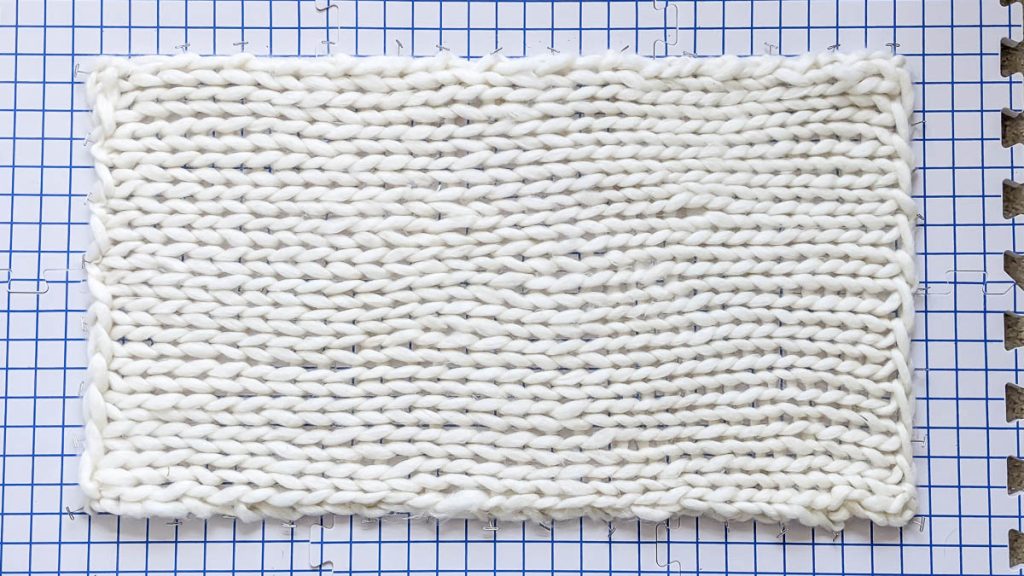
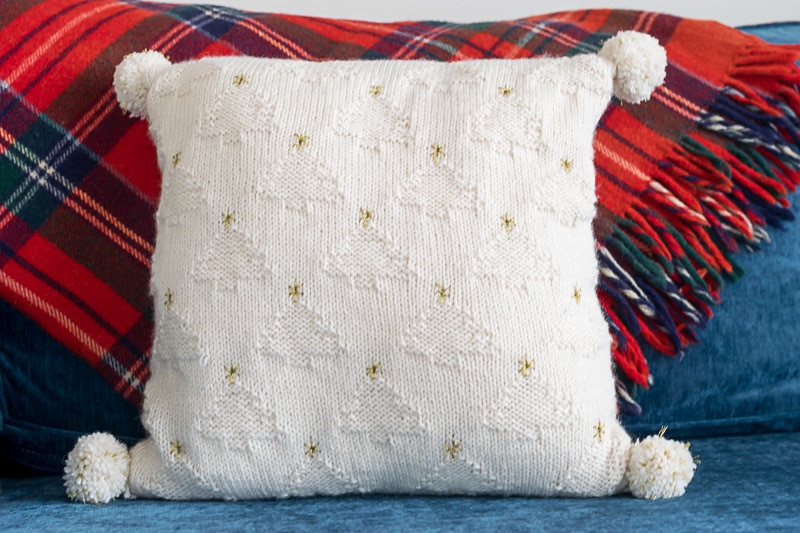
The image below shows the front and back of my Christmas Tree pillow. Blocking it before sewing it together ensured that my seams would be the same size. Even though I cast on the same number of stitches for each piece, variations in tension can cause slight differences in the seam length. Blocking not only evens out loose and tight stitches but allows me to dry it to the size it needs to be.
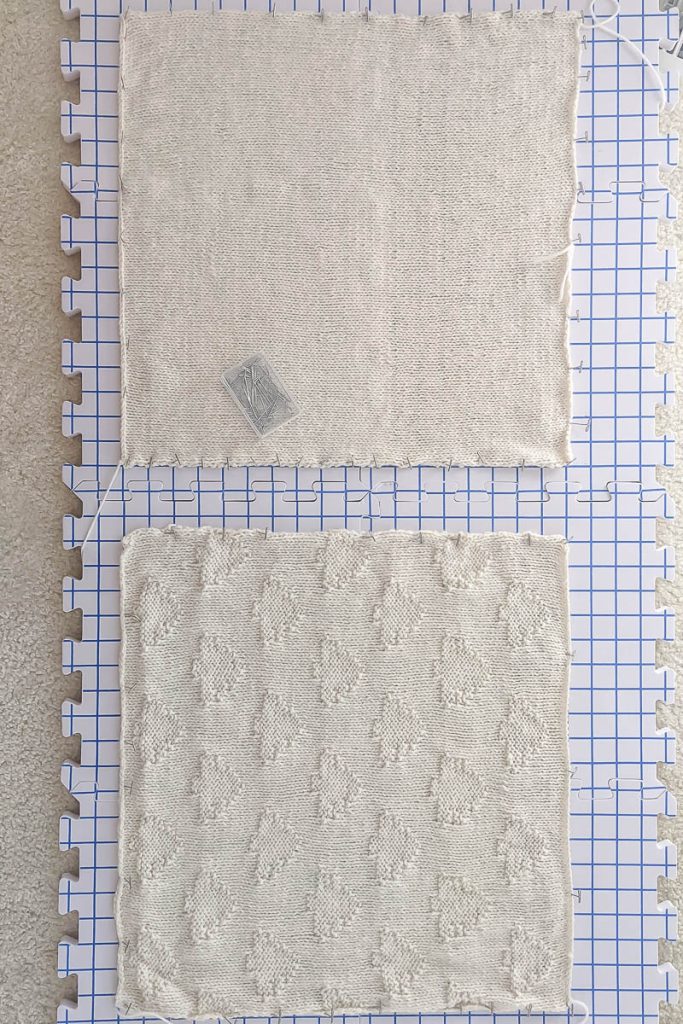
Table of Contents
Why Should You Block Your Knitting?
Blocking your knitting project does several things:
- It evens out the stitches; if you knit one stitch too tight and another too loose, blocking helps everything even out. Blocking is especially necessary if you have a stitch pattern. Eyelets will pop much more after blocking as the lace opens up.
- Blocking will set your knit project to its appropriate size. This is especially important when you will be seaming two knit pieces together, as in a sweater. By blocking them before you seam them, you can ensure that they are the same size.
- Blocking helps create straight edges. That being said, if your stockinette is curling because you don’t have an adequate edge, blocking will not permanently fix that.

There are Three Blocking methods: Wet Blocking, Steam Blocking, and Spray Blocking.
Wet Blocking
The wet blocking process is best for natural fibers and animal fibers like wool, cashmere, merino, and linen. I also wet block my cotton as well, but you do need to be careful that you don’t stretch it as cotton is very inelastic. Many knitters prefer steam-blocking their cotton knit projects, but since most of my cotton projects are baby blankets, they need to be washed anyway.
I almost exclusively wet-block because I like to give my finished knit projects a good wash before I use them or give them away. You wash or soak your knit project with wet blocking per the yarn label instructions. After soaking the knit piece, you shape and pin it to its desired shape and size.
Materials Necessary for Wet Blocking Your Knitting
- Wool Wash, I like to use Eucalan No-Rinse Wool Wash. Not only does it not require rinsing, but the Eucalyptus and Lavender scents repel moths. Eucalan is good for both wool and other animal and plant fibers.
- A clean sink, tub, or basin
- Towels – Absorbent, clean towels preferably in a white or light color
- Blocking Pins / T-Pins – stainless steel pins that don’t rust
- Knit Blocking Mats or another blocking surface. I really like my Knit IQ Blocking Mats, but you could also use foam mats, a yoga mat or a makeshift blocking board by laying a plastic sheet over a spare bed or the floor and then laying towels over that. I did the makeshift thing for many years before I purchased the Blocking Mats, they were an expense well worth it if you knit frequently. The grid lines on the mat are very helpful, otherwise, you will a tape measure to make sure you block to the right size. I have two sets of the mats so that I can block my blankets.
- Pattern or the shape and desired dimensions of the finished project.
- Blocking Wires or String are useful for lace knitting, shawls, and sweaters.
- Sock Blockers for socks
How to Wet Block
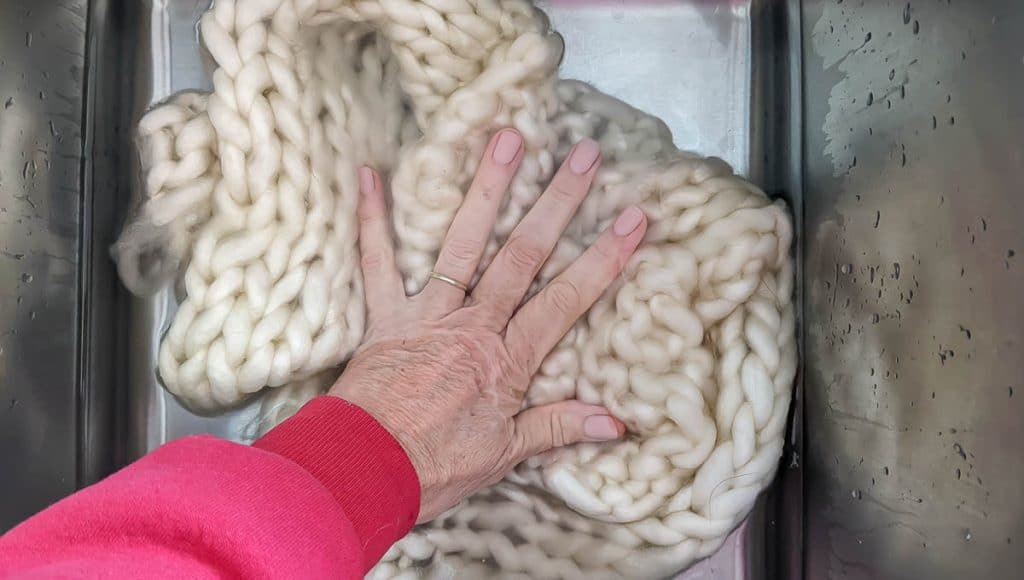
Depending on your yarn’s washing instructions and detergent instructions, wash or soak your garment in cool water. In this image, I am soaking my knit project in my kitchen sink, but I have also washed my knit projects on the delicate cycle in my washing machine before blocking. Soaking gives the yarn a chance to fill with water. It is important to remember that the more you agitate your fiber, the more you risk the fabric felting.
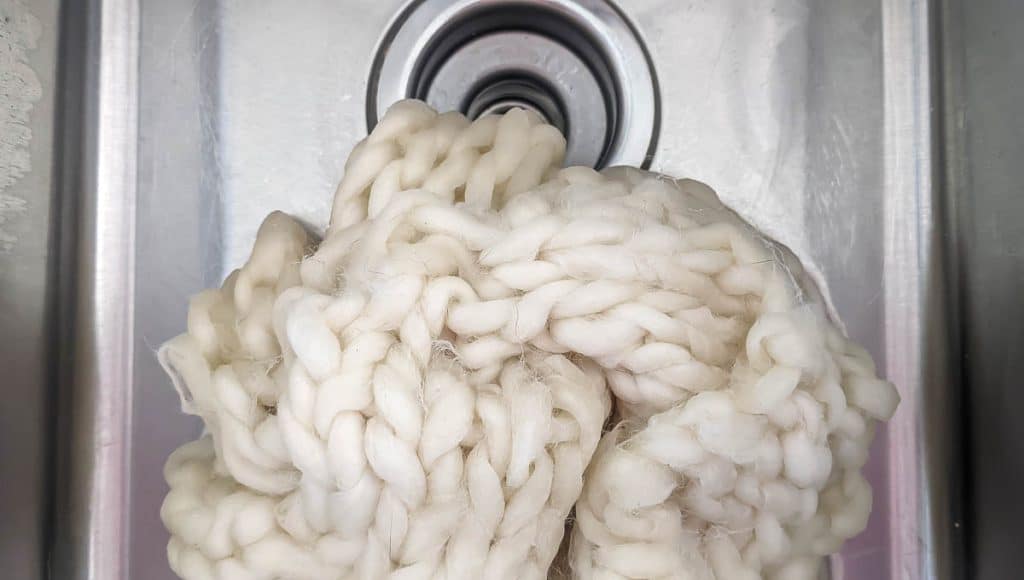
Let the water drain from the sink and your knit project for several minutes.
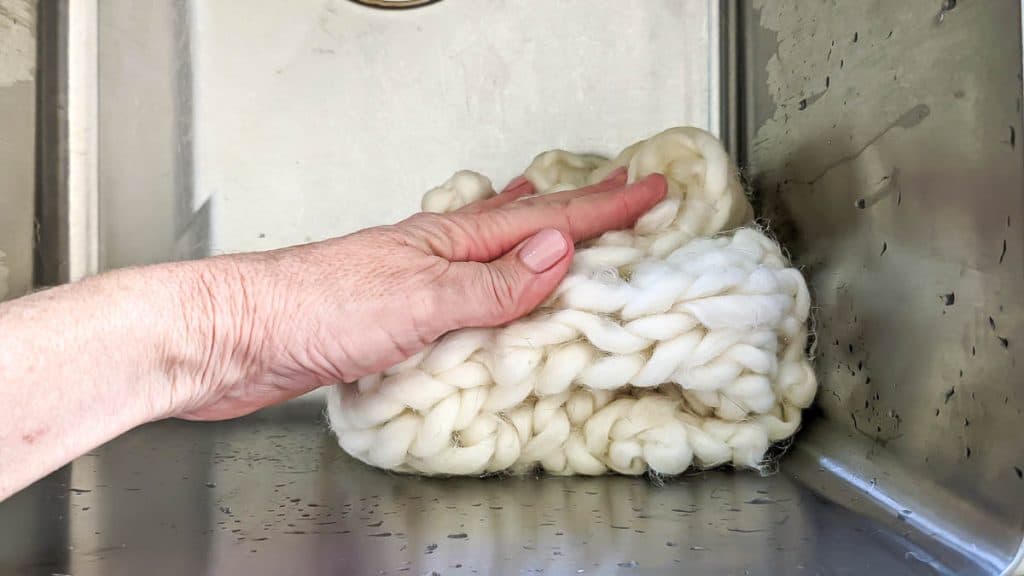
Then, press your knitted piece against the side or bottom of your sink or tub to release even more water. Whatever you do, DO NOT WRING OR TWIST your knit piece.
Place a clean, well-washed, absorbent dry towel on your counter or another flat surface. Ensuring that your towel is well-washed will reduce the likelihood that excess dye will bleed onto your knit item. If possible, use a white towel.
Remove your knitted item from the sink/tub, supporting your piece so that it doesn’t stretch, and place it on the towel. Just a warning, cotton becomes very stretchy when wet, pay particular attention to supporting your cotton knit.
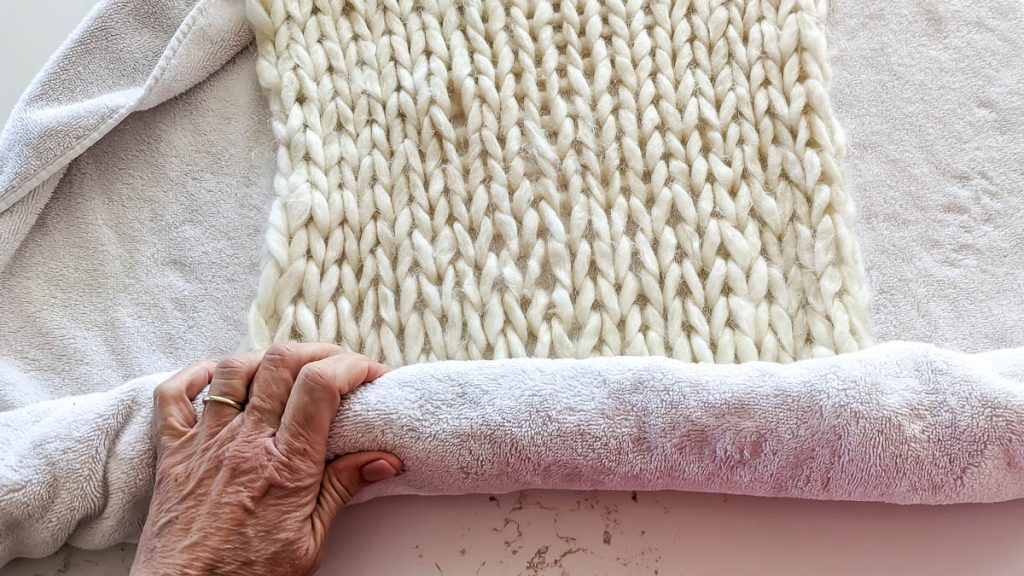
Roll your knitted fabric in the towel snugly (like a jelly roll) removing as much excess water as possible from the knit piece. For heavy wool, you may need to use more than one towel.
You know you are done with the towel when you can pick up your knit piece and no water drips from it.
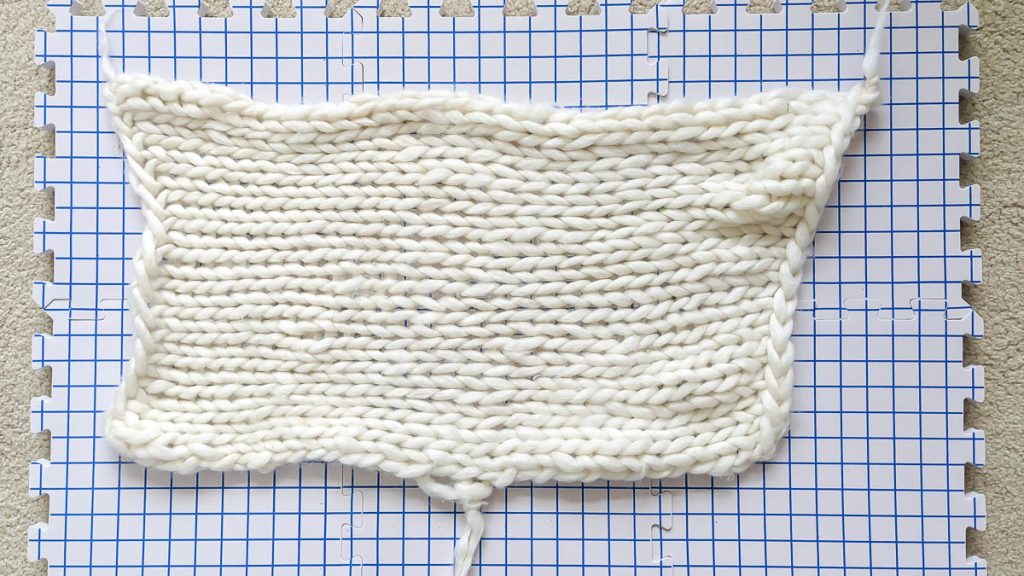
Place your wet fabric on your blocking mat, shape it and pin it to the correct shape and size.
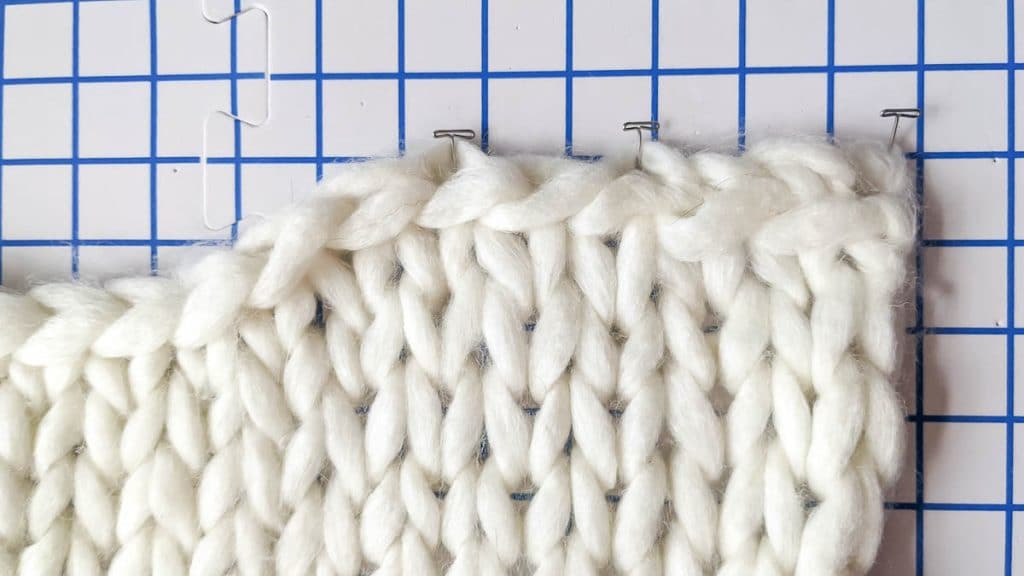
I like to pin from the outside of the piece going into the piece, I feel I am less likely to pull/stretch the piece this way.
With both Steam Blocking and Spray Blocking, you shape and pin your work onto your blocking mat before you dampen it.

Steam Blocking
Steam Blocking is useful for acrylic yarn and cotton yarn, if you are concerned that your cotton will stretch with wet blocking, when your fabric doesn’t need much stretching or when you only need to block a small area of your knit project.
Materials Necessary for Steam Blocking Your Knitting
- Steam Iron or Steamer
- A flat, heat-resistant blocking surface like an ironing board, countertop, or knit blocking mat.
- Blocking Pins / T-Pins – stainless steel that doesn’t rust
- Pattern or the shape and desired dimensions of the finished project.
- Blocking Wires or String are useful for lace patterns, lace shawls, and some sweaters.
How to Steam Block
- If you aren’t using a blocking mat, make sure your surface is covered with a heavy blanket or towel for protection.
- Lay out your knitted piece on your surface, pinning it to the shape or desired final dimensions.
- Set your iron to its steam setting and hold it an inch above your knitted piece and press steam. Be very careful to not let the hot iron touch your knit fabric.
- While the fabric is slightly damp from the steam, use your hands to form the fabric to its desired shape and size.
- Let the fabric cool completely before removing pins.
Spray Blocking
Alpaca, angora, silk, bamboo, acrylic fabric, and other synthetic fibers work well with spray blocking. Spray blocking is best with delicate fibers and knit pieces that don’t need much stretching or shaping.
Materials Necessary to Spray Block Your Knitting
- Spray bottle with clean, cold water
- A flat blocking surface like an ironing board, countertop, or knit blocking mat.
- Blocking Pins / T-Pins – stainless steel that doesn’t rust
- Pattern or the shape and desired dimensions of the finished piece.
- Blocking Wires or String are useful for lace patterns, a lace shawl, or a sweater.
How to Spray Block
- If you aren’t using a blocking mat, make sure your surface is covered with a heavy blanket or towel for protection.
- Lay out your knitted piece on your surface, pinning it to the shape or desired final dimensions.
- Use your spray bottle to mist the fabric until both sides are damp.
- While the fabric is slightly damp, use your hands to form the fabric to its desired shape and size.
- Let the fabric cool completely before removing pins.
Is Blocking Your Knitting Necessary?
Honestly, there is no rule that says you have to block. But you just went through all the time and effort to create a beautifully knit piece, surely you can take a few minutes to really finish it off nicely.
Do You Have to Block Your Knitting Every Time You Wash it?
No, but you will have to reshape your knit piece and let it dry flat after each wash.
Should You Weave in Your Ends Before Blocking?
Yes! Always weave in your ends before blocking as the blocking process will lock the loose ends in place.
Can You Make a Knit Piece Bigger by Blocking?
No, well…technically you could stretch a knit piece. But you will stretch it out of shape if you try to make it much bigger.
How Long Does it Take to Block Knit Pieces?
It will take you about 30 – 40 minutes from when you start soaking your knit piece until it is fully pinned on your blocking mat. Then, depending on the humidity, it will take a day or two to fully dry on your knit blocking mat.
If you want to learn how to knit or are looking to brush up on your knitting skills and knowledge, pop over to the How to Knit page, which houses all of the posts that teach knitting skills. Or, you could go ahead and visit each one by clicking the links below.
All About Knitting
- All About Yarn, including different fibers and weights, how to read a yarn label, and a Yarn Weights Chart
- All About Knitting Needles, including material, sizes, styles, and a Needle Conversion Chart.
- How to Cast On Using the Long-Tail Method, including calculating how much yarn is needed to cast on and how to make a slip knot.
- How to Knit the Knit Stitch
- How to Knit the Purl Stitch
- How to Knit the Seed Stitch
- How to Bind Off, including how to weave in your loose ends.
- How to Read a Knit Pattern, including a Common Knitting Abbreviations Chart.
- This simple Garter Knit Dishcloth will let you put all your new skills to good use!
- How to Block Your Knitting.
- Common Knit Errors; How to Prevent or Diagnose and Fix Them
- Join yarn using the Russian Join
- How to seam pieces of knit fabric with the Mattress Stitch (for sweaters, tops, pillows, etc…)
- How to Knit in the Round with Circular Needles
- How to Knit in the Round with Double-Pointed Needles
- How to Knit in the Round using the Magic Loop Technique.
- Organize Your Knitting with these free printables.
- Check out our Gift Ideas for Knitters.
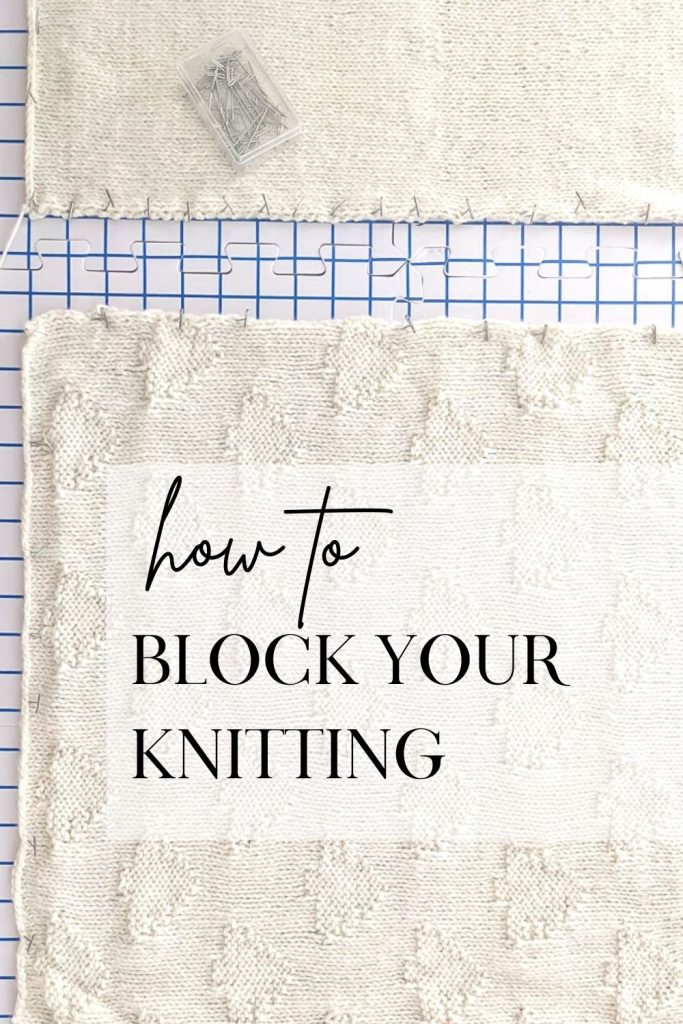
Bookmark this page or pin the following image to refer back to this post on Blocking knitting in the future.
Thanks again for spending a few minutes of your busy day with me today. Please know that I welcome each and every comment that comes my way. If you want to make sure you don’t miss future content, pop your email in the beige box up on the right or click here. I usually send out 1 email a week, so I won’t inundate your inbox…believe me, I’m sensitive to an overflowing email inbox!
When you subscribe to Nourish and Nestle, be assured that we will only use your email address to send you emails that will keep you up to date with the latest news and content on the site. In addition, you will have access to my growing library of knit patterns, crochet patterns, as well as other printables. This library will continue to grow, so check back often.
Please know that you can unsubscribe at any time by emailing me or clicking on the “unsubscribe” link at the bottom of all emails.
Did you know that you can access many of the products I refer to in all of my posts on my Nourish and Nestle Amazon Page? You can access it here.
So, if you’d like to get in on the ‘subscriber benefit’ action, simply subscribe to Nourish and Nestle here or use the form on the right sidebar. It’s towards the top a bit. I have sent all my subscribers the link to the Subscriber Benefits Library. If you missed it or misplaced it, drop me a line.
Until next time…
Hugs,


Hi Lynn,
I have started blocking my woolie creations and yes what a difference. I just made a hat for hubby. Love the colors but the fairly expensive yarn was really rough to me. I was disappointed because it was one of a few hanks purchased. So I thought a little soak and read hair conditioner put in and rinsed helps. Any tricks to help? Thanks! PS my grandson just handed me a snowman from his room saying its been up a few years. He is 4. Yep you can put on the stairs to pack away( finally lol)
Hi Deb, Did you use the hair conditioner? I’ve heard that as well, but I haven’t used it. What was it that you were disappointed in?
And I yesterday, I just realized that I left out the knit Christmas tree pillow I made! I figure by Valentine’s Day it will all be put away. I did unplug the lights on the wee tree outside, but haven’t put it away yet either!
Do let me know about the hat.
Hugs, Lynn
A brilliant article on blocking! I’ve avoided blocking any project, as I’m still fairly new to knitting. After reading, I feel pretty confident! Thank you so much!
Cheers
Oh YAY Jacqueline! I’m thrilled that you found it so useful! That was certainly my goal.
I really appreciated you taking the time to write in. It’s nice for me to hear that folks find my content useful!
Hugs!