Crochet Keychain, Mirror or Purse Charm – Strawberry Pot

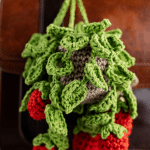


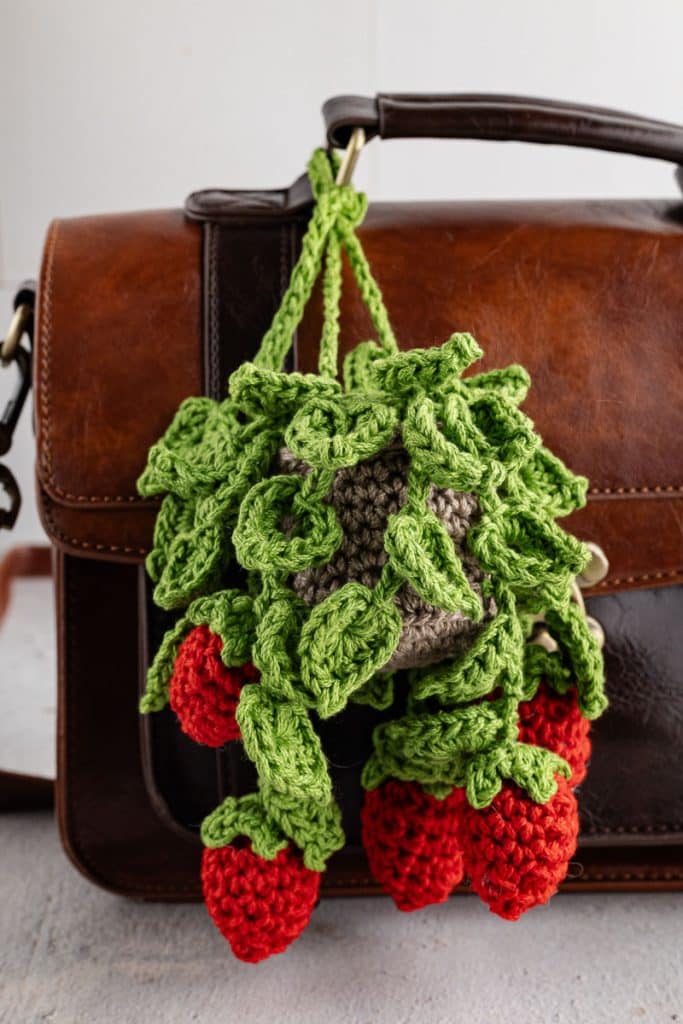
Looking for a fun and whimsical crochet project you can finish in an afternoon? This strawberry pot crochet keychain is equal parts charming and practical. Whether you hang it from your keys, rear-view mirror, or purse, it’s a sweet little accessory made up of tiny crocheted strawberries, leafy vines, and a cozy little pot—all together in a handmade bundle that’s perfect for gifting or keeping.
The whole project starts with a magic circle, a handy technique that gives your crochet work a neat, closed center. If you haven’t used the magic ring before, it might feel a little fiddly at first, but once you get the motion down, it’s easy to use again and again for all sorts of circular motifs. I’ve linked a video below that walks you through the steps of the magic ring.
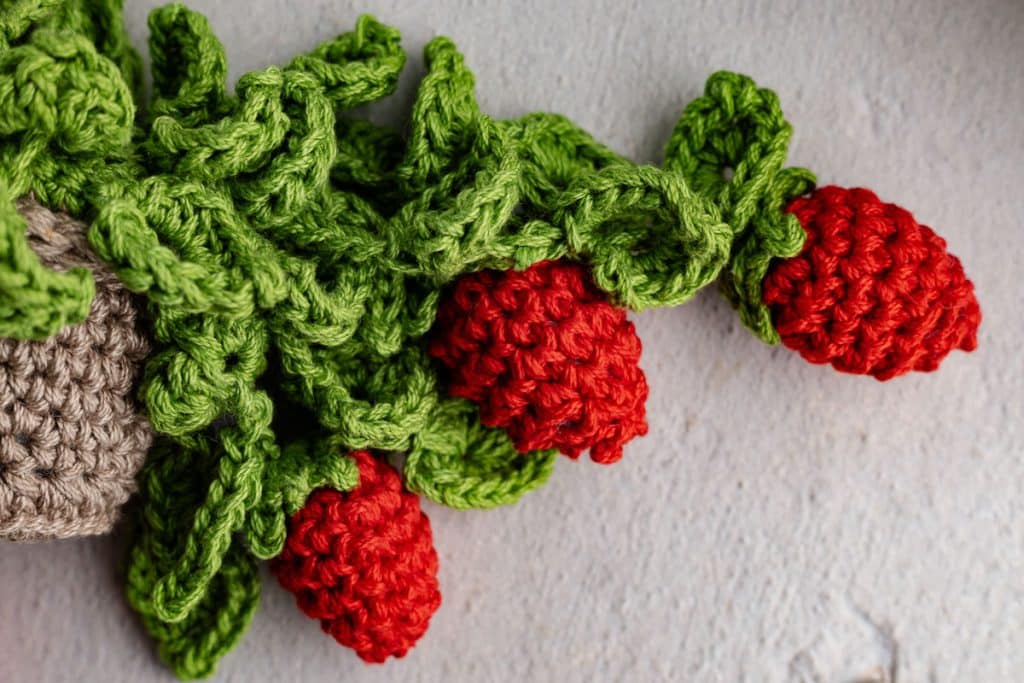
You’ll only need a few materials—some cotton yarn in red, green, and brown, a crochet hook, and a bit of stuffing. Once you’ve made each part—the pot, the leaves and vines, the strawberries, and their leafy tops—it’s just a bit of hand sewing to bring it all together. It’s the kind of project that’s satisfying to make and even more fun to show off once it’s finished.

Table of Contents
Skill Level + Estimated Time to Complete
From start to finish, this little strawberry pot crochet keychain should take you less than 6 hours. This pattern assumes intermediate knowledge of crochet.
Tips for Success
- Use stitch markers to keep track of rounds, especially when working in tight spaces like the strawberries or pot base.
- Stuff lightly—overstuffing the pot or berries can stretch the stitches and distort the shape.
- Make the hanging cords last, after assembling the pot and vines, so you can balance the weight evenly for hanging.
- Thread all your long tails on tapestry needles before assembling—it streamlines the sewing process.
- Adjust the size of your keychain as needed. As written, the pattern has four crochet leaves on each of the ten vines. You can cut the number of leaves (as well as vines) back to result in a smaller crochet keychain.
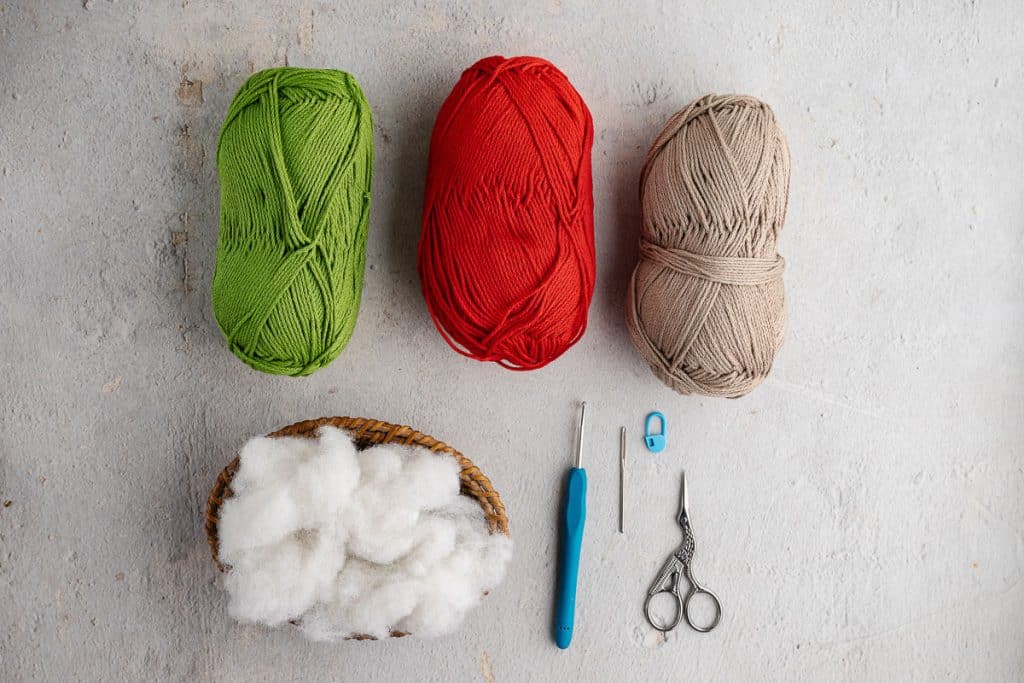
Materials for Strawberry Pot Crochet Keychain, Purse Charm, or Rear Mirror Charm
Some of these links may be Amazon affiliate links and I may earn a small commission from the sale of these products to help defray the costs of operating this site, but the price you are charged is not affected. You can see my full disclosure policy here.
- Lion Brand 24/7 Cotton in red, green, and taupe, or the preferred color for the pot.
- 4.00 mm crochet hook
- Polyfill stuffing
- Tapestry needle
- Fastener (optional)
- Scissors
- This free Strawberry Pot Crochet Keychain or Charm Pattern is available in this post below and as an ad-free printable PDF for subscribers. You can find the pattern in the Library (your super secret password is included at the bottom of every Monday’s Newsletter email) or email me, and I’ll send it to you. Not a subscriber? C’mon—we’d love to have you. A subscription costs nothing and gives you access to all our printables and pattern PDFs. Click here to subscribe and have the pattern PDF emailed to you.
Finished Size
The strawberry pot keychain measures approximately 6 inches tall.
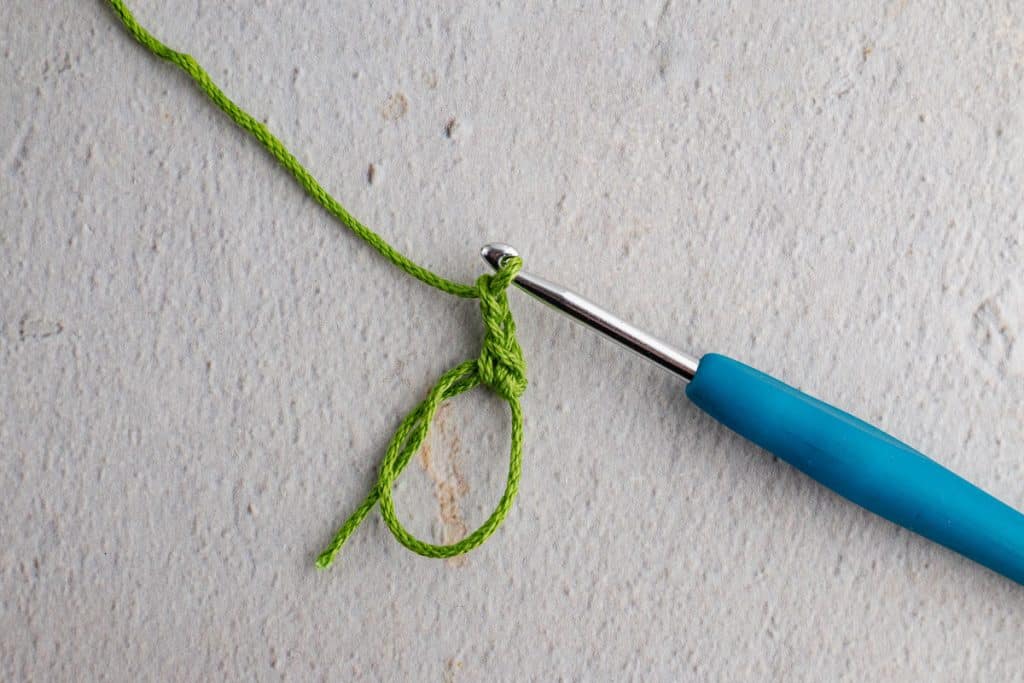
The Magic Circle or Magic Ring
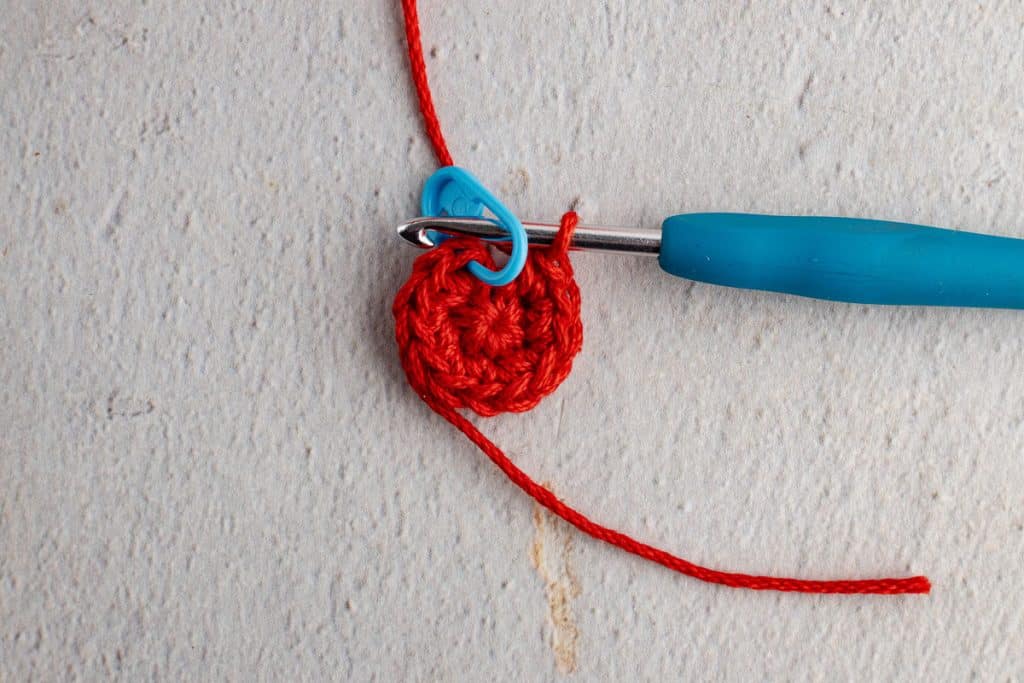
The first step in crocheting this keychain is making the magic circle or magic ring. Everything else builds off that ring. Crocheting the magic ring is very simple, but as is often the case, a video makes explaining the process much easier. I produced this wee video for these crochet bookmarks, but it describes and illustrates the magic ring or magic circle just as well for this crochet keychain.

Instructions to Make a Strawberry Pot Crochet Keychain, Purse Charm, or Rear Mirror Charm
The charm is made of five parts:
- The Pot
- Greenery and Vines
- Strawberries
- Strawberry Stems
- Hanging Cord with Leaf
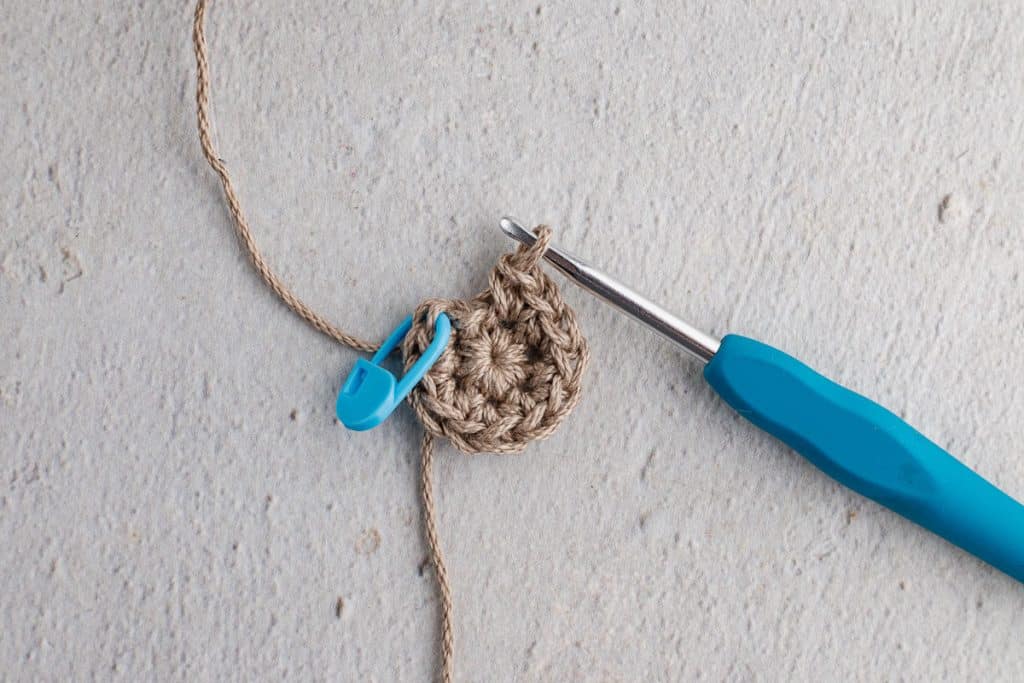
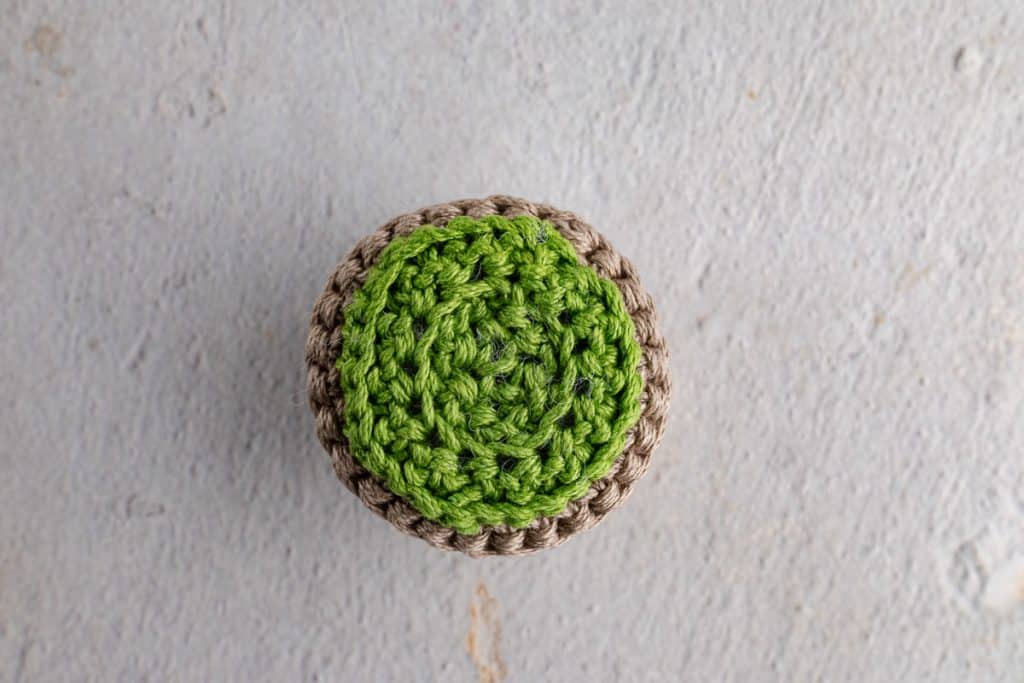
Pot
Using brown or taupe yarn:
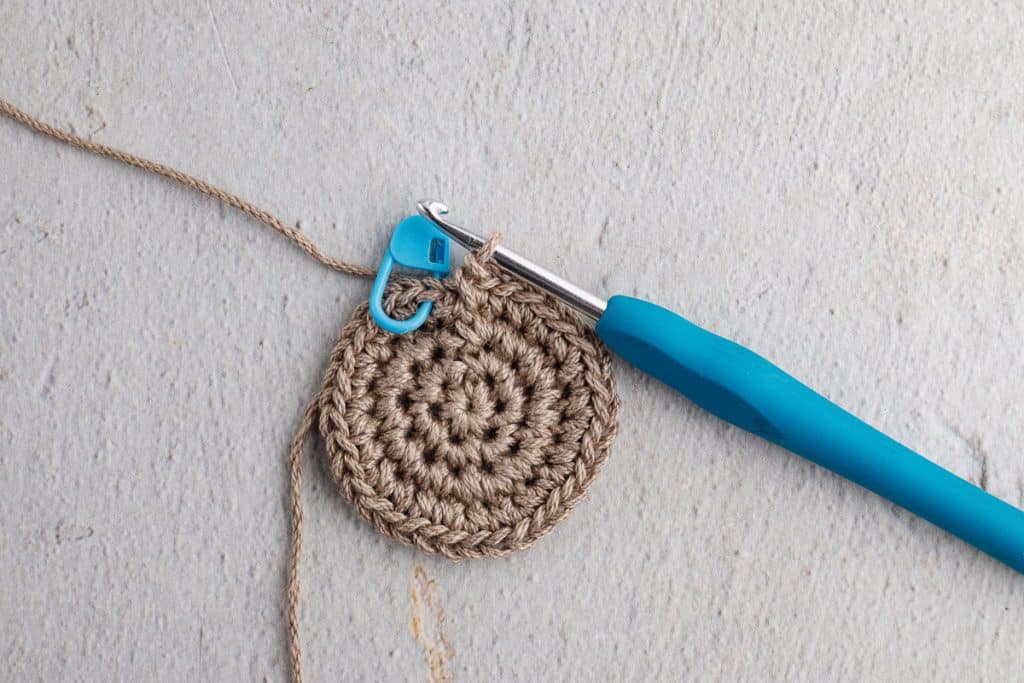
- R1: In a magic ring, sc 6. Sl st to first sc to close the round. Ch 1. (6 sts)
- R2: 2 sc in each st around. Sl st to first sc, ch 1. (12 sts)
- R3: 2 sc in each st around. Sl st to first sc, ch 1. (24 sts)
- R4: (1 sc, 2 sc in next st) repeat around. Sl st to first sc, ch 1. (36 sts)
- R5: Working in back loops only, sc2tog around. Sl st to first sc, ch 1. (18 sts)
- R6: Sc in each st around. Sl st to first sc, ch 1. (18 sts)
- R7: (1 sc, 2 sc in next st) repeat around. Sl st to first sc, ch 1. (27 sts)
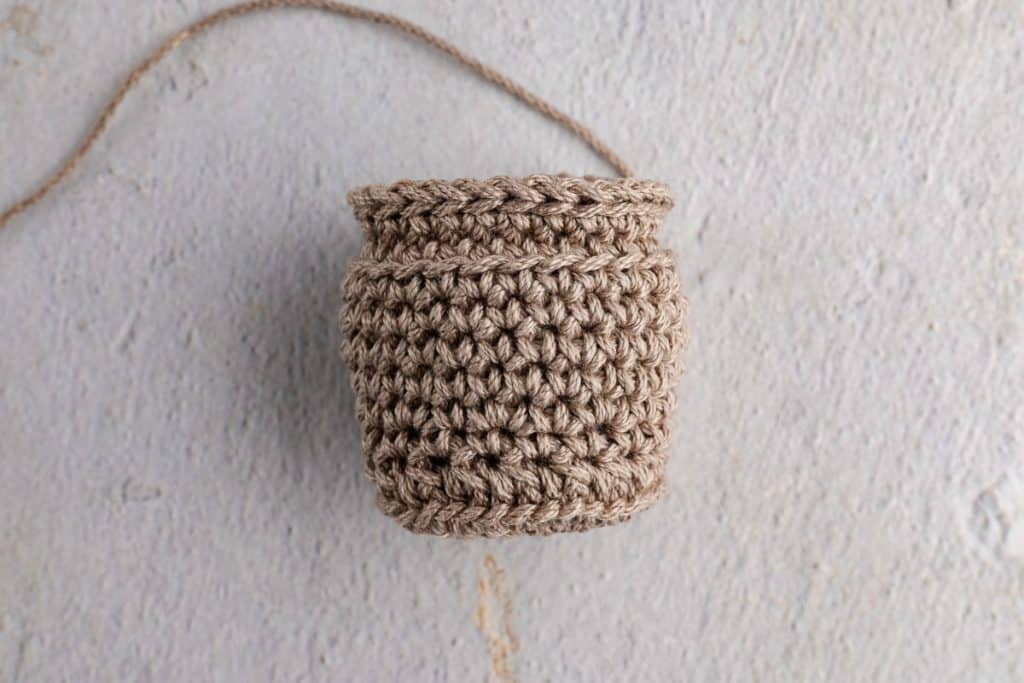
- R8–R10: Sc in each st around. Sl st to first sc, ch 1. (27 sts)
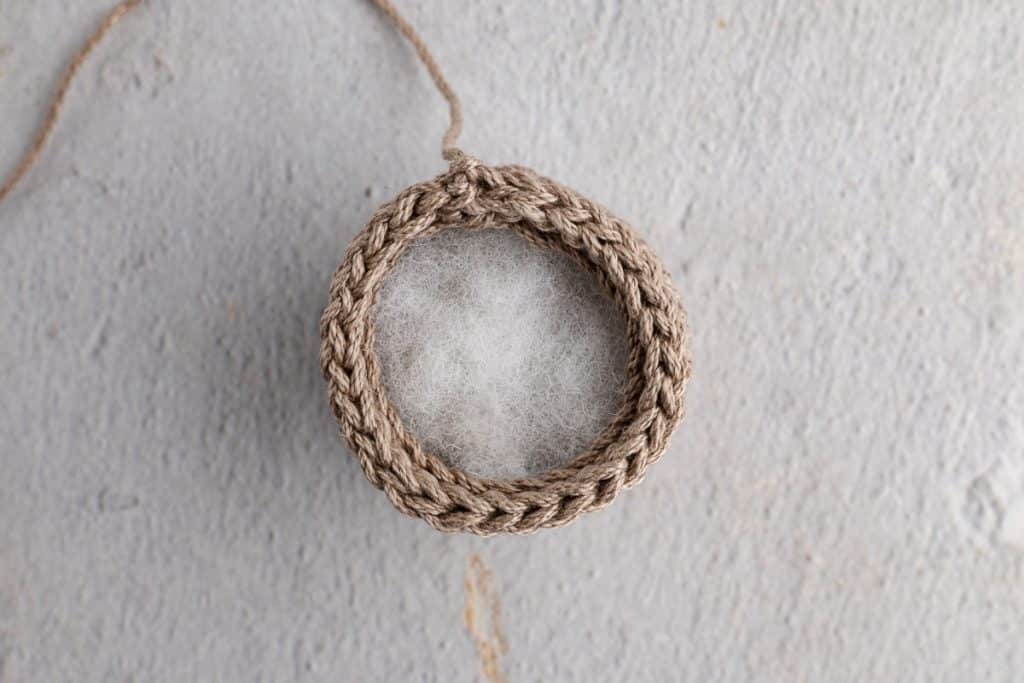
- R11: Working in back loops only, sc around. Sl st to first sc, ch 1. (27 sts)
- R12: Working in front loops only, sc around. Sl st to first sc, ch 1. (27 sts)
These loops will serve as anchors to attach the greenery later.
- R13: Sl st in each st around. Tie off and weave in ends.
Stuff the pot with polyfill up to the loops made in Round 12.
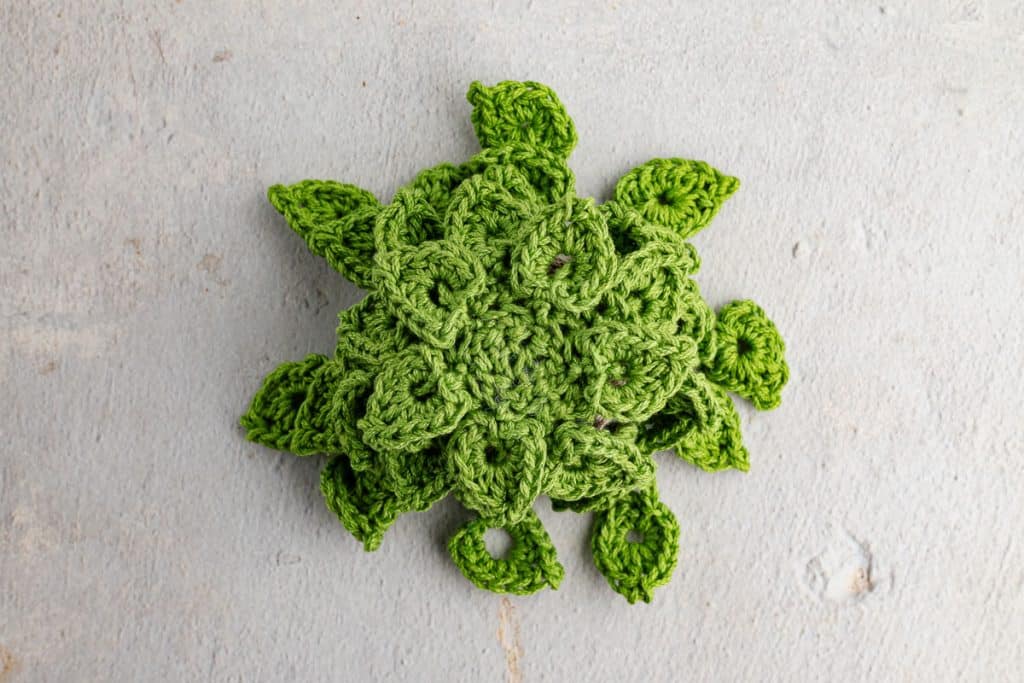
Top of Pot
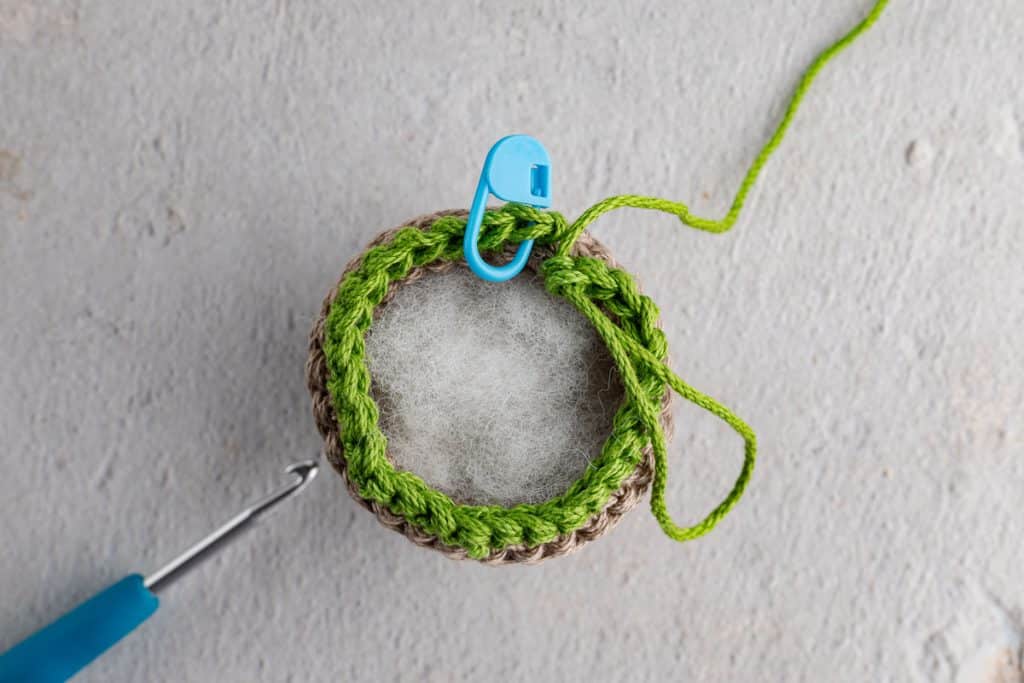
To close the pot with green yarn:
- R1: Attach green yarn to any front loop from R12. Sc in each front loop around. Sl st to first sc, ch 1. You can add or subtract one stitch to get an even number of stitches for the next two decrease rounds. I did 28 SC.
- R2: Working in front loops only, sc2tog around. Sl st to first sc, ch 1. (14 sts)
- R3: Repeat sc2tog around, working in front loops only. Sl st to first sc. (approx. 7 sts)
- Sew shut and weave in the end.
Crocheting in the front loops creates more visible loops for attaching greenery.
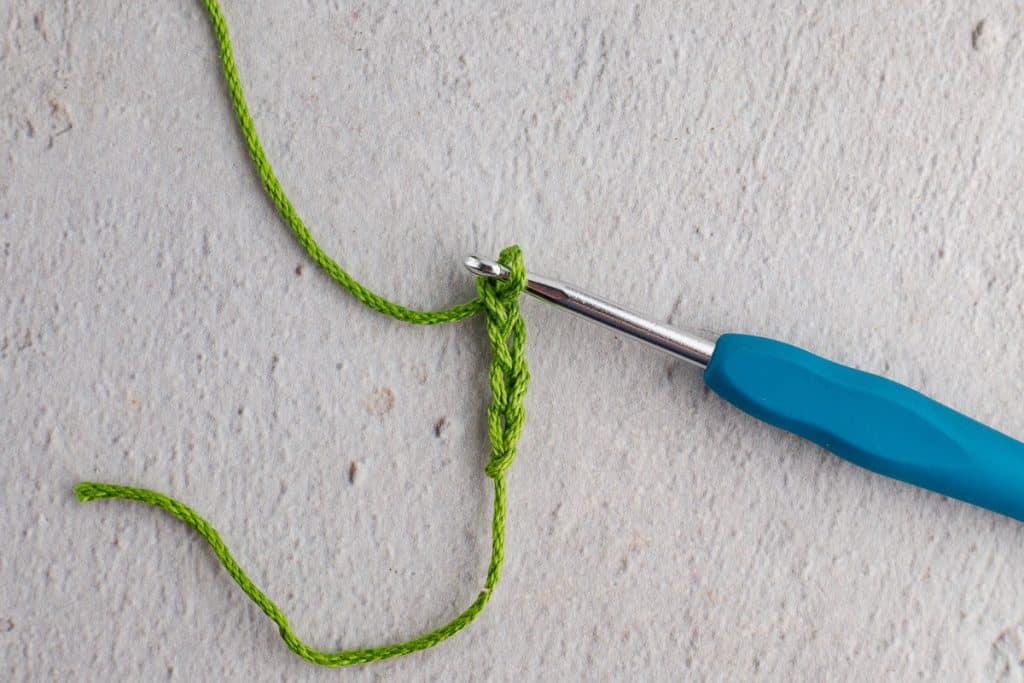
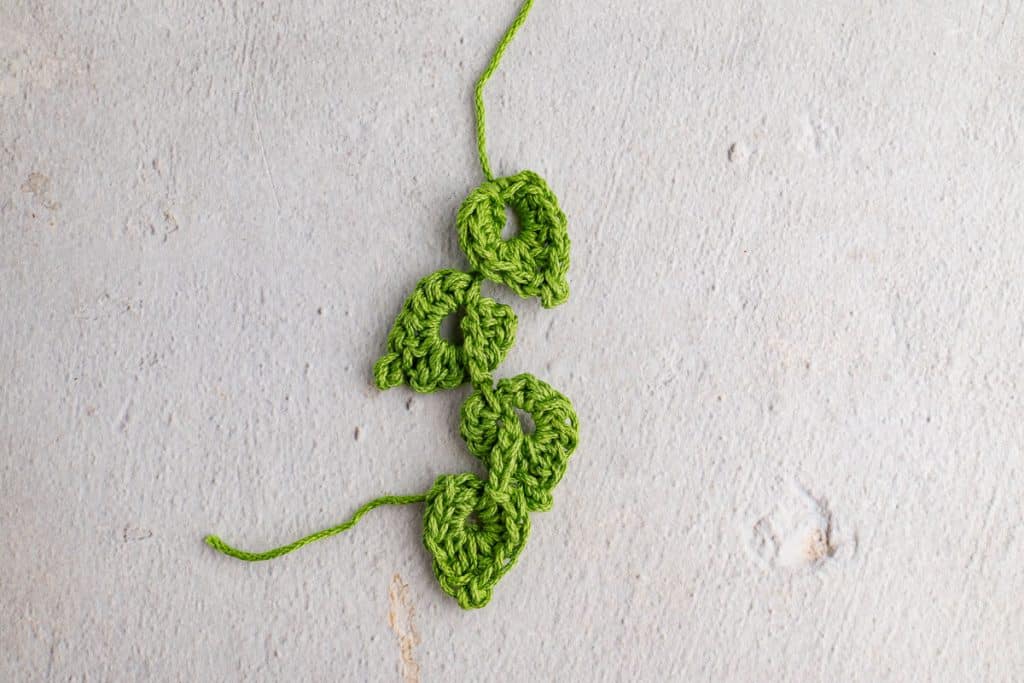
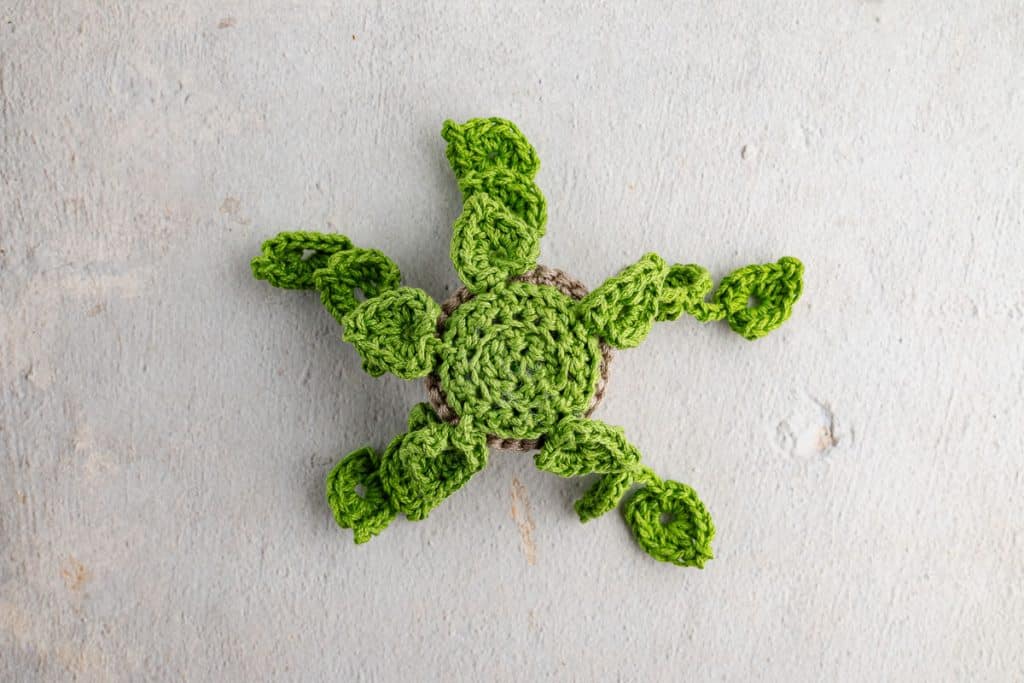
Leaves and Vines
Each “vine” has four leaves. I made 10 vines, but make as many as you like. Do not fasten off between leaves.
Using green yarn:
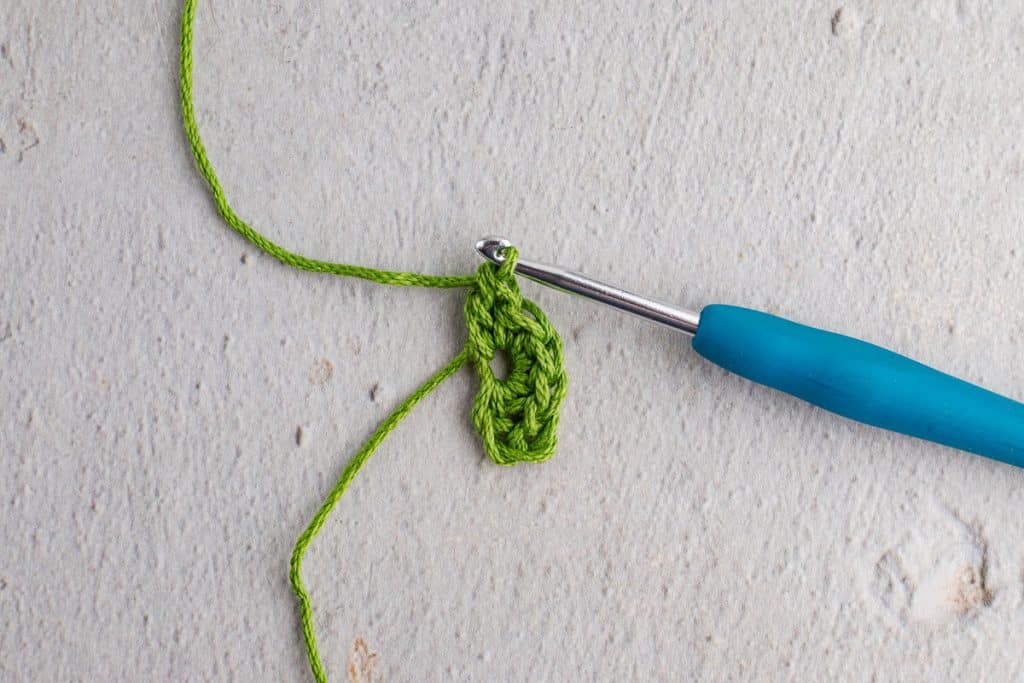
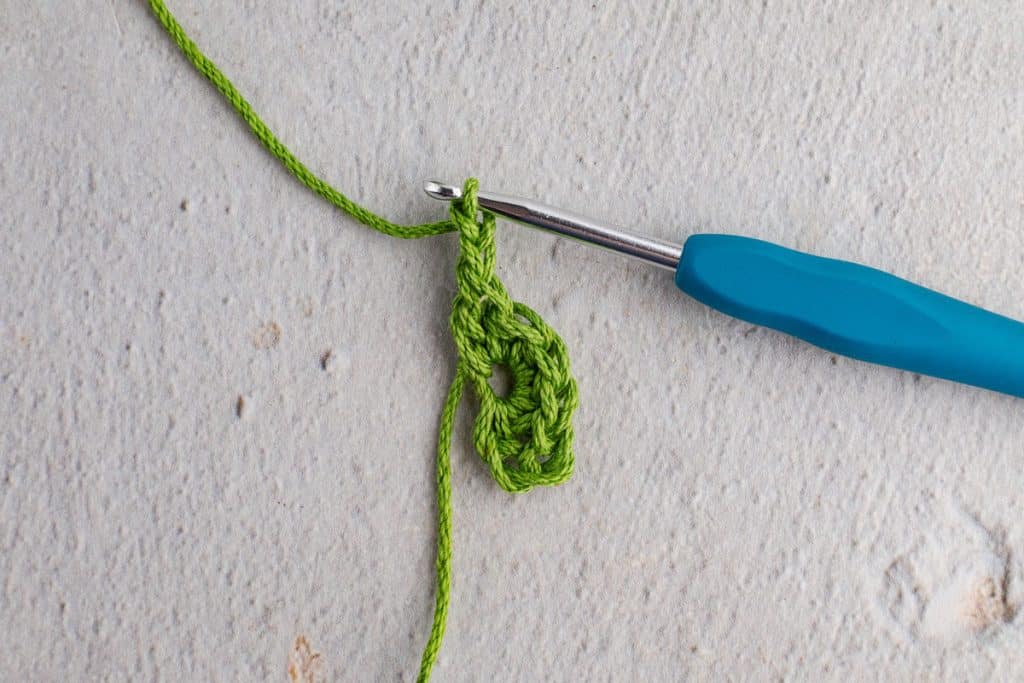
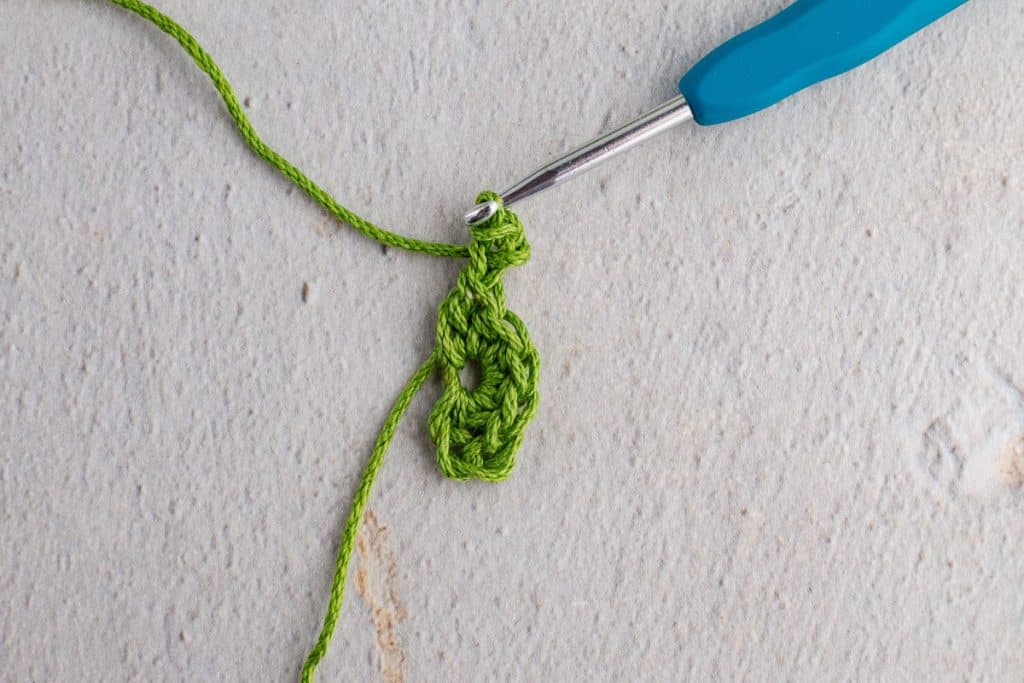
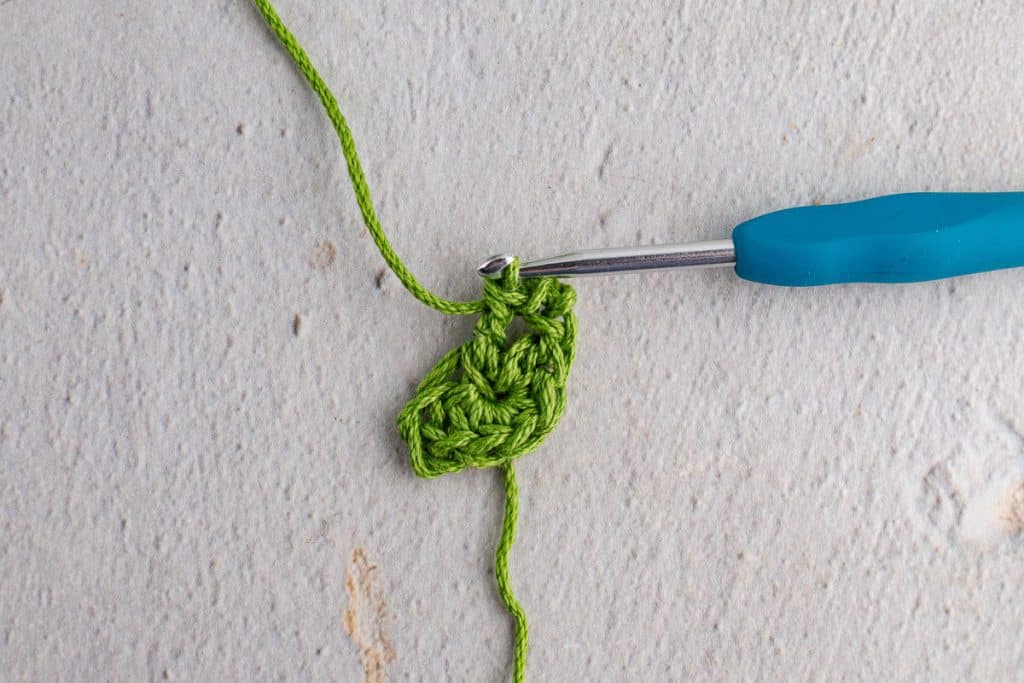
- Ch 4, make four hdc in the 4th ch from the hook. In the same ch, make one dc.
- Ch 2, sl st in 2nd ch from hook. In the same base ch: 1 dc, four hdc. Sl st in same base ch. (1 leaf made)
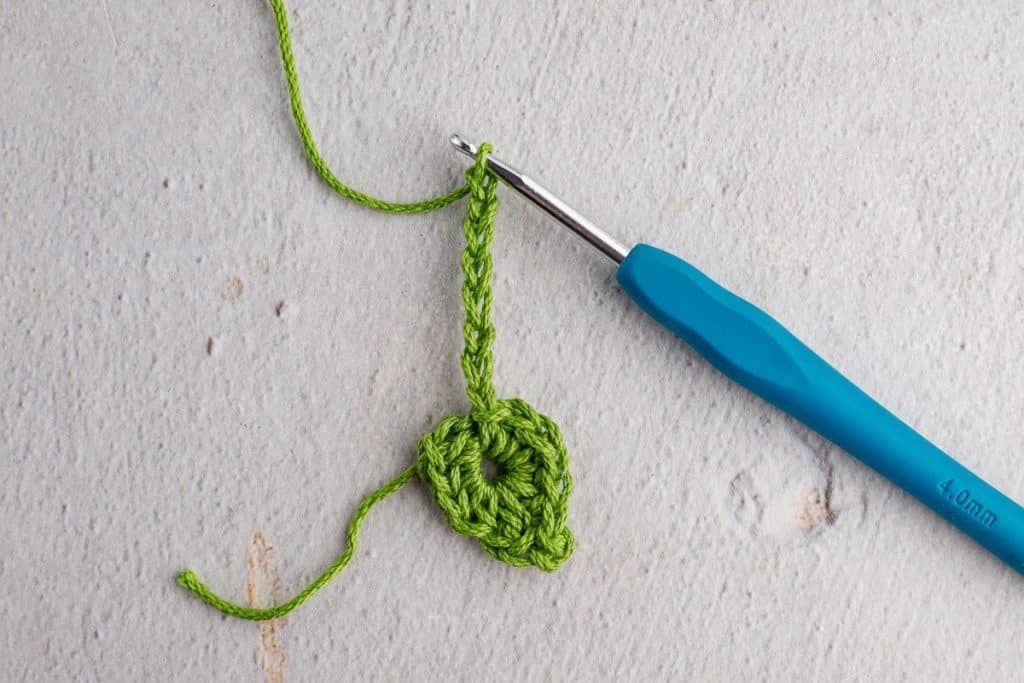
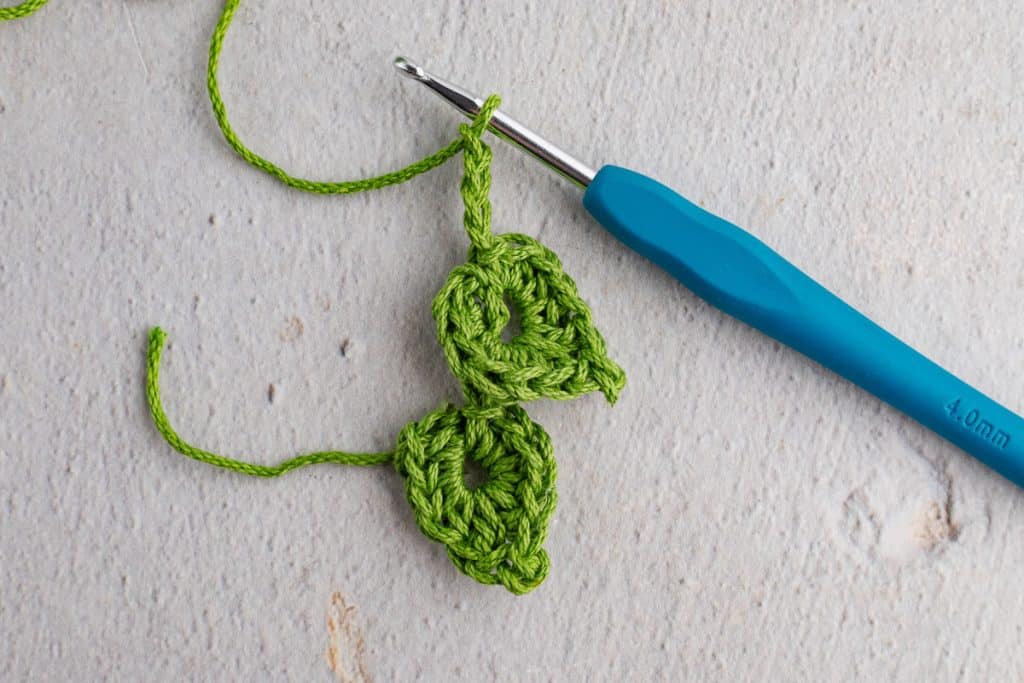
- Ch 8. Repeat the leaf process into the 4th ch from the hook.
- Make a total of four leaves on the same vine. After the last leaf, fasten off and leave a long tail for sewing.
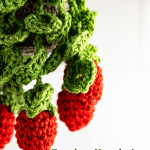
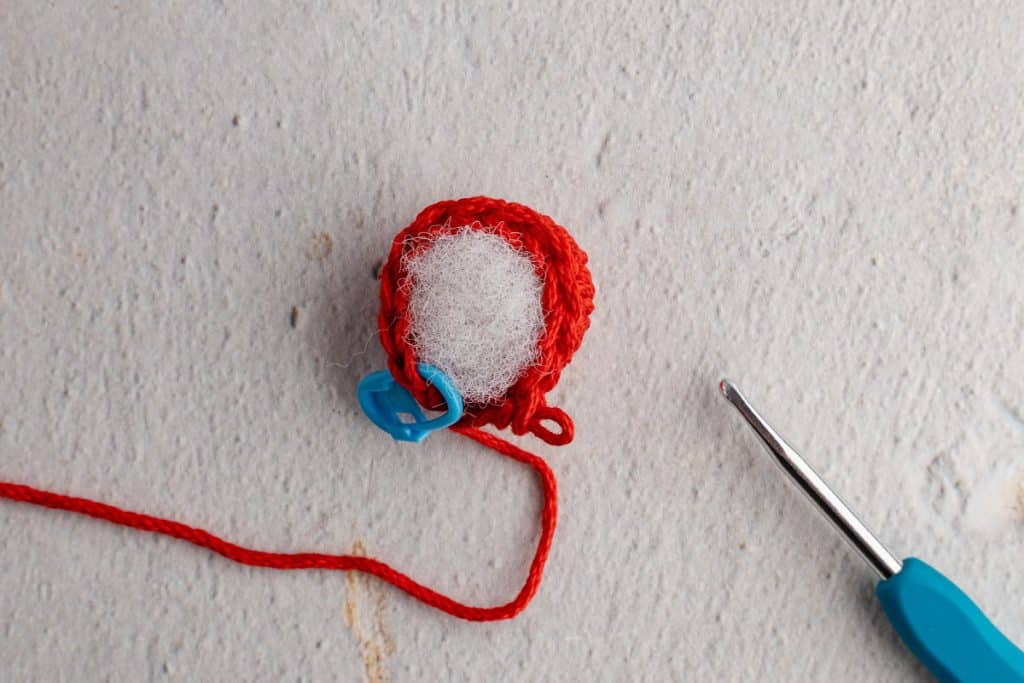
Strawberries
Make five strawberries. Using red yarn:
- R1: In a magic ring, sc 6. Sl st to first sc, ch 1. (6 sts)
- R2: 2 sc in each st around. Sl st to first sc, ch 1. (12 sts)
- R3–R4: Sc in each st around. Sl st to first sc, ch 1. (12 sts)
- R5: (1 sc, sc2tog) repeat around. Sl st to first sc, ch 1. (8 sts). Stuff the strawberry.
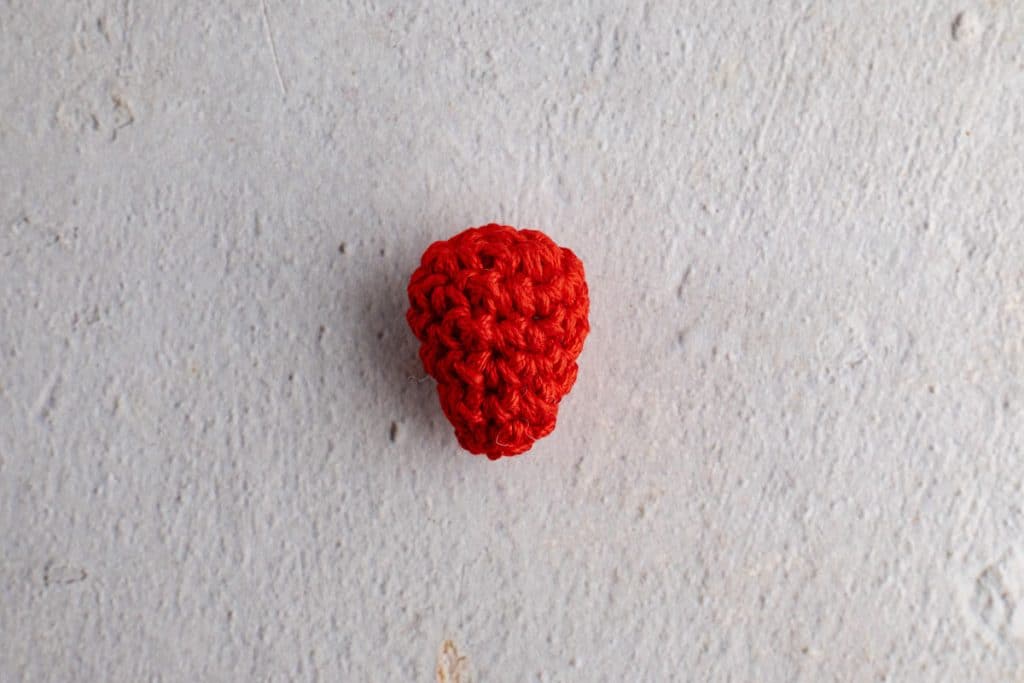
- R6: sc2tog around. Sl st to first sc. (approx. 4 sts)
- Fasten off, sew shut, and weave in the ends.
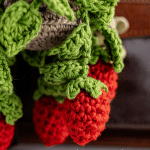
Strawberry Caps
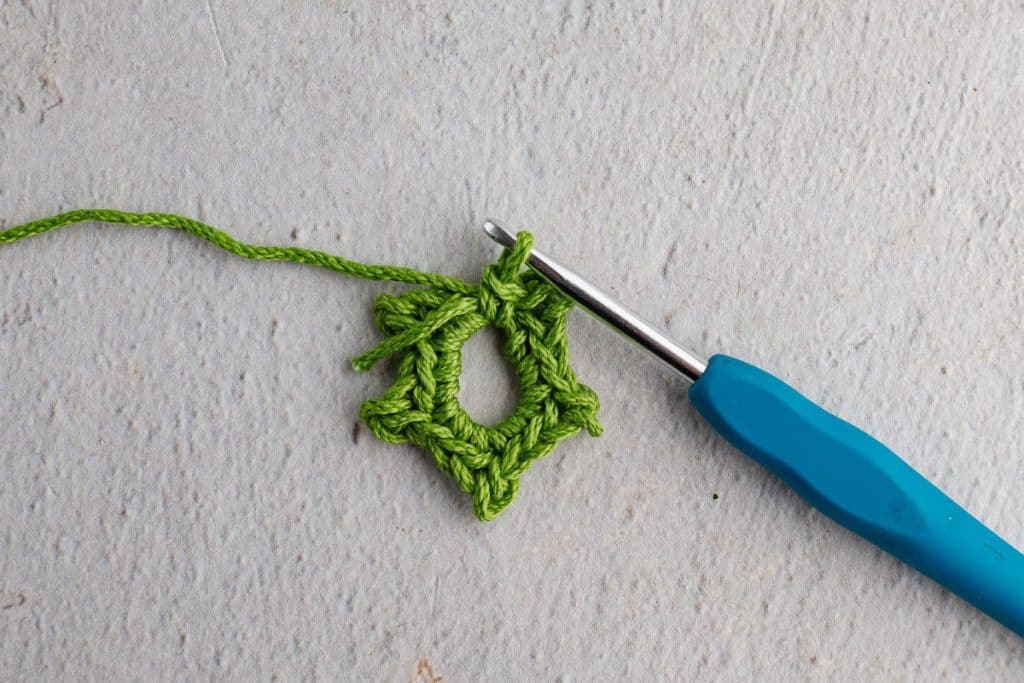
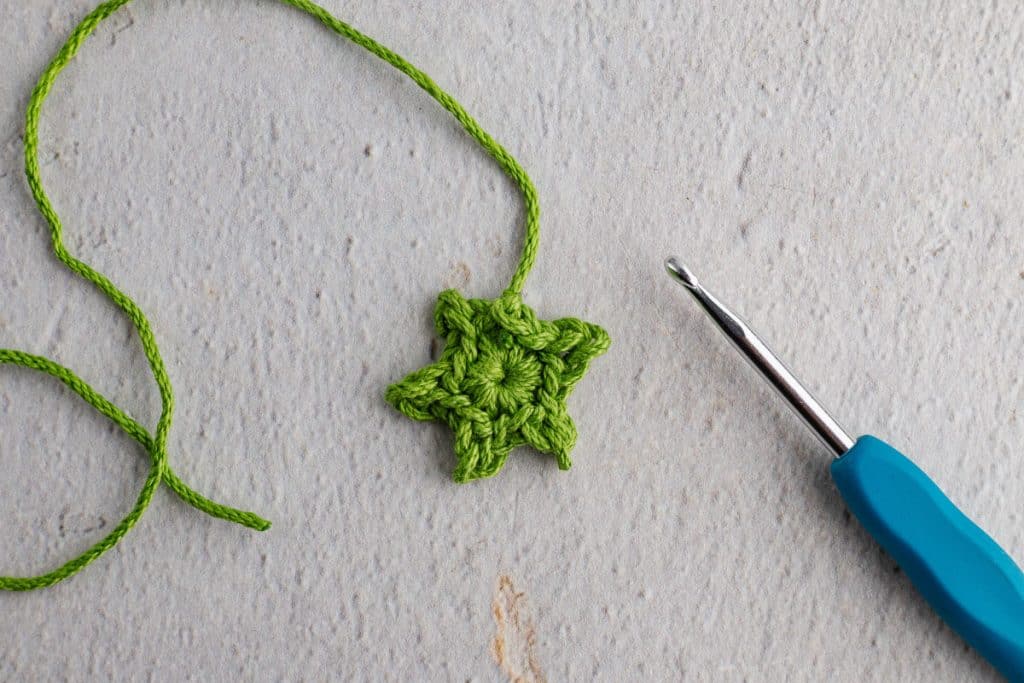
Make five, using green yarn:
- In a magic ring: (sc, ch 2, sl st in 2nd ch from hook, sc into magic ring) five times.
- Sl st to first sc.
- Pull the tail to close the ring.
- Leave a long tail for sewing.
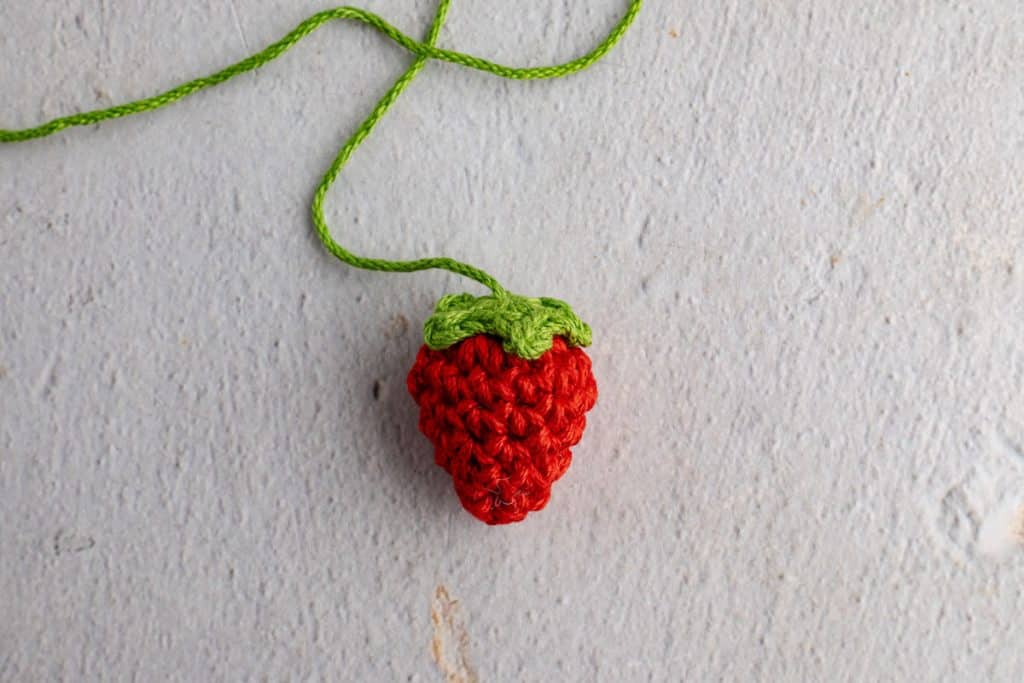
Sew one to the top of each strawberry and pull the tails under the cap and through the middle of the top.
Hanging Cord with a Leaf
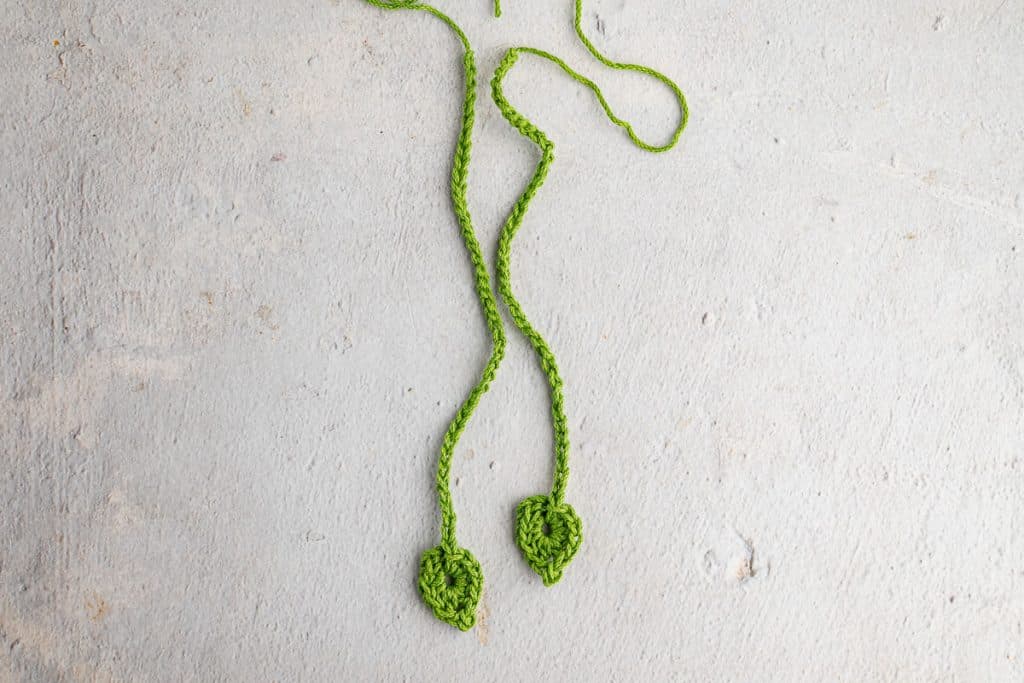
Make two cords using green yarn:
- Ch 4, make 4 hdc in the 4th ch from the hook. In the same ch: 1 dc.
- Ch 2, sl st in 2nd ch from hook. In same base ch: 1 dc, 4 hdc. Sl st in base ch. (Leaf end)
- Ch 40. Fasten off.
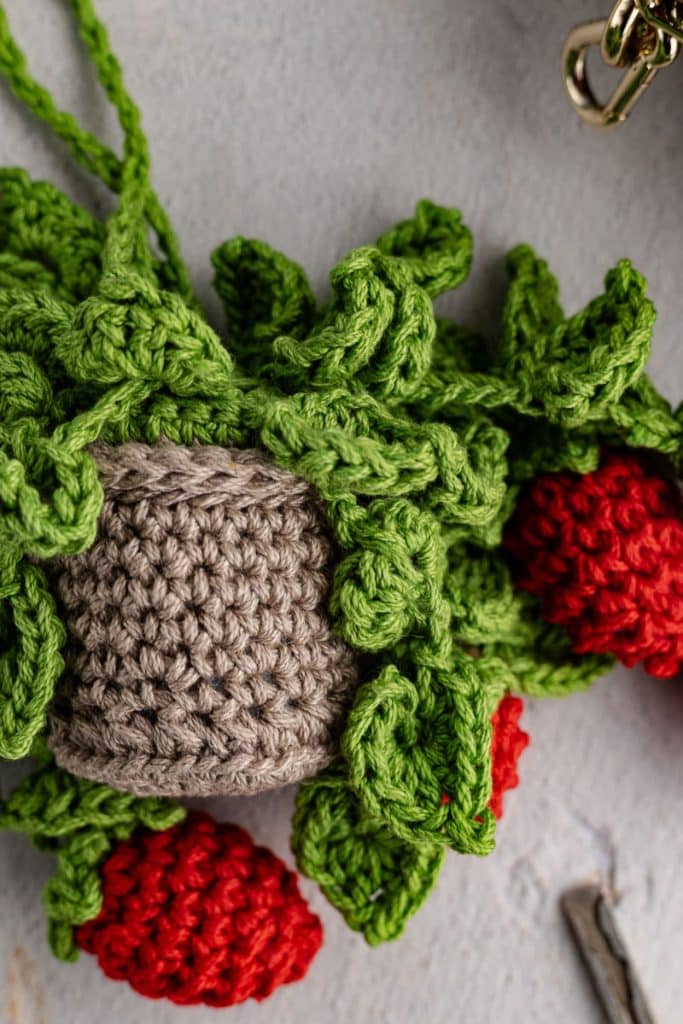
Assembling the Strawberry Pot Crochet Keychain or Charm
Attach the vines to the pot:
- Use the visible top loops of the green top of the pot.
- Sew five vines to the outer loops and five to the inner loops.
- Alternate placement so that the top layer vines fall between the bottom layer vines.
Sew strawberries to the lower vines only.
- Vary their placement so that you get random strawberries.
Attach hanging cords to opposite sides of the pot top (inner loops). Use the end of the cord without the leaf to connect to the pot.

- You can then tie your strawberry pot to an existing key ring, purse straps, or rear-view window mirror. An option is to use a sliding knot made with two to three square knots, shown below. Or you can tie it to a fastener and make it very movable.

Care Instructions
Spot clean your crochet keychain or charm with a damp cloth. Avoid machine washing, especially if using polyfill stuffing.
More Crochet Patterns
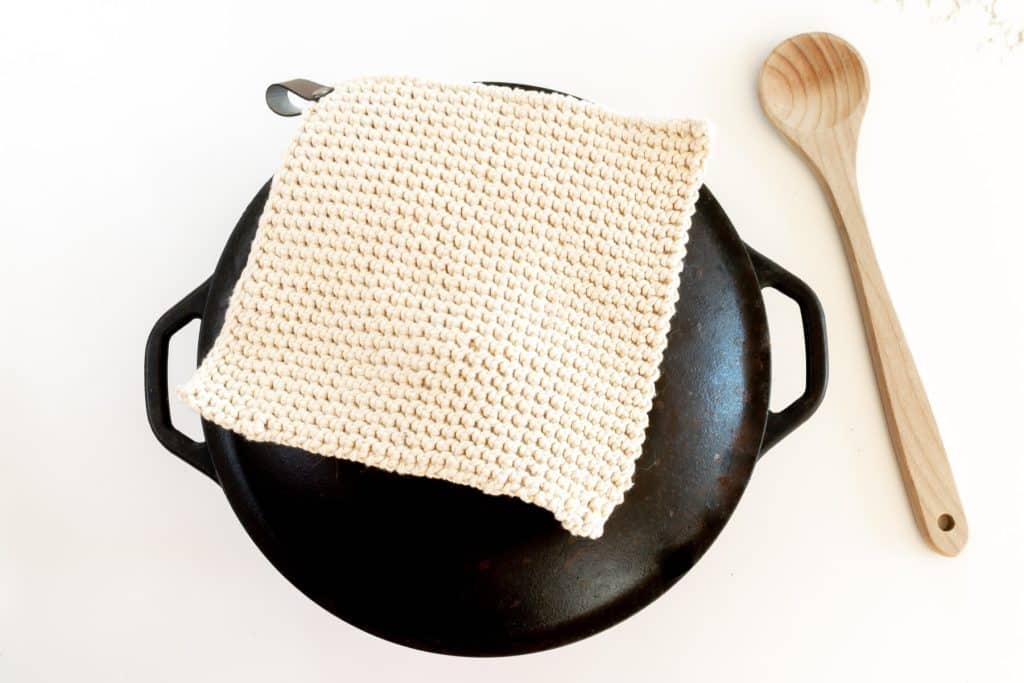

- Thermal Stitch Crochet Potholder
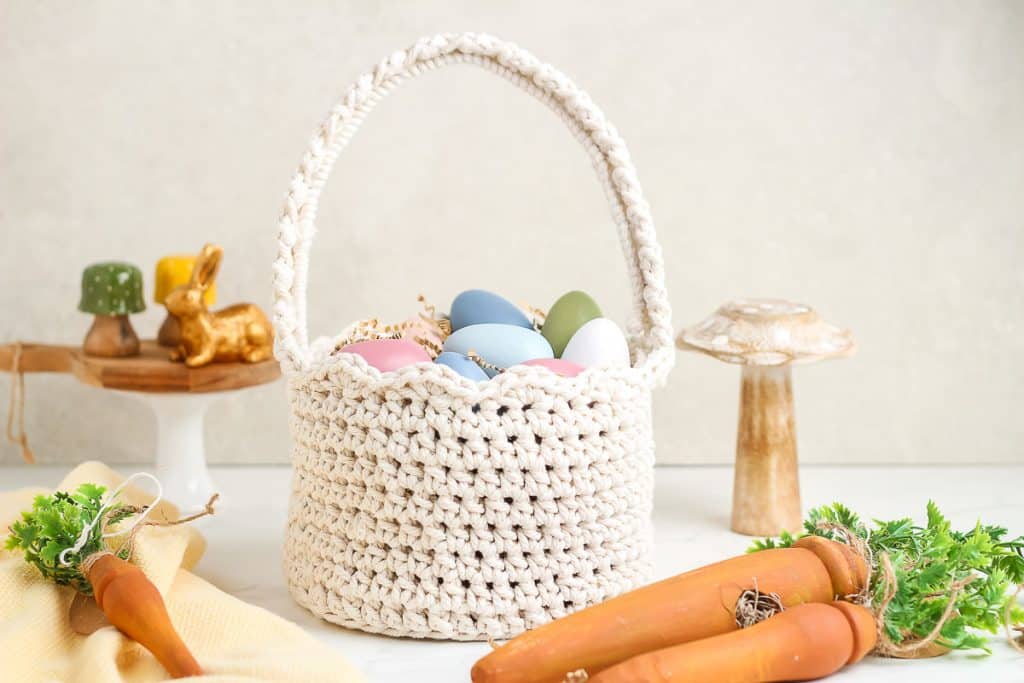
- Crochet Easter Basket
- Crochet Scrunchies
- Crochet Market Bag
- Crochet Bookmarks
- Crochet Socks
Bookmark this page or pin the following image to return back to this Crochet Keychain pattern in the future.

Thanks so much for spending a few minutes of your busy day with me!
To ensure you don’t miss future content, pop your email in the pale green box on the right or click here. I usually send one email weekly, so I won’t inundate your inbox. I’m sensitive to an overflowing email inbox!
We will only use your email address to send you emails, no more than 1-2 weekly. In addition, you will have access to my growing library of knit & crochet patterns and other printables. Check back often as this library will continue to grow. You can unsubscribe anytime by emailing me or clicking on the “unsubscribe” link at the bottom of all emails.
And you can access many of the products I refer to on my Nourish and Nestle Amazon Page. You can access it here.
So, if you’d like to participate in the ‘subscriber benefit’ action, simply subscribe to Nourish and Nestle here or use the form on the right sidebar. It’s slightly towards the top.
I have sent all my subscribers the link to the Subscriber Benefits Library. If you missed it or misplaced it, let me know.
Until next time…