Sunburst Easy Knit Pillow Pattern
This Sunburst Easy Knit Pillow Pattern creates a 16-inch chunky knit pillow made from nothing fancier than stockinette stitch, with a hand-embroidered gold sun for a little extra oomph. The gold-flecked yarn does the rest, catching the light every time you walk past.
Work the easy knit pillow pattern as two plain squares, each 36 stitches wide and 44 rows long. One square gets the embroidered sun, and then the two are seamed to cover a 16-inch pillow insert. That is the whole project. Super bulky yarn and 9 mm (US 13) needles make the knitting fly by, and the embroidery needs nothing more than a long, straight stitch worked twice over the same line.
Any knitter comfortable with knit and purl can make this pillow. The only skills beyond that are threading a large embroidery needle and seaming with mattress stitch, and there is a refresher on mattress stitch if you need one.
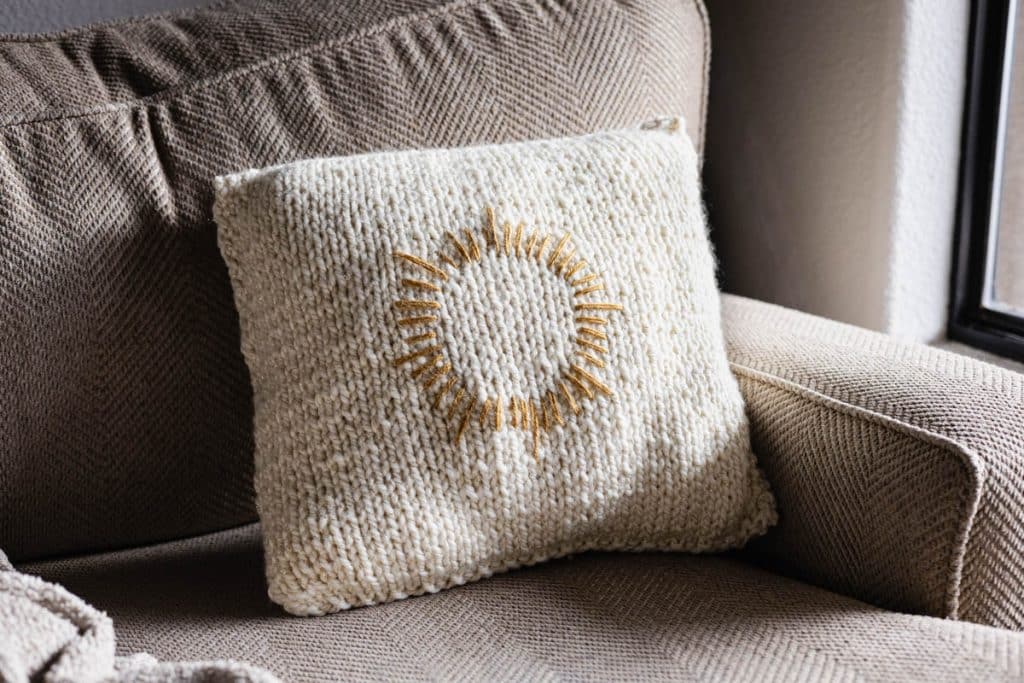
Table of Contents
Tips for Success
- Read the knit pillow pattern all the way through before you cast on. The full pattern is shared below. If you’d like a printable version, subscribers can nab it in the Library. If you aren’t a subscriber yet, no problem. It’s easy…and free! Just click here, and you’ll get subscribed AND the pattern will automagically arrive in your email inbox at the same time!
- Work a gauge swatch. The cover is sized to fit a 16-inch insert, so 9 stitches and 11 rows over 4 inches matters more here than it would on a scarf.
- Leave a tail at least 70 inches long on one panel when you bind off. Use it to seam the pillow.
- Block both panels lightly and pin them to the same measurements, about 16 inches by 16 inches. I steam-blocked mine just enough to help the stockinette lie flat.
- Mark the center of the panel and the circle for the sun with stitch markers before you stitch a single ray.
- Treat the markers as a general guide. Slight differences in ray length and spacing give the sun its hand-embroidered look.
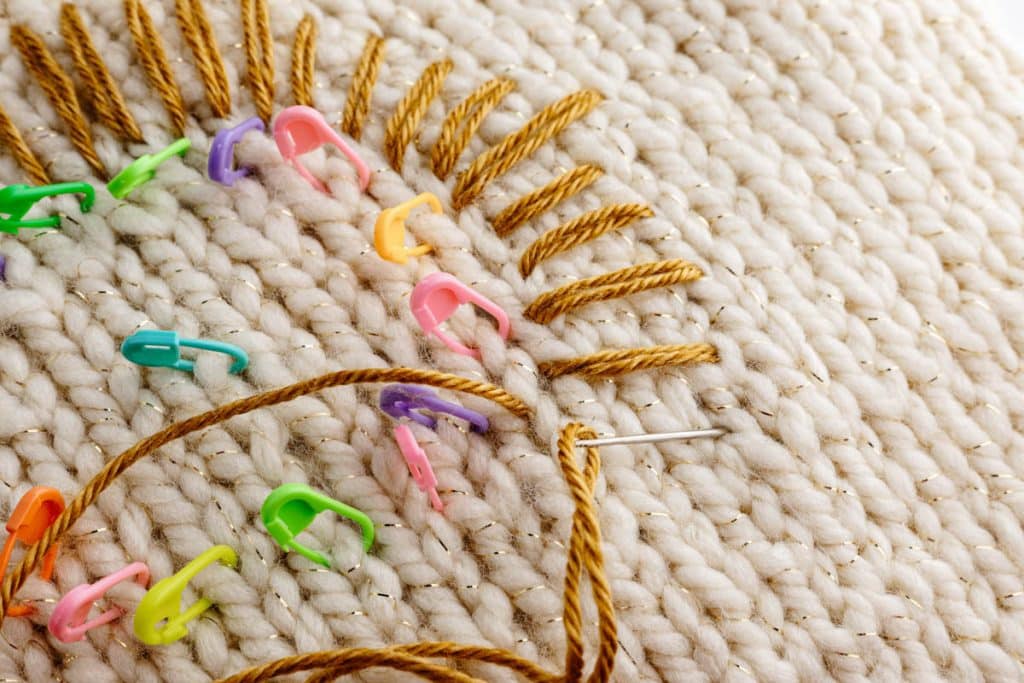
- Do not pull the embroidery yarn too tight. Keep the knitting smooth and flat.
Troubleshooting this Easy Knit Pillow Pattern
My two panels are not quite the same size
Knit both sides at the same time, using two separate balls of yarn, and then pin both panels to the same measurements when you block them. Gauge can drift between knitting sessions, so check each panel against the 9 stitches and 11 rows over 4 inches before you seam.
The embroidered rays look puckered
Pulling the embroidery yarn snug gathers the knitting around the ray. Ease the stitch until the fabric lies flat. Taking a ray out and redoing it is quick.
My sun looks lopsided
Check the marker circle first. Each ray starts near a marker, so an uneven circle gives an uneven sun. Move the markers until the circle looks even to you, then follow the pattern of one long ray and four short rays all the way around.
There are gaps in my seam
Pull the seaming yarn snug every few stitches so the strands disappear into the seam. Chunky yarn leaves a visible ridge, so it helps to keep the stitch tension even from corner to corner.
Thoughts on Yarn and Yarn Substitutions
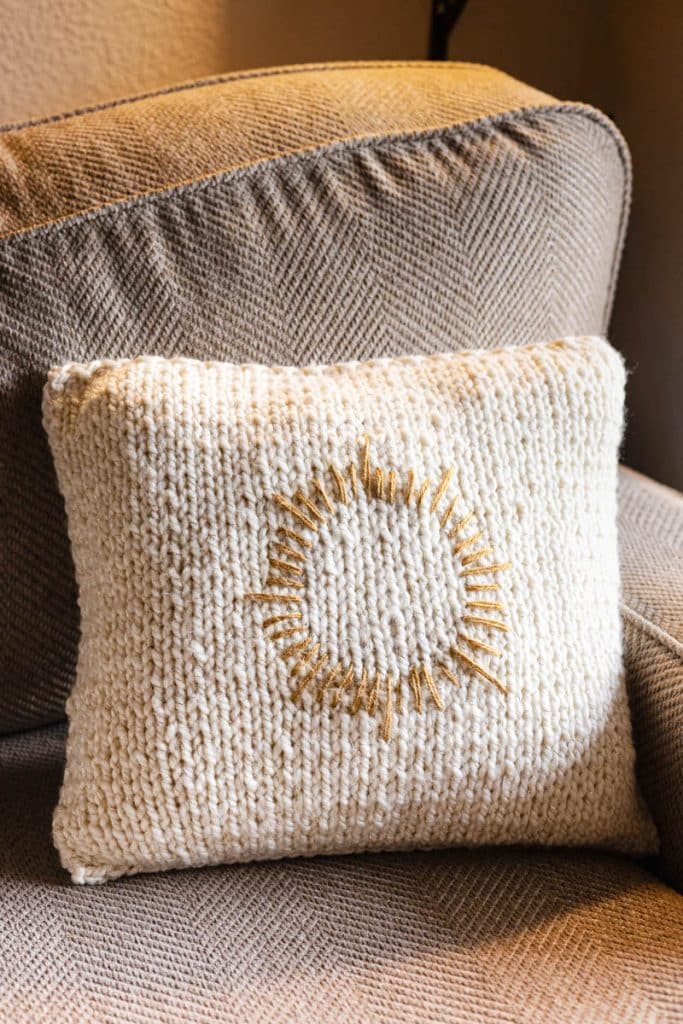
I knit the pillow in Lion Brand Wool-Ease Thick & Quick in Starlight, a gold-flecked colorway, and embroidered the sun with Lion Brand Heartland in Canyonlands. The two panels and the seaming took approximately 130 yards of the super bulky yarn, so two skeins cover it with some left over. Skein yardage differs by colorway, usually somewhere between 92 and 106 yards, so check the label on the skeins you buy. The sun used approximately 10 yards of Heartland, well under a single skein, so absolutely check your stash before you buy a skein.
Any super bulky (weight 6) yarn that knits to 9 stitches over 4 inches on 9 mm needles will work. Swatch before you commit, since the gauge decides whether the cover fits the insert. A solid color works just as well as a flecked one, because the golden sun carries plenty of shine on its own.
For the embroidery, choose a worsted-weight yarn in a color that contrasts with the pillow.
Wool-Ease is a wool-and-acrylic blend, and the label lists the care instructions. Whatever yarn you choose, follow its label and remove the insert before washing the cover.
Care Instructions
If you are giving this easy knit pillow as a gift, don’t forget to jot the yarn care instructions down on these care tags. You can nab them here.

The Sunburst Easy Knit Pillow Pattern
The full pattern is right here on the page, and it is also available as an ad-free printable PDF. Subscribers can find it in the Library. Not a subscriber yet? Click here to subscribe, and we’ll email you the pattern.
Materials
This post may contain affiliate links, which cost you nothing extra. You can read more here.
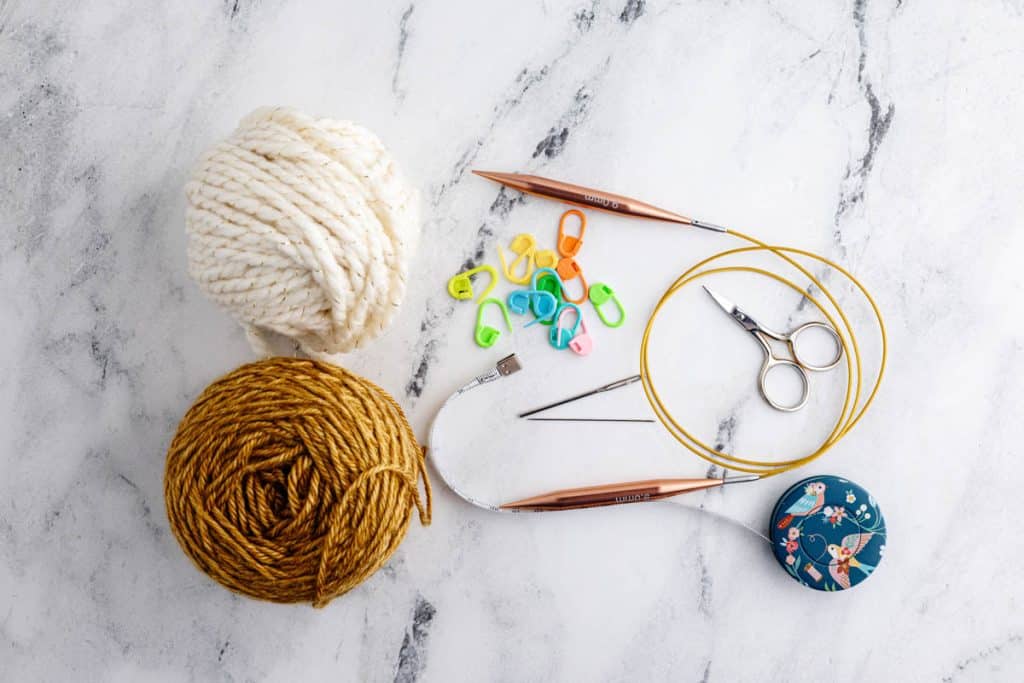
- 9.00 mm (US 13) knitting needles
- Lion Brand Wool-Ease Thick & Quick (shown in Starlight), or comparable super bulky yarn, 2 skeins (approximately 130 yards used)
- Lion Brand Heartland medium-weight yarn (shown in Canyonlands), less than 1 skein (approximately 10 yards used), for embroidery
- 16″ × 16″ pillow insert
- Tapestry needle
- Large embroidery needle
- Stitch markers
- Blocking supplies
Gauge
9 stitches × 11 rows = 4″ × 4″ in stockinette stitch.
Finished Measurements
- Width: approximately 16 inches
- Length: approximately 16 inches
Abbreviations Used in this Chunky Knit Pillow Pattern
- k — knit
- p — purl
- RS — right side
- WS — wrong side
- st(s) — stitch(es)
Notes Before You Begin
- Knit both panels at the same time on one needle using 2 separate balls of yarn, so they come out the same size.
- Only one panel is embroidered. The embroidery is added before assembly.
- Leave a tail at least 70 inches long on one panel. Use it to seam the pillow.
- Seam the panels with a mattress stitch around a 16″ × 16″ pillow insert.
Pillow Panels (Make 2)
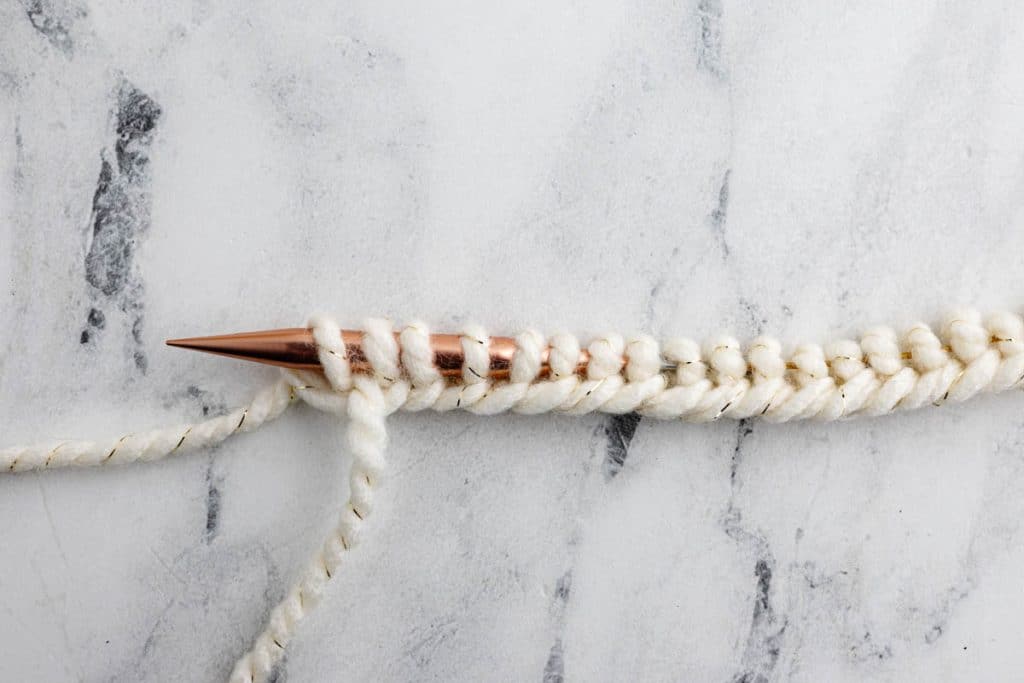
Tip: Knit both panels at the same time on one needle, using 2 separate balls of yarn, to ensure both panels come out the same size. Cast on 36 sts with the first ball, then cast on 36 sts with the second ball onto the same needle (72 sts total). Work each row across both panels, using the first ball for the first panel and the second ball for the second. Bind off each panel with its own ball. A longer or circular needle gives the stitches more room.
Cast On
Cast on 36 sts.
Stockinette Rows
Row 1 (RS): Knit across.
Row 2 (WS): Purl across.
Rows 3–44: Repeat Rows 1–2 until you have worked 44 rows total.
Bind Off
Bind off all sts.
Tail: When cutting the yarn, leave a tail at least 70″ long on one panel. This tail is used later to seam the pillow.
Blocking
Pin each panel to approximately 16″ × 16″ and lightly block using your preferred method. Steam blocking, just enough to help the stockinette lie flat, works well.
Embroidered Sun
Embroider the sun onto one pillow panel before assembly.
Step 1: Lay the panel flat with the right side facing you. Find the center of the panel and mark it with a stitch marker.
Step 2: Measure approximately 2½” out from the center and place additional stitch markers around it to form a circular guide. The markers don’t need to form a perfect circle. They simply help you keep the sun motif even.
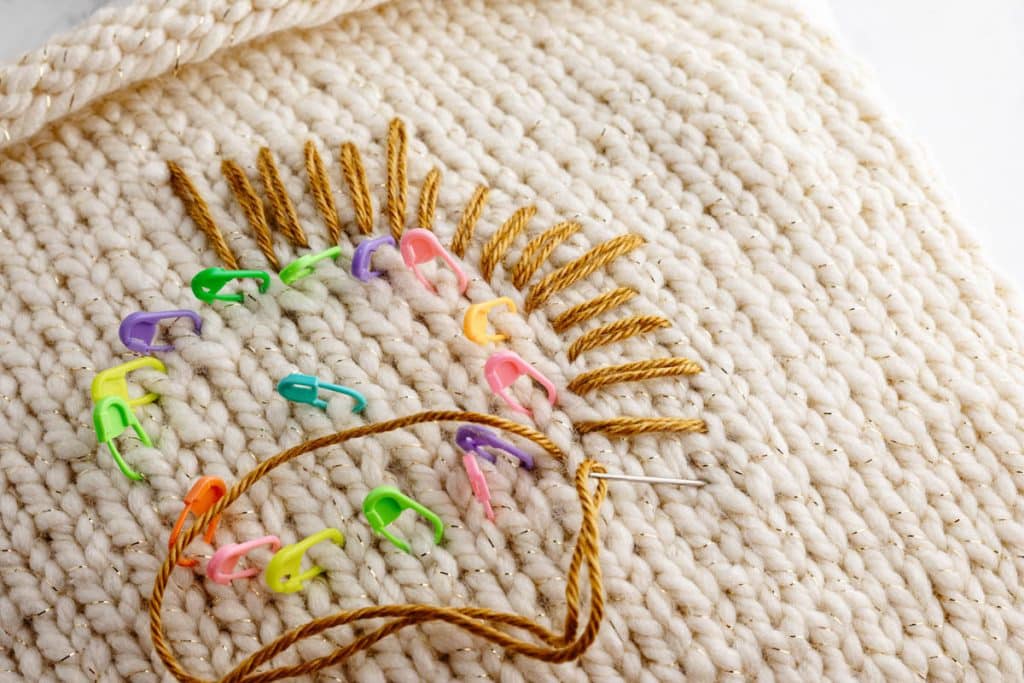
Step 3: Thread a large embroidery needle with the contrasting yarn.
Step 4: Working from the back of the knitted fabric, bring the needle through near one of the stitch markers. Insert the needle back through the fabric approximately 2–3″ away, radiating outward from the center, to create a sun ray.
Step 5: Work over the same line a second time so that each ray is made with two passes of yarn.
Step 6: Continue around the circle, alternating between longer and shorter rays and spacing them evenly. For the sample shown, work one long ray followed by four shorter rays, and repeat this sequence around the circle. There are 7 long rays in total, distributed around the sun (35 rays in all: 7 long and 28 short).
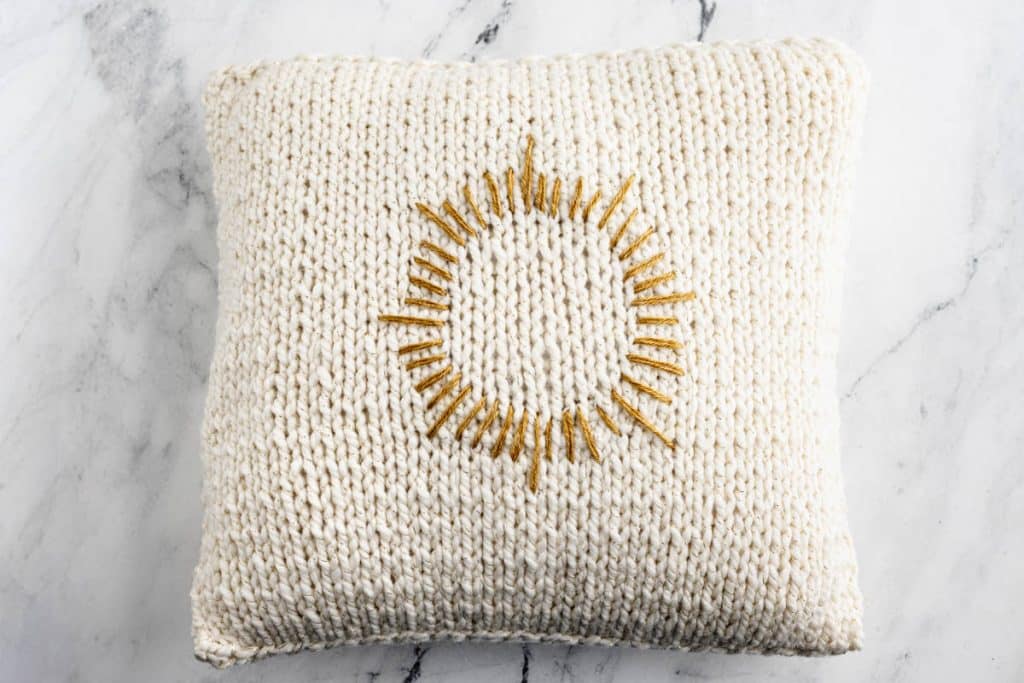
Step 7: Once the motif is complete, secure the embroidery yarn neatly on the wrong side and trim the excess.
Embroidery tip: Use the stitch markers as a general guide rather than trying to make every ray perfectly uniform. Slight variations in length and spacing give the sun a natural, hand-embroidered look. Do not pull the yarn too tight; keep the fabric smooth.
Assembly
Step 1: Place the two pillow panels together with the right sides facing out, wrong sides together.
Step 2: Using one of the long yarn tails and the mattress stitch, seam three sides of the pillow together, leaving one side open.
Step 3: Insert the 16″ × 16″ pillow insert through the opening and adjust it so it sits evenly inside the cover.
Step 4: Seam the final side closed.
Step 5: Fasten off securely and weave in any remaining ends.
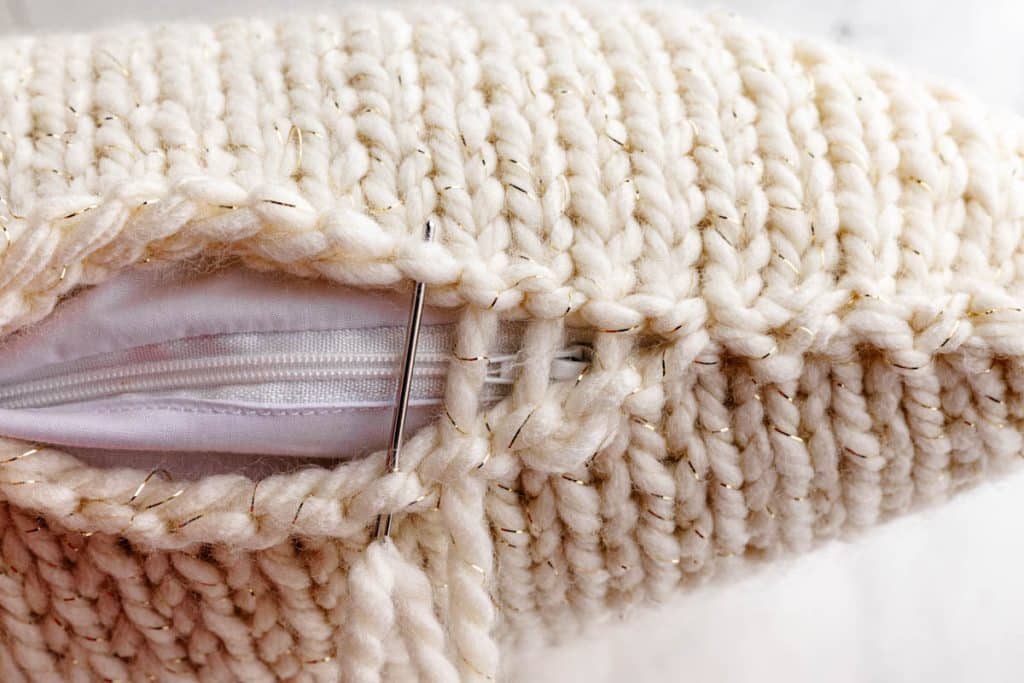
Some of Our Other Patterns We Know You’ll Love!


Gold embroidery on a white knit pillow is a combination we keep coming back to. The Christmas Tree Knit Pillow uses only knit and purl stitches for a white-on-white tree pattern, then adds gold embroidered stars and gold speckled pom poms. It makes a good next pillow once the Sunburst is on your sofa.
For a small project that finishes in a few hours, the Knit Heart Potholder is worked in two colors of cotton yarn with a heart in the center. It finishes at 8 inches square and uses basic stitches, so it is beginner-friendly and a sweet handmade gift.
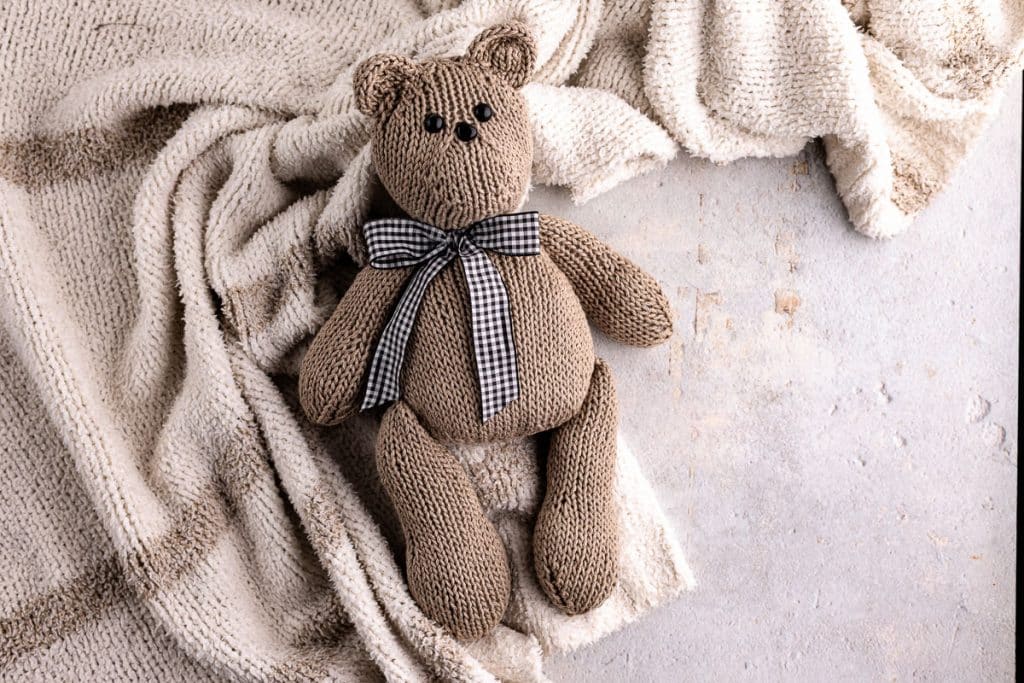
The Knit Teddy Bear is worked mostly in the round in worsted-weight yarn, and the pieces are joined with mattress stitch, the same seam you will use to close the Sunburst Pillow. It is a good way to practice that seam on a smaller project.
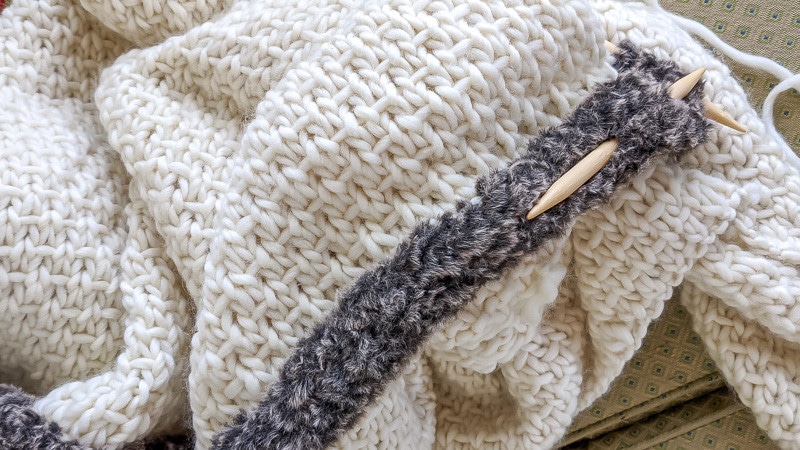
The Half-Linen Stitch Blanket with Faux Fur Trim is knit in super bulky yarn at the same gauge as this pillow, 9 stitches and 11 rows over 4 inches. The faux fur applied i-cord edge is what makes it special, and there are instructions for a seed stitch edge too, for anyone who would rather skip the fur.
You will find more ideas, plus printable gift tags, in our knitted and crocheted gift ideas.
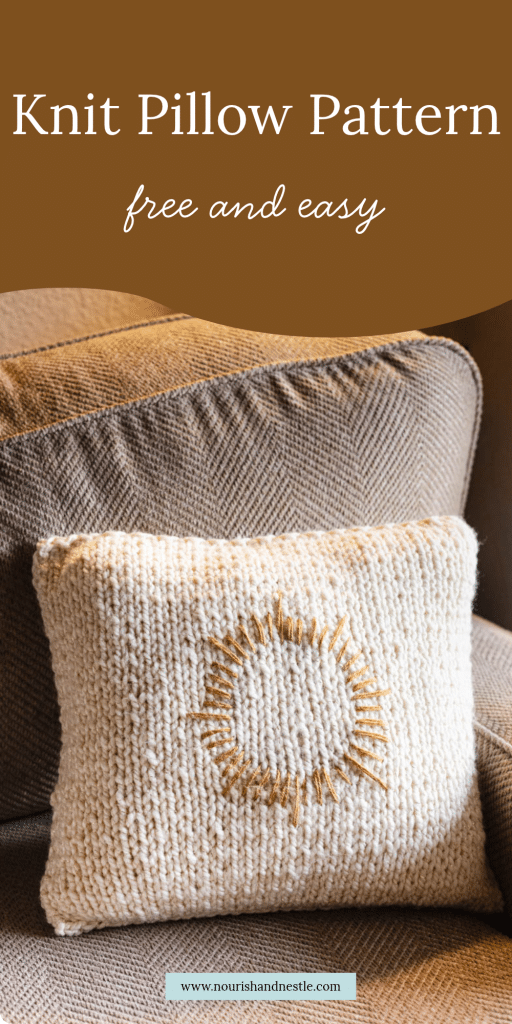
Bookmark this page, or pin the following image to refer to this Sunburst Easy Knit Pillow Pattern in the future.
Thanks so much for spending a few minutes of your busy day with me!
To ensure you don’t miss future content, pop your email in the pale green box on the right or click here. I usually send one email weekly, so I won’t inundate your inbox. I’m sensitive to an overflowing email inbox!
We will only use your email address to send you emails, no more than 1-2 weekly. In addition, you will have access to my growing library of knit & crochet patterns and other printables. Check back often as this library will continue to grow. You can unsubscribe anytime by emailing me or clicking on the “unsubscribe” link at the bottom of all emails.
And you can access many of the products I refer to on my Nourish and Nestle Amazon Page. You can access it here.
So, if you’d like to participate in the ‘subscriber benefit’ action, simply subscribe to Nourish and Nestle here or use the form on the right sidebar. It’s slightly towards the top.
I have sent all my subscribers the link to the Subscriber Benefits Library. If you missed it or misplaced it, let me know.
Until next time…